
On Friday we wrapped up our second Build Blitz and our eighth day of building on T42, the tiny house I'm building to live in with my sweetheart Isha (who also happens to be The Guy Next Door). Monday we did T42 SIPs Prep and Tuesday and Wednesday we had our T42 Wall Raising. I anticipated that the roof might give us some challenges, so we'd set aside Thursday and Friday for Roof Raising. Fortunately, the roof went together quickly and easily with the brawn, brains, and good humor of two Tiny House Helpers, Kelly and Andy.
We got into a nice rhythm of building our skylight panels, hoisting our panels onto the scaffolding then guiding them up onto the roof, sliding them on the panel before them, and then slipping them into place and anchoring them with SIPs screws in all the corners. We had the last roof panel up before taking a late lunch so we went to celebrate our success with warm bowls of Hawaiian noodle soup at Big Kahuna's. (It was, of course, raining on roofing day, so we were darn thankful for the covered build spot!)
After lunch Andy and I installed the perimeter blocking in the roof and the rest of the SIPs screws, while Kelly worked on sealing up seams between the SIPs panels with R-Guard Joint & Seam Filler. We were at a good stopping point by the time that was done so we cut out a little early and I jumped on a conference call for the Tiny House Collaborative.
On Friday Andy helped me put the finishing touches on the Puzzle Wall. We installed a few more studs to create the appropriately sized rough openings for the windows at the top of our tall wall and then cut 1/2" OSB for the sheathing. We were able to use up a few scraps of 3/4" OSB that we'd used as the subfloor as well.

After lunch we installed our storage loft, using an extra piece of SIP. When our SIP panels were cut from the master panel (check out Picking Up Our T42 SIPs Kit for more on that!) there was an extra piece that was sent along with the rest of the panels as filler for the stack during delivery. It was 38" wide, which was just shy of the 40" we were planning to make the storage loft, so we decided to go for it. We wanted the bathroom to be 36" wide to accommodate a 36" tub and we like the idea that a twin size mattress could fit above just in case we ever want to use it as a guest bed.
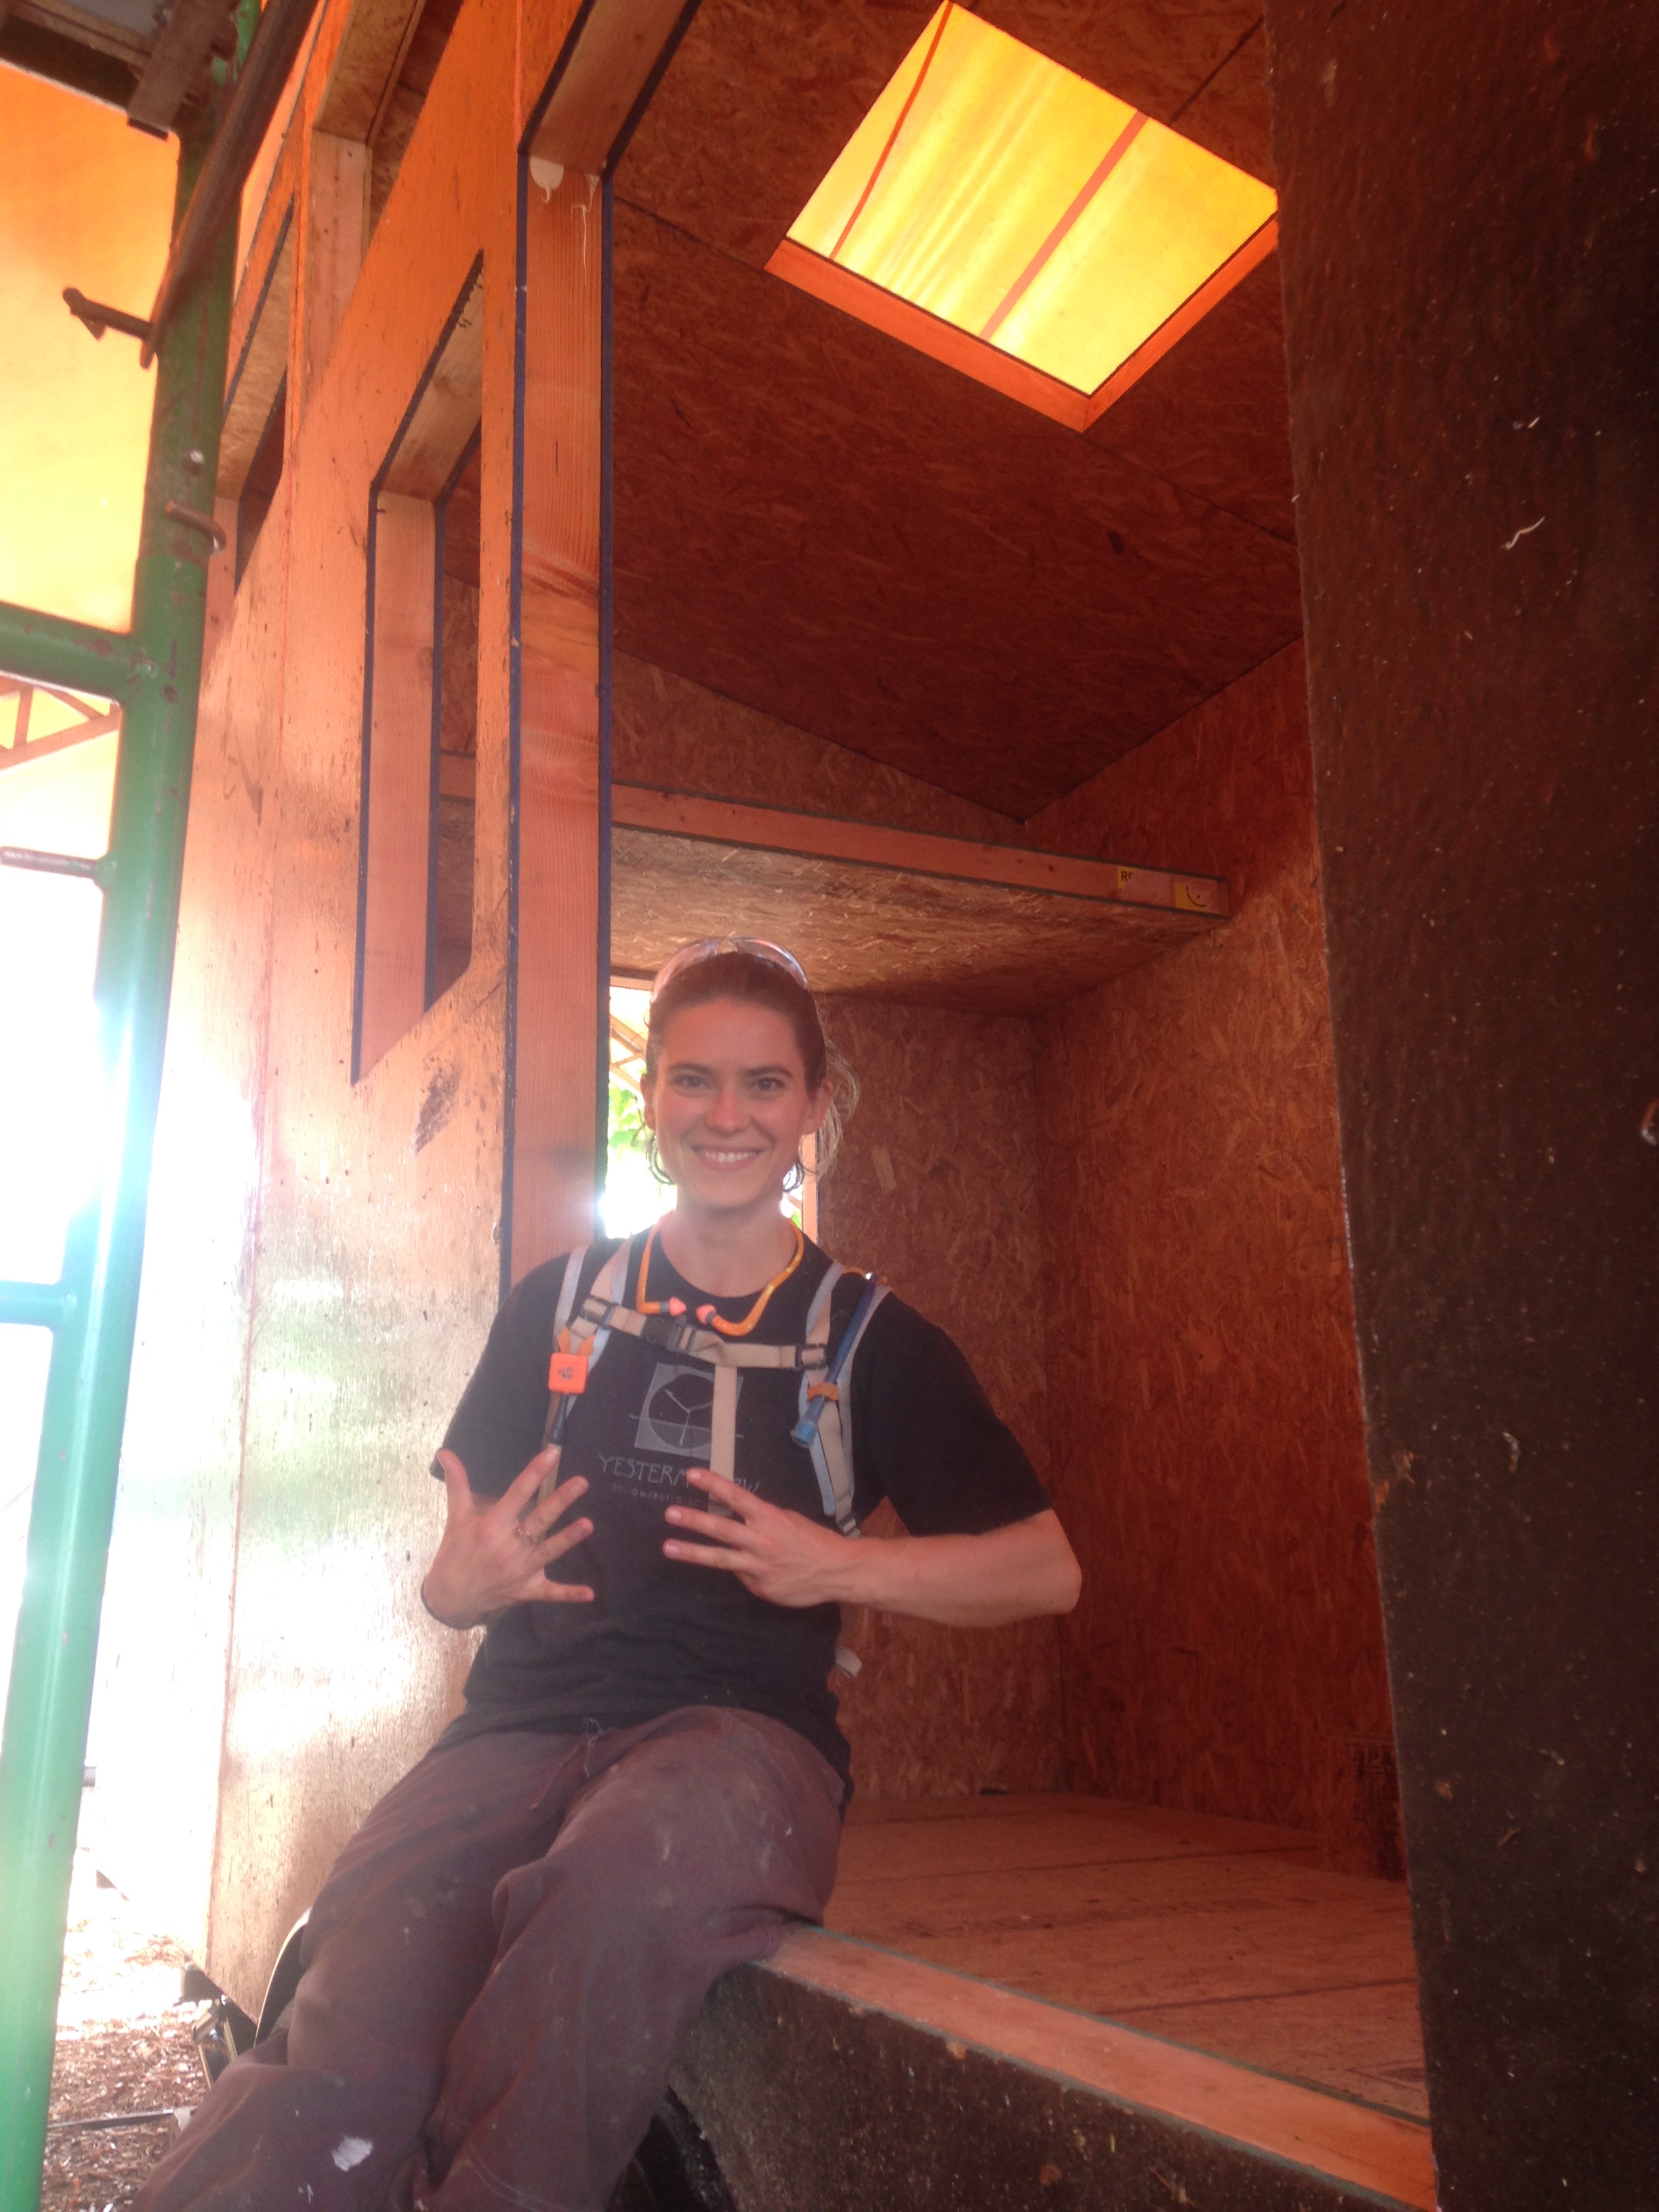
Andy and I measured and marked the height of the loft, measured and cut ledgers for the three sides along the walls, and then anchored our ledgers into place from the inside with beefy structural screws. (Before we install the siding we'll also anchor the ledgers from the outside with SIPs screws.) We dry fit the panel first to make sure it would go. Then we added mastic and shimmied the SIP into place. As soon as it was ready I crawled up to test it out and, sure enough, it's quite comfy up there!
We've made good progress in 8 days of building and I'm looking forward to our next Build Blitz when we'll be installing windows, a rainscreen, and our exterior siding! If you'd like to join us, you can sign up for the Build Blitz or be a Tiny House Sidekick for a day.