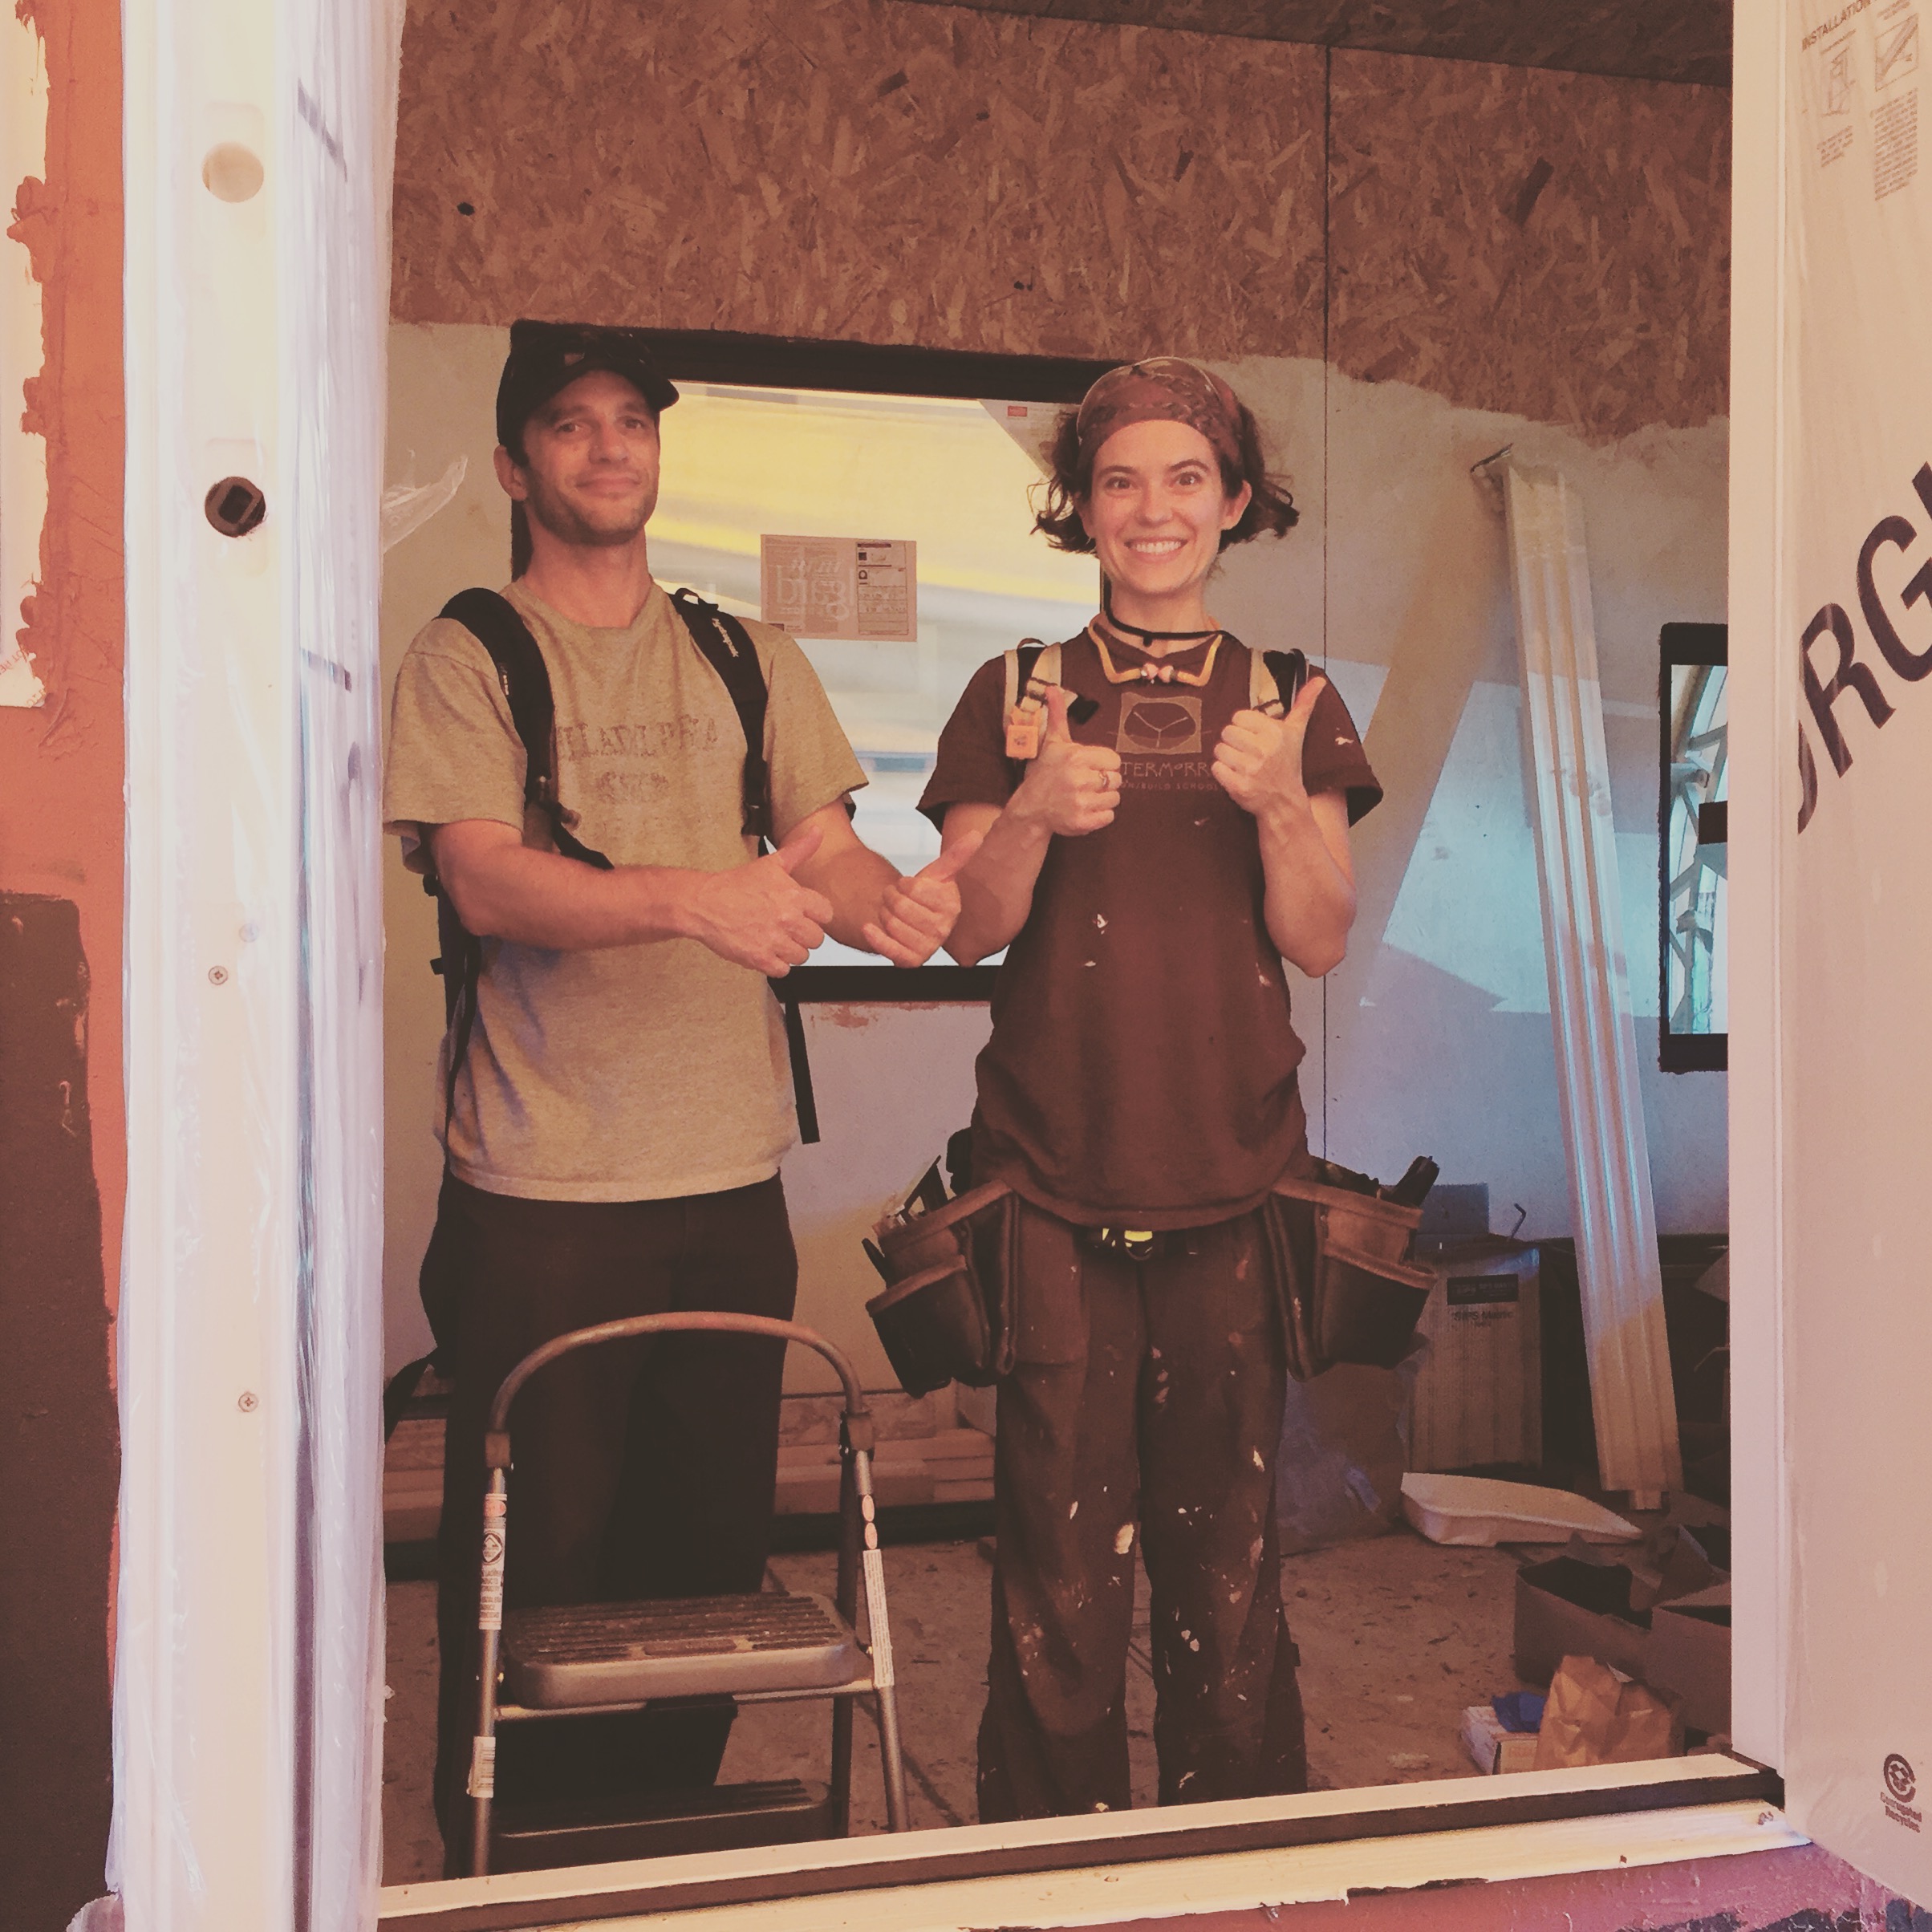
Hooray! We love our new French doors!
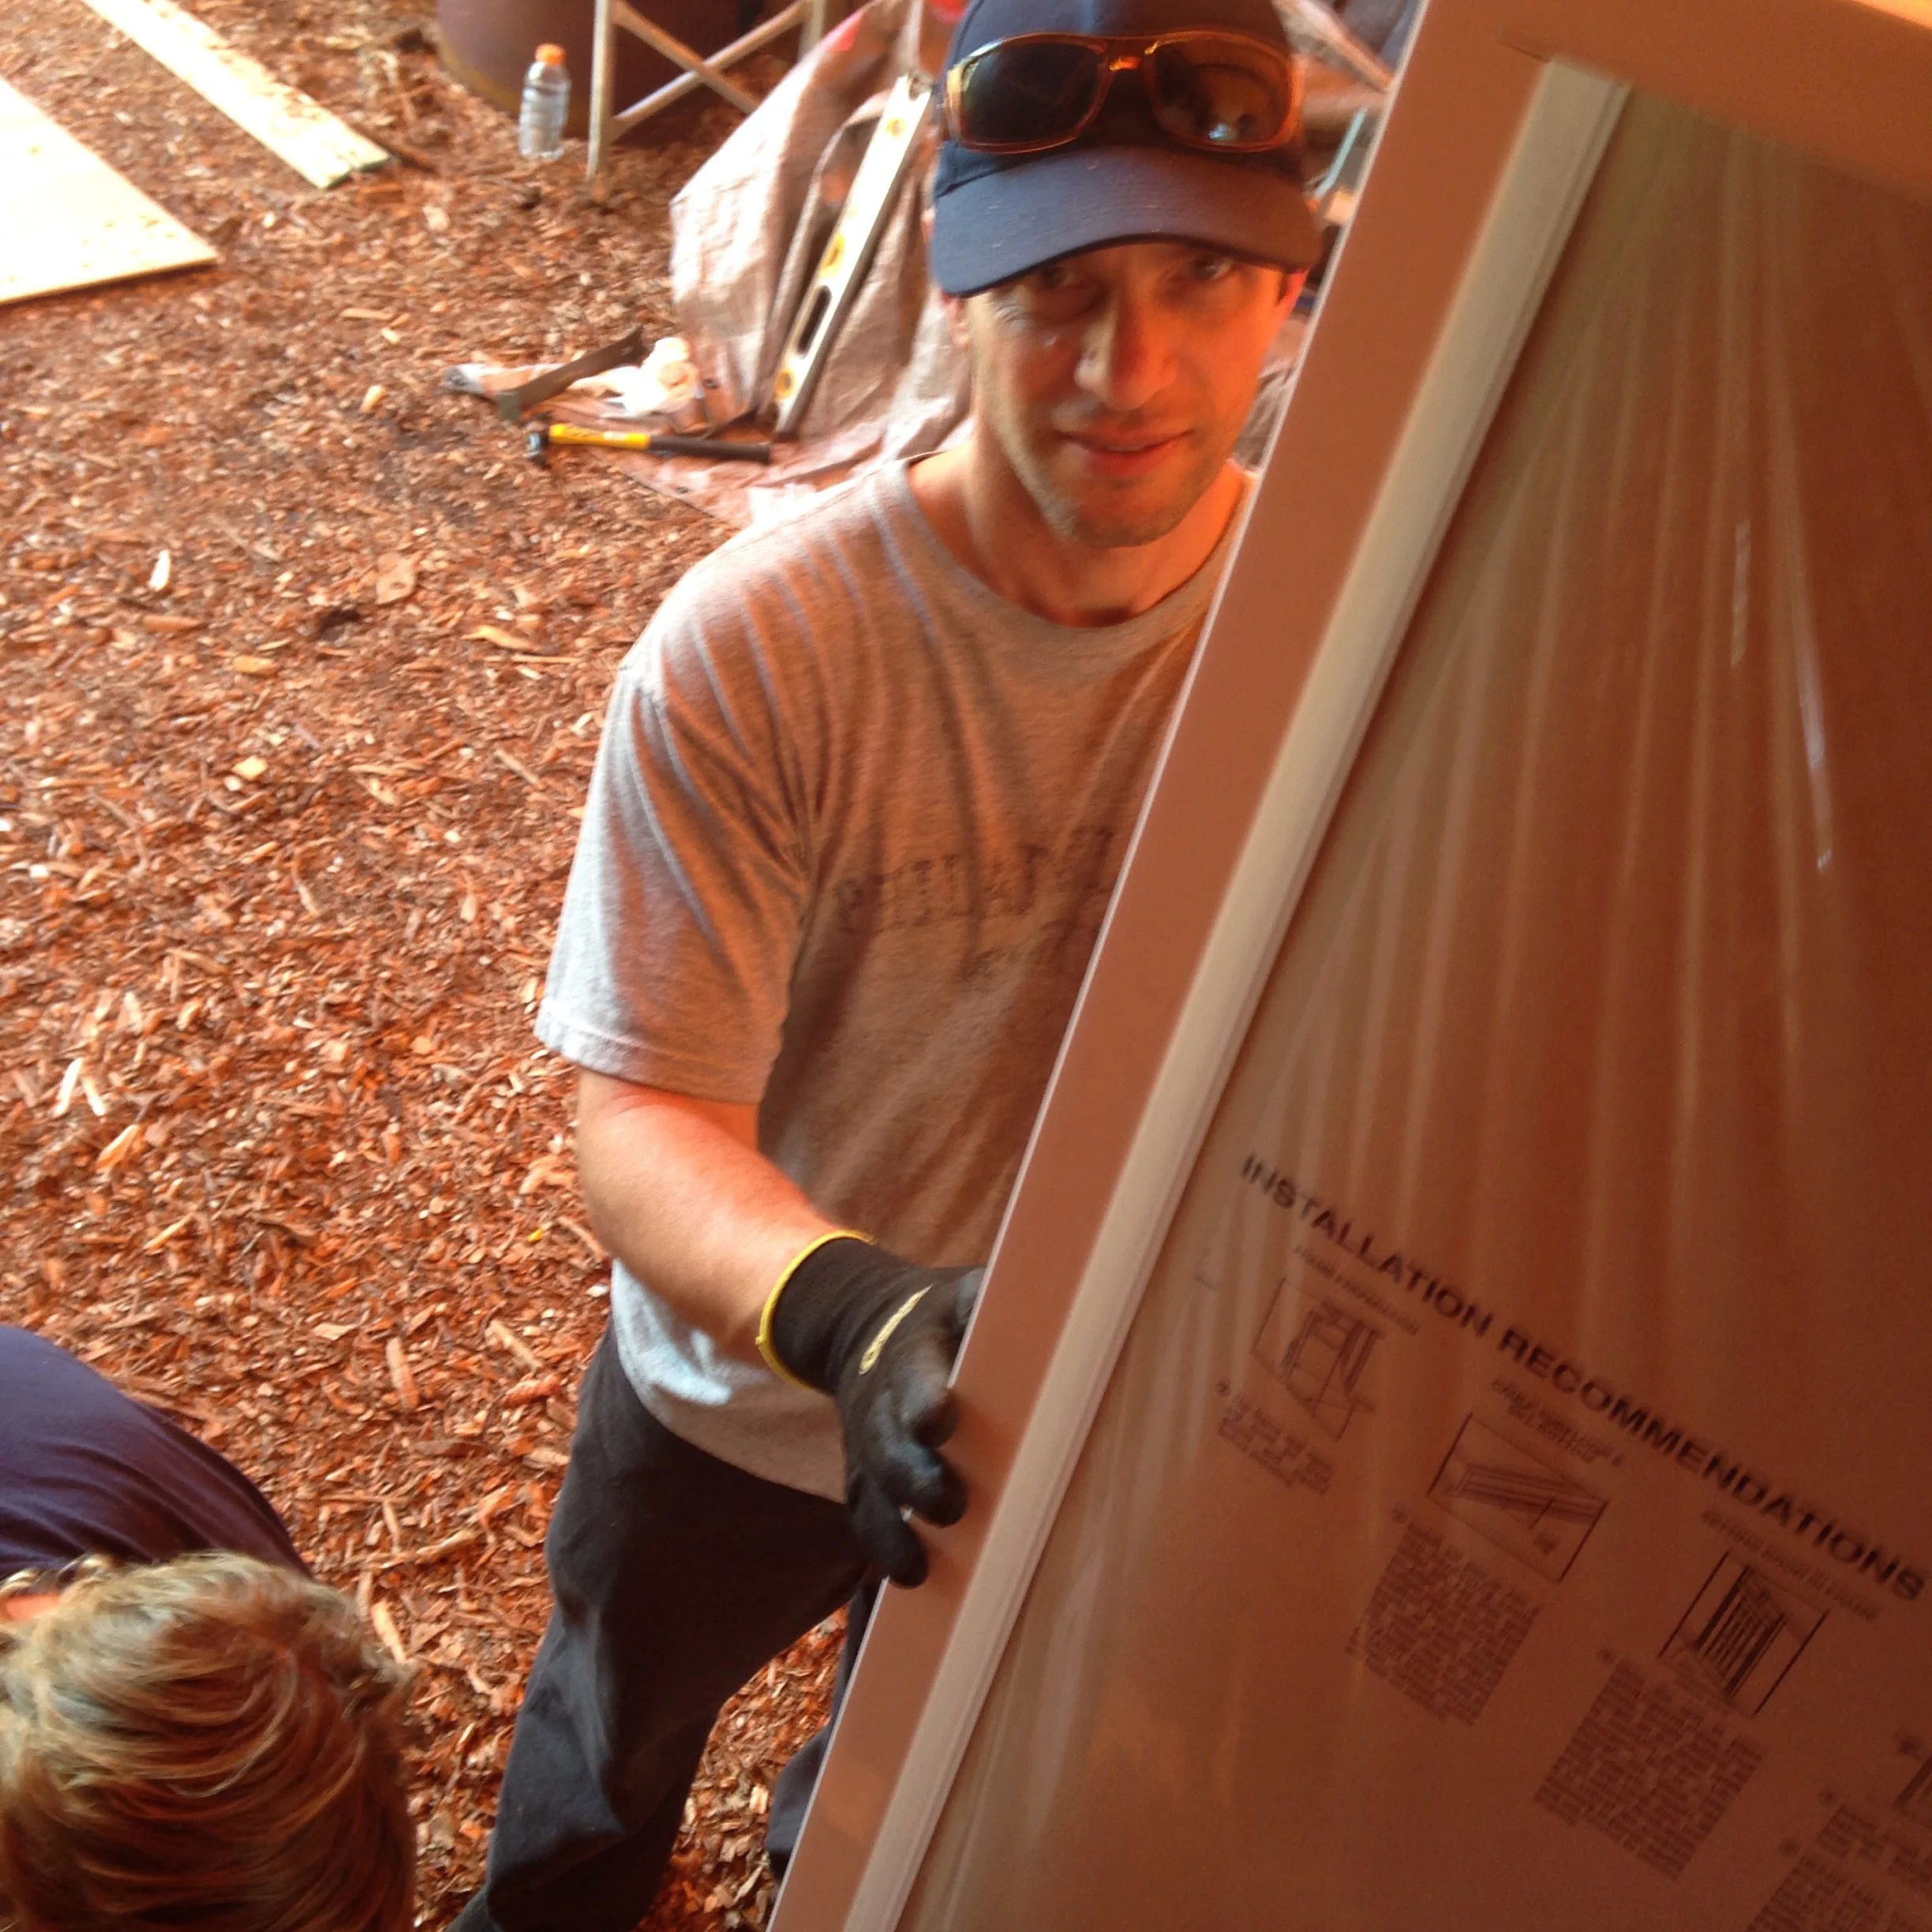
Yesterday Isha and I rallied a group of friends for Build Day #17 to install our French doors. We were eager to get our little house dried in before we moved it out from our covered build spot. It was great having a bunch of strong backs and clever brains for our door install. And it was especially nice to have Russ join us since he's a contractor and he was able to teach us some great tricks!
We started out by ensuring that our rough opening was square and level so that the door will swing and close properly. Then we dryfit the door by hoisting it up into place to check our wiggle room all the way around. Once we were sure it was a go, we removed the handles that were attached to the door frame and put three beads of sealant down on the sill. We then hefted the door into place, making sure it is flush with the inside of the house. Then we adjusted the door side-to-side, placing our shims behind each of the door hinges.

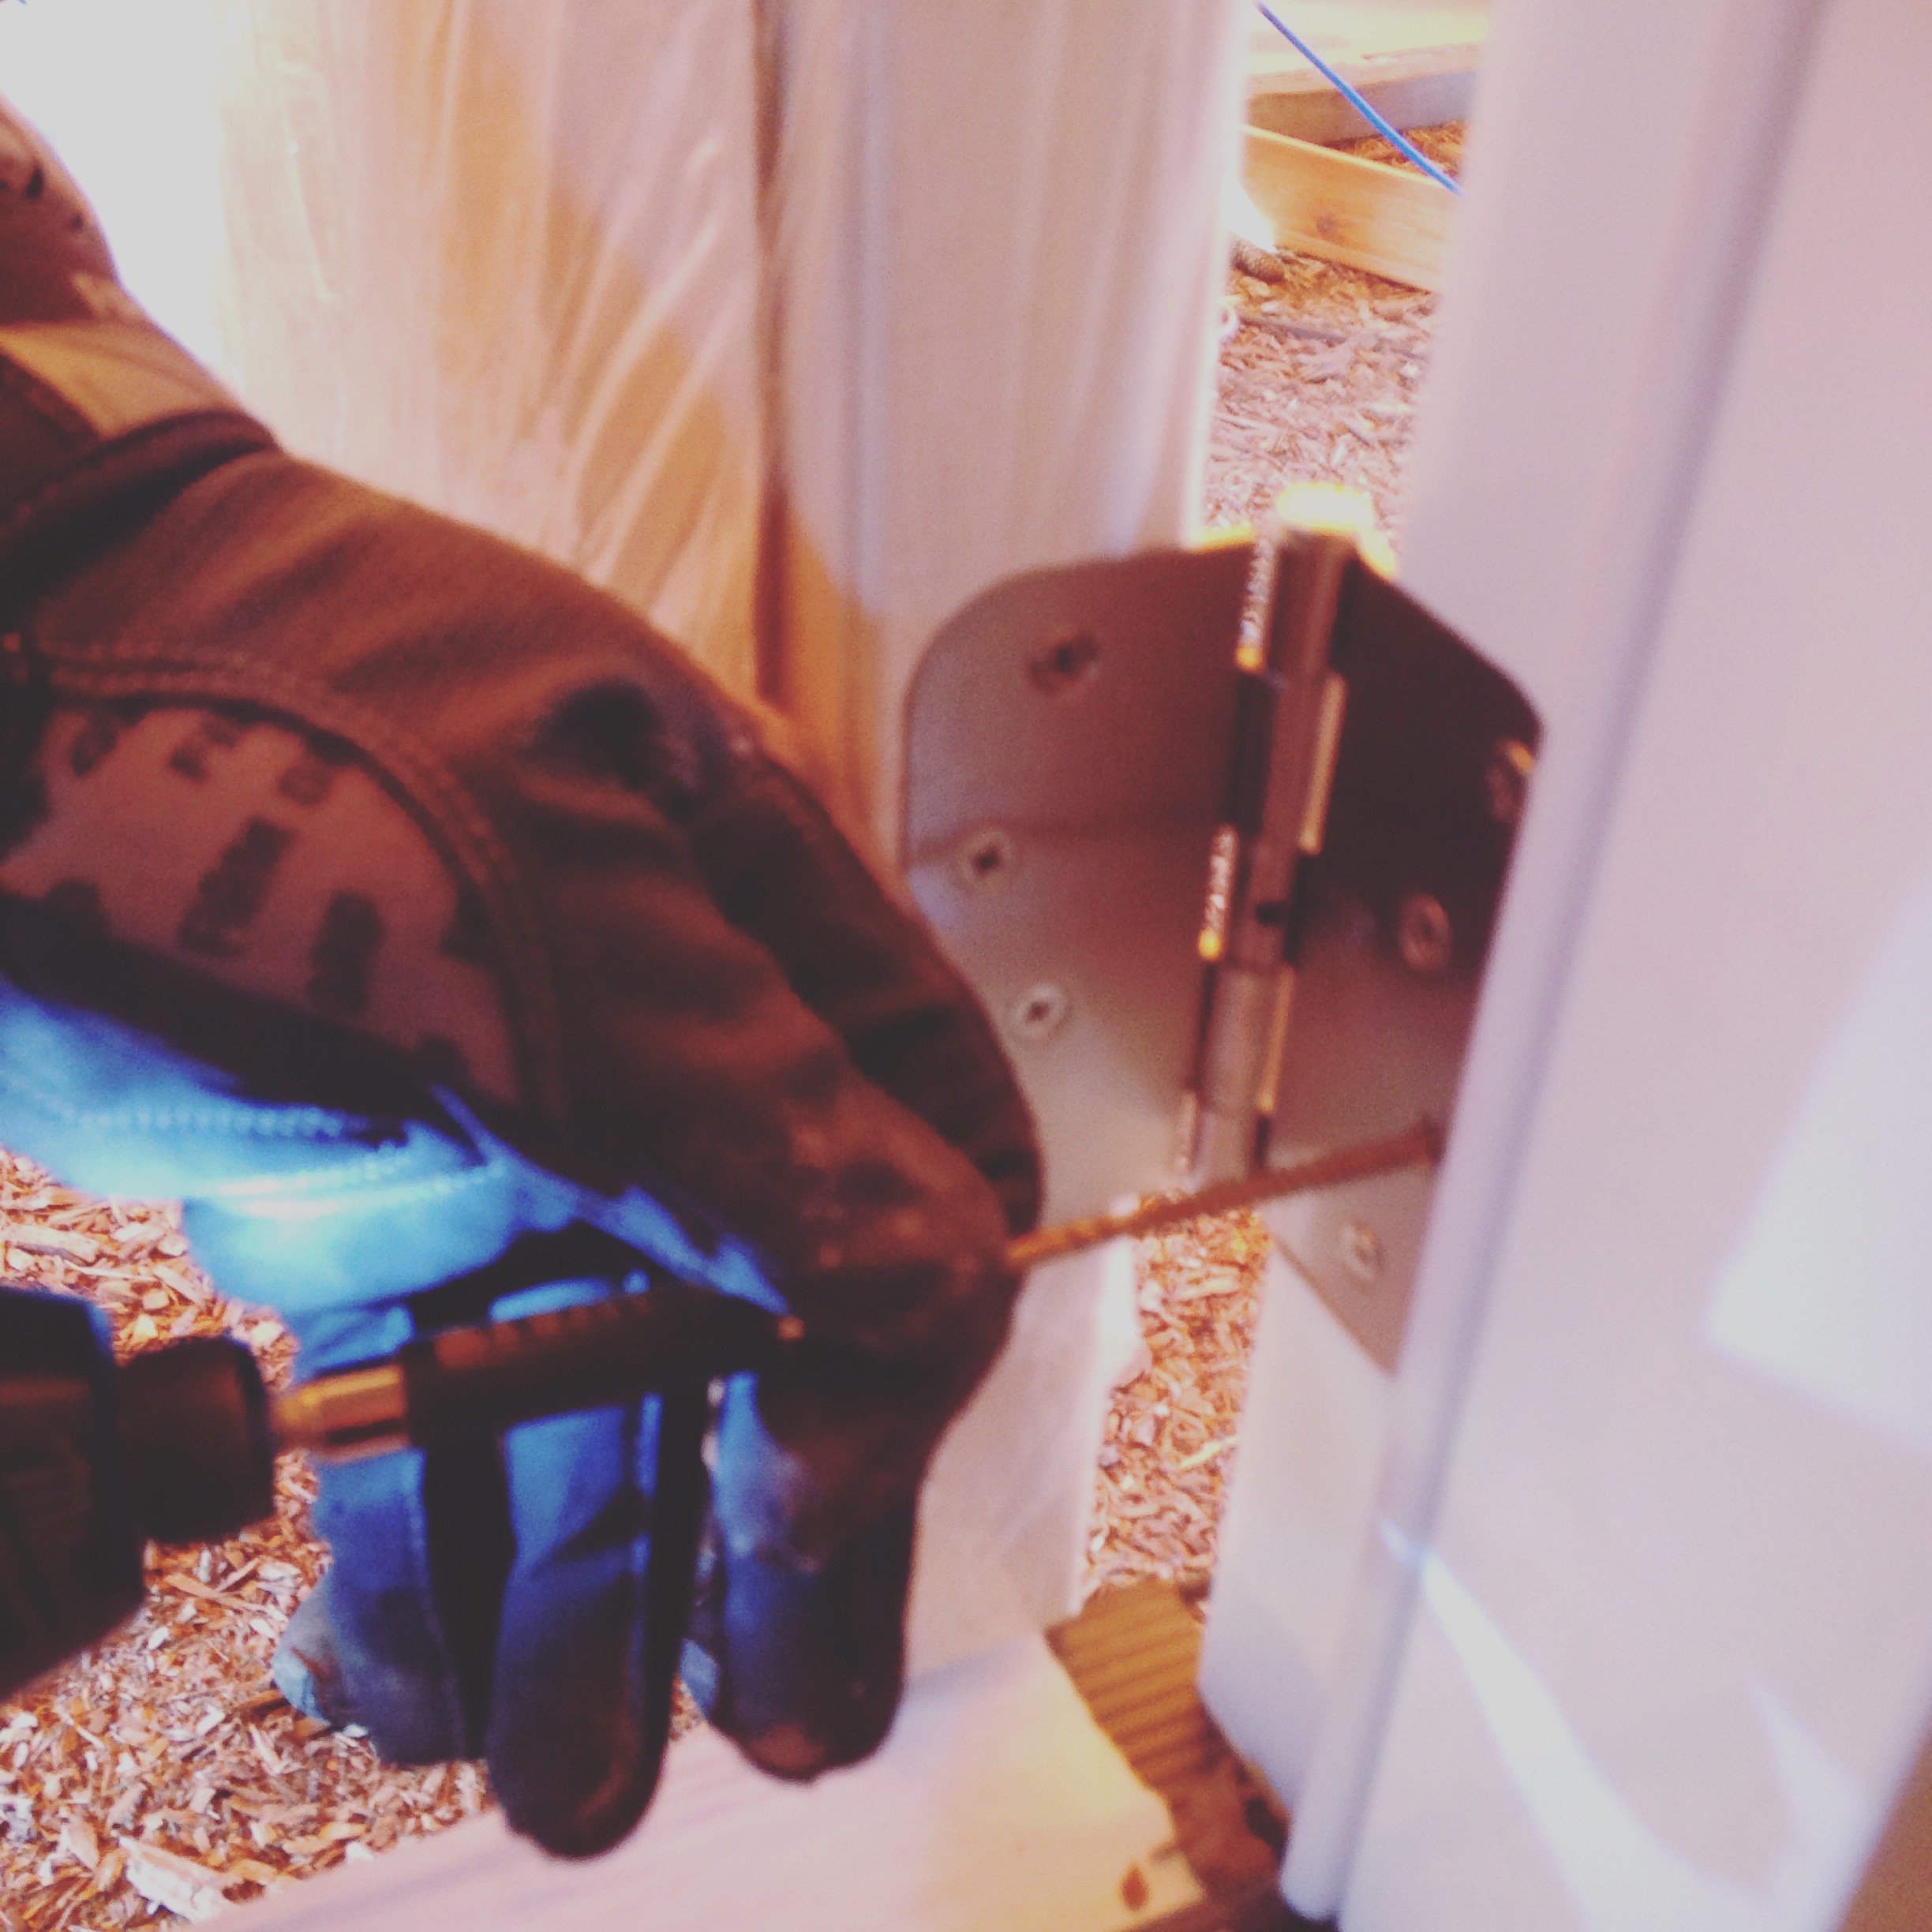
Replacing hinge screws with long screws that will go through hinges and shims into door frame
I'd already learned the trick of tucking screws behind the weatherstripping when anchoring the top of the door, but Russ taught us the new trick of removing one of the screws in each hinge (one by one, as you go along, instead of all at once!) and replacing it with a nice long screw through the hinge and the shims into the door framing. This way you don't have any visible fasteners through the door frame. We're so pleased with our new door!
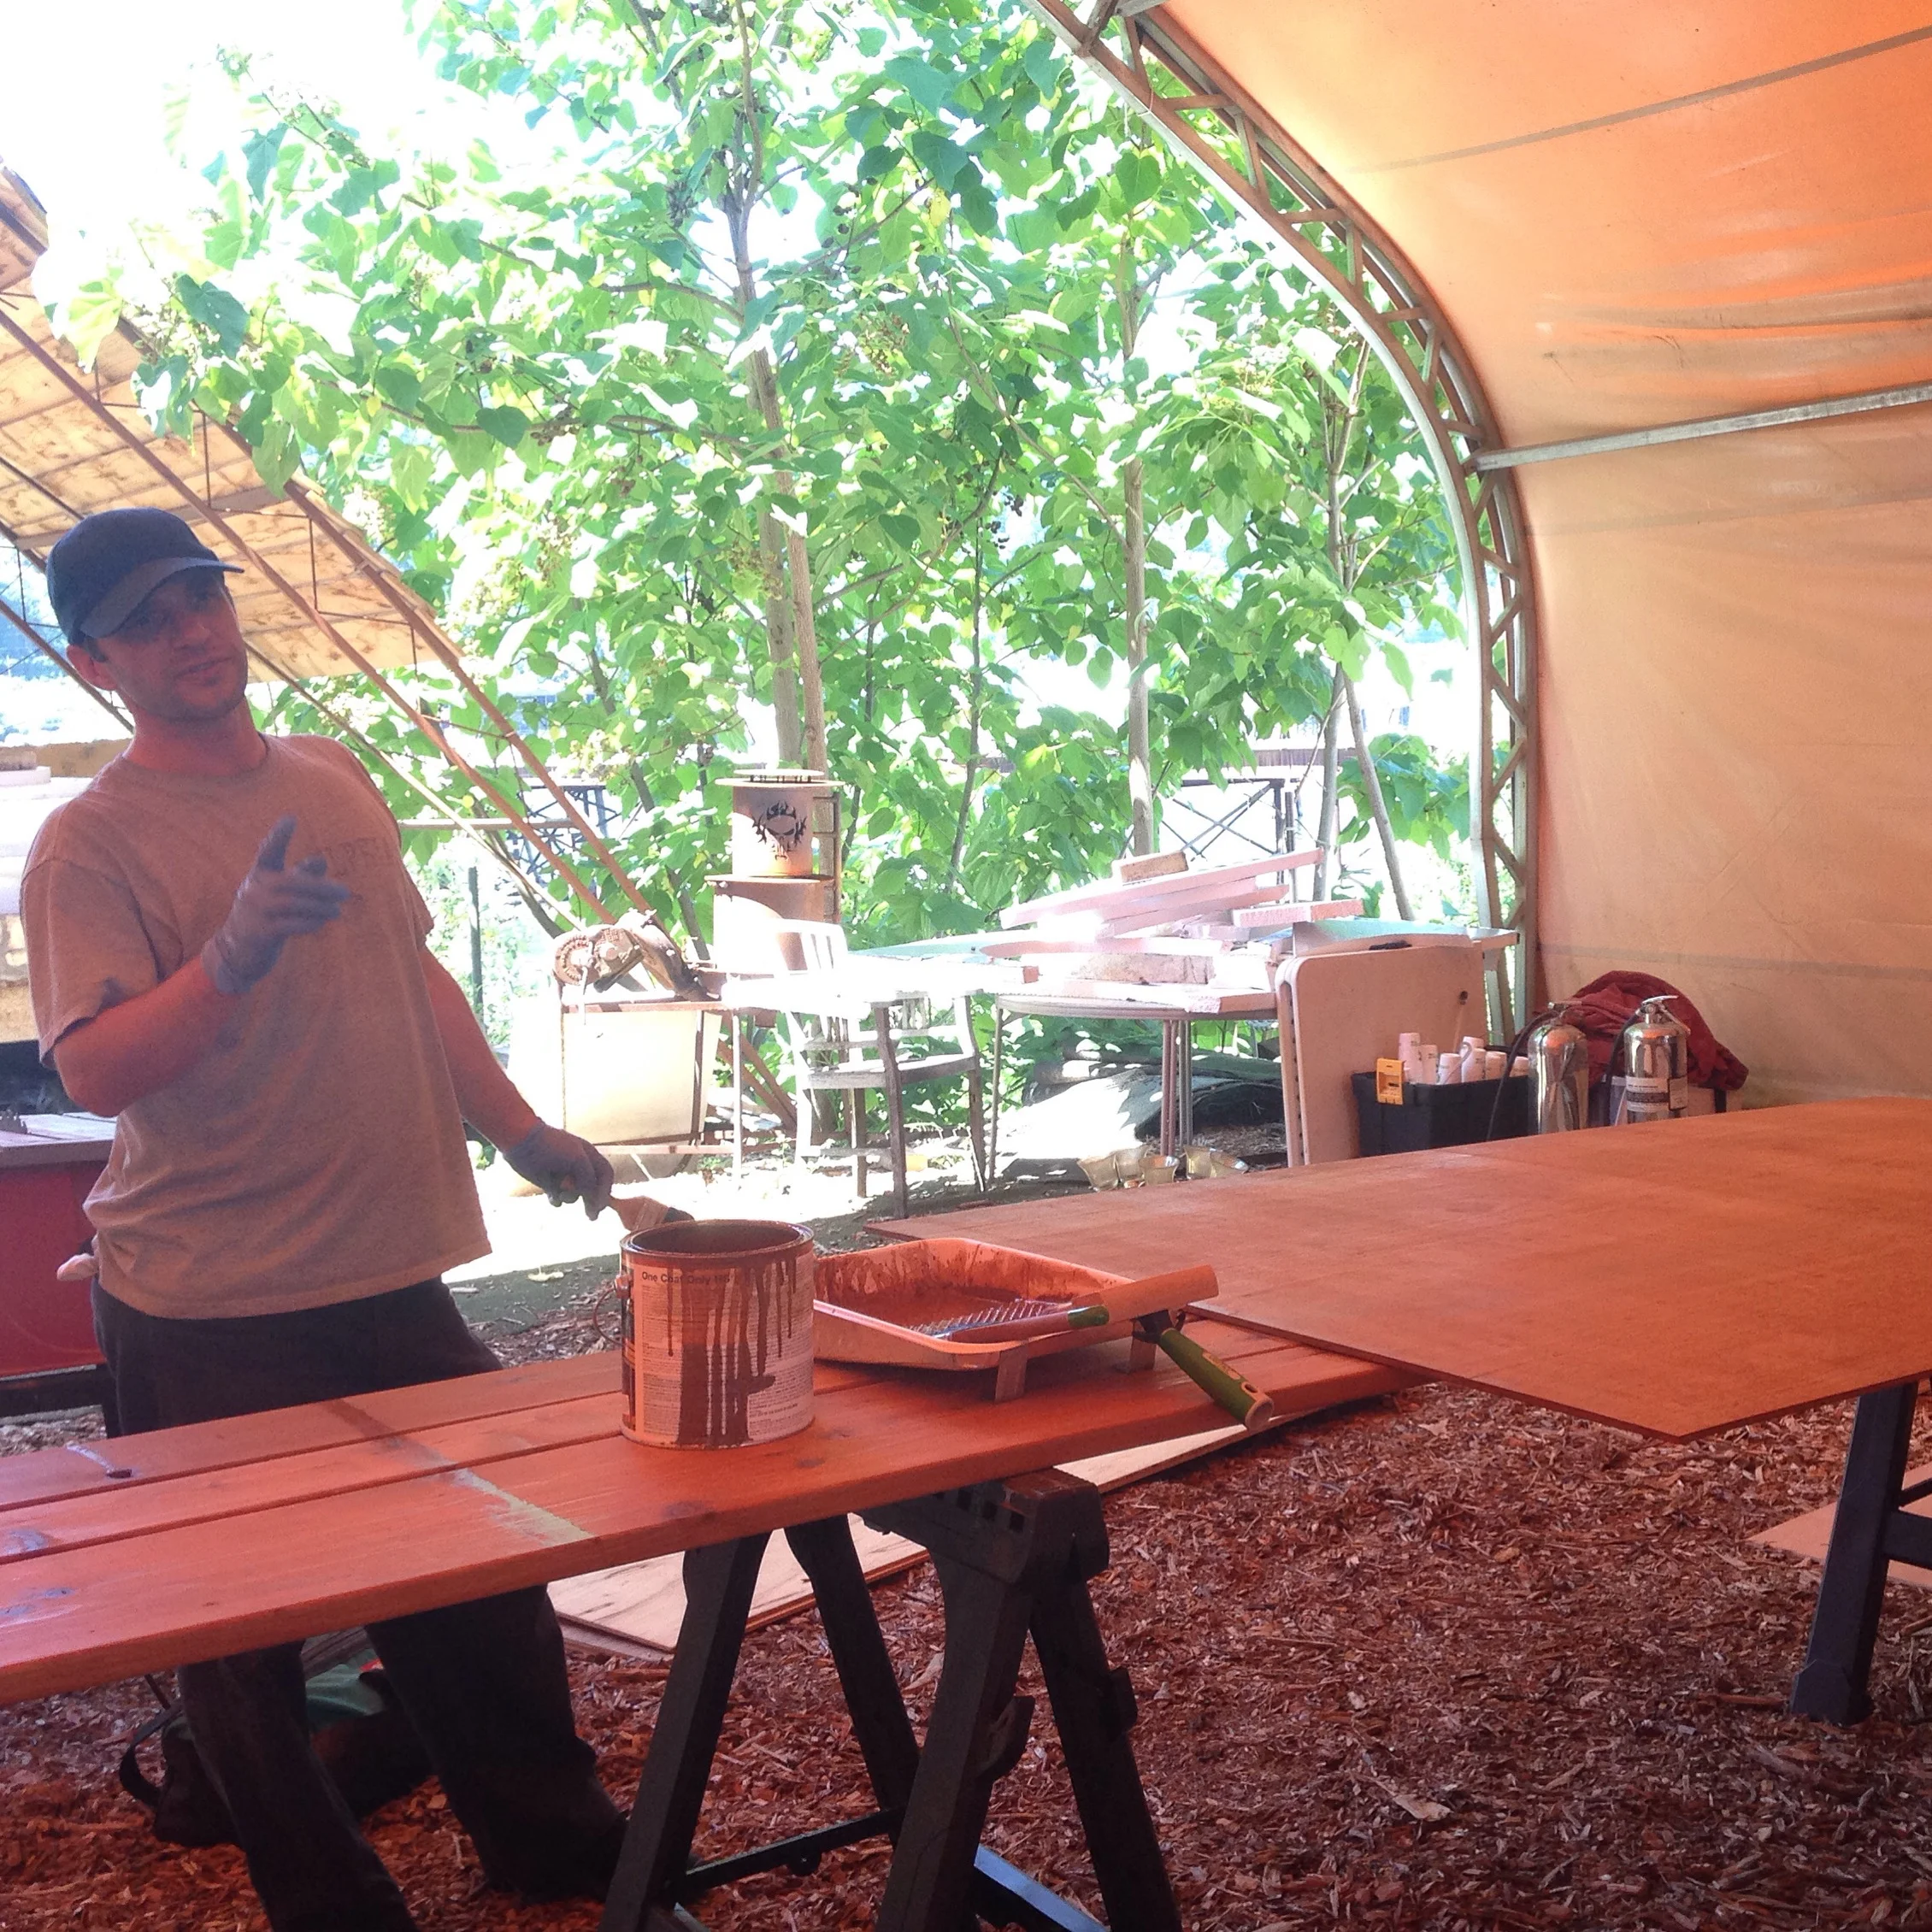
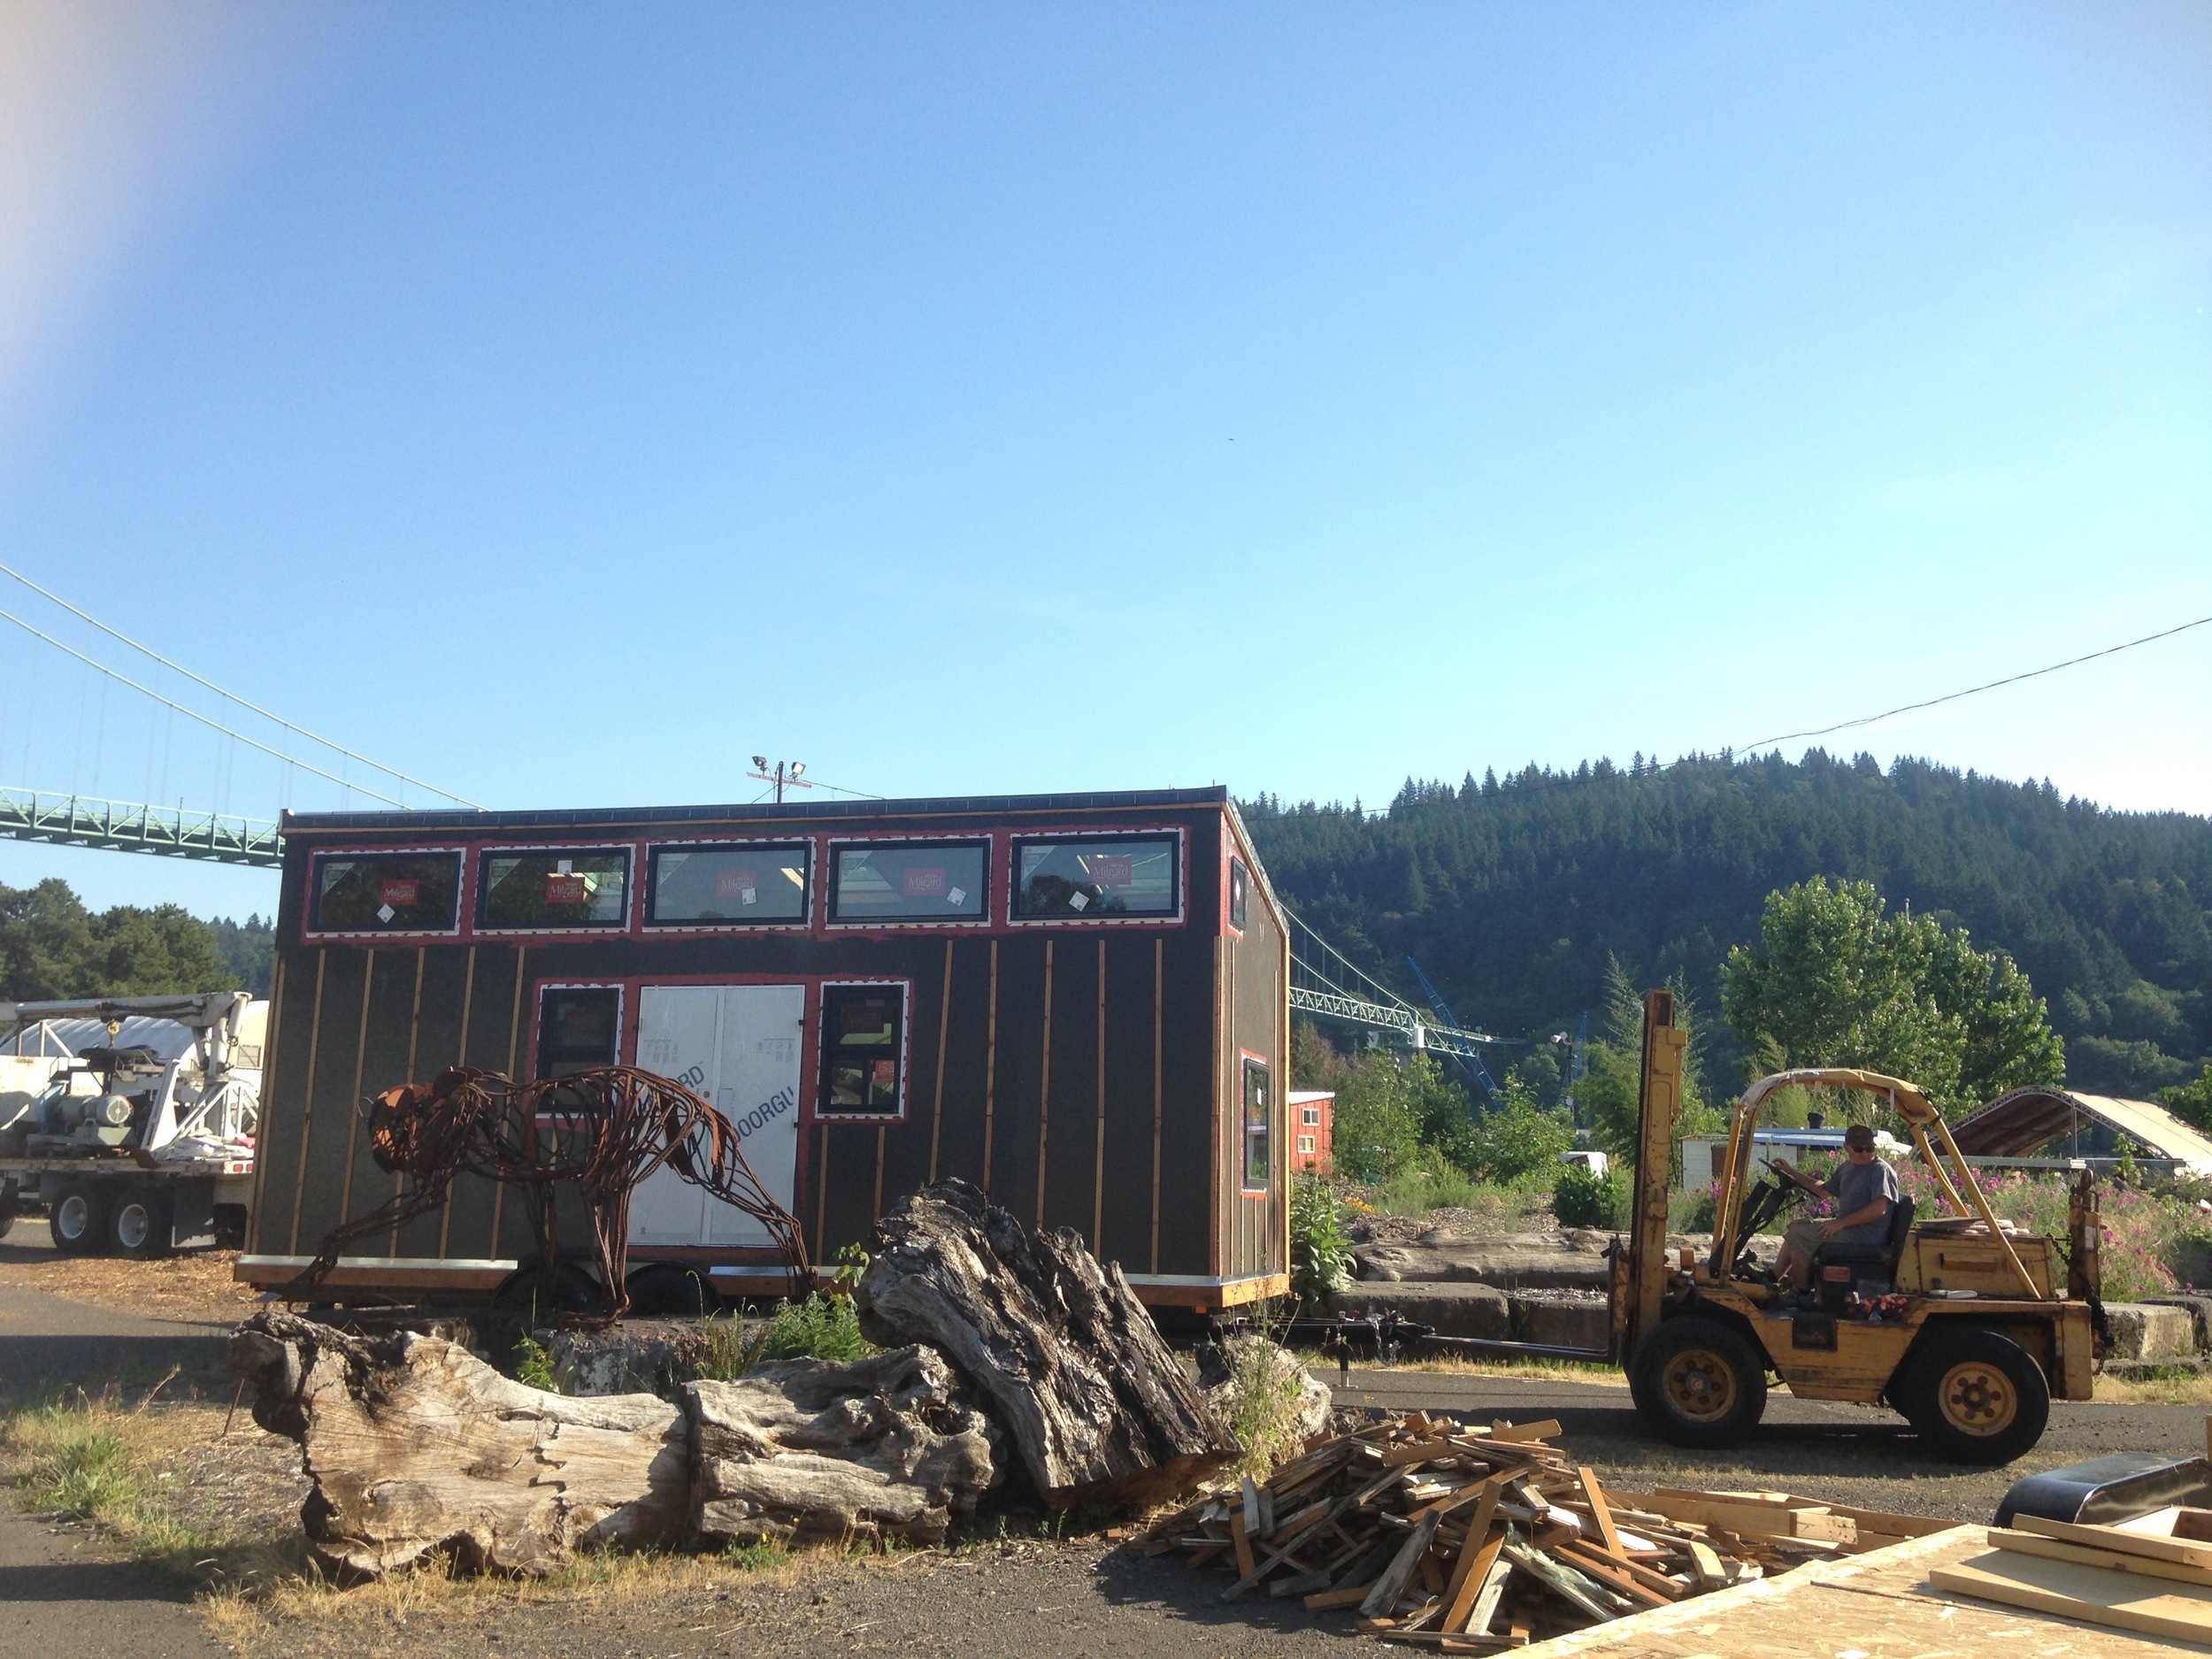
Isha and I spent the rest of the day working on staining and sealing our cedar plywood siding with OSMO One Coat. It was a hot day (probably too hot for staining, really!) and we were as grateful to be under cover as we would have been if it had been pouring! In the evening we tidied up our covered build site at Green Anchors, packed up our little house, loaded some offcuts (read: firewood!) into the truck for next weekend's camping trip, and worked with Matt and the forklift to move the tiny house out to the central tiny house pod.

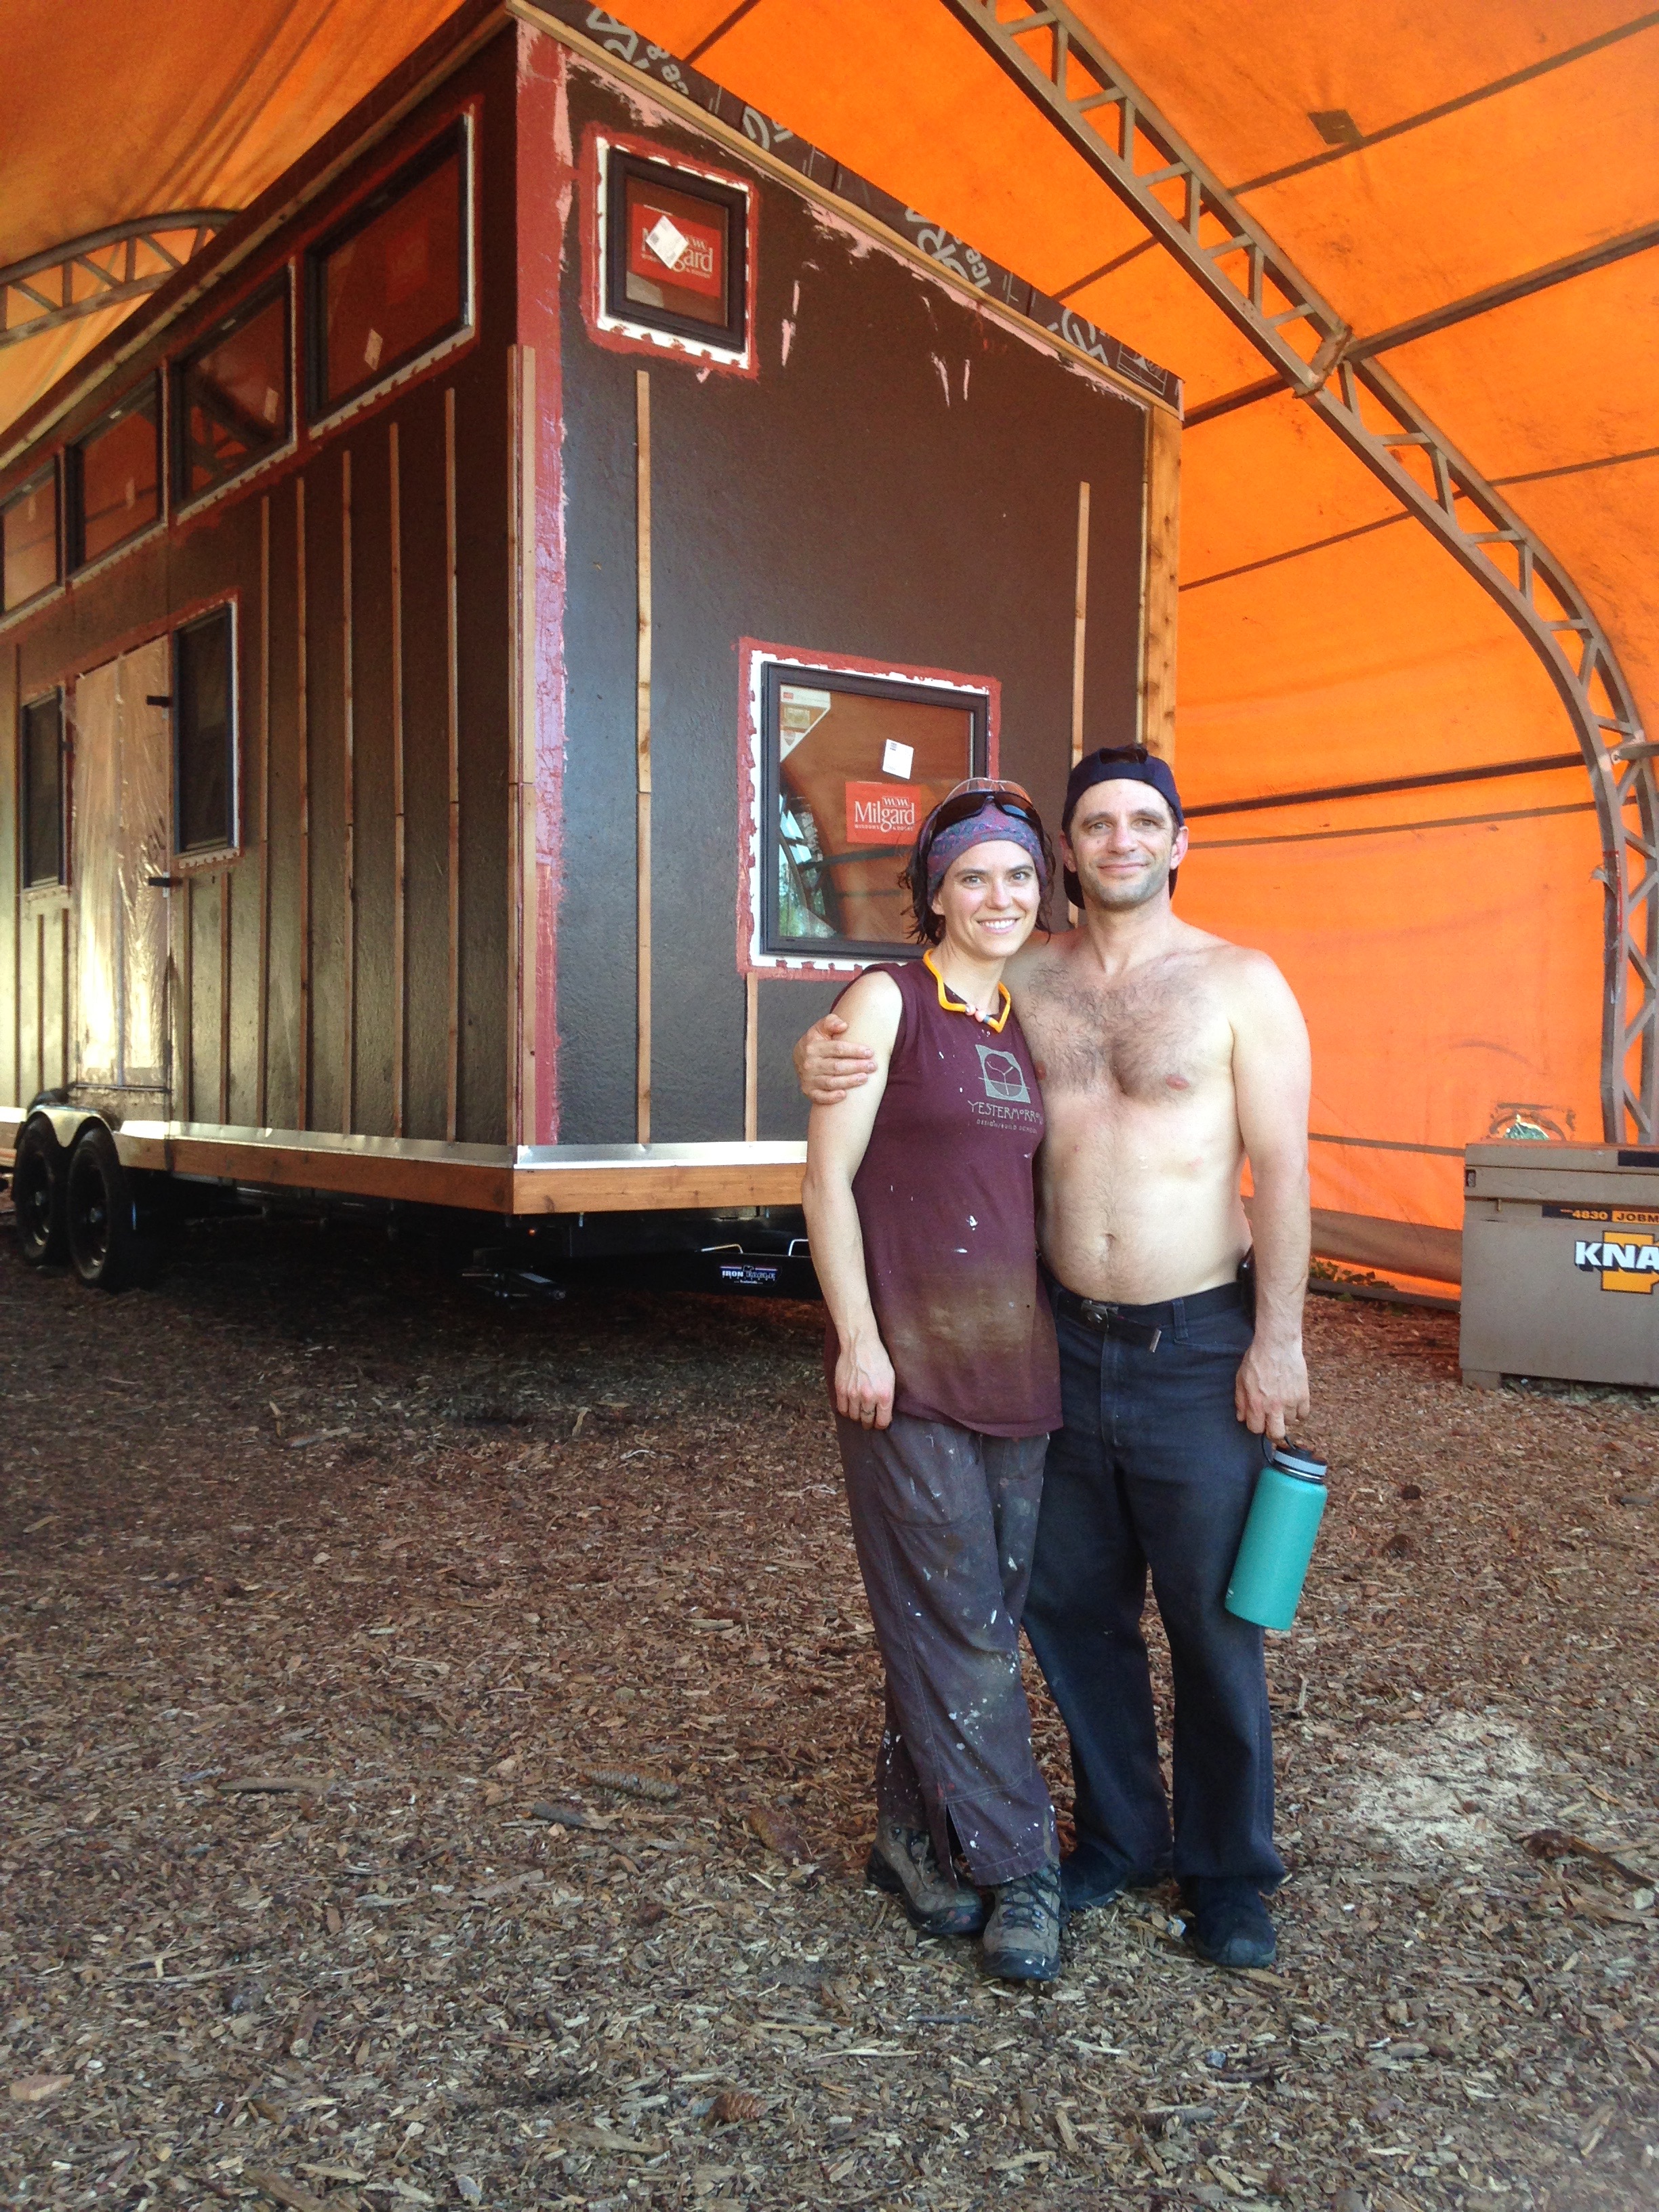
Sarah helped me get the corner trim finished so we can work on siding on nice days
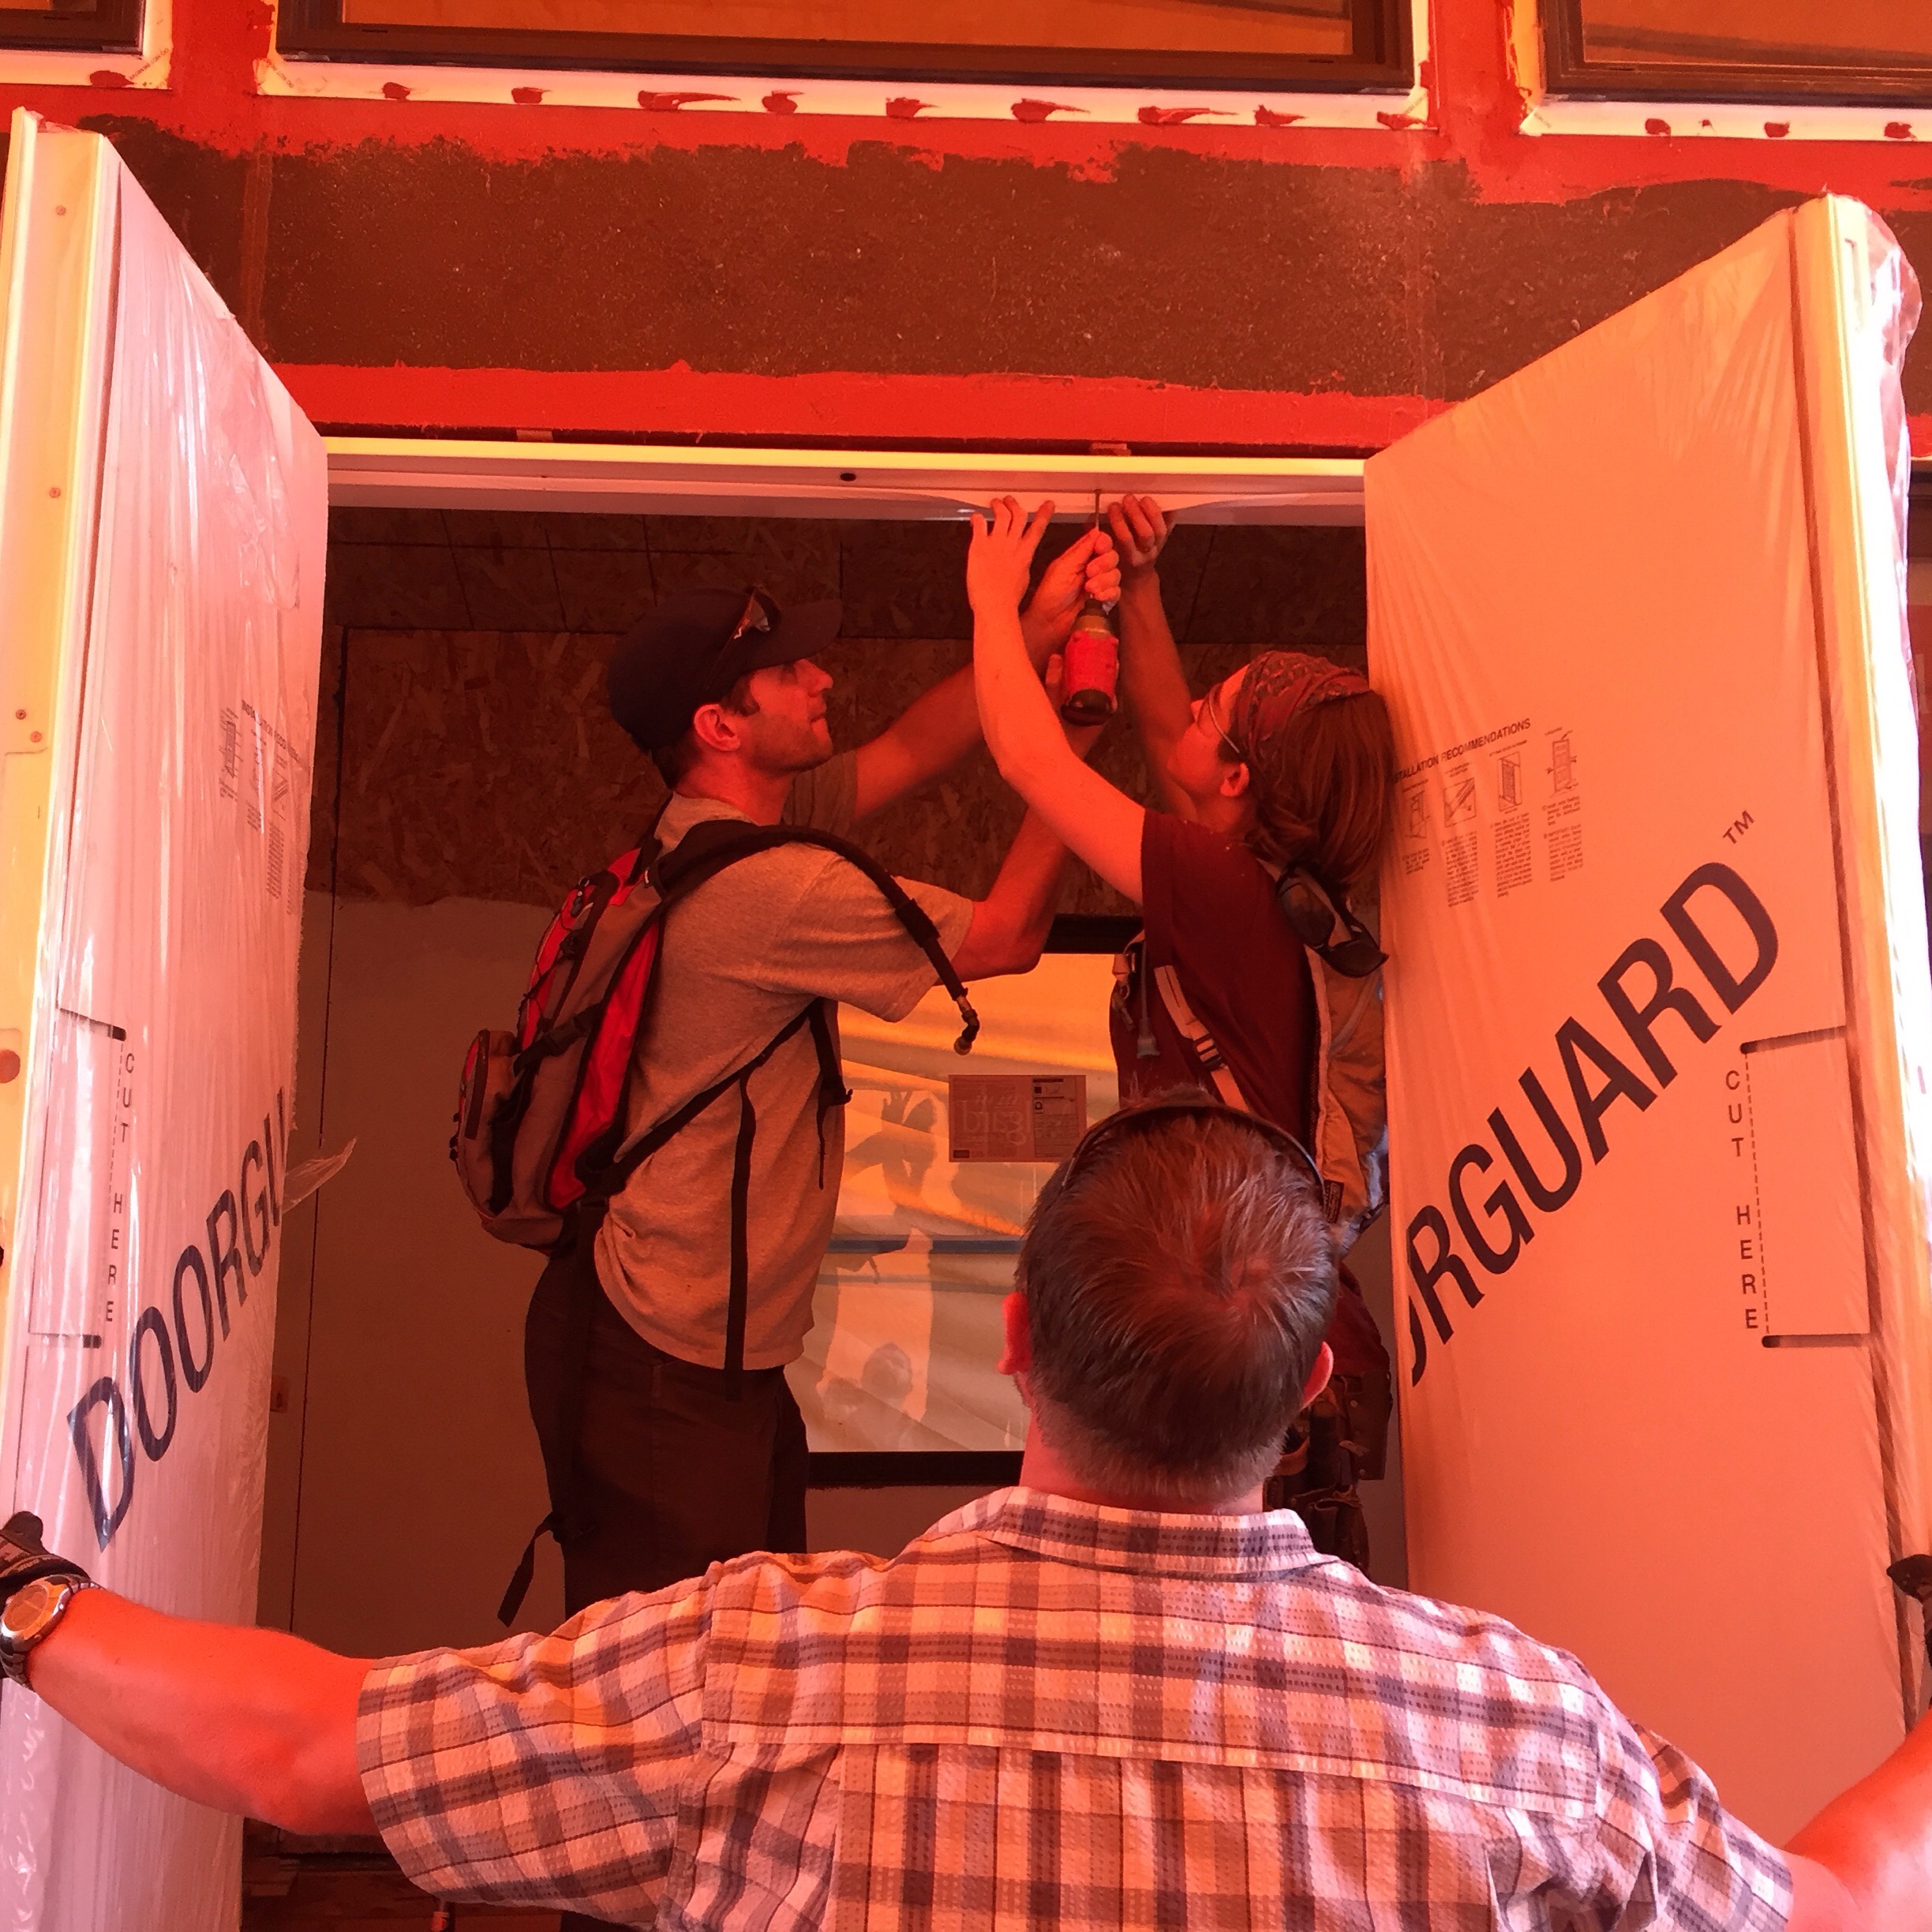
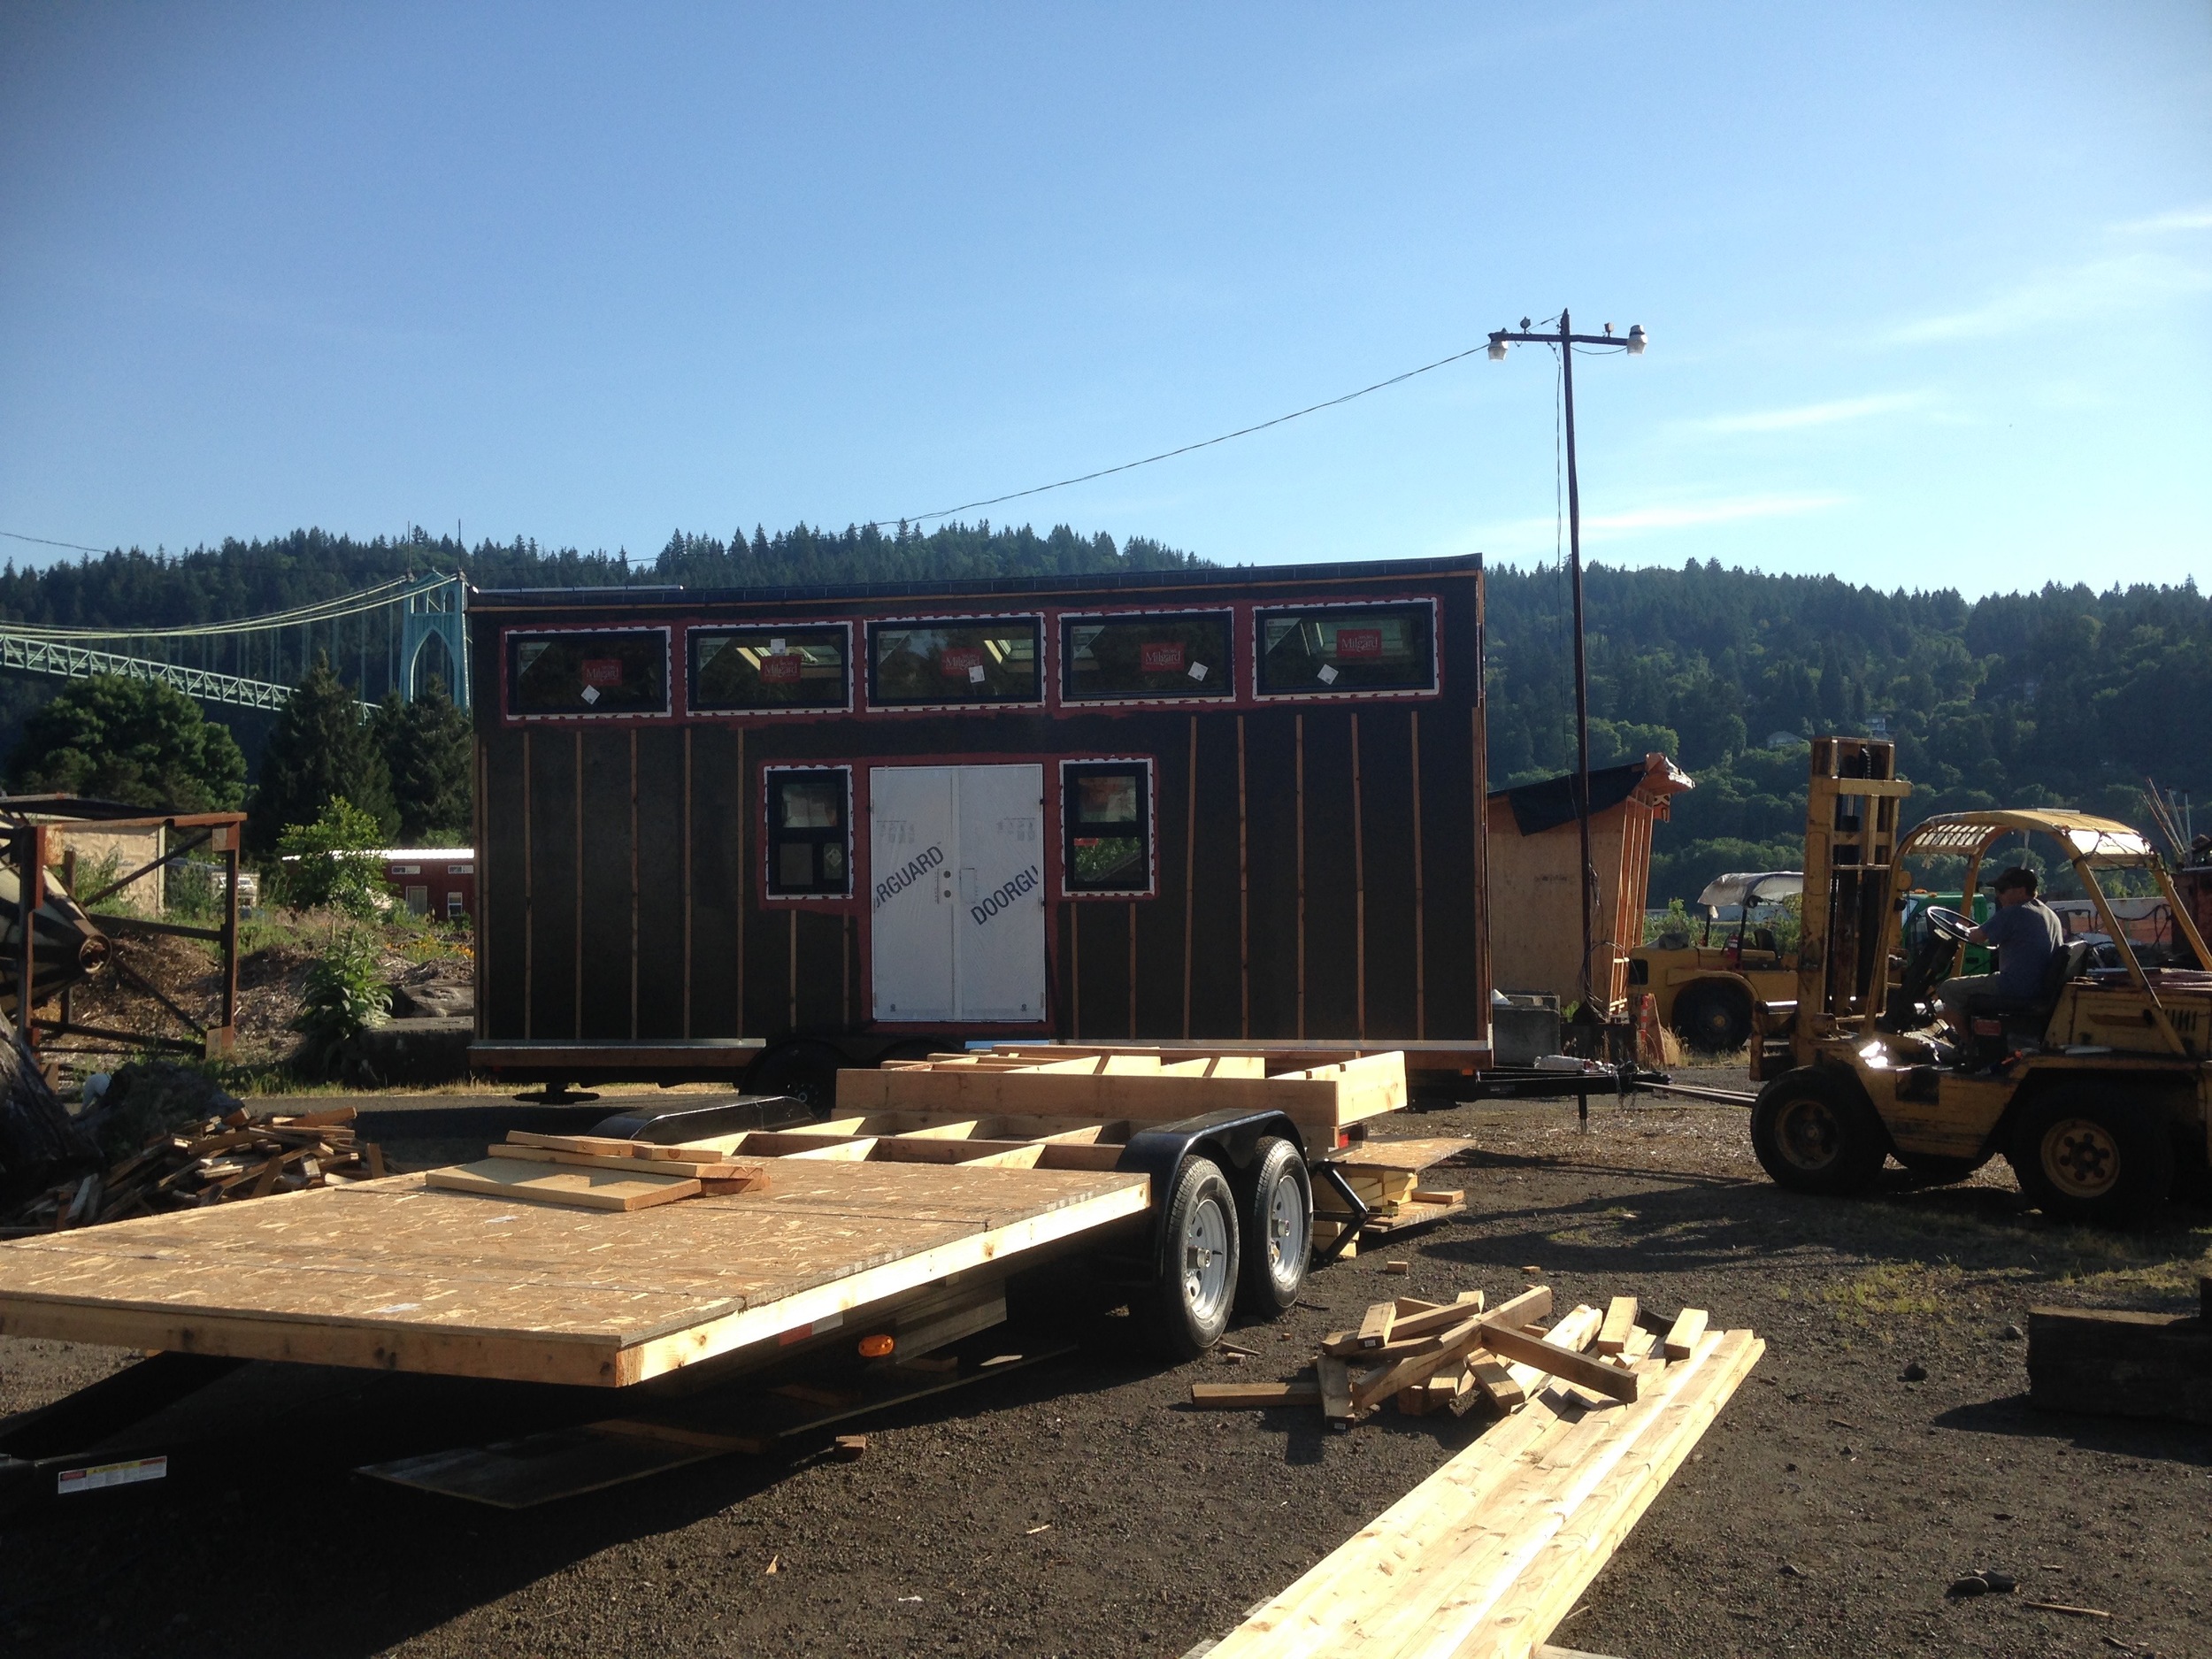
Today my friend Sarah joined me for the first half of Build Day 18 to get the house level in its new spot and get the corner trim up so that we can work on our exterior siding and trim on nice days. The second half of Build Day 18 was getting the door sealed up by stuffing backerrod in the space between the shims and closing it up with a sealant joint. And none-to-soon since it started drizzling while I was finishing up! (Typically we'd put the sealant joint on the inside as we're going to do with the windows, but we treated the door as we did the fenders, sealing it on the outside with the plan to use a low-expansion spray foam from the inside for these two areas.)

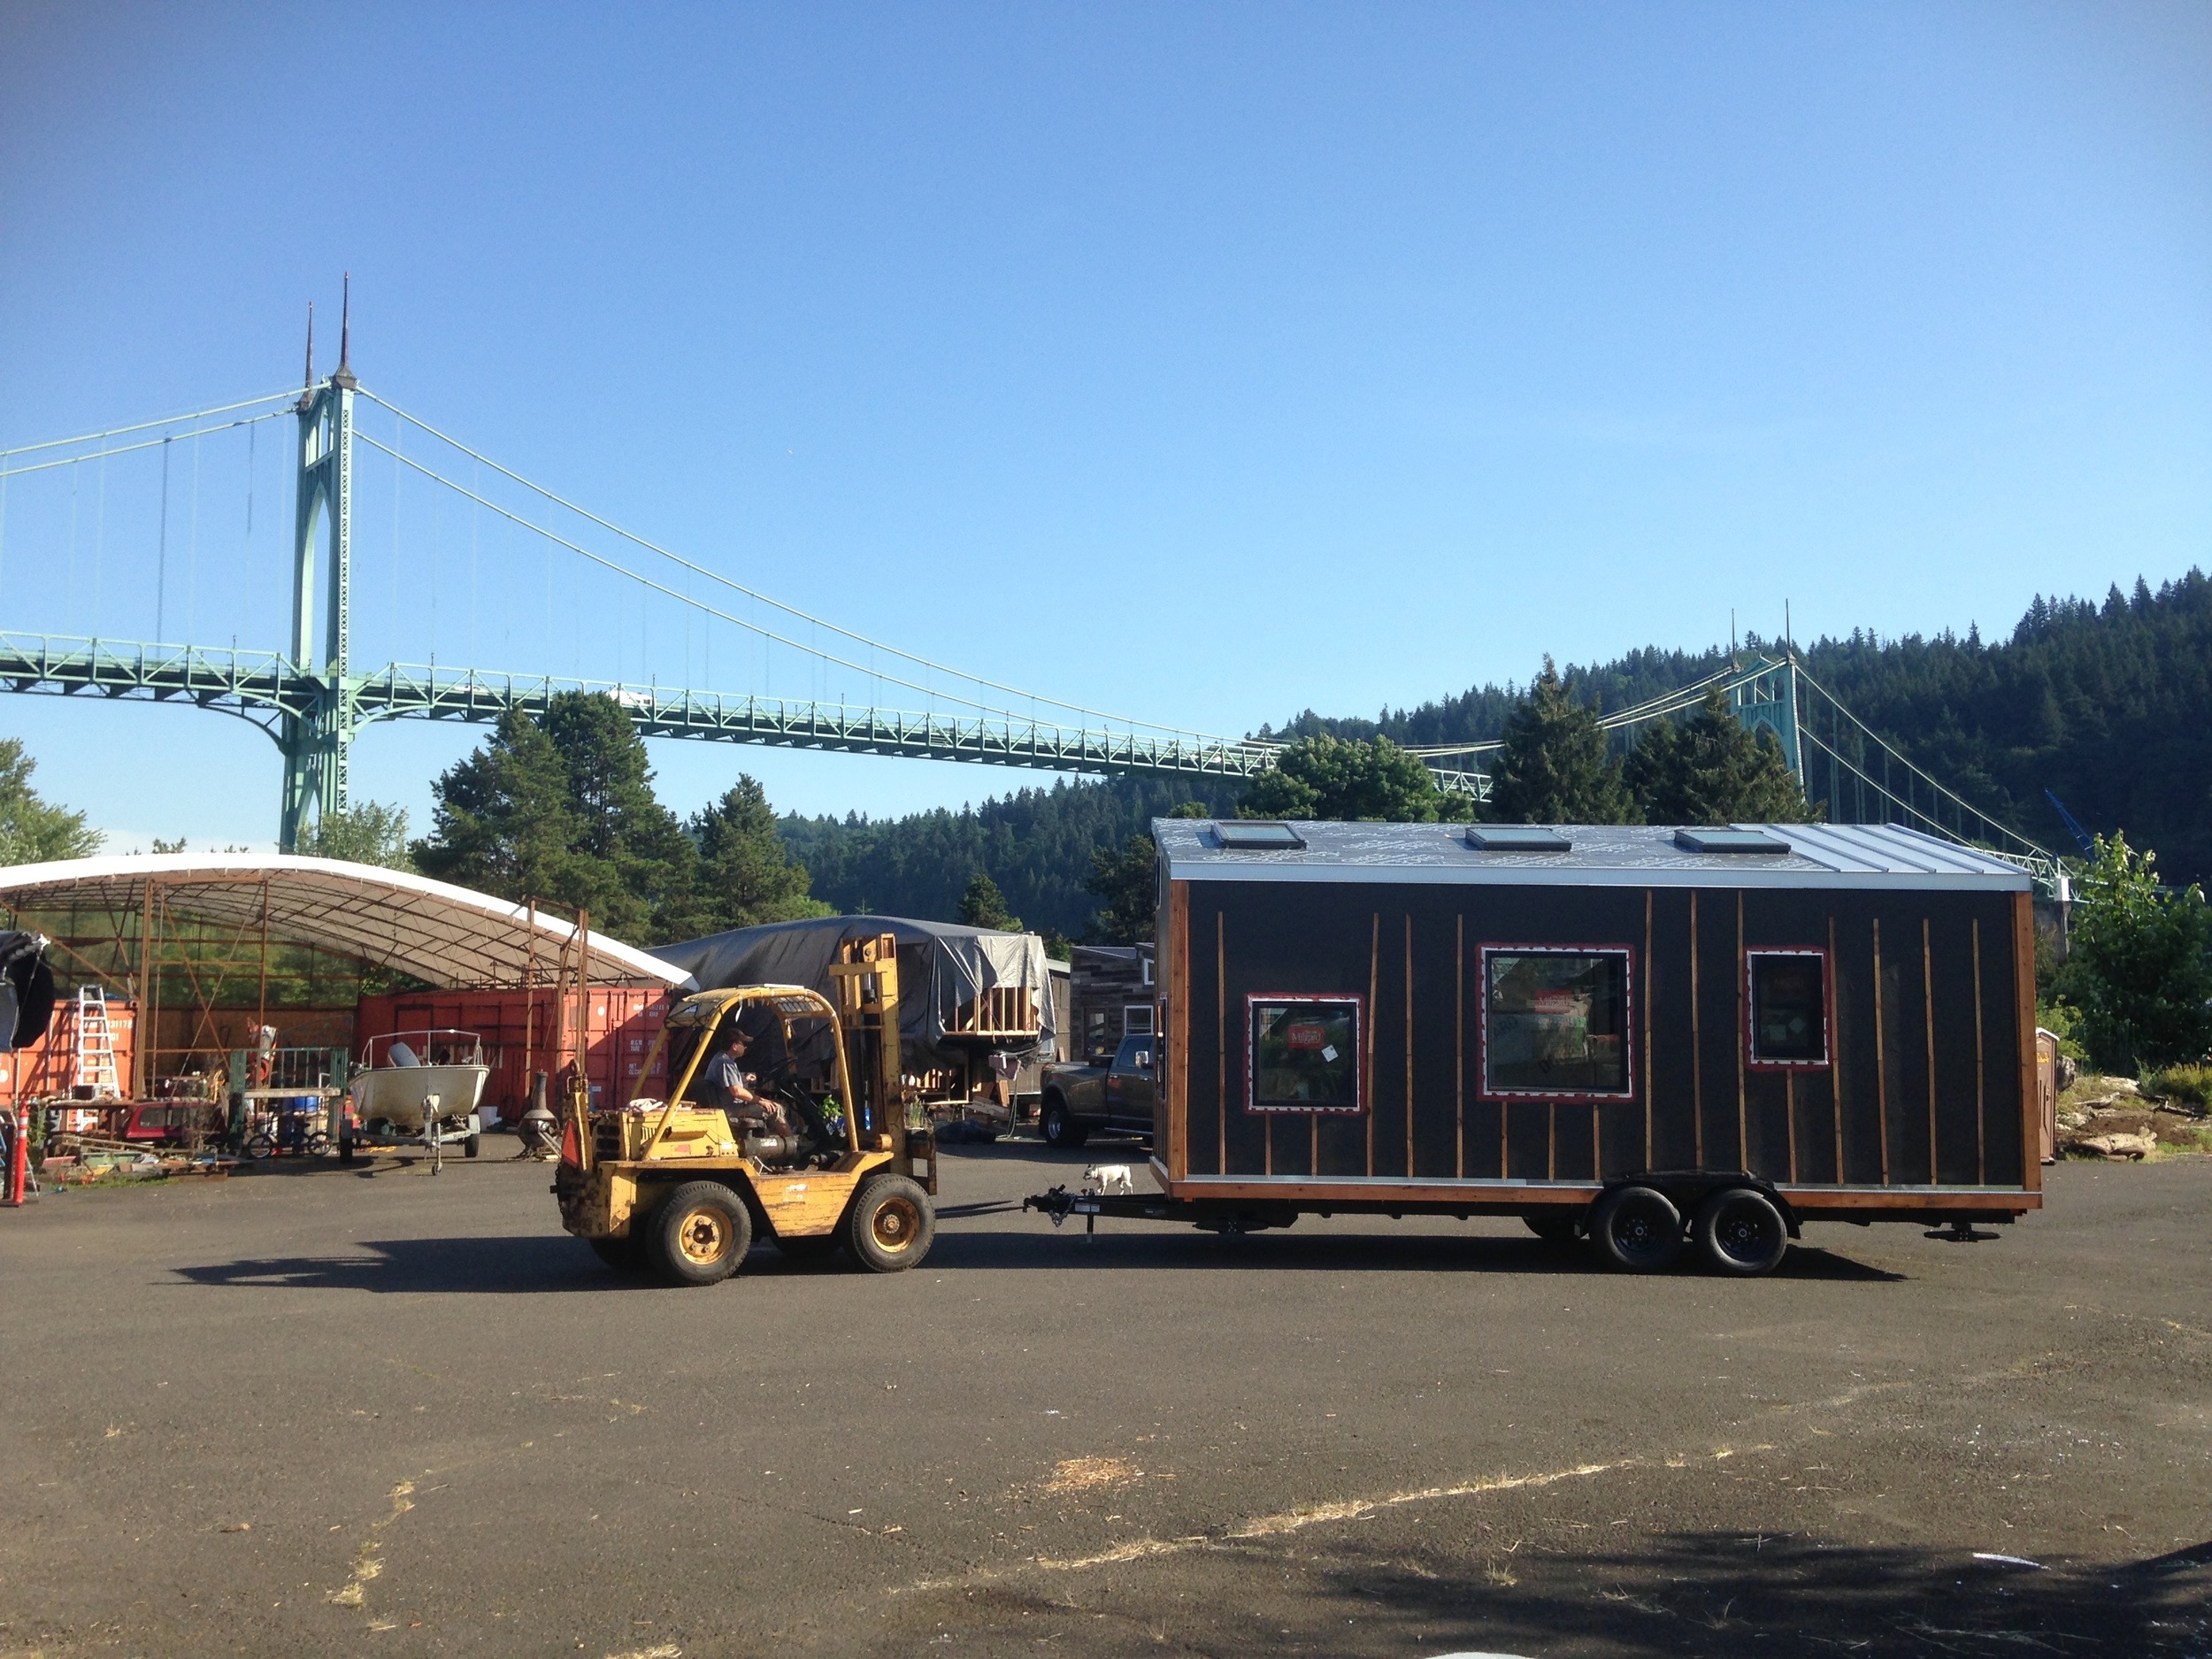
T42 is in its new spot now in the central tiny house pod at Green Anchors
There are nearly a dozen other tiny houses under construction in the central pod so it's going to be great to be with all the other tiny house builders for the rest of our build. But, I've got to say, it was wonderful having 4 weeks under cover to get our house dried in! (Considering that we were only building two of those four weeks, we made pretty darn good progress! It was great to have the time off between Build Blitzes though for travels, project management, and design work for my Package Deal clients.) I slept so much better at night during the dry in period for this house than I did when I was working on The Lucky Penny'sPlan F: Take 2!
Now that we're dried in, we'll switch to the interior for Build Blitz #4 so that we can work on our painting, interior walls, and lofts.