 The past two weeks I was only able to work on The Lucky Penny one day, so I was excited to have three whole days of building this weekend. I've had some help Making Ends Meet, so I was eager to jump into roofing yesterday and get my house buttoned up. Unfortunately, yesterday was so rainy I spent the day doing other errands. Rain is predicted again for tomorrow. This is, after all, spring in Portland! Nevertheless, today was sunny and we made some good progress.
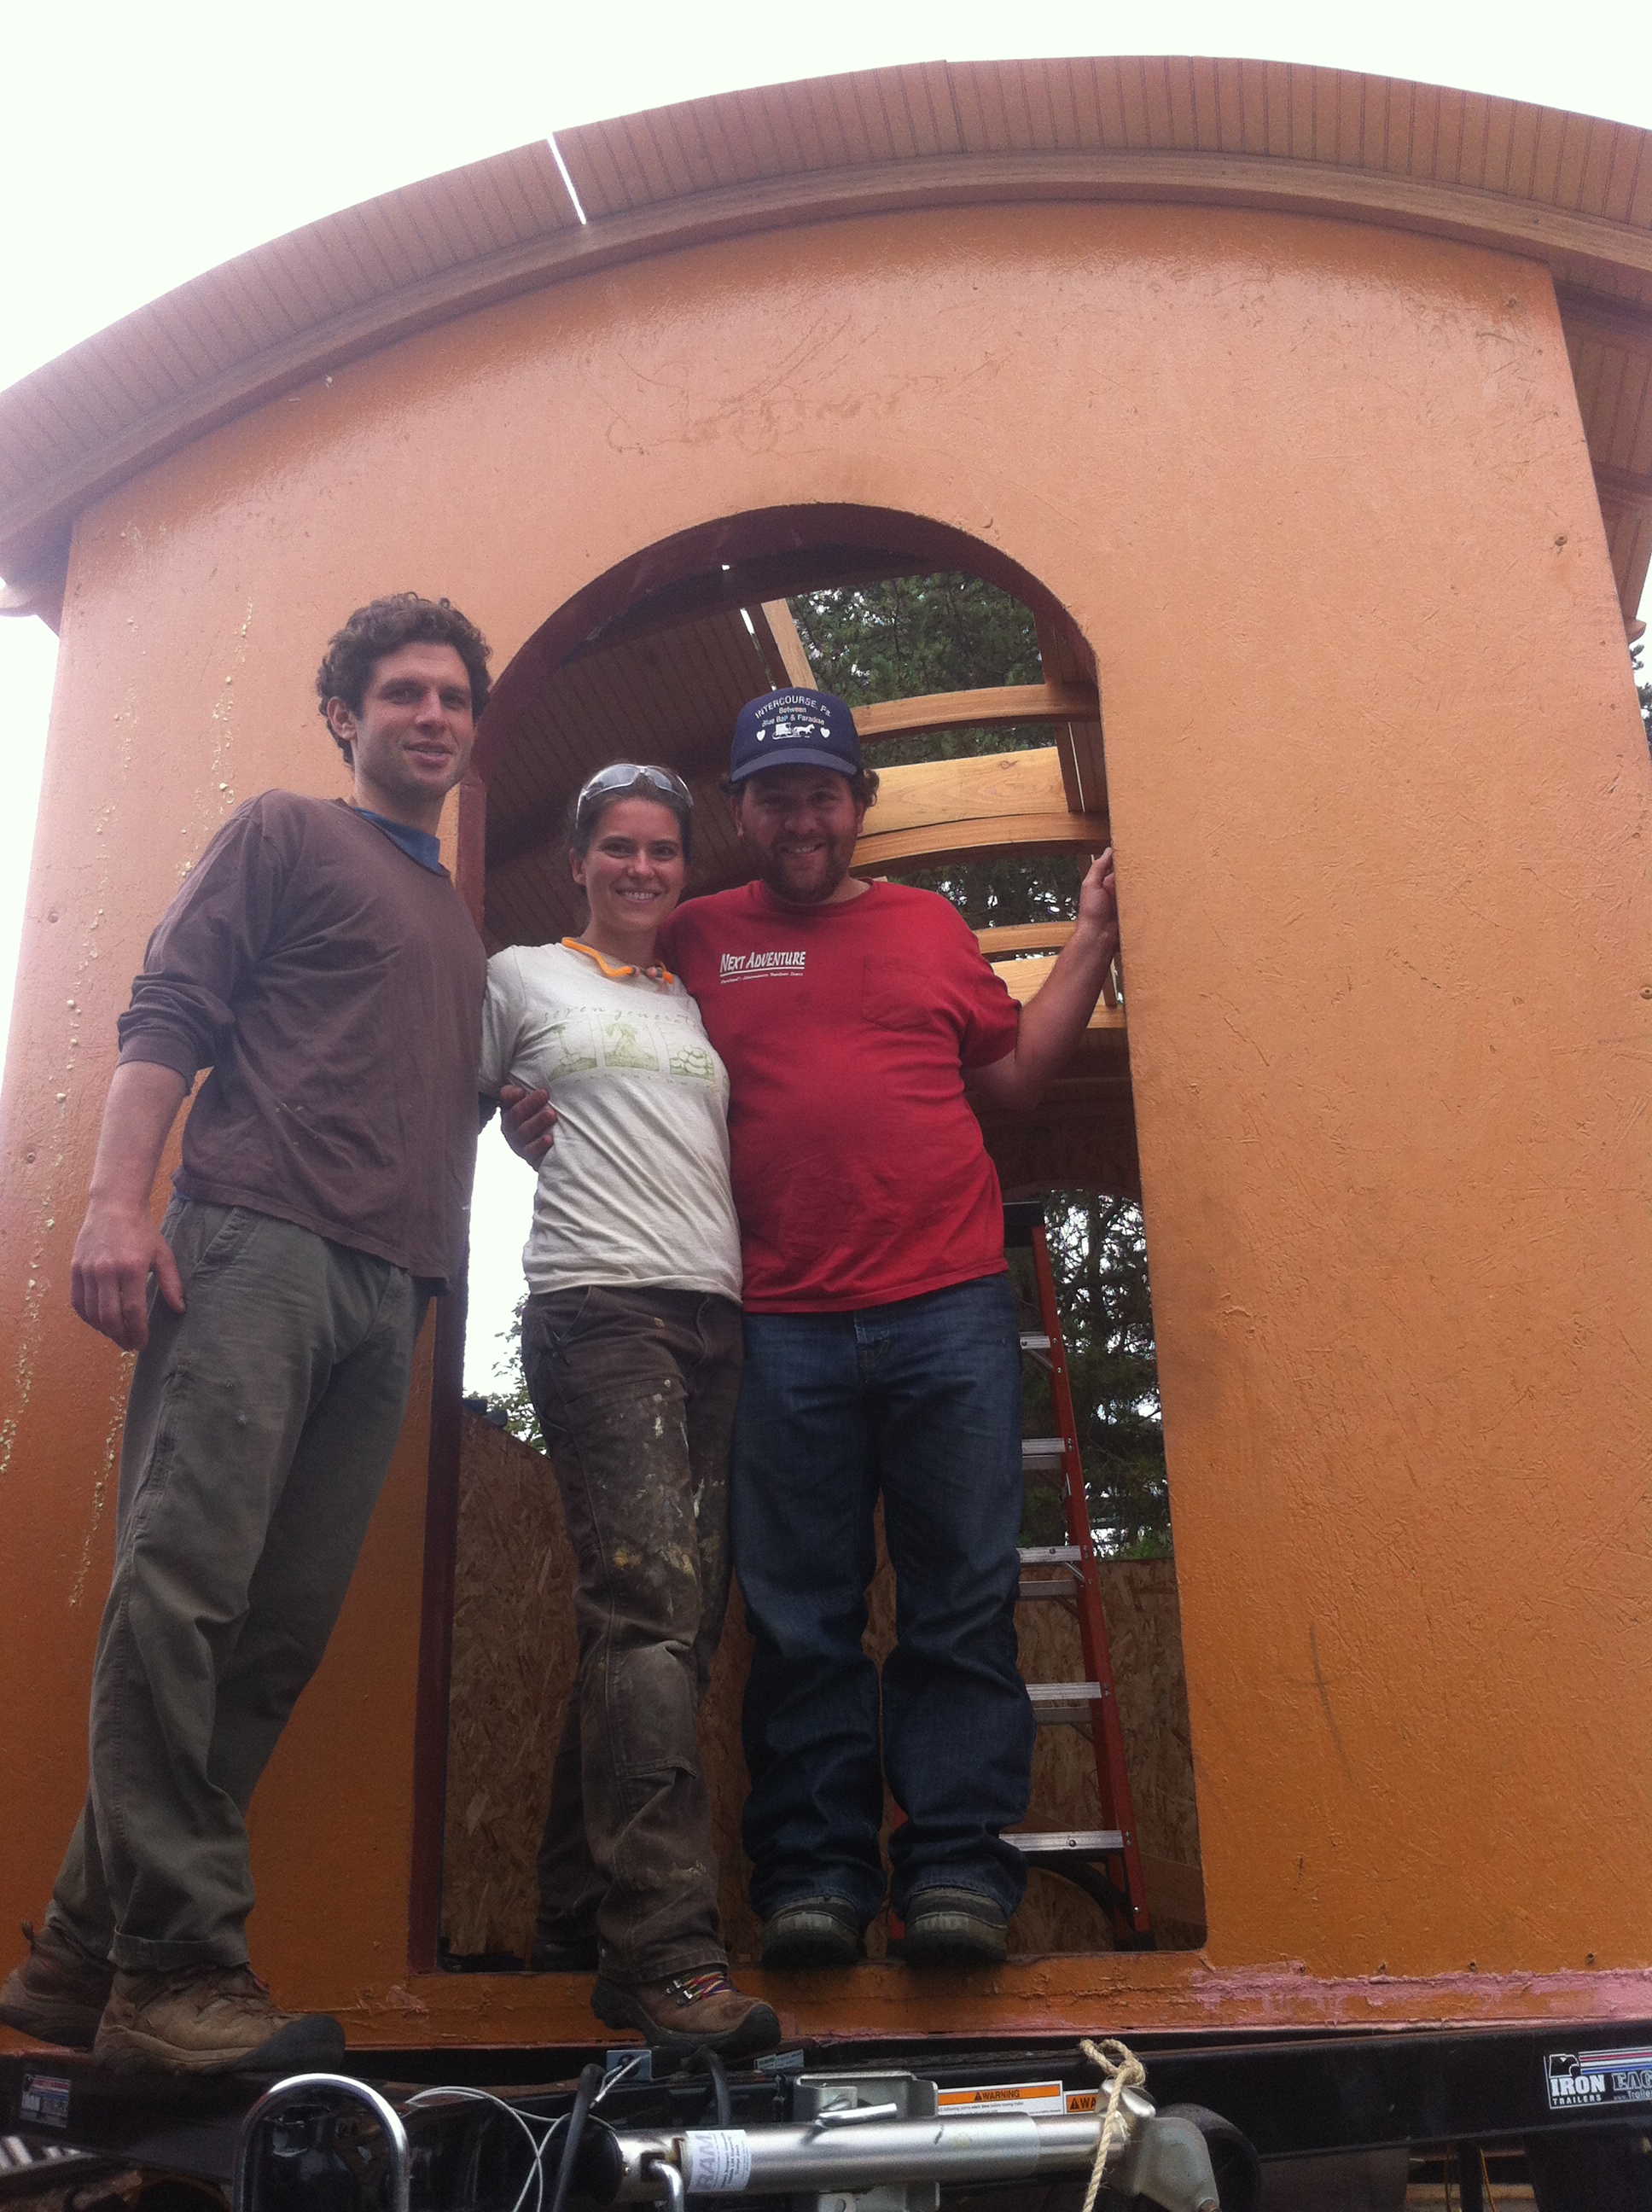
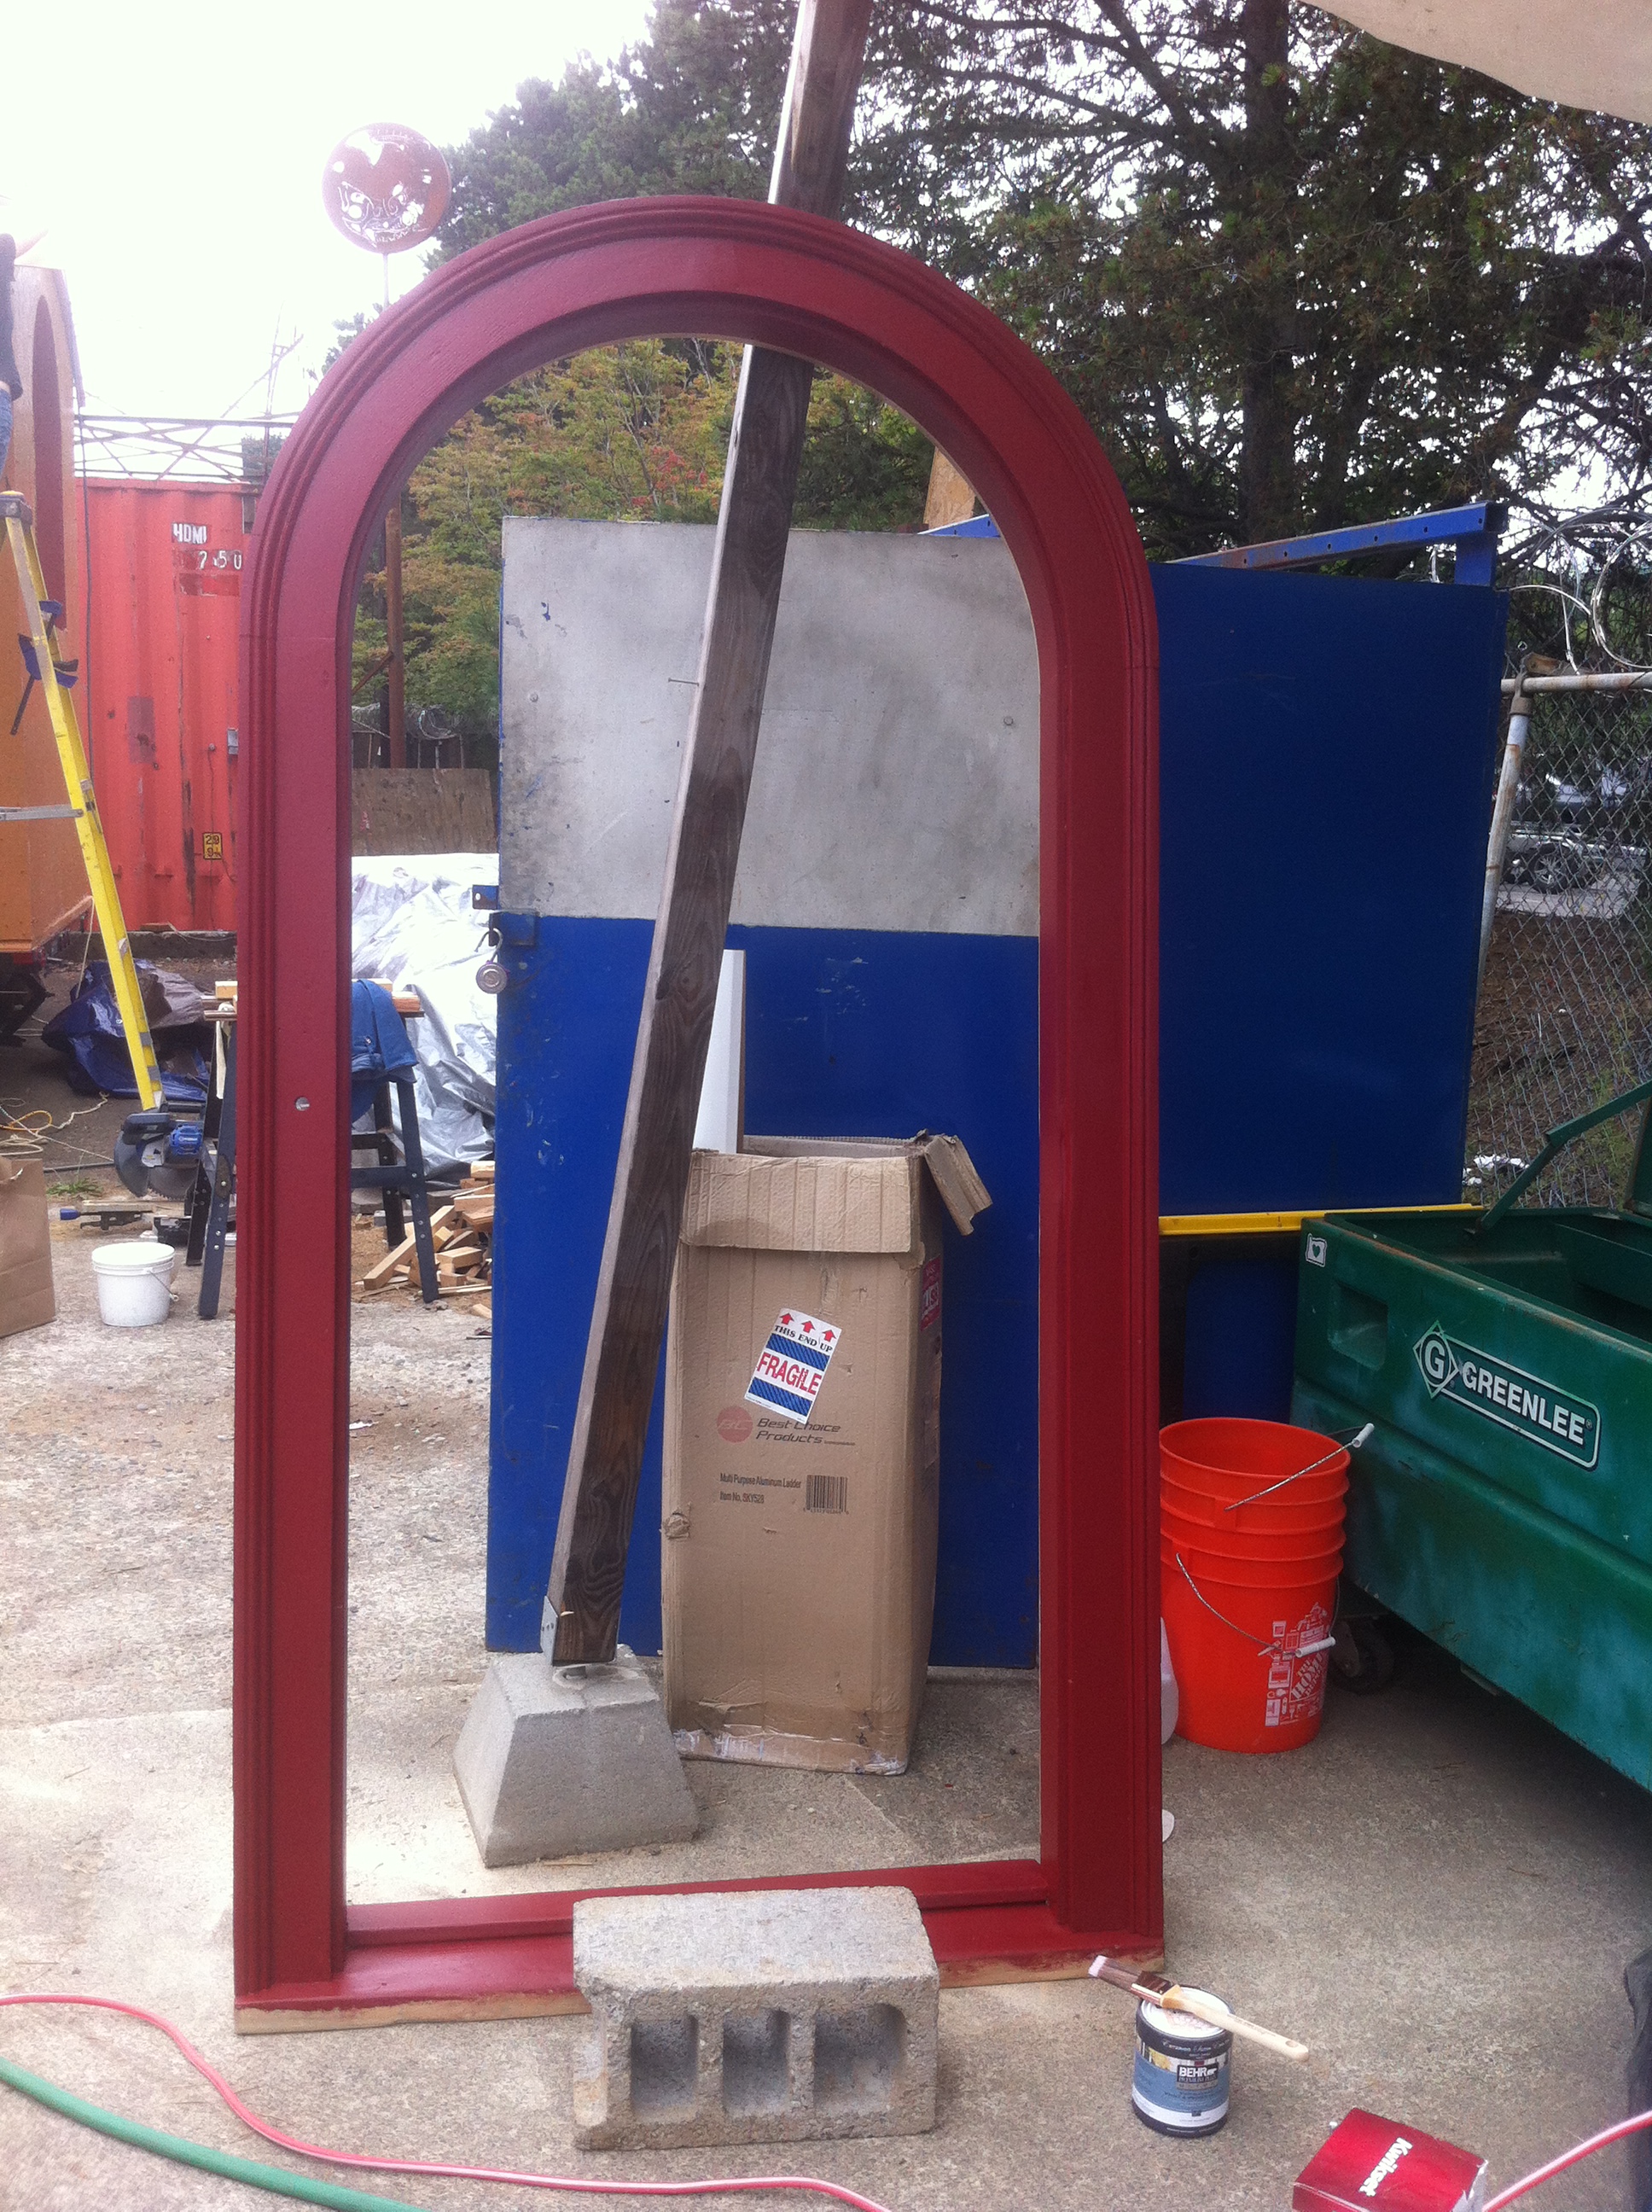
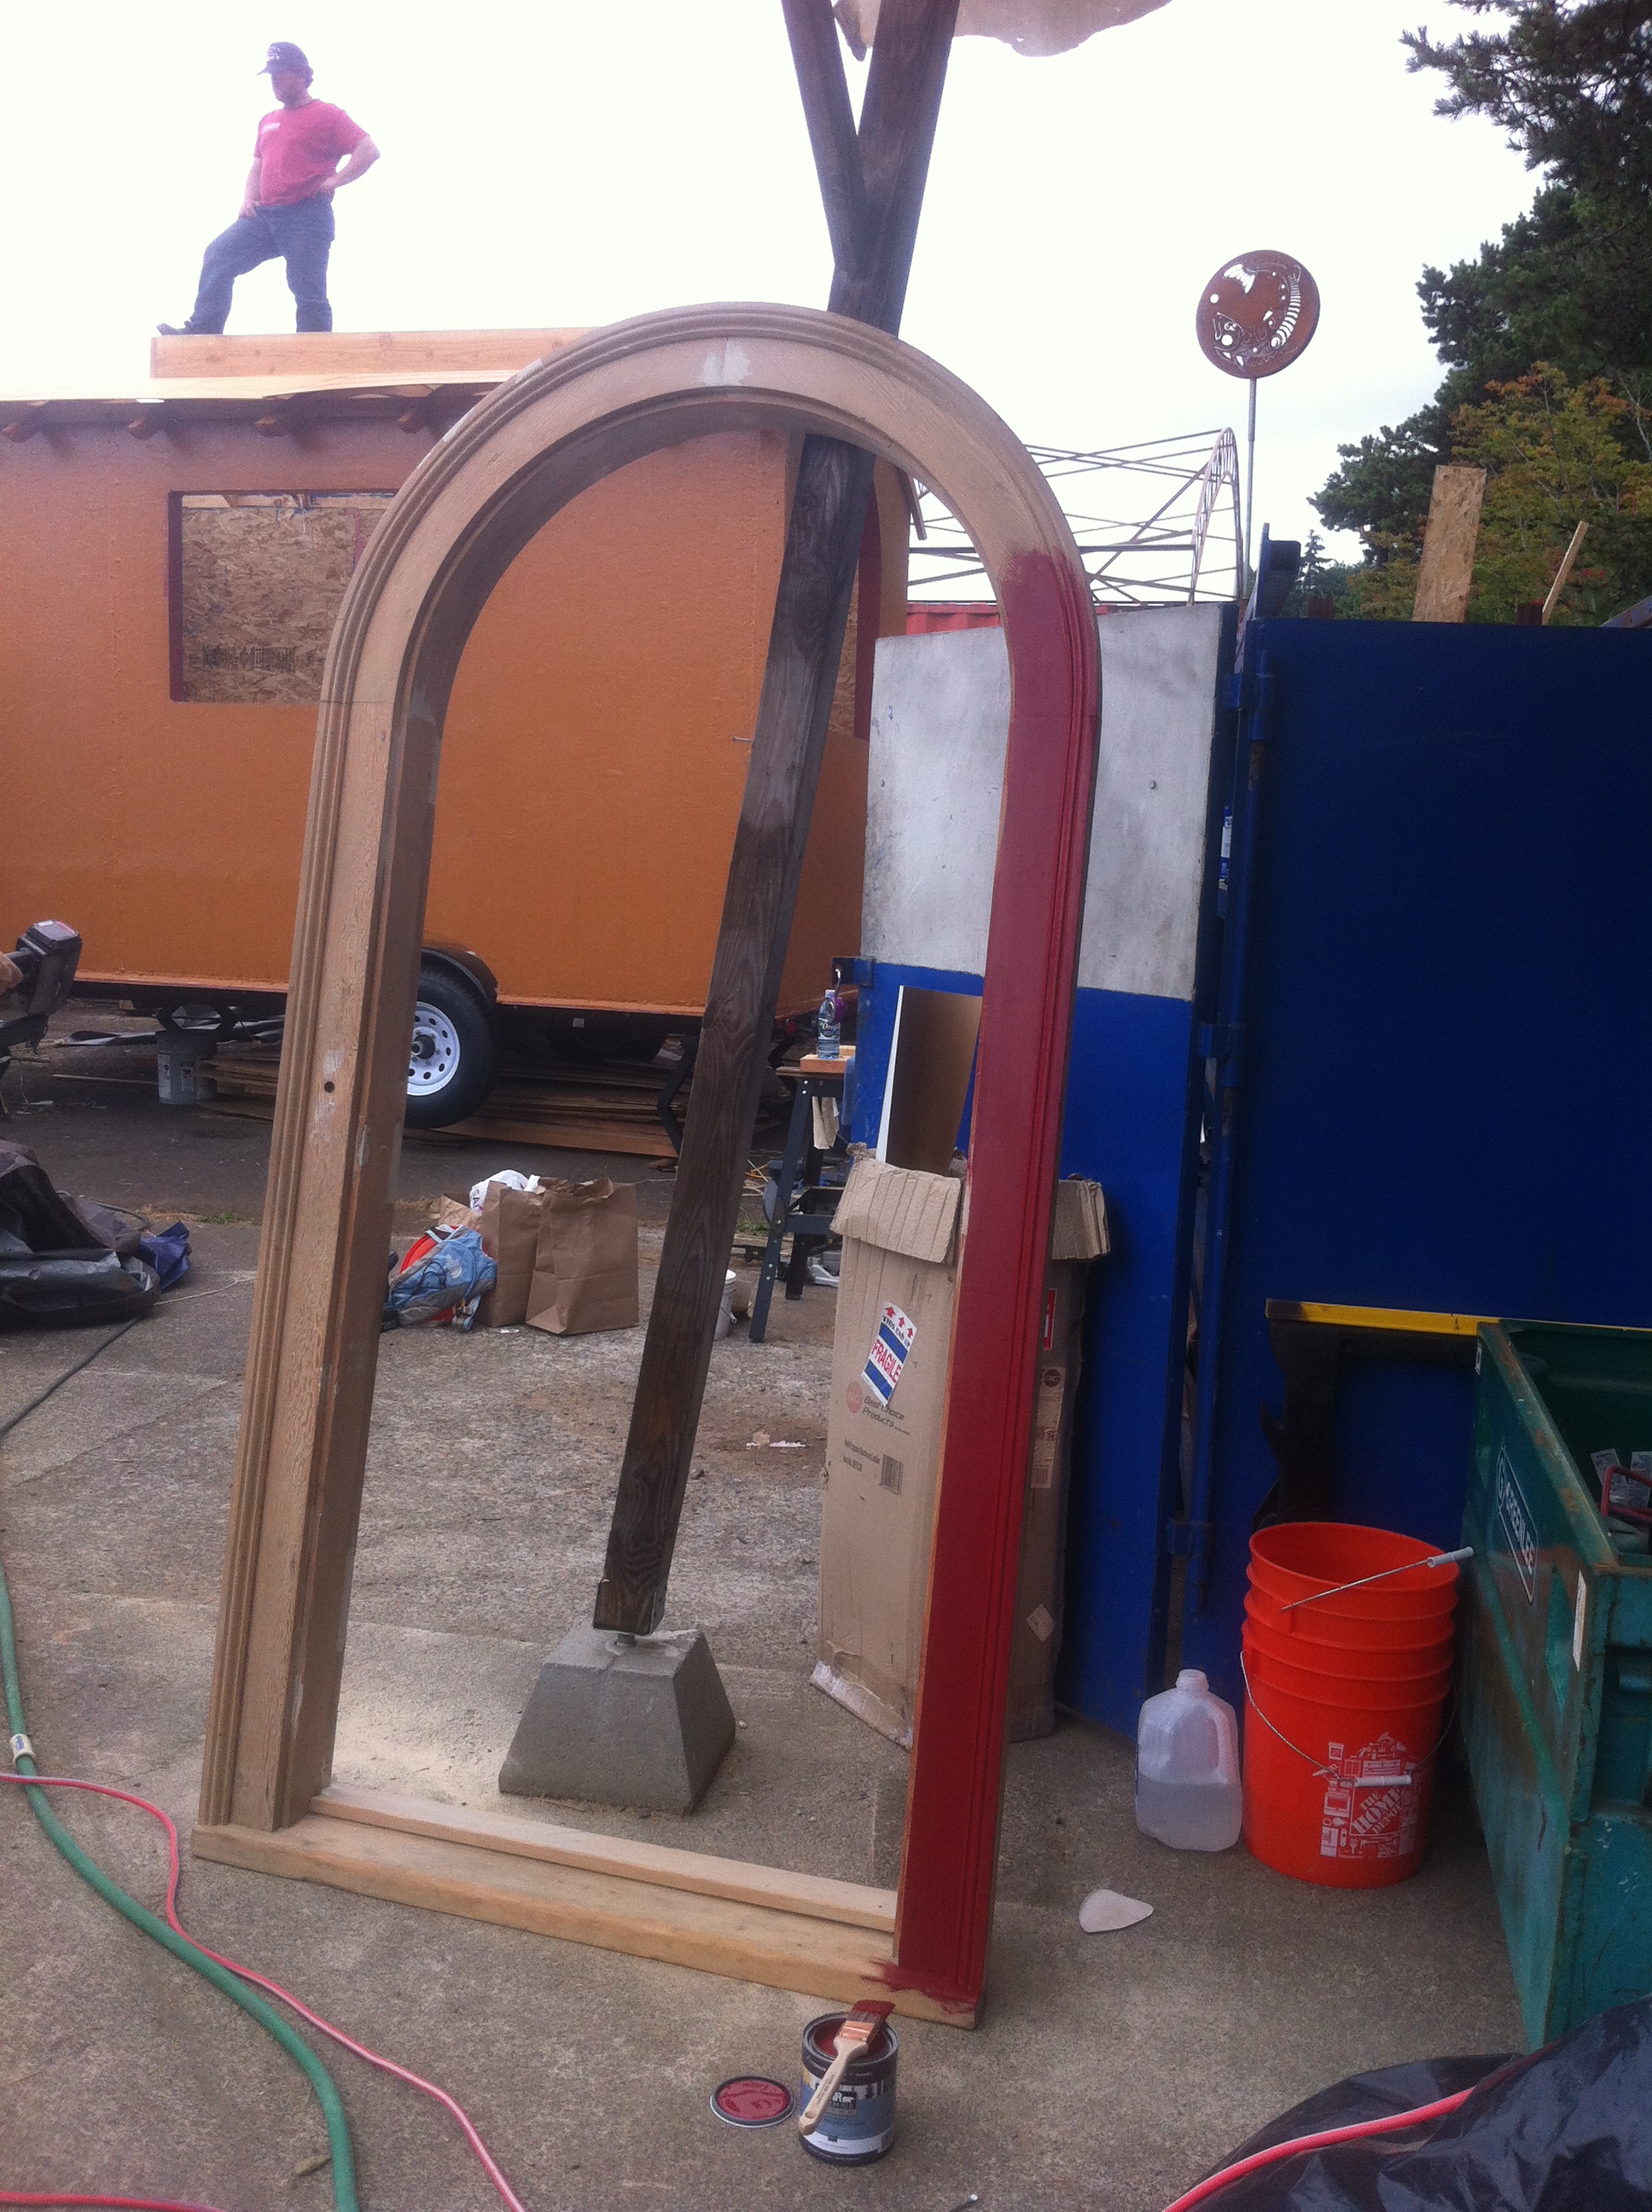
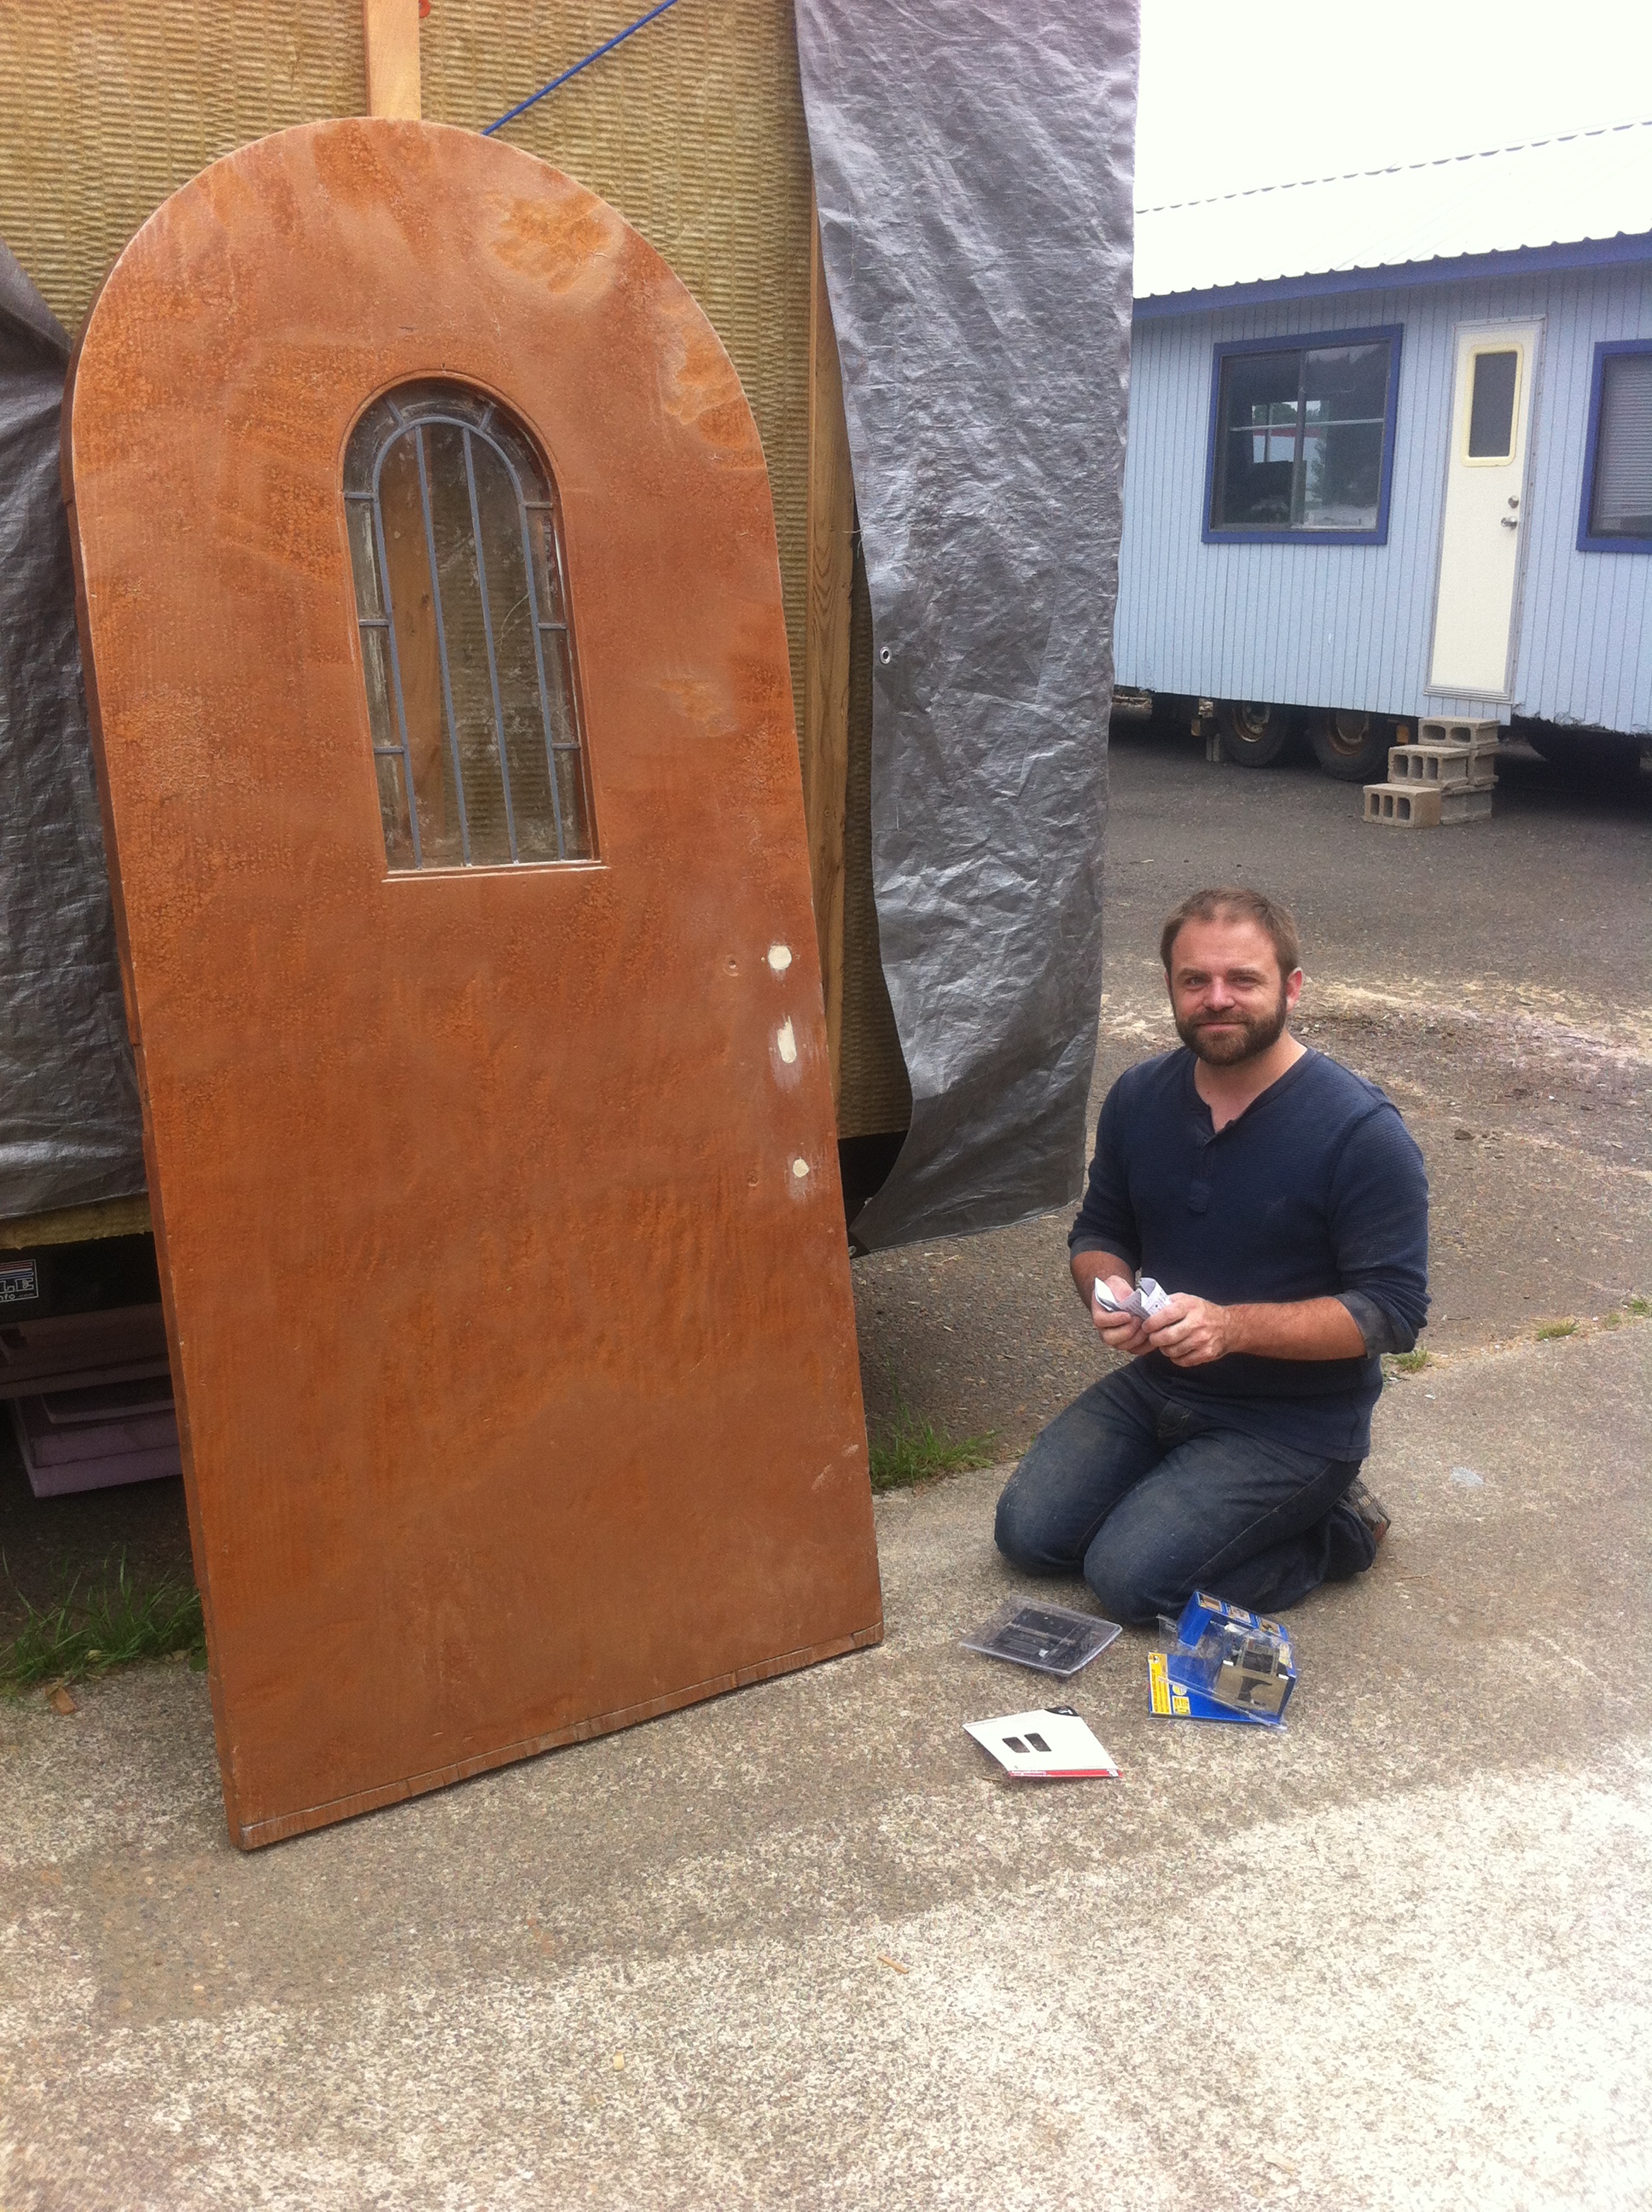
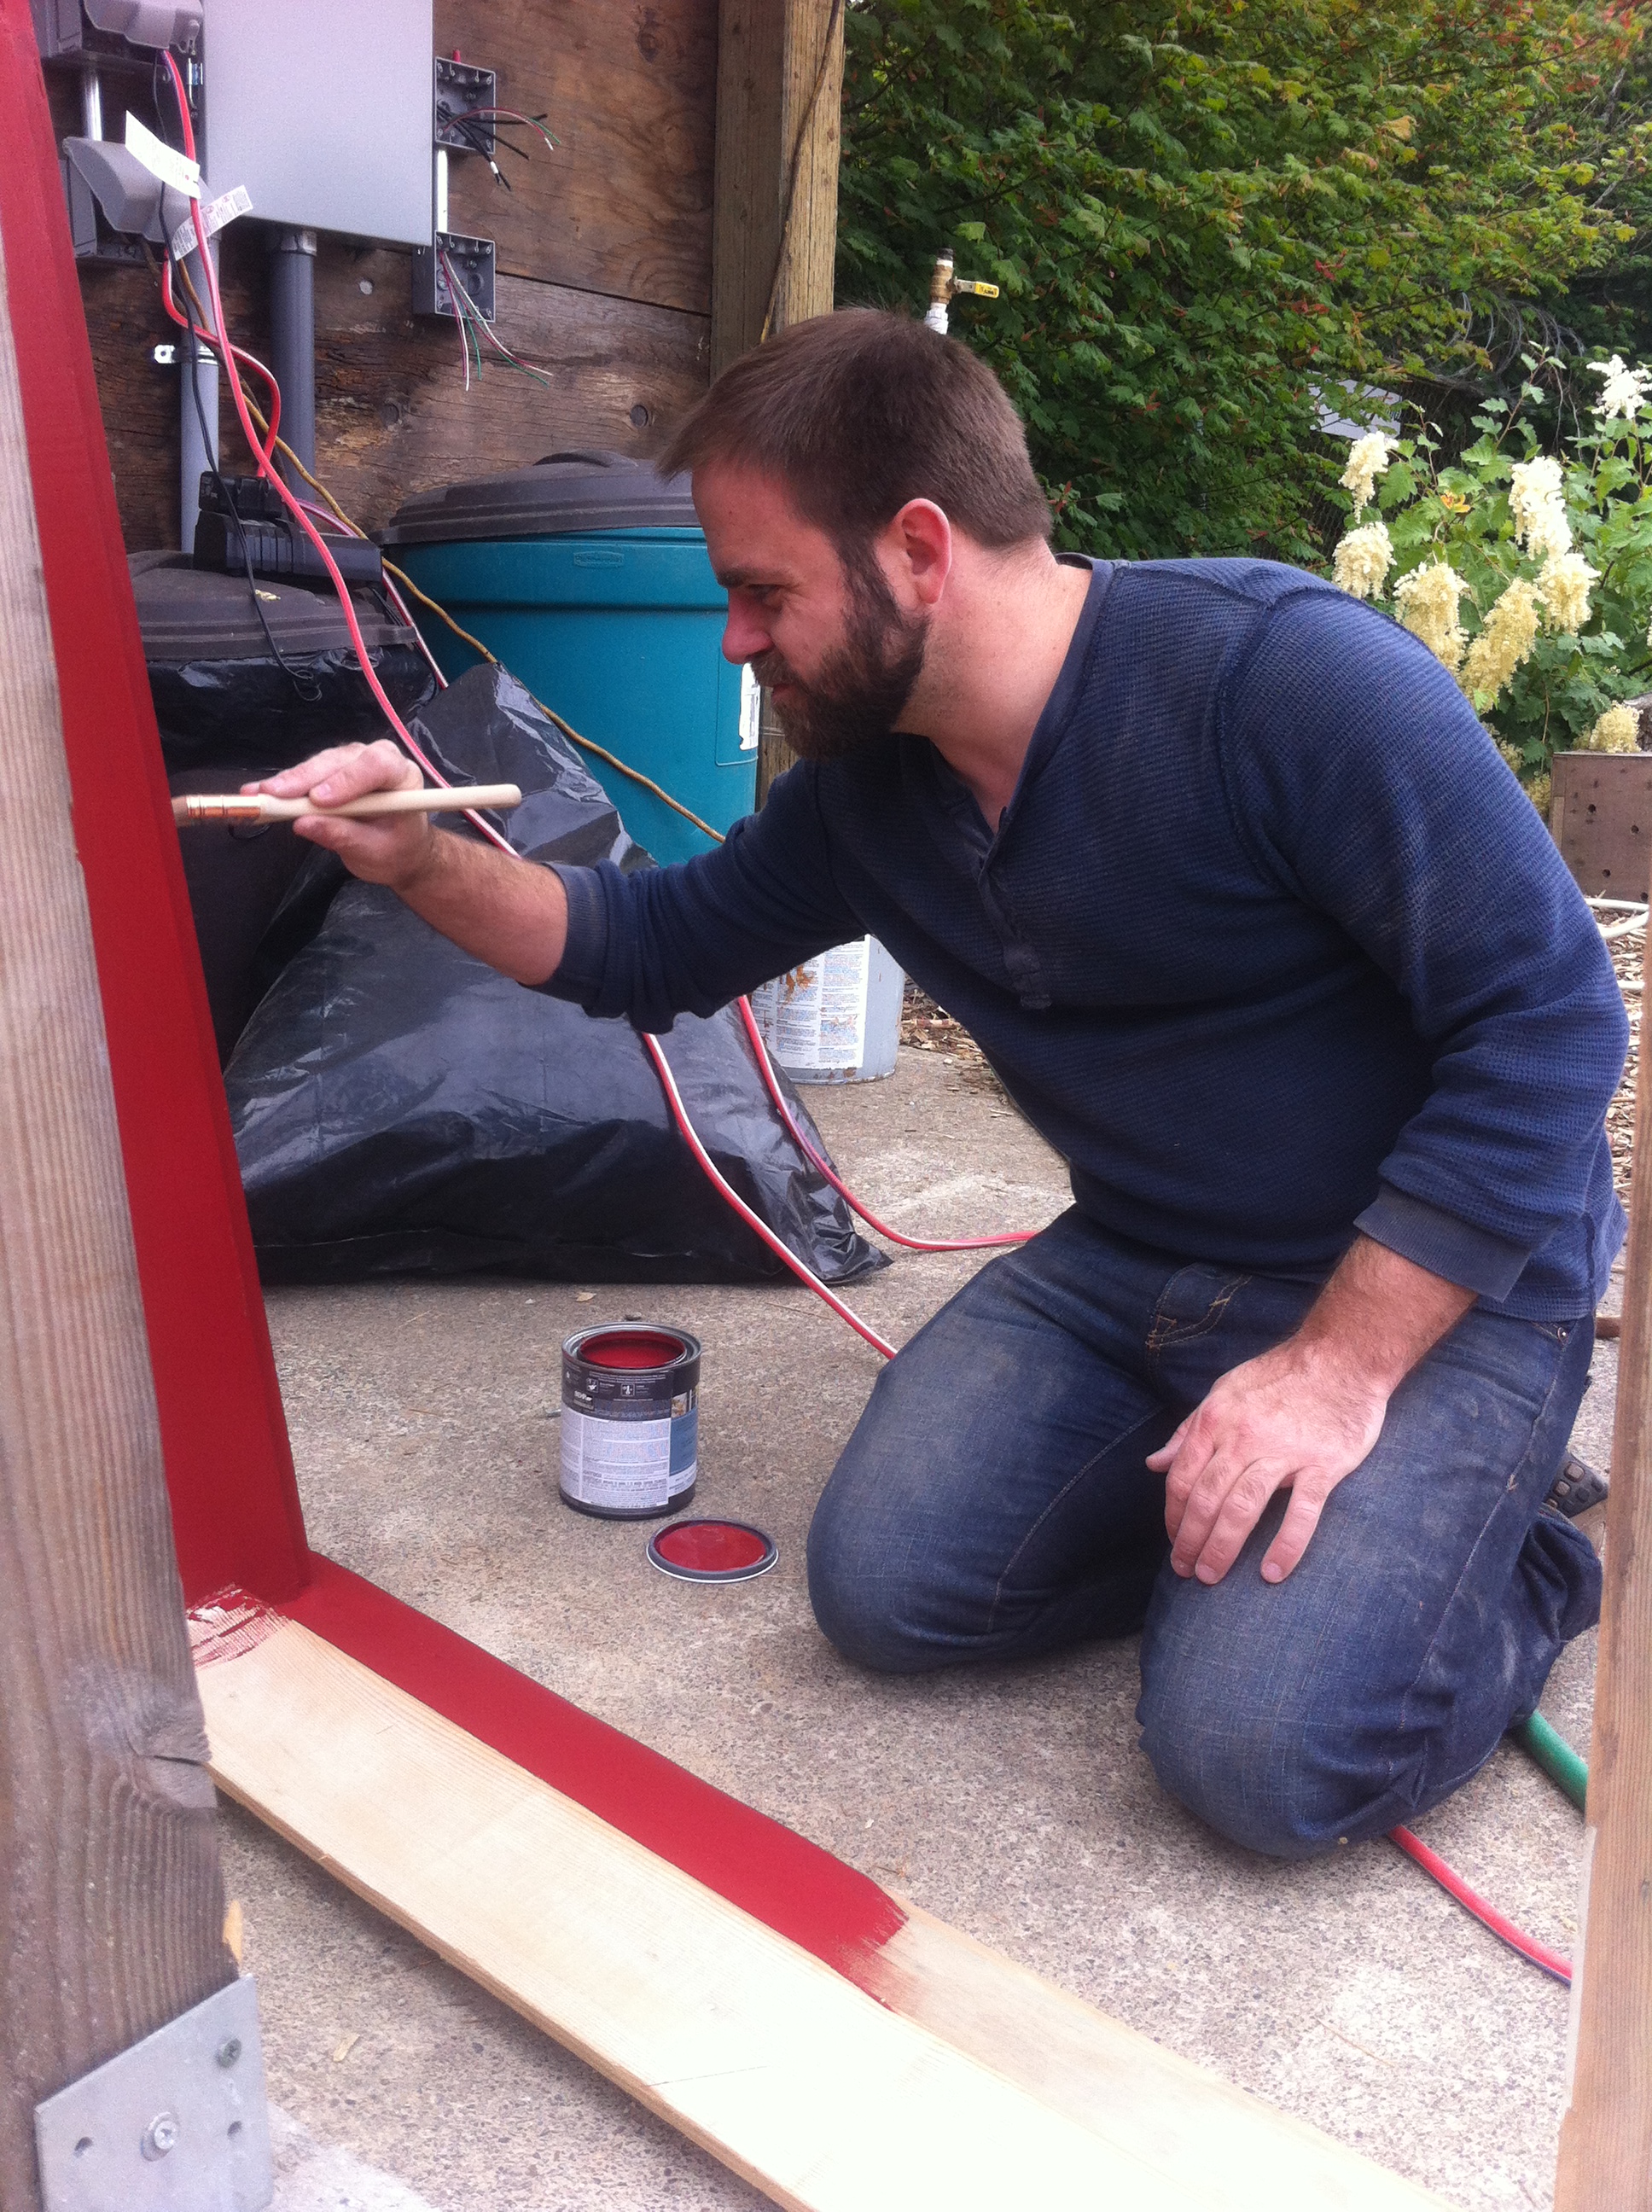 This morning Matthew continued working on the door. He installed the new hinges and the new lockset, which look great! He also helped me pick out a beautiful cranberry color for the my trim that contrasts nicely with the copper. I keep finding myself wandering over to admire it again. While Matthew put the first layer of paint on the door jamb, Love and Kellyn prepped the arched window for its first coat of paint.
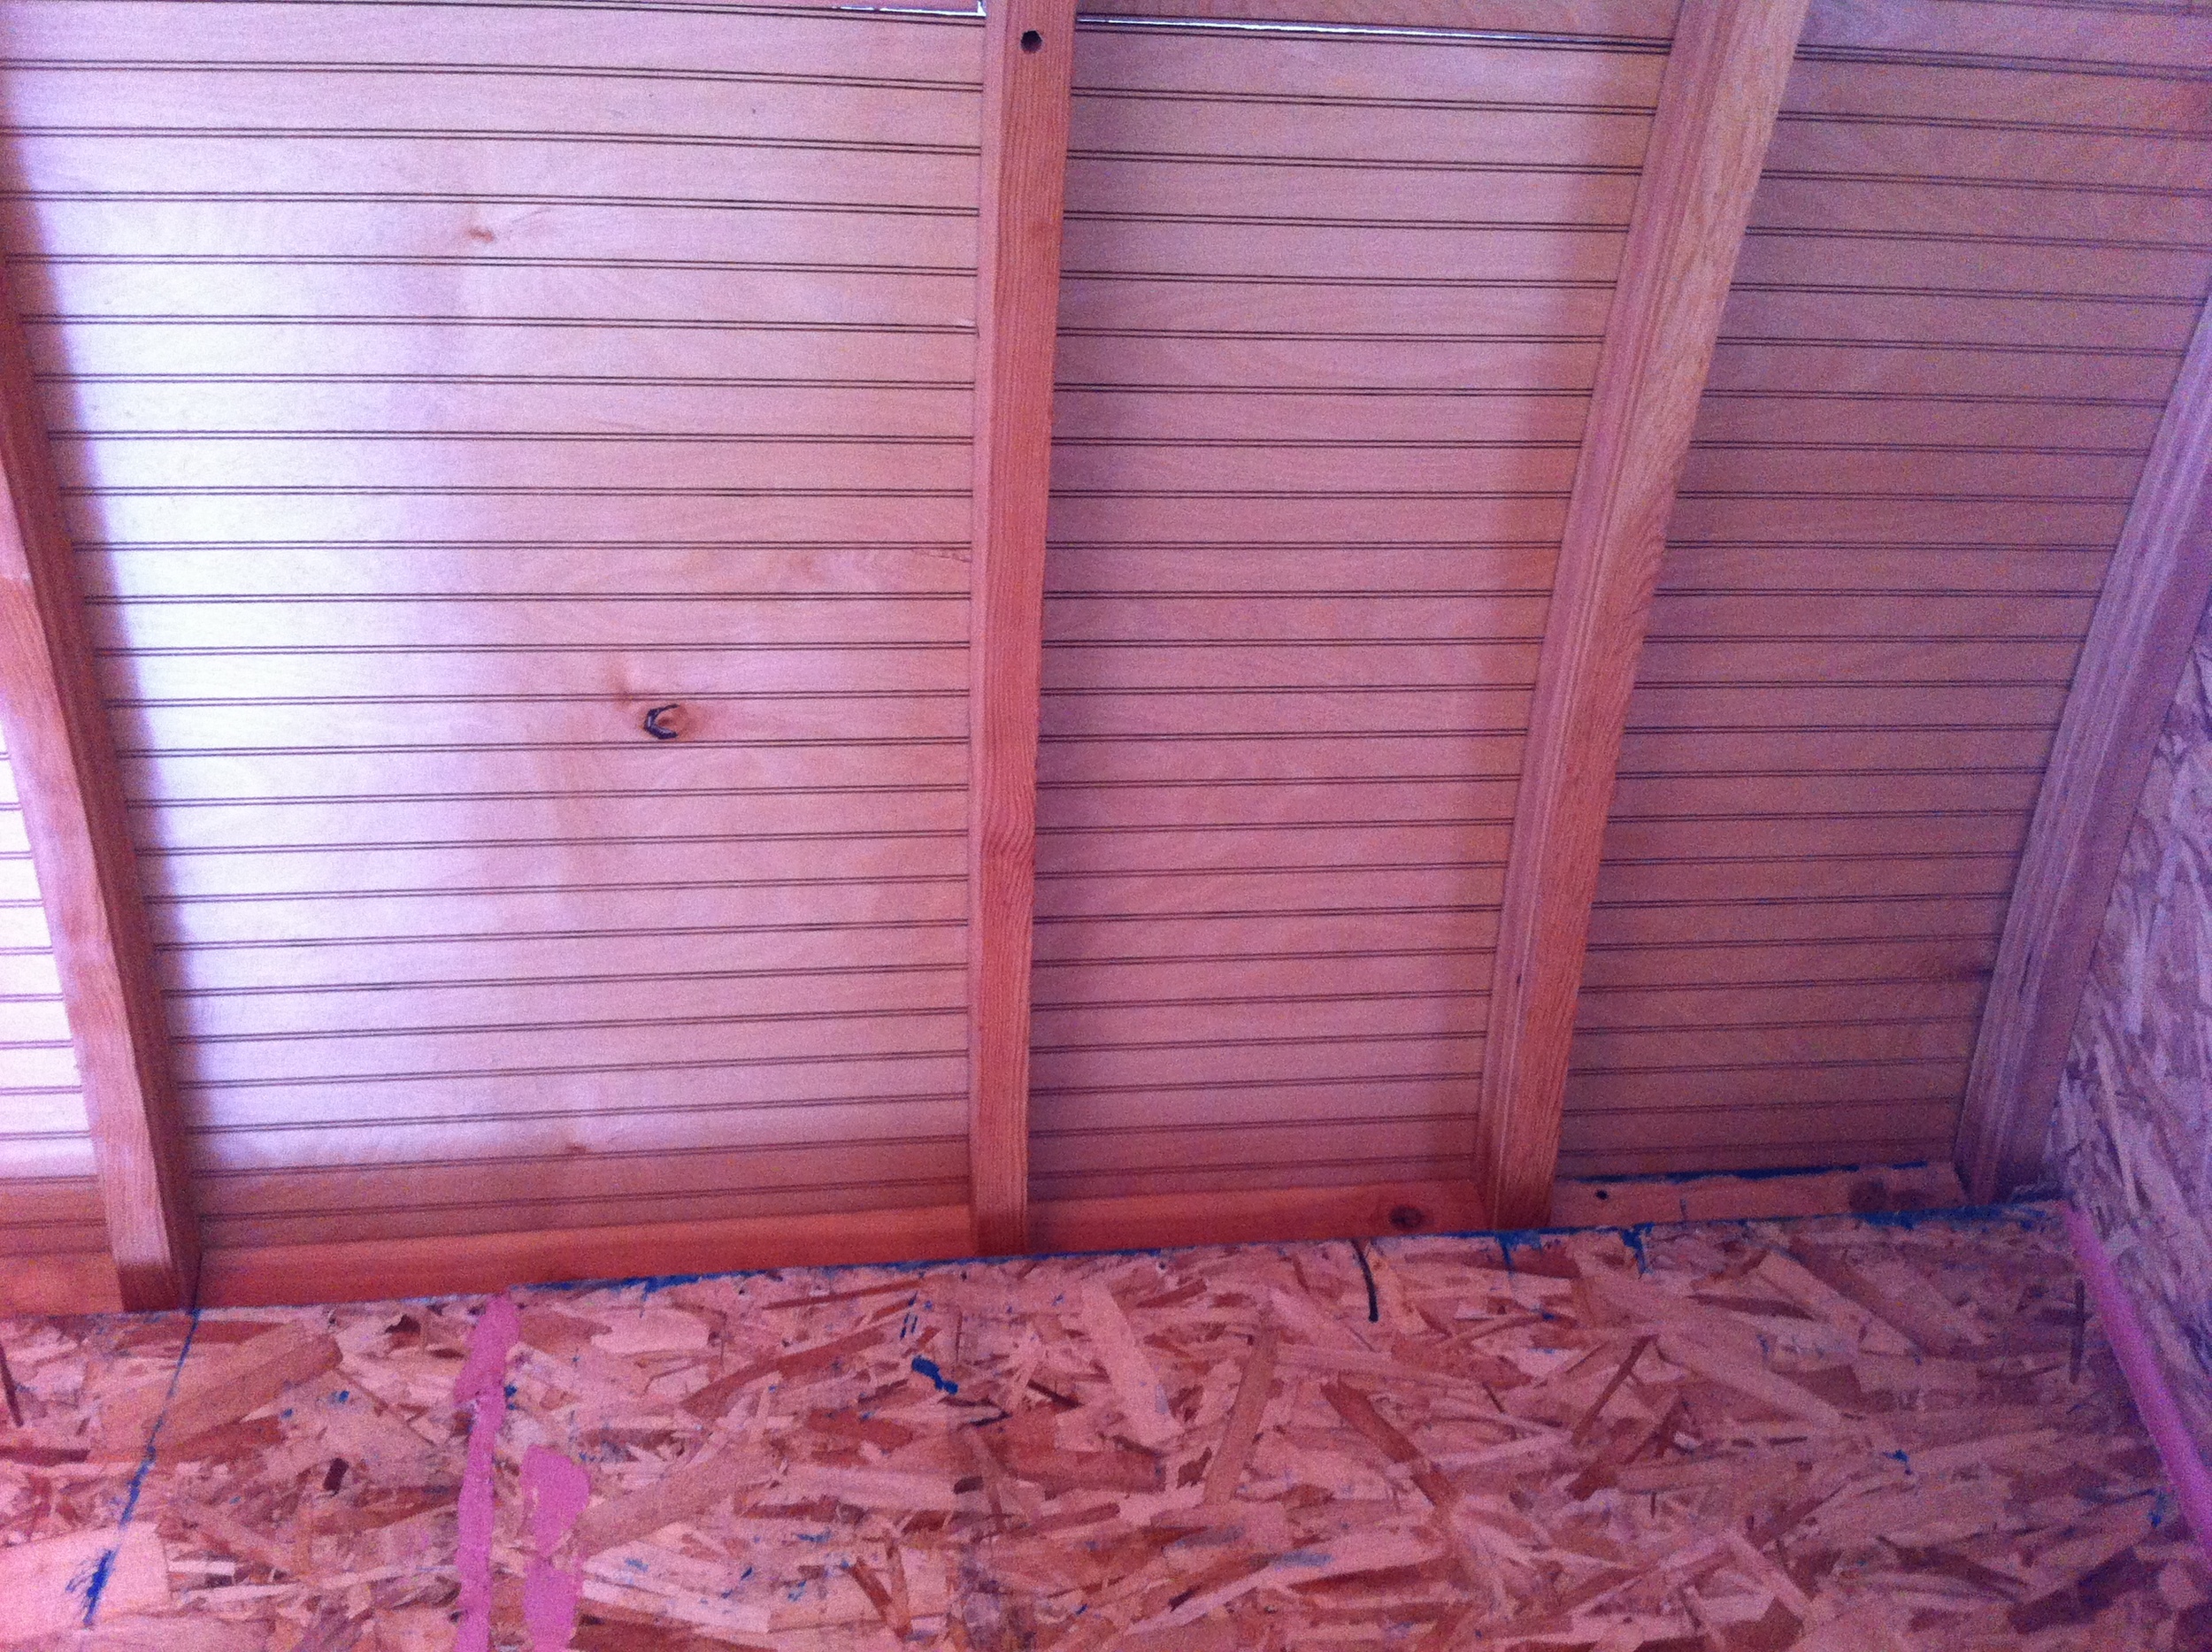
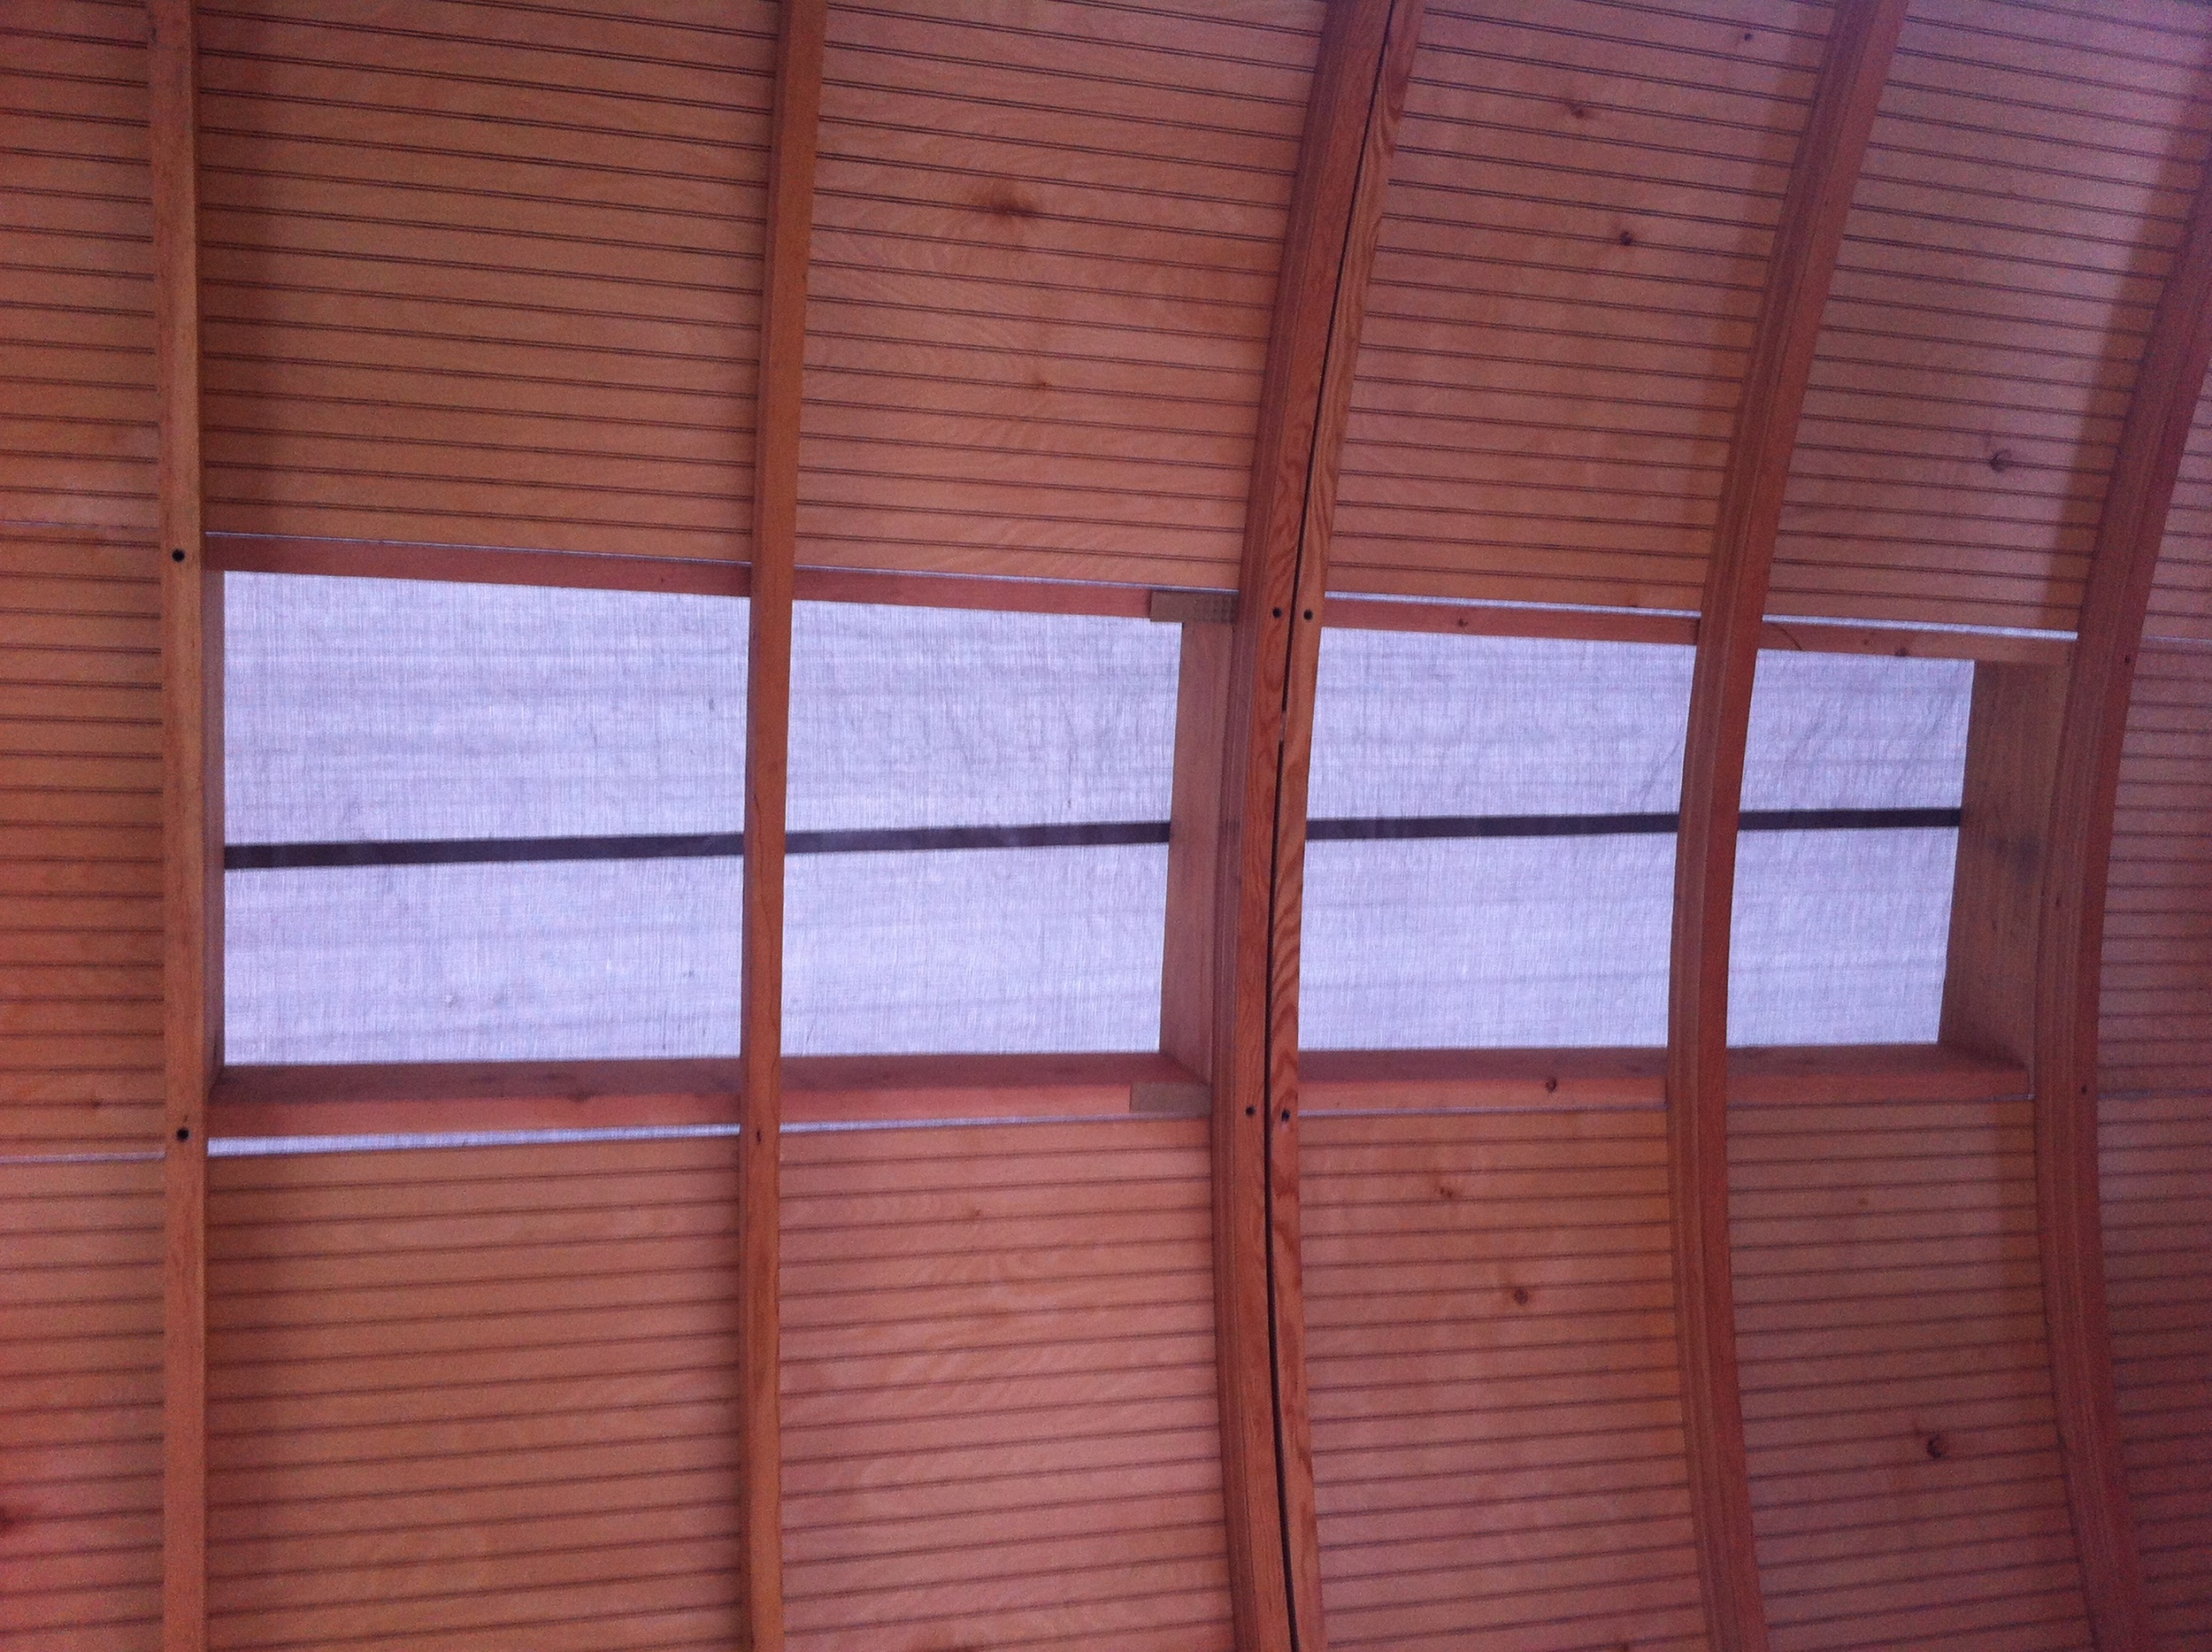
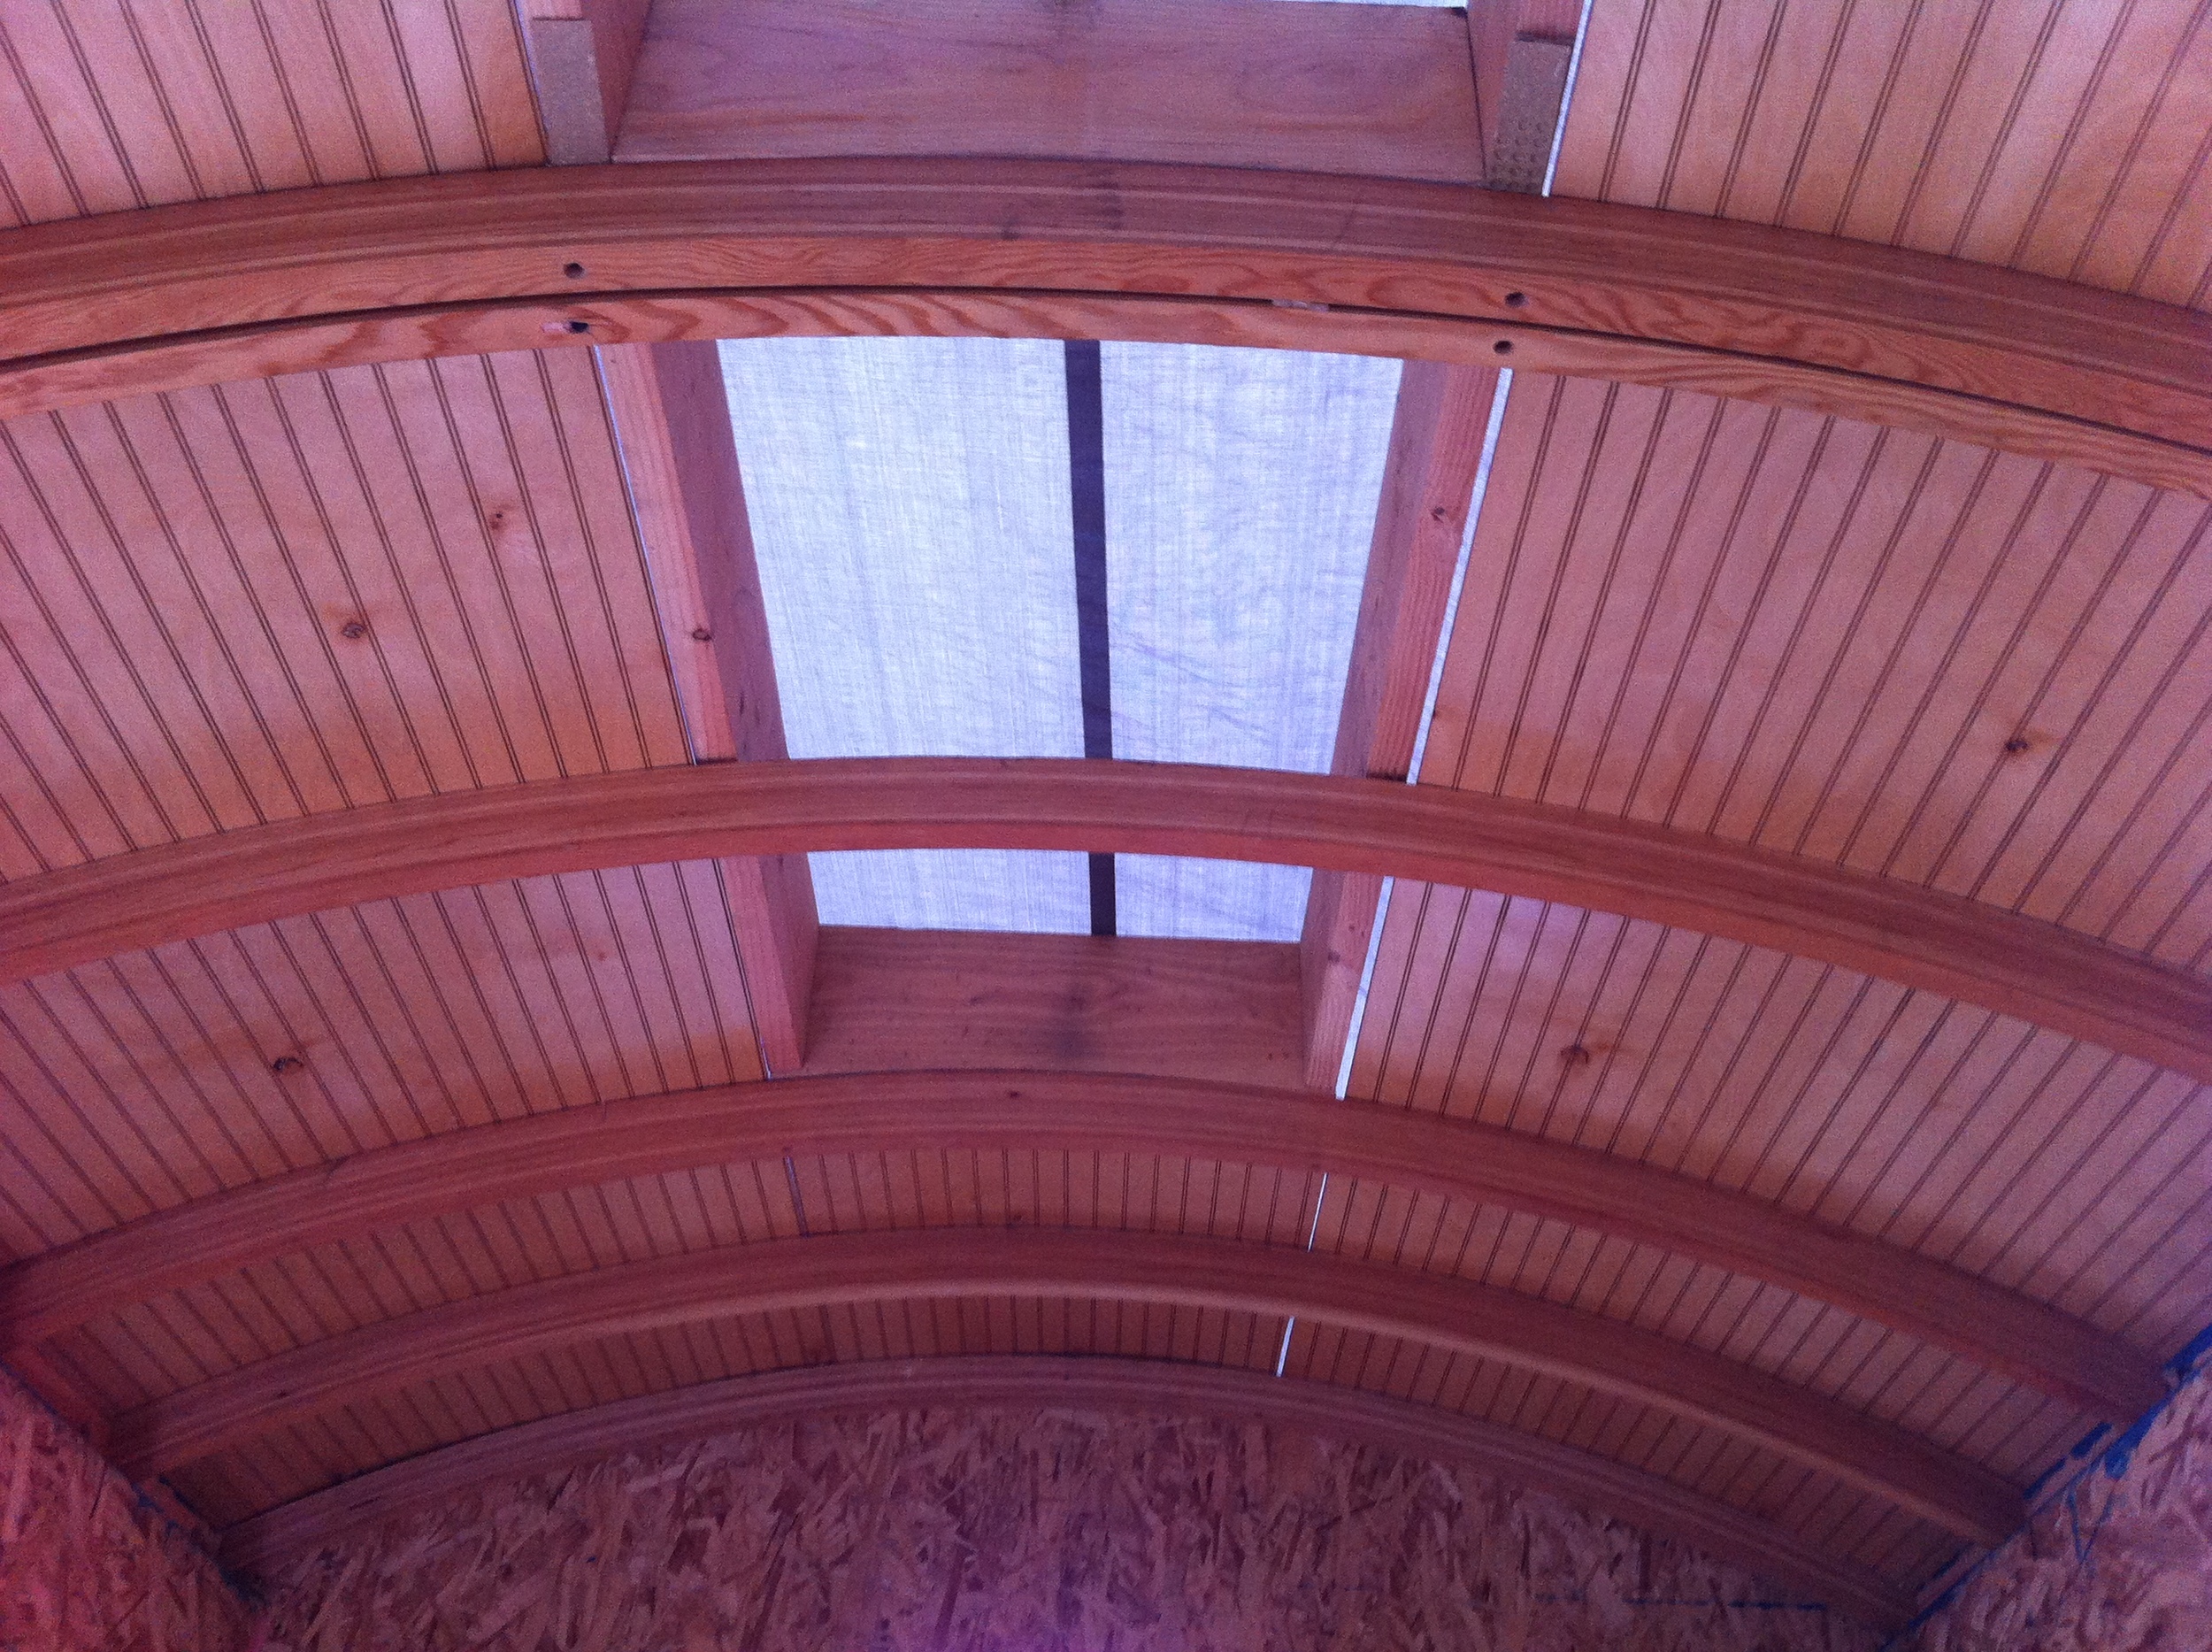
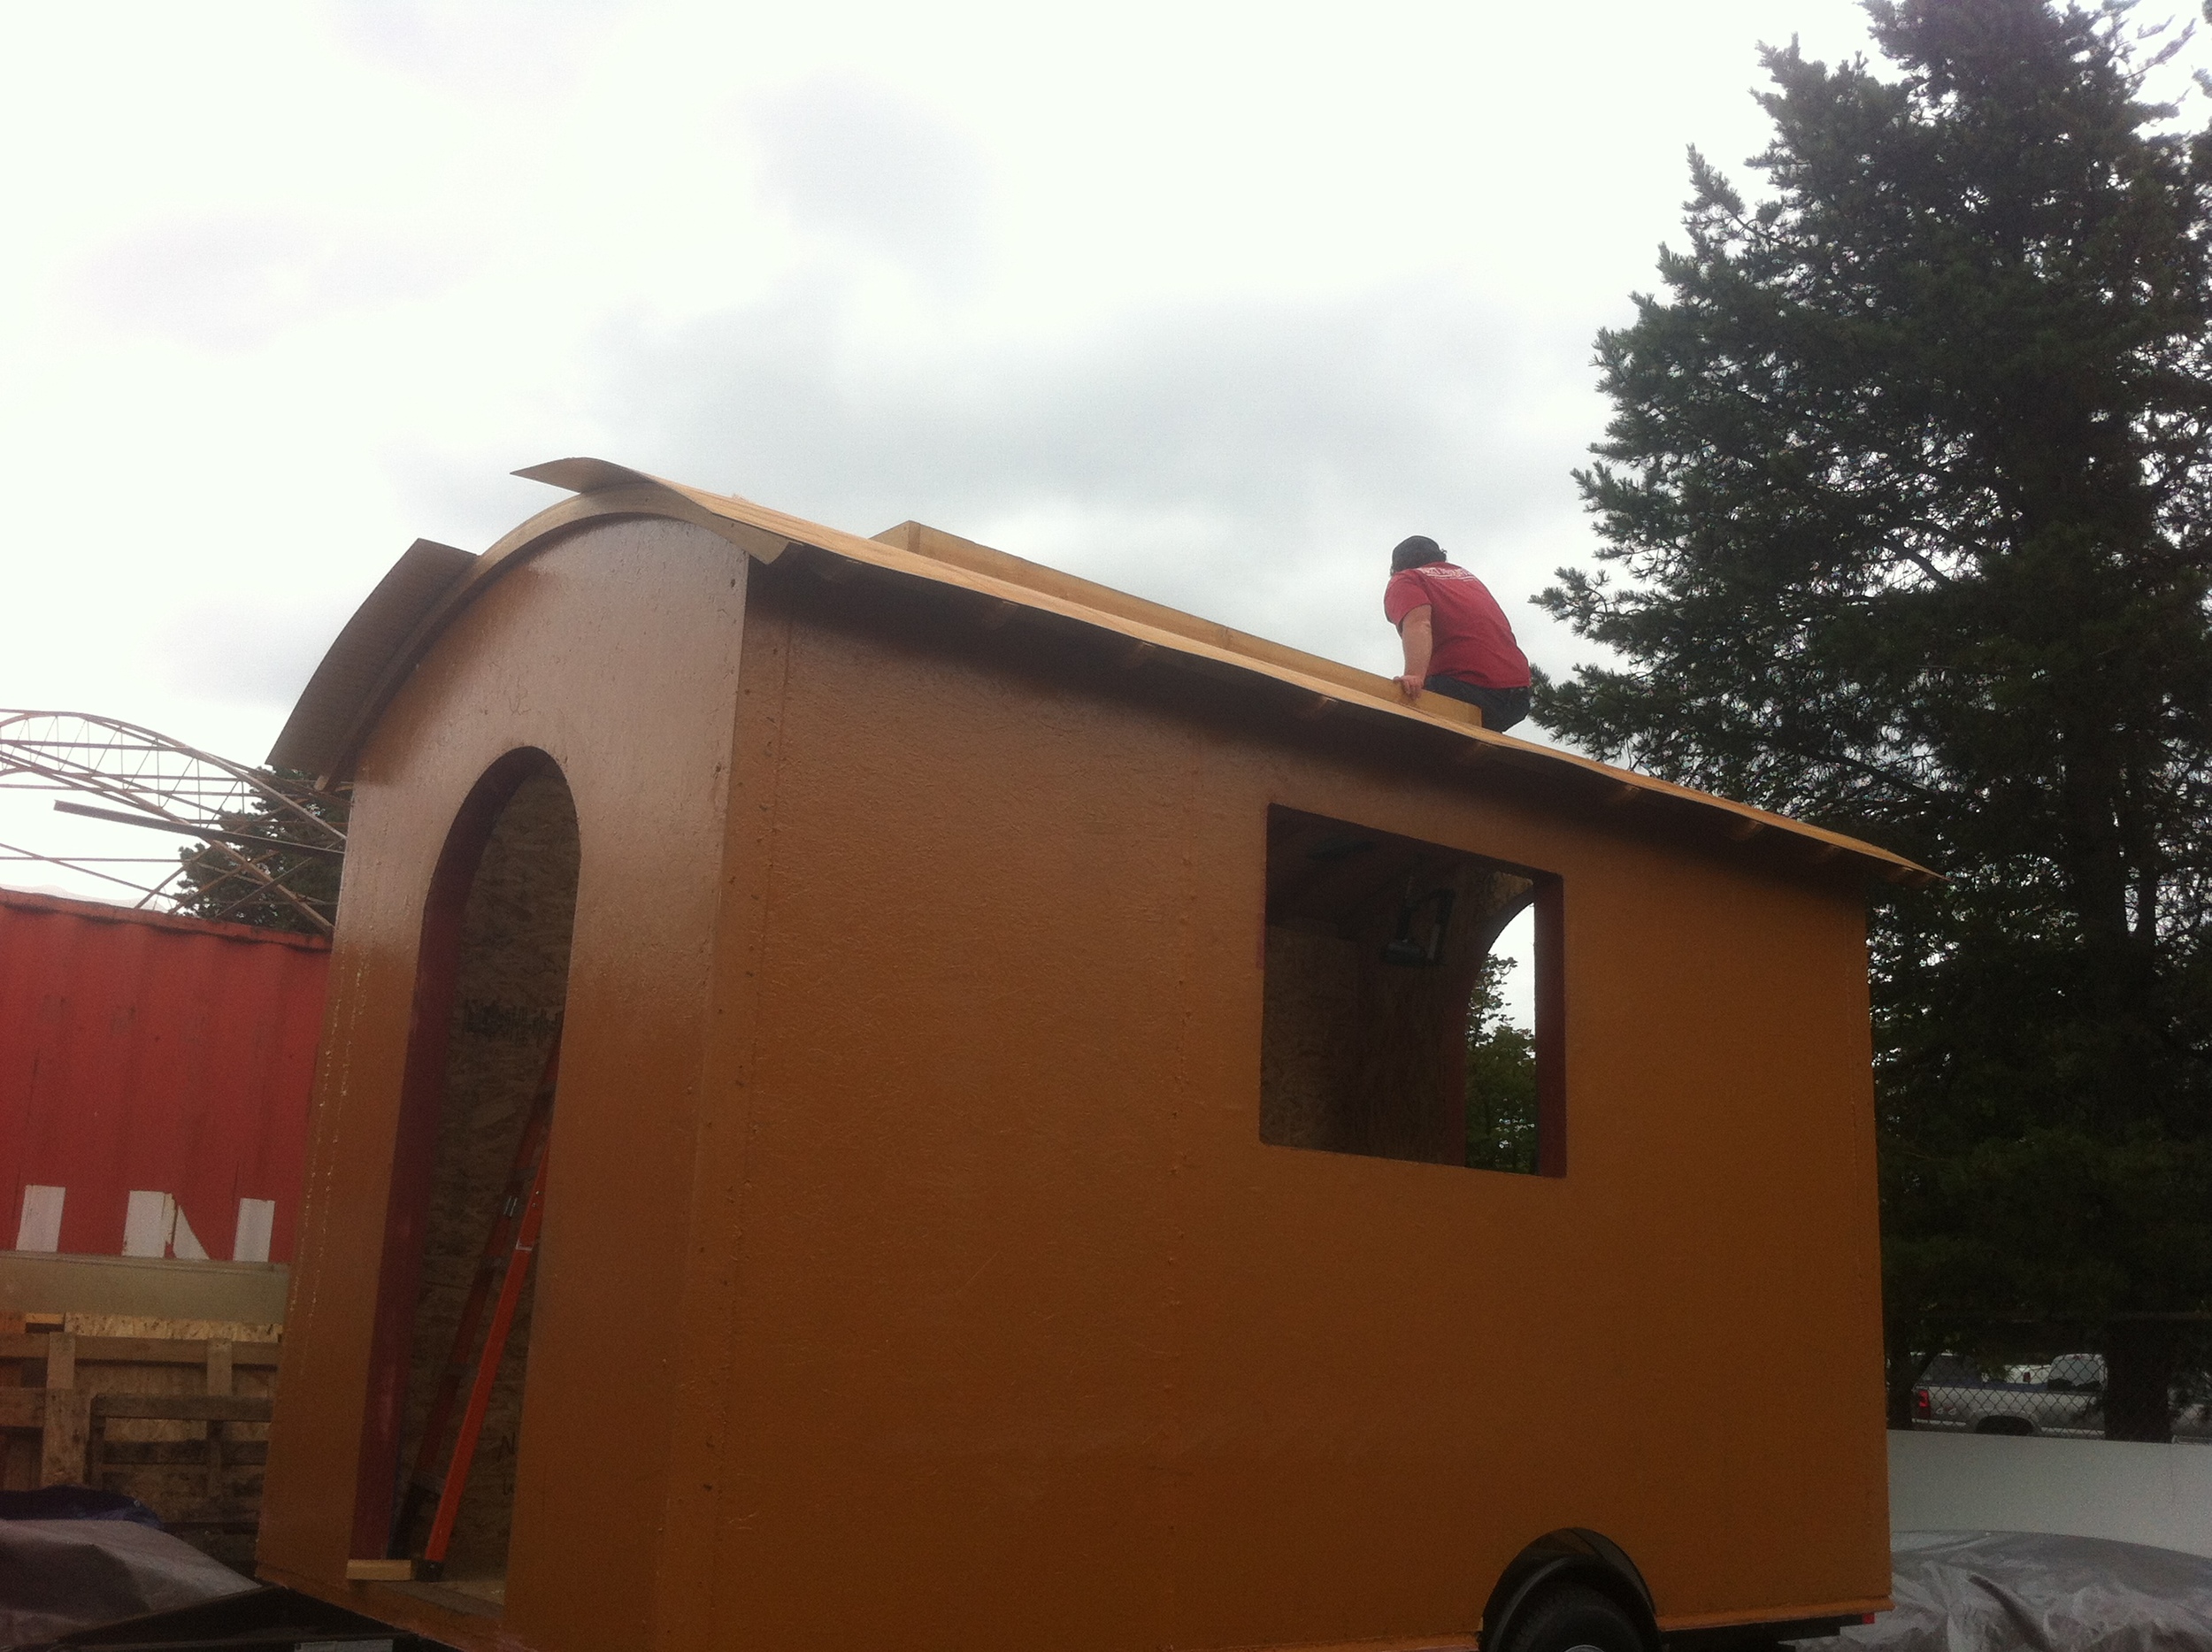
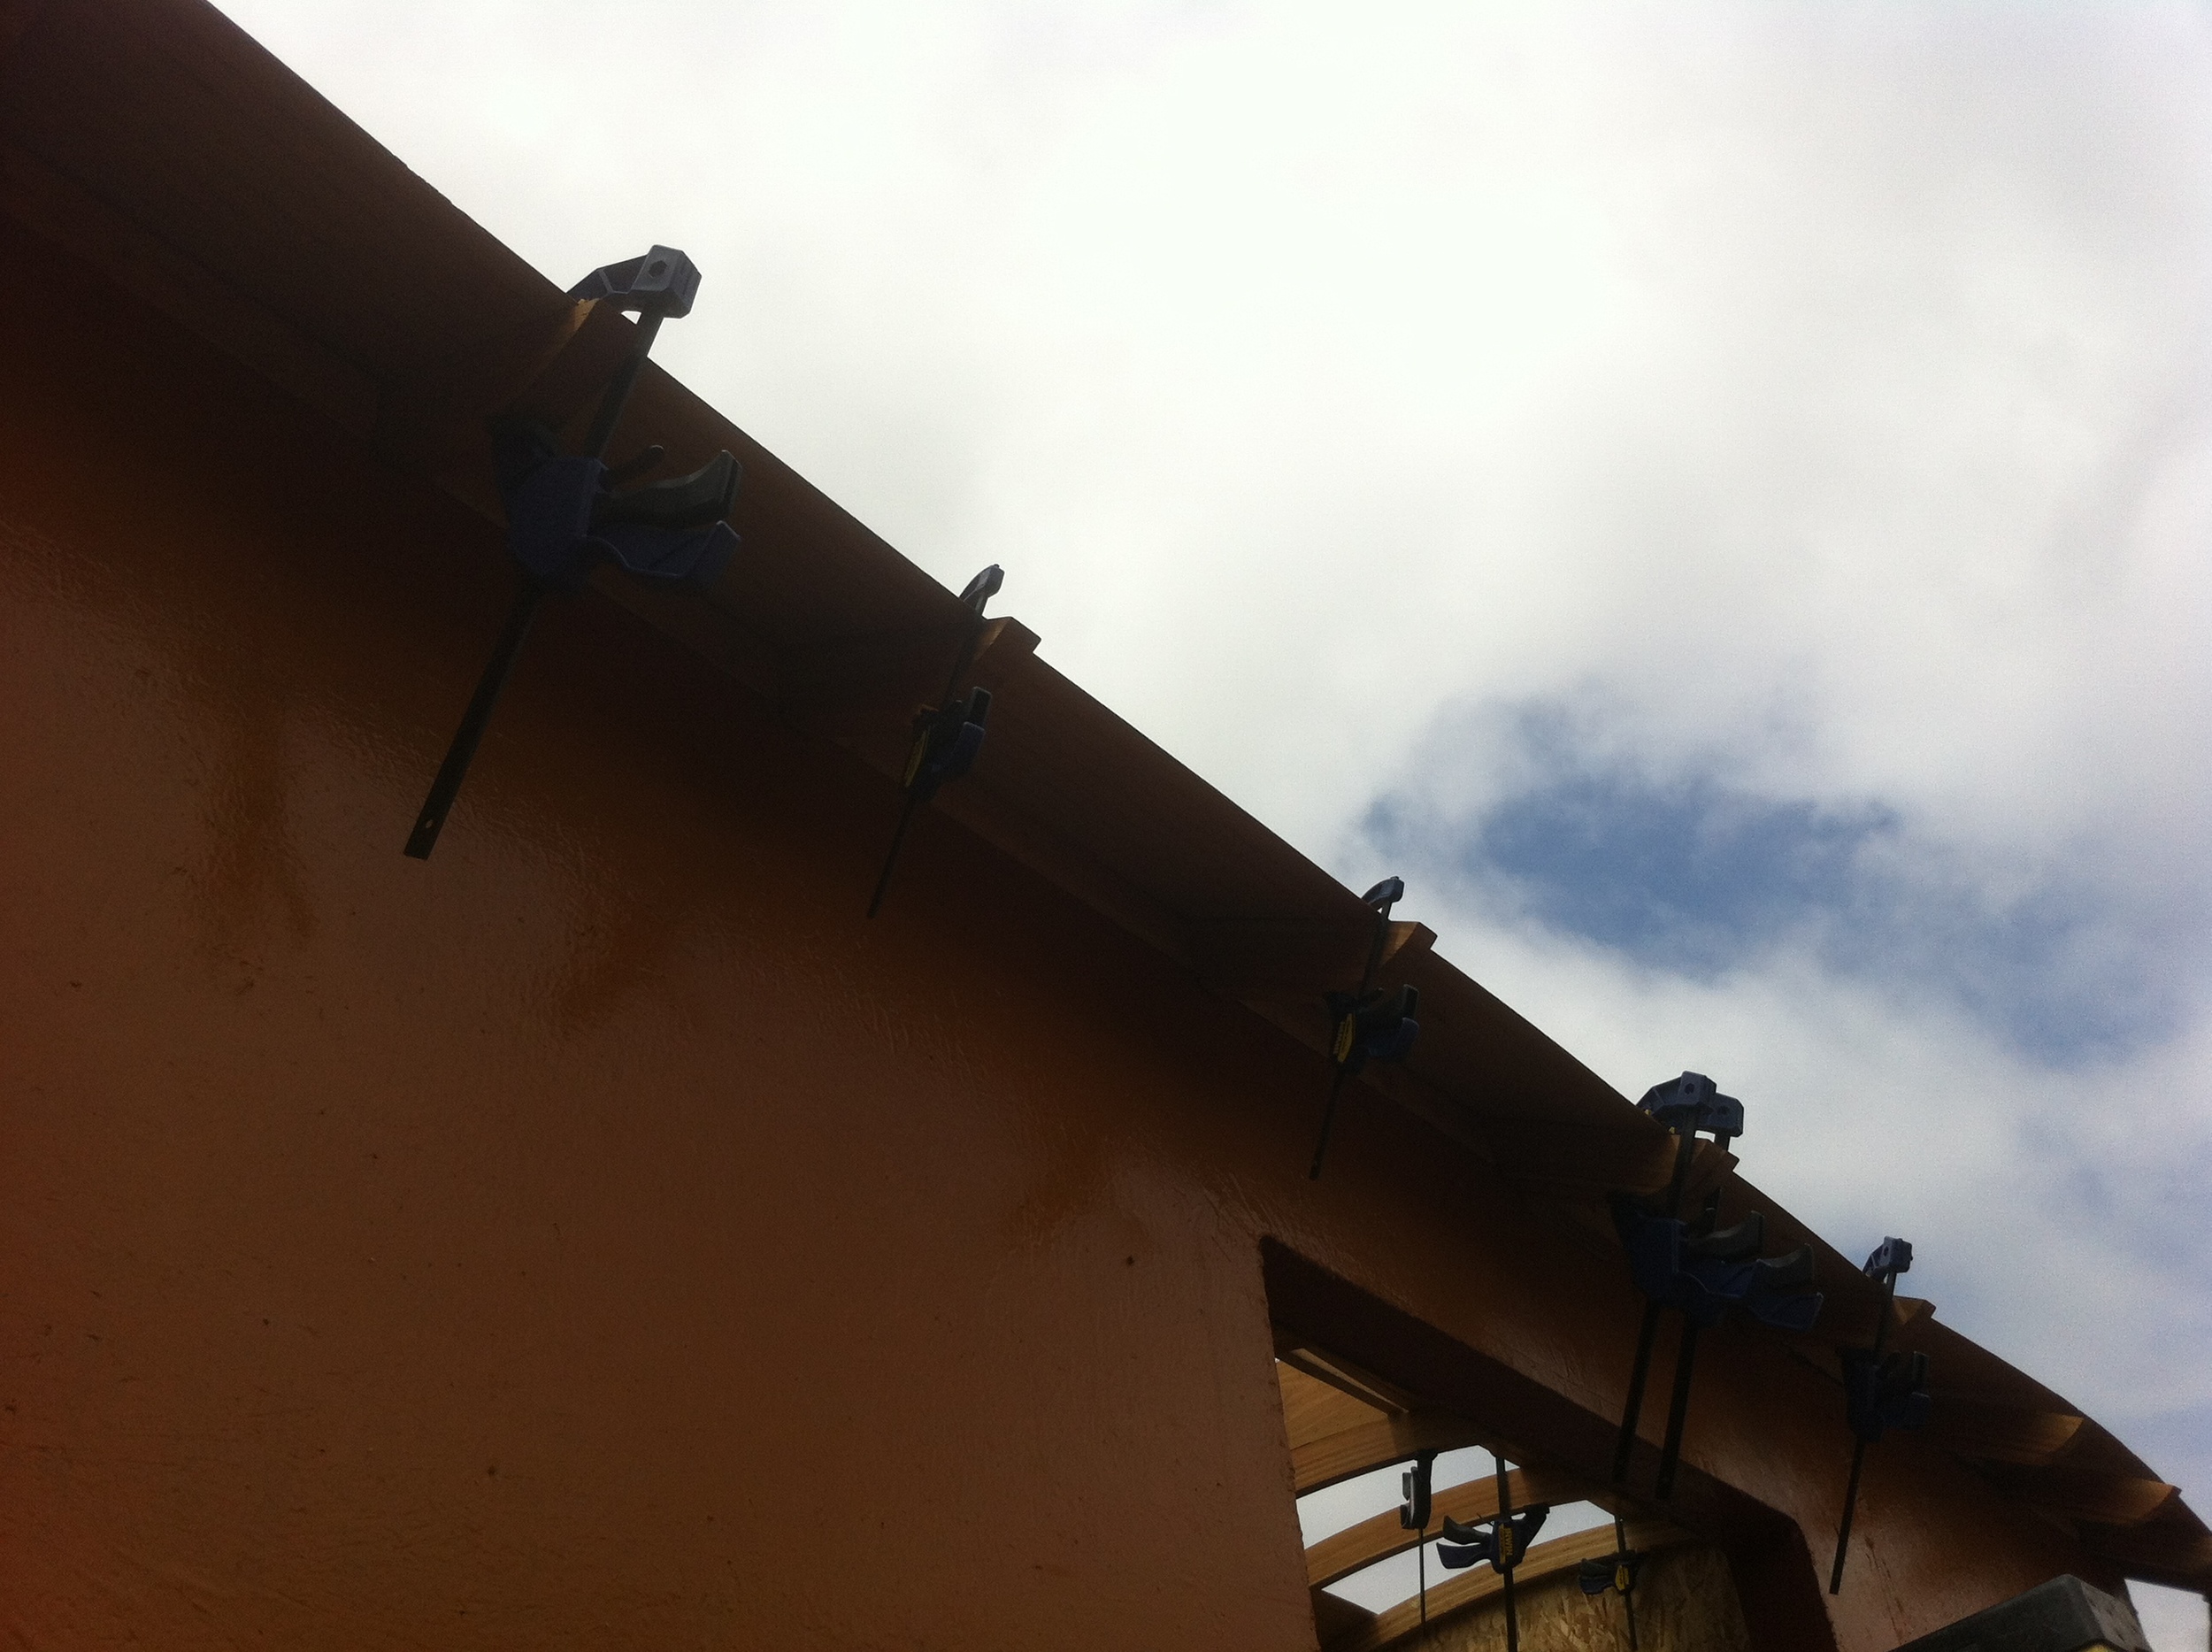
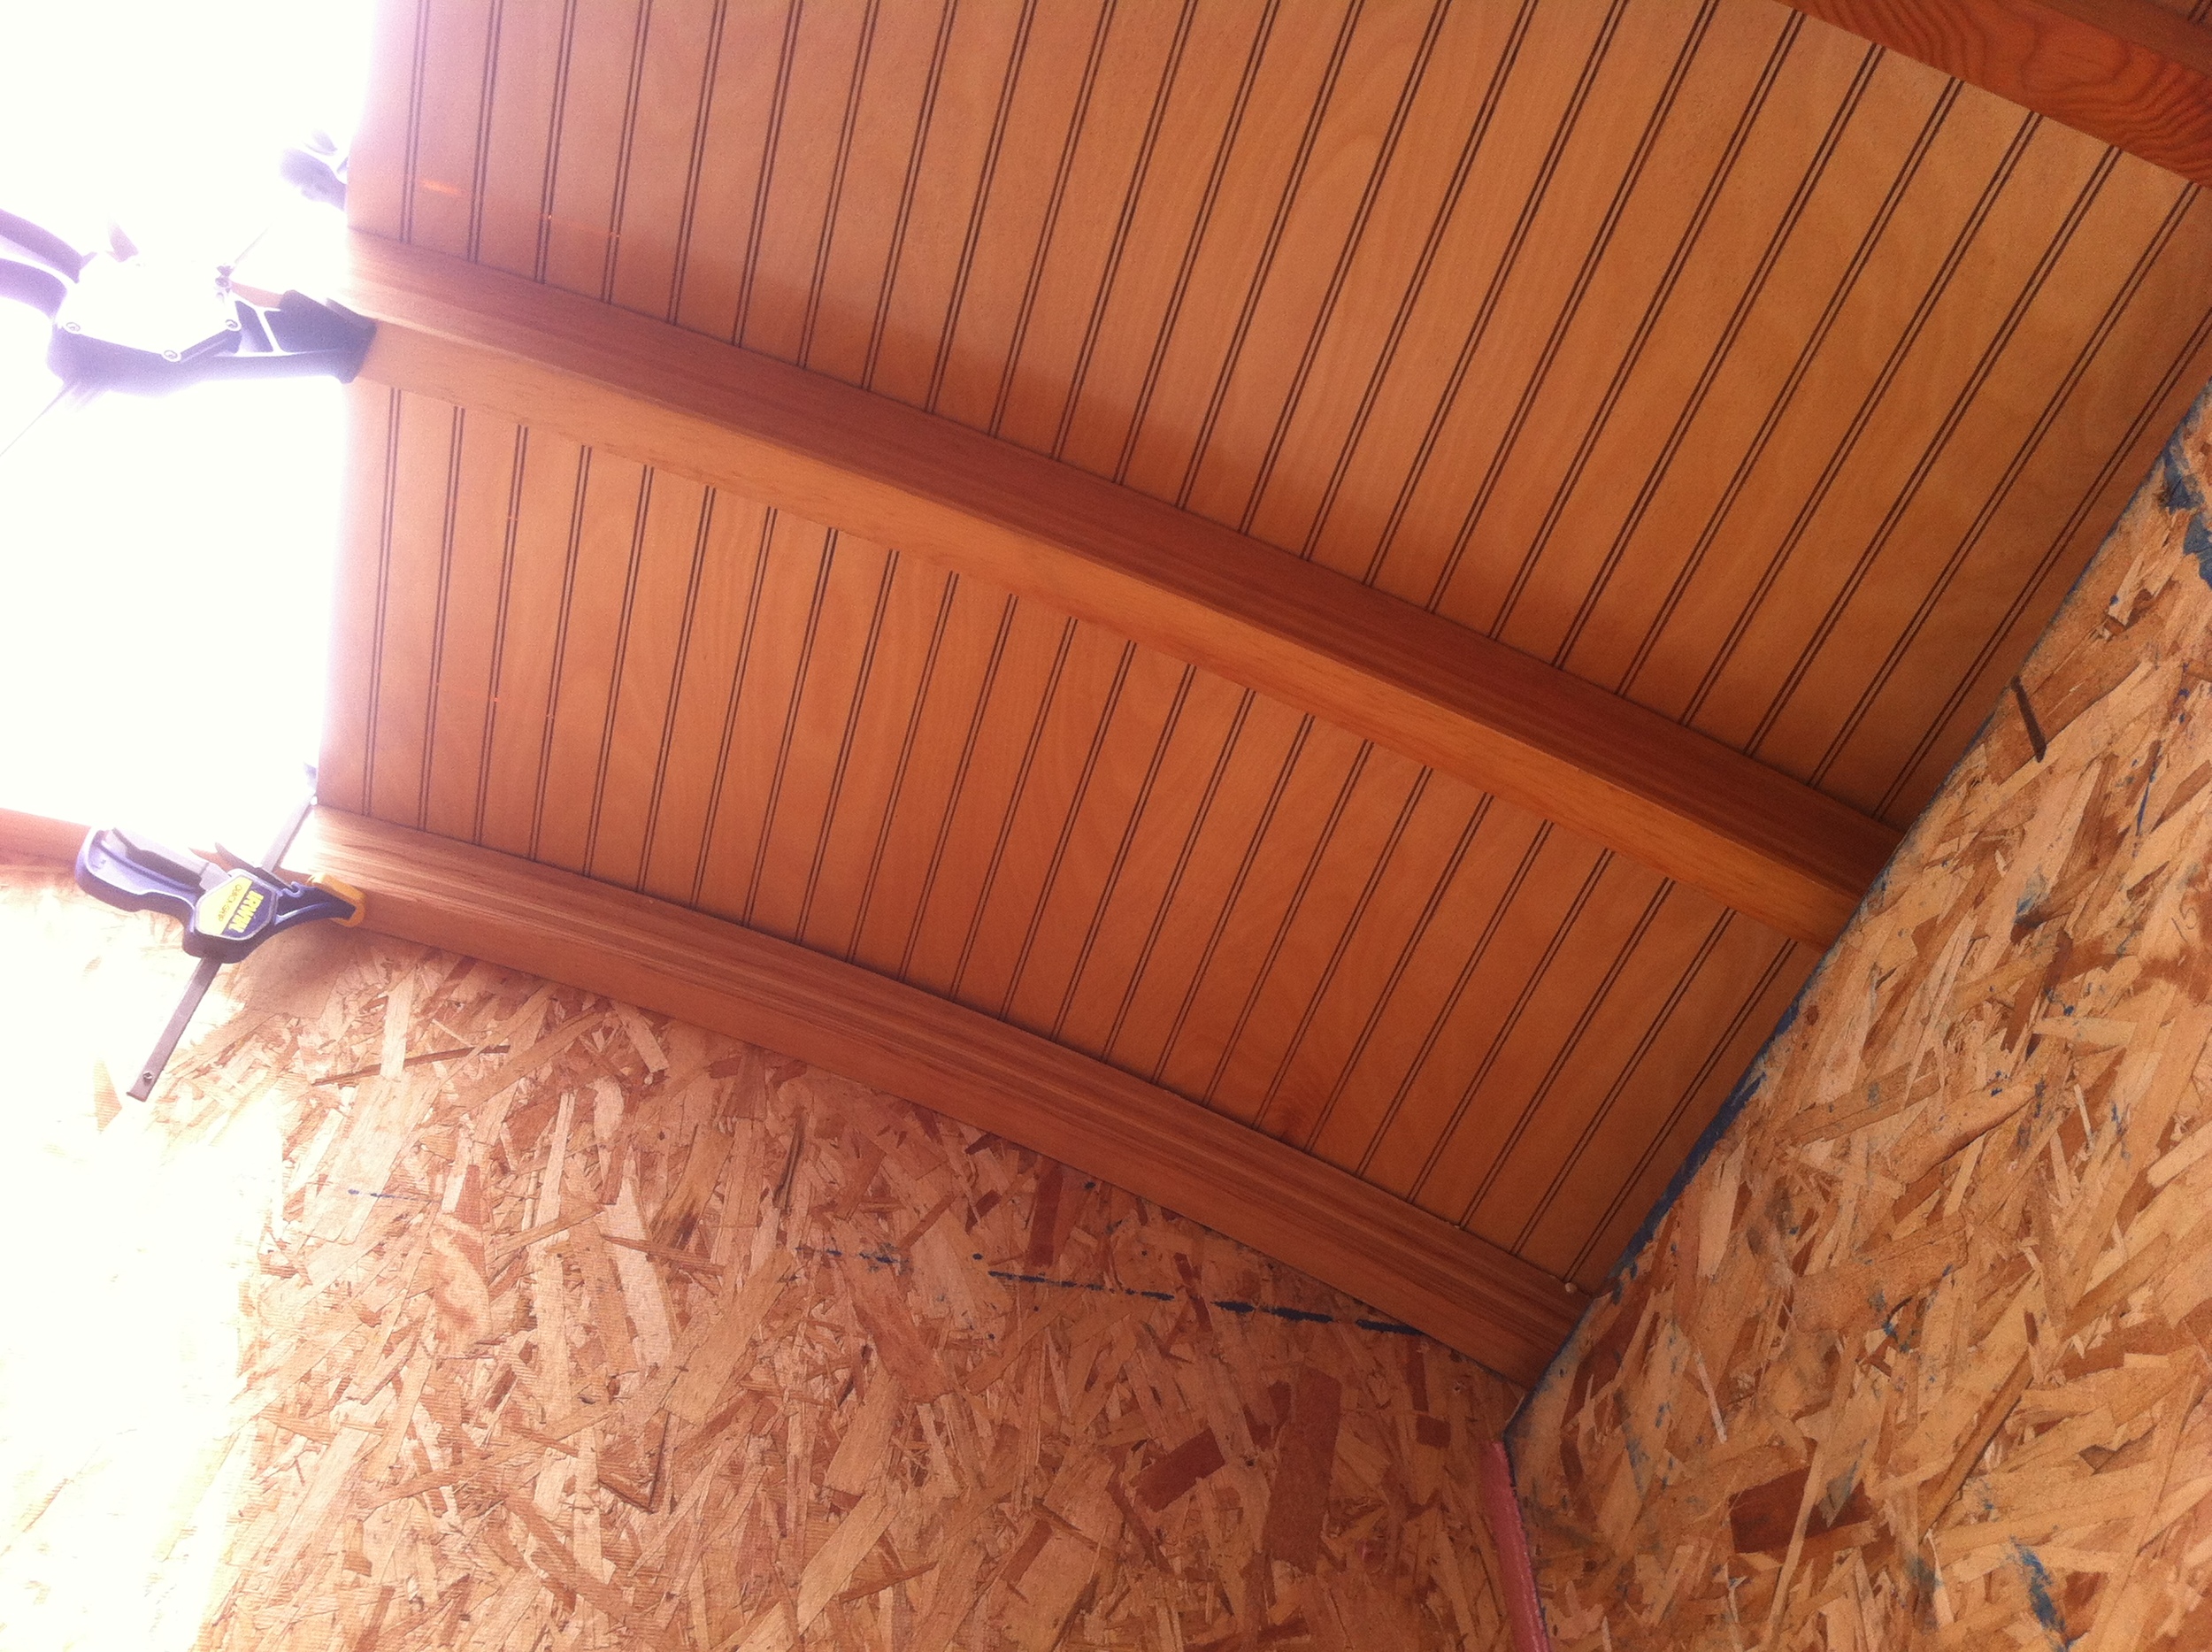
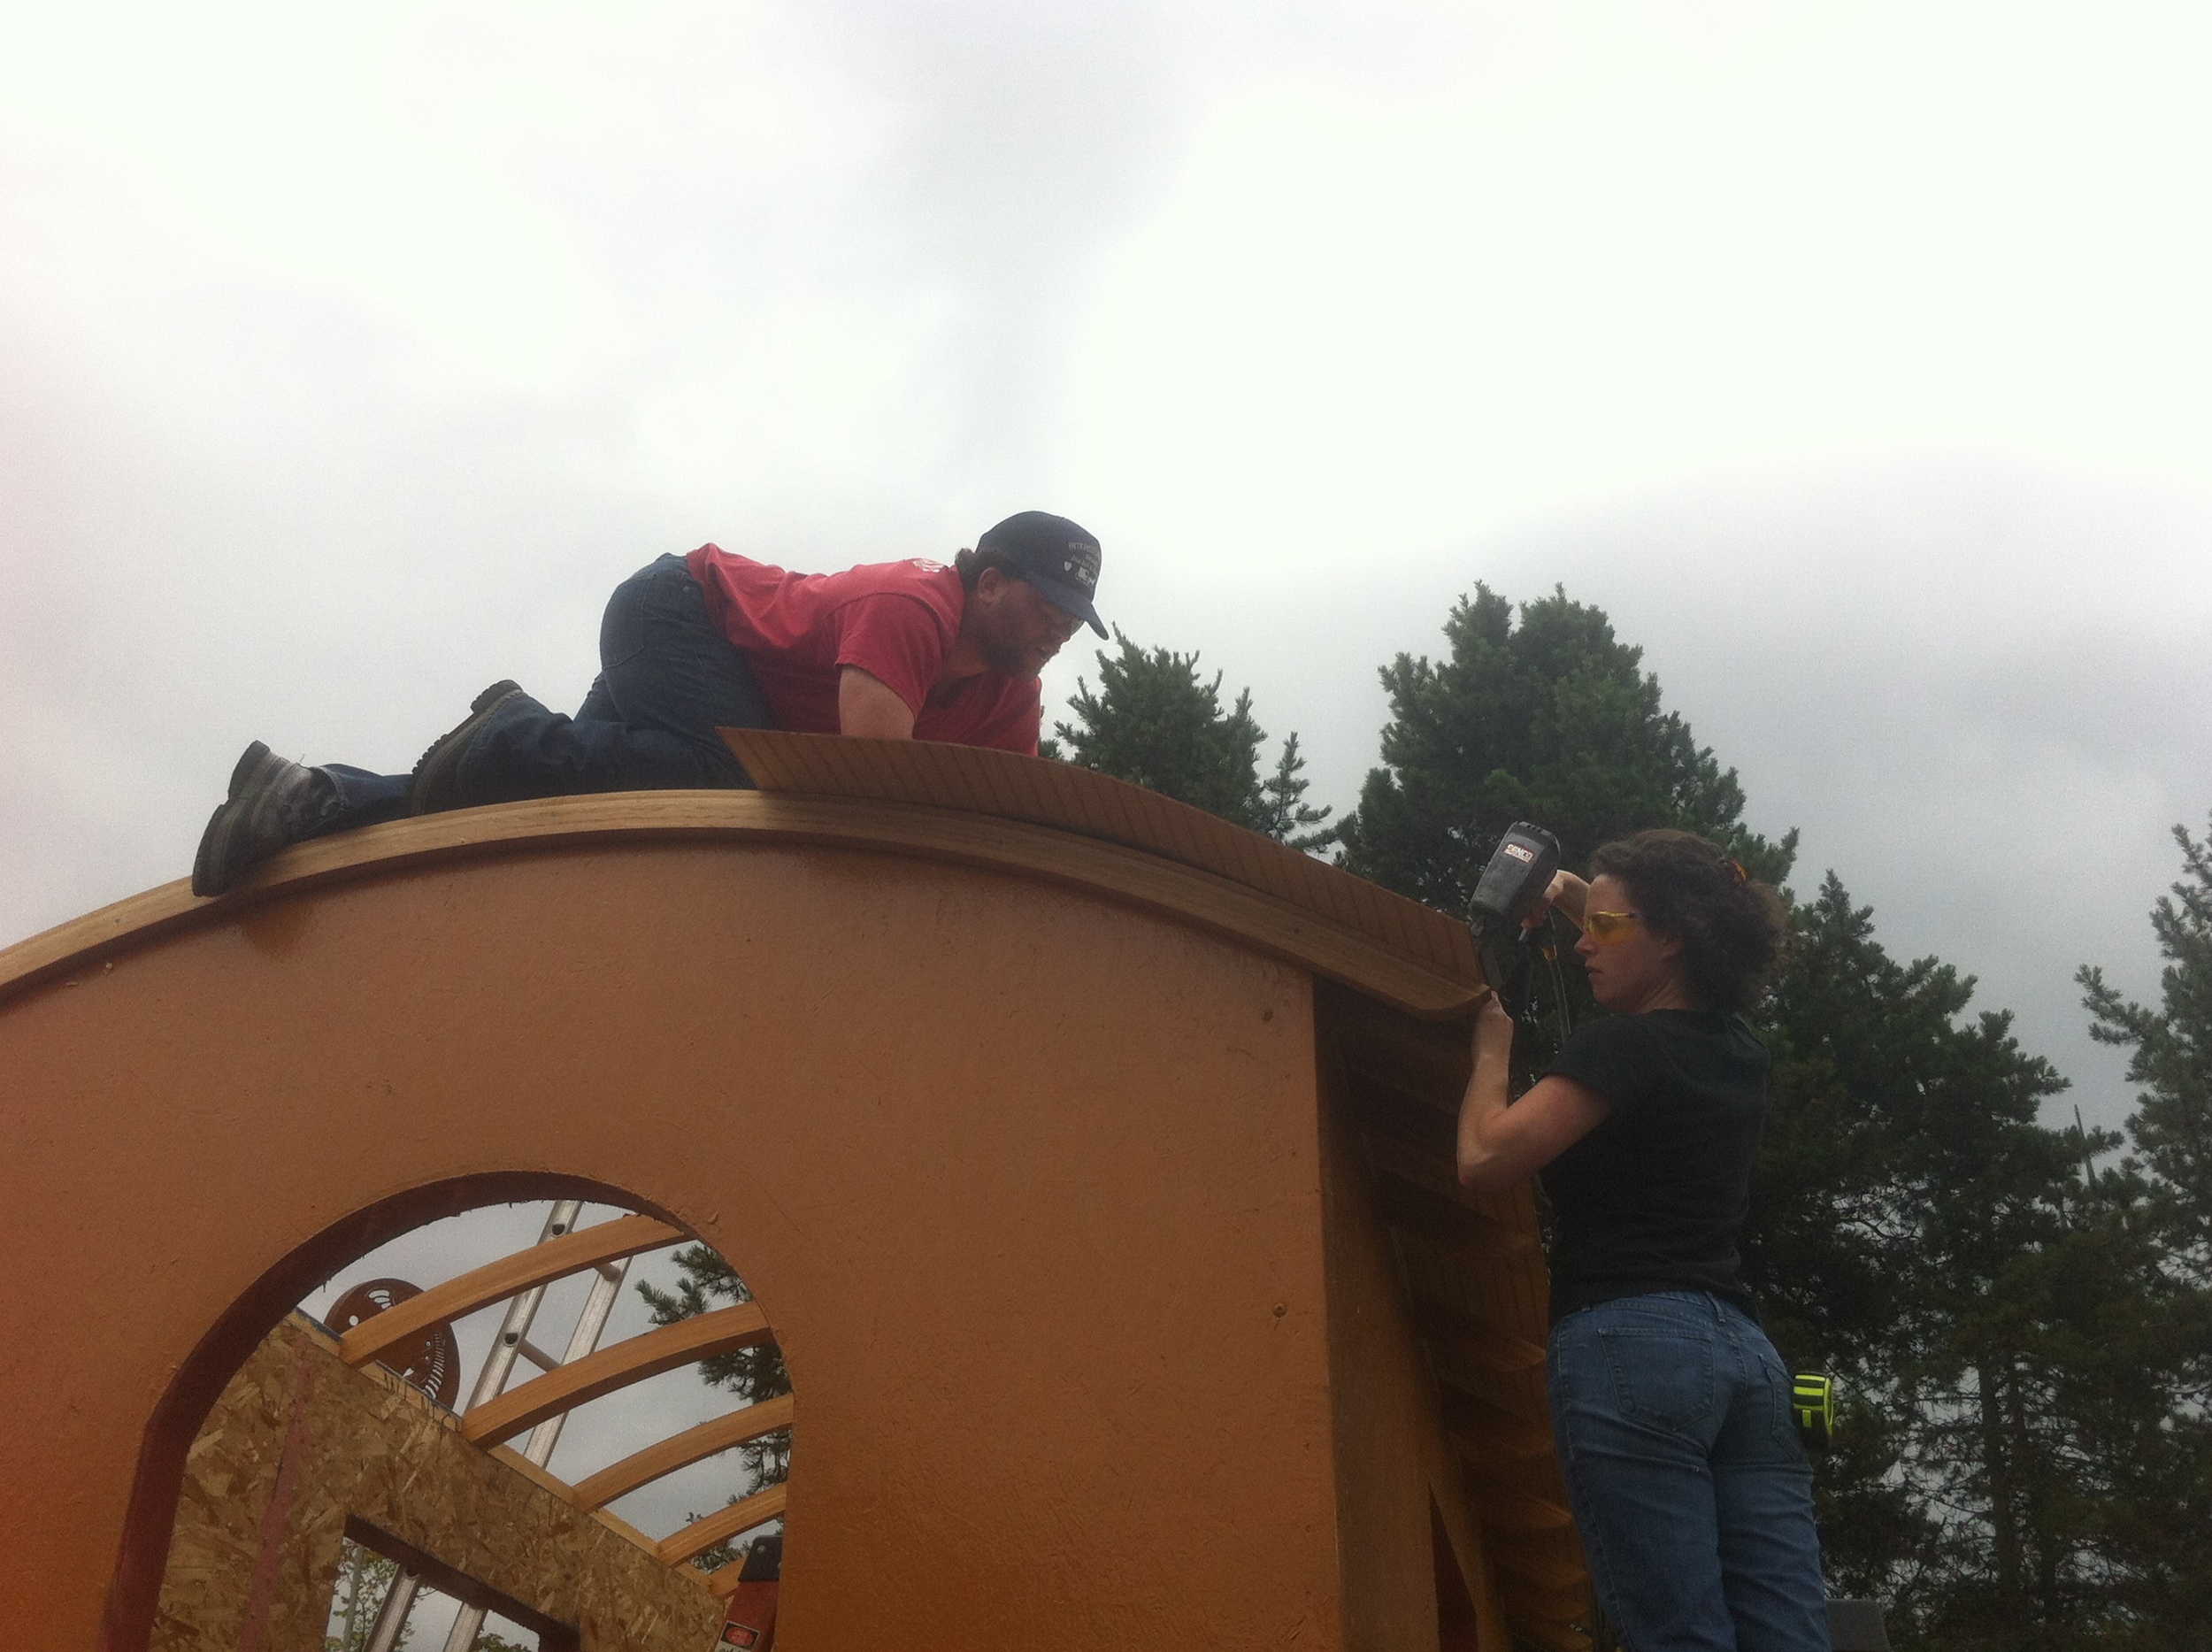
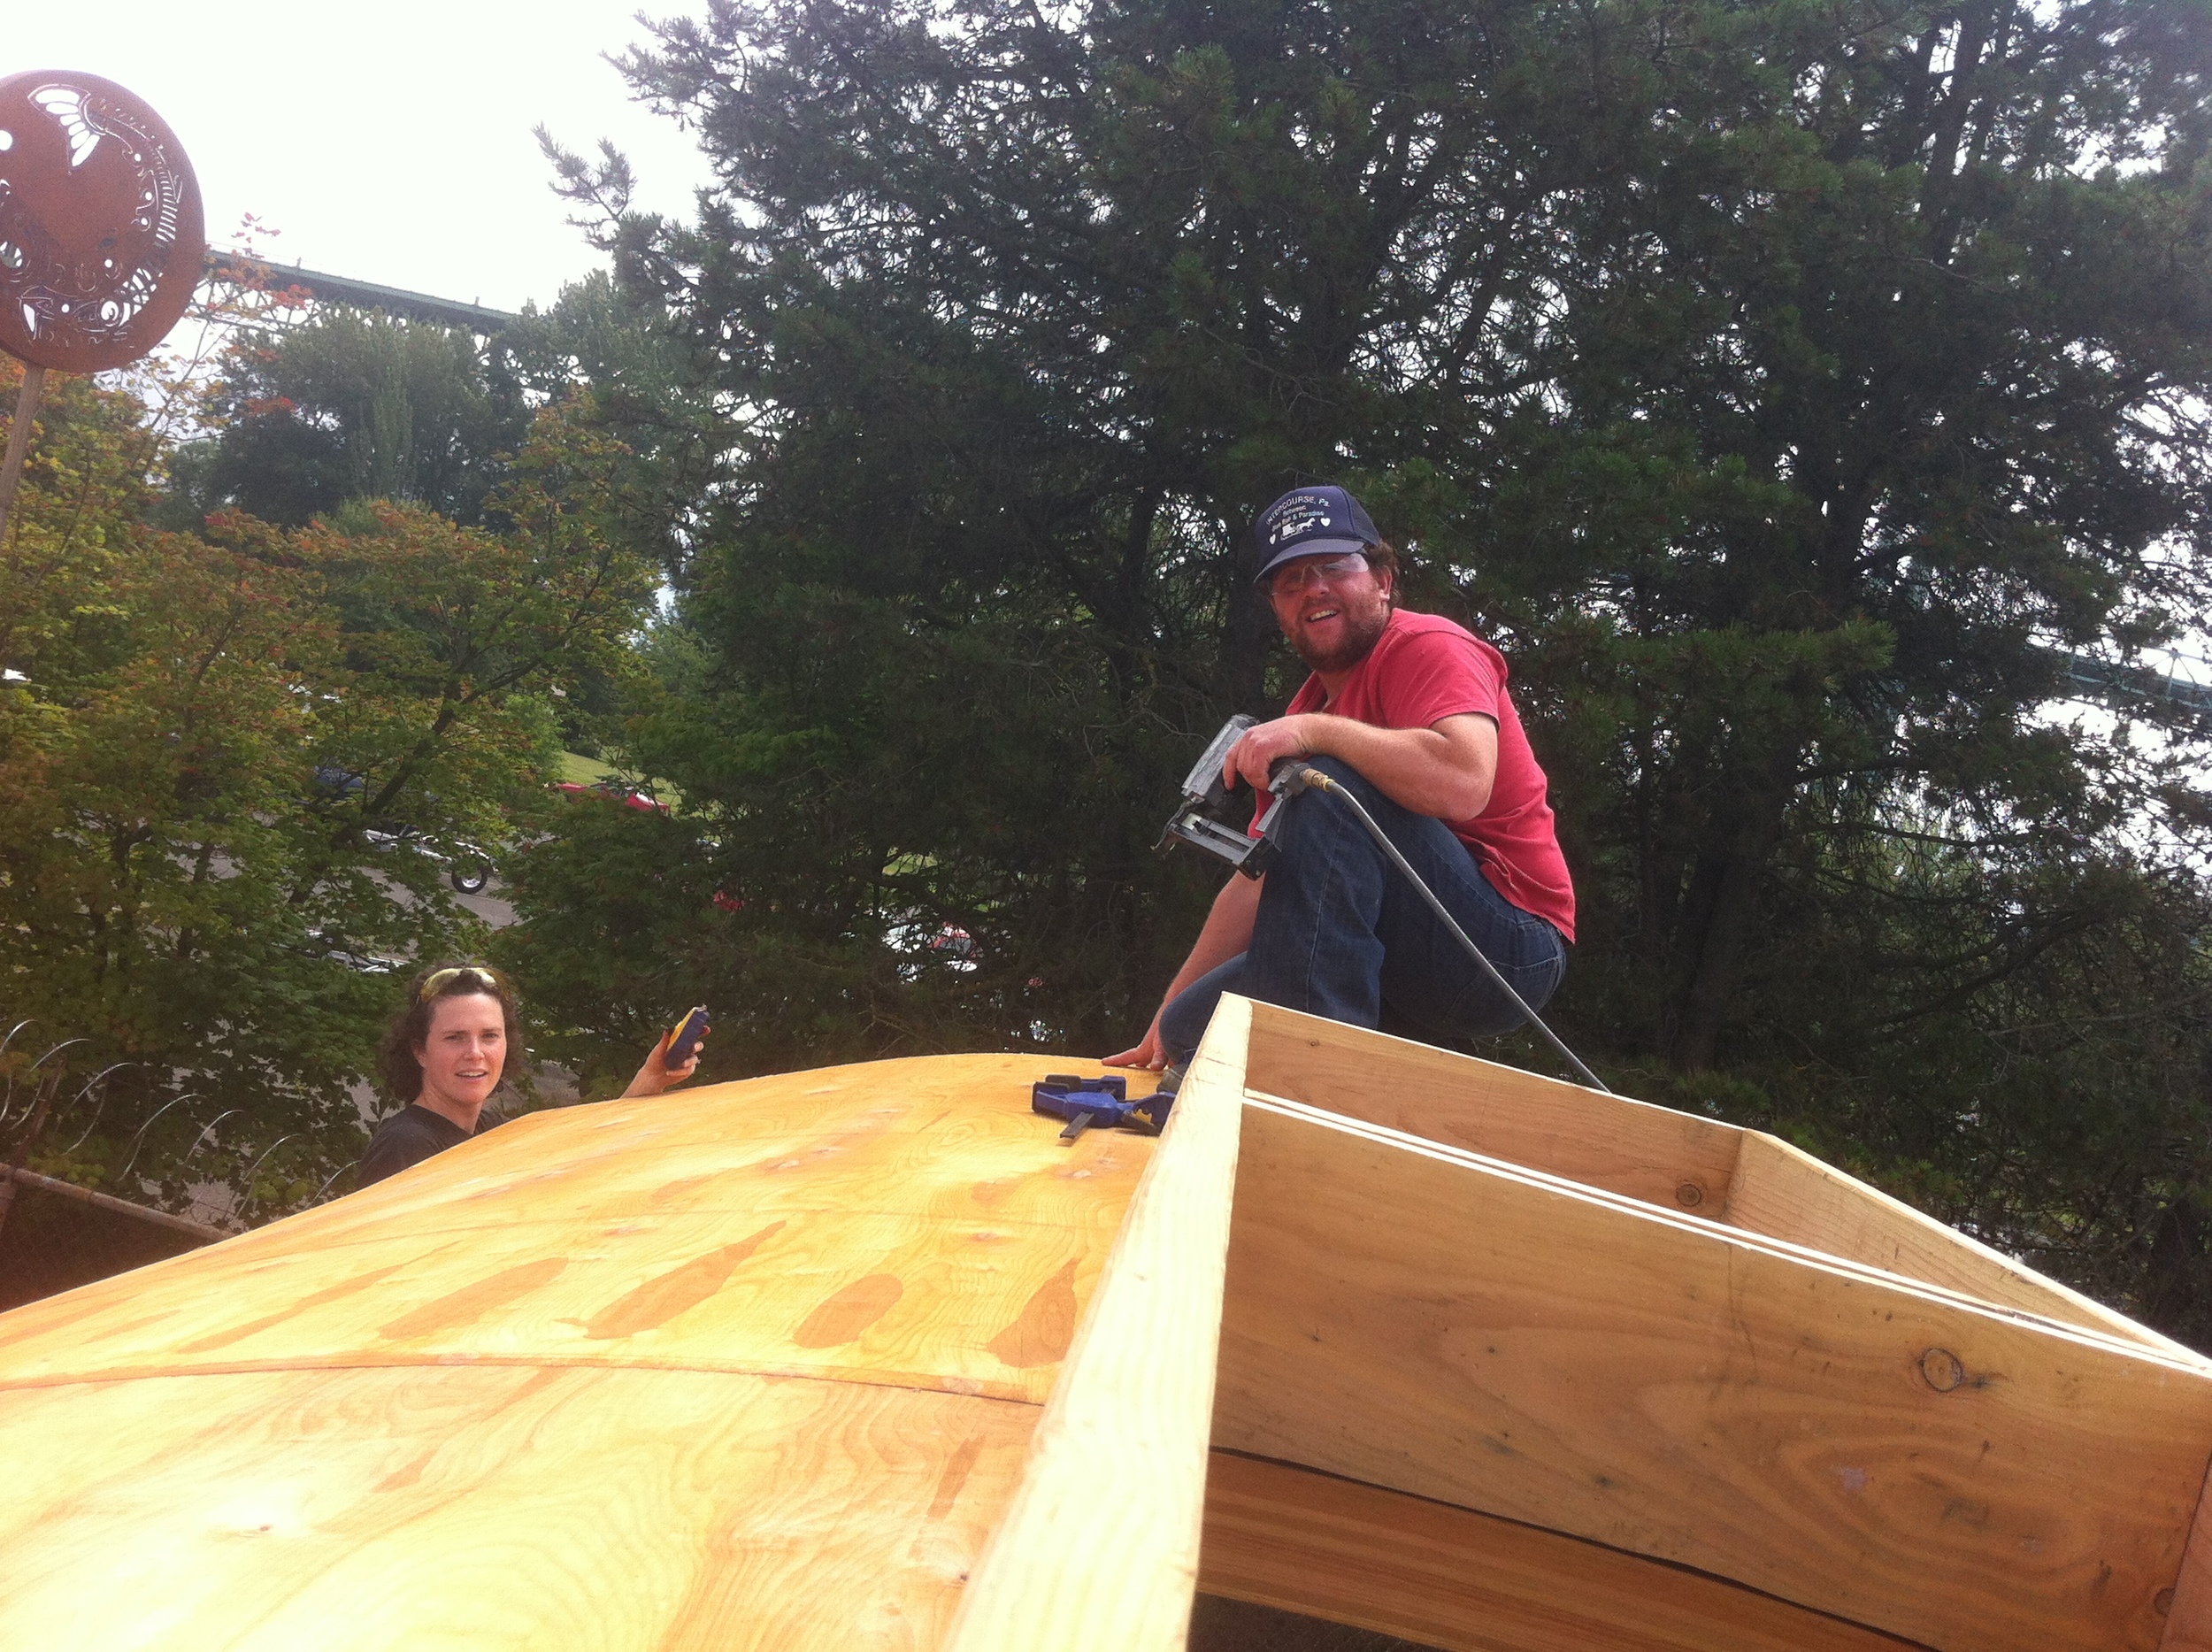
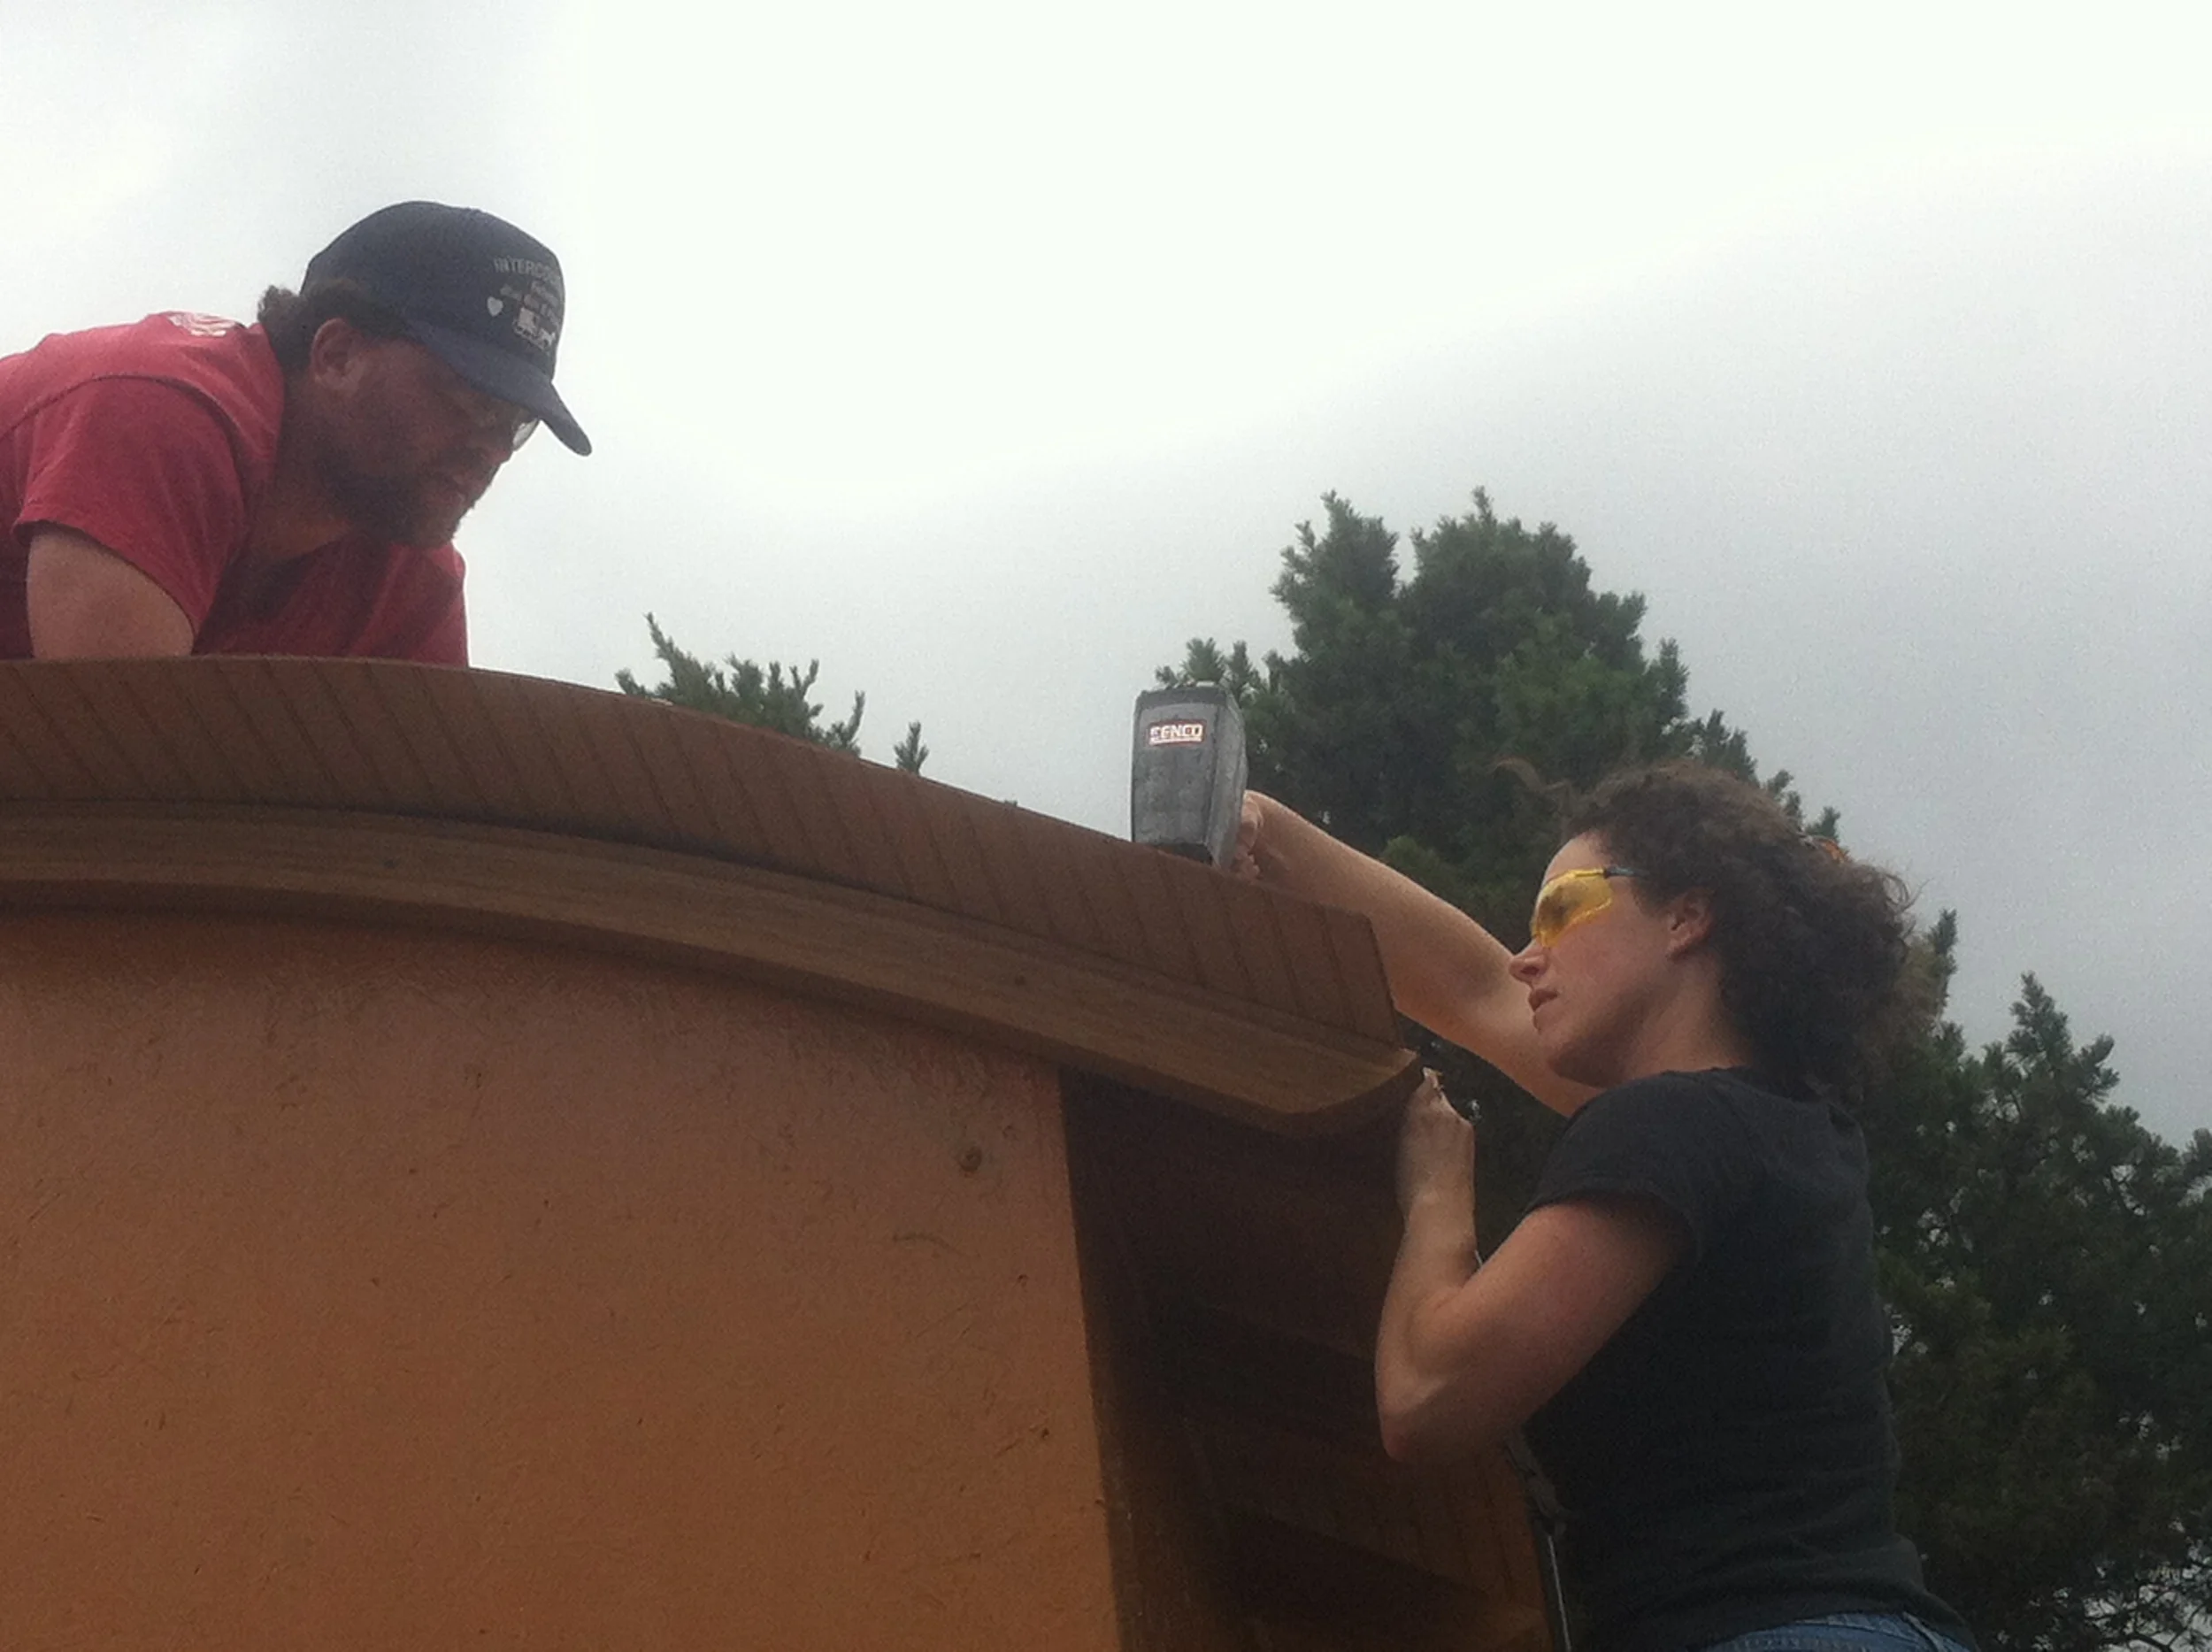
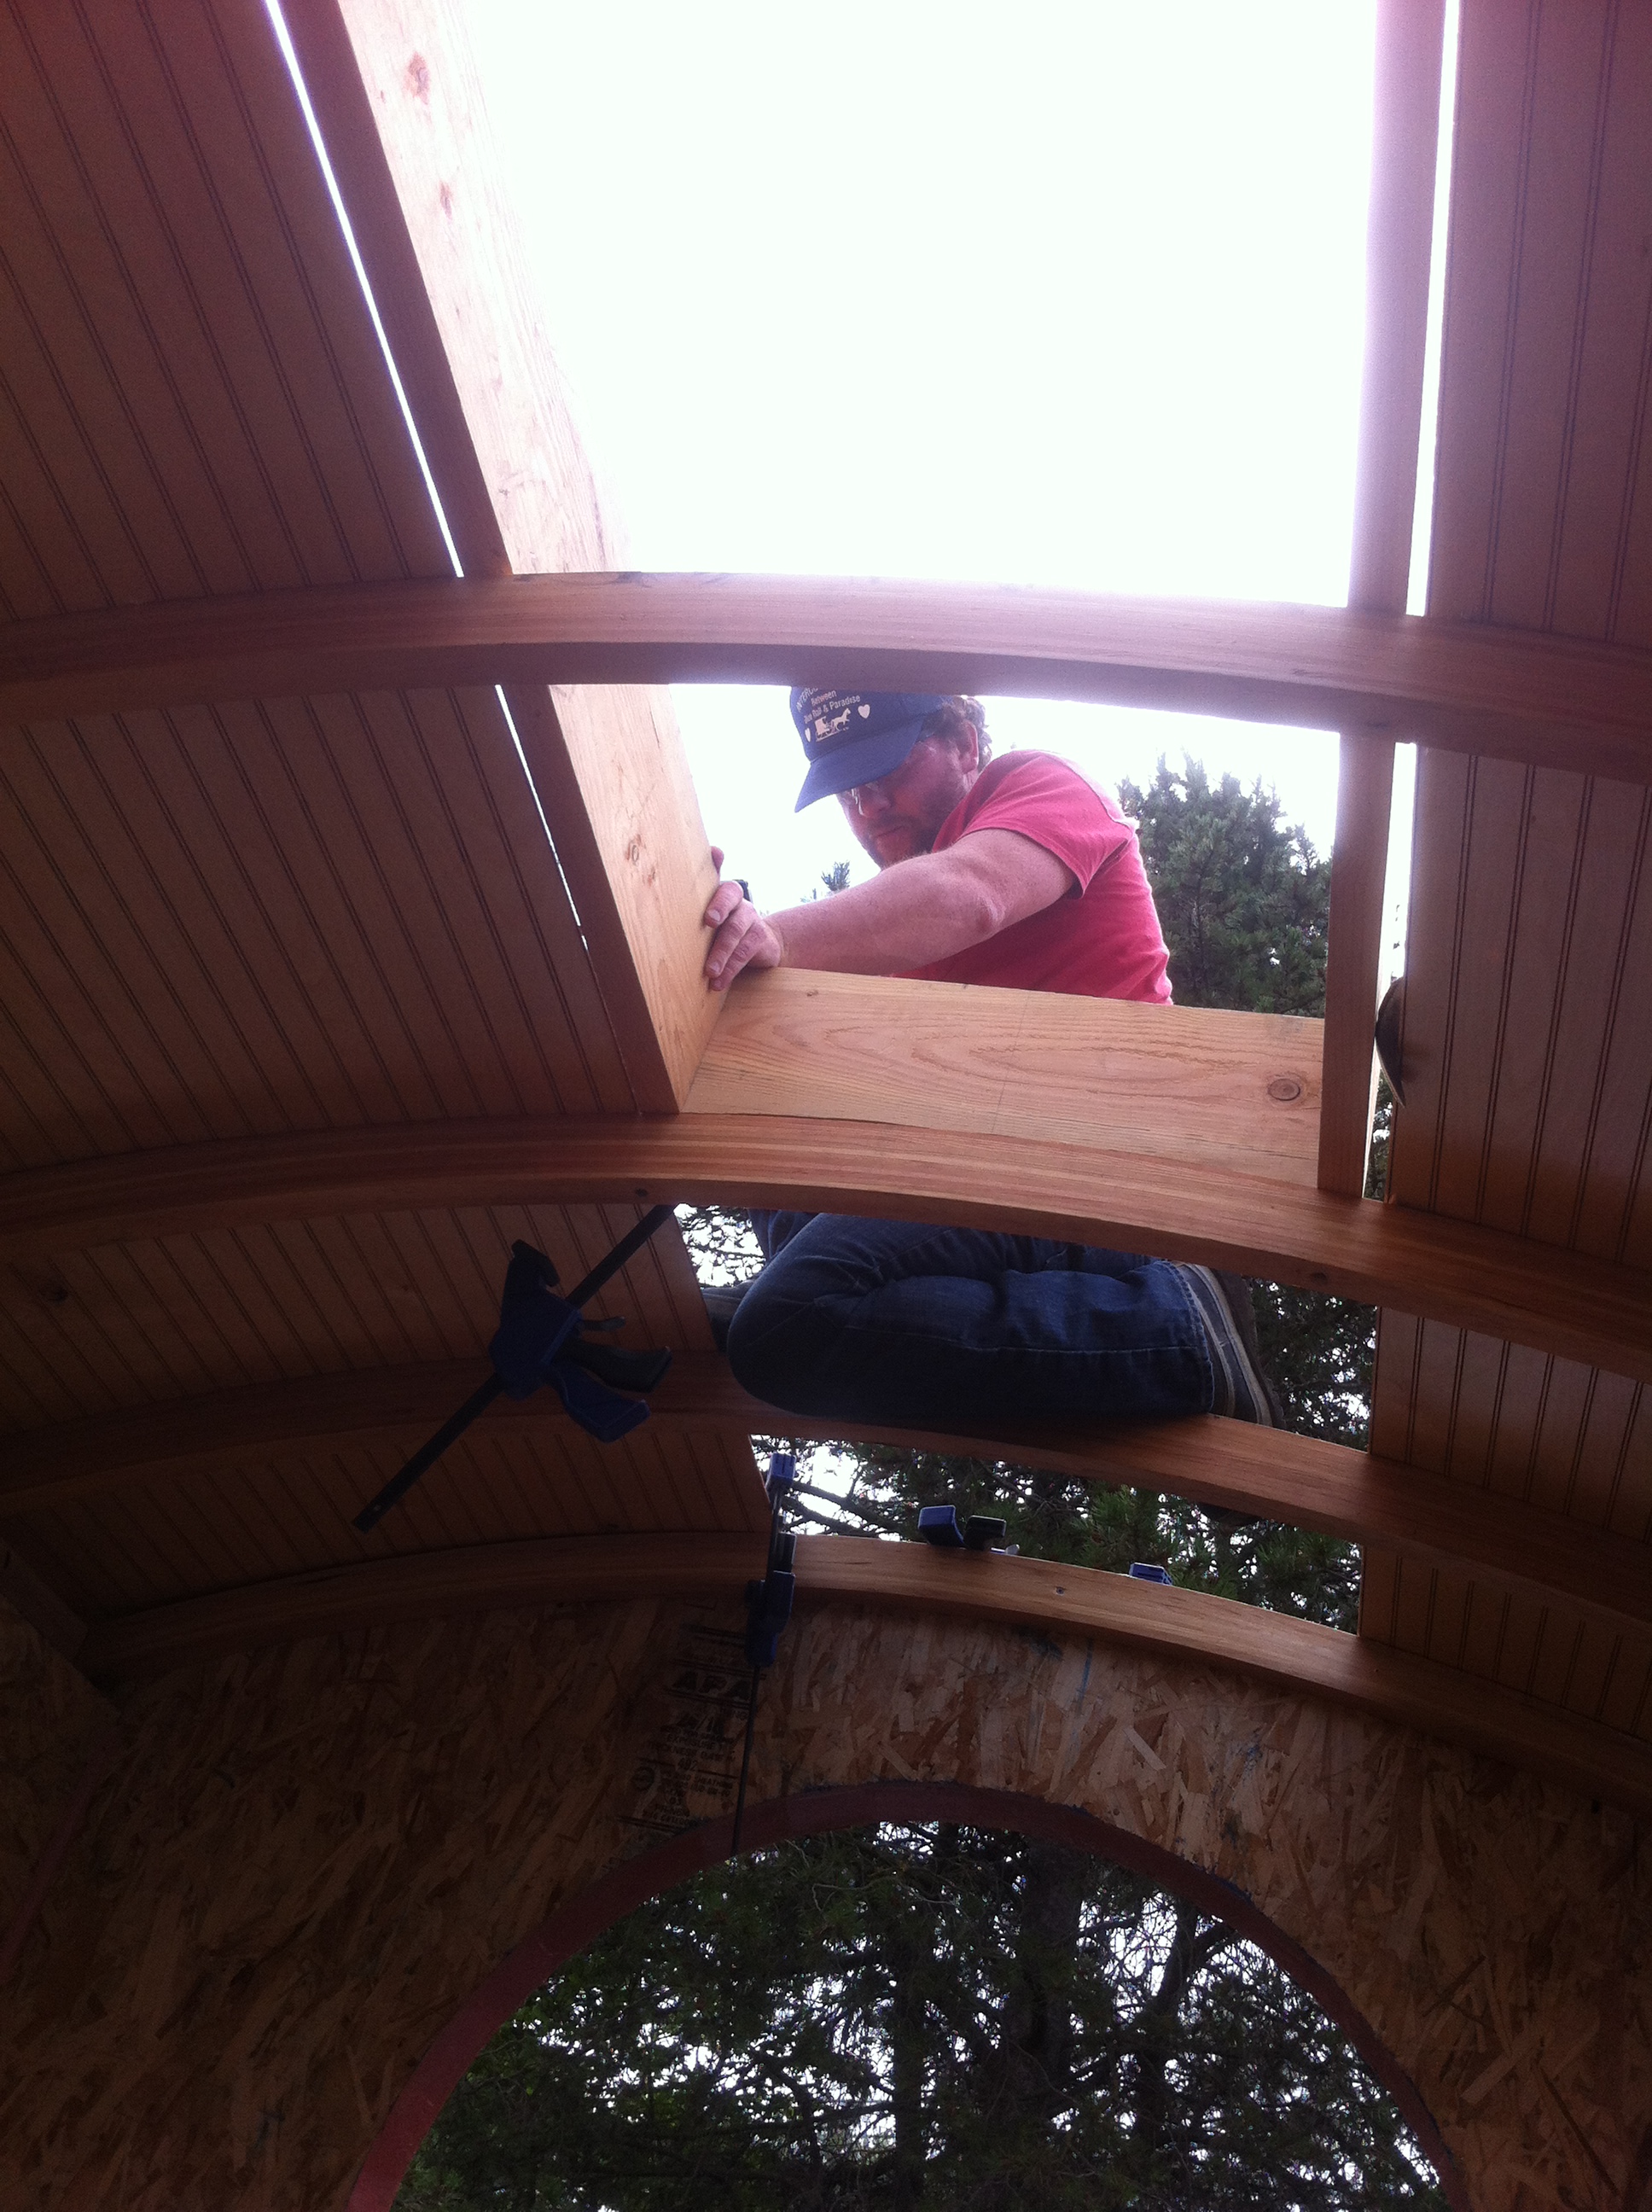
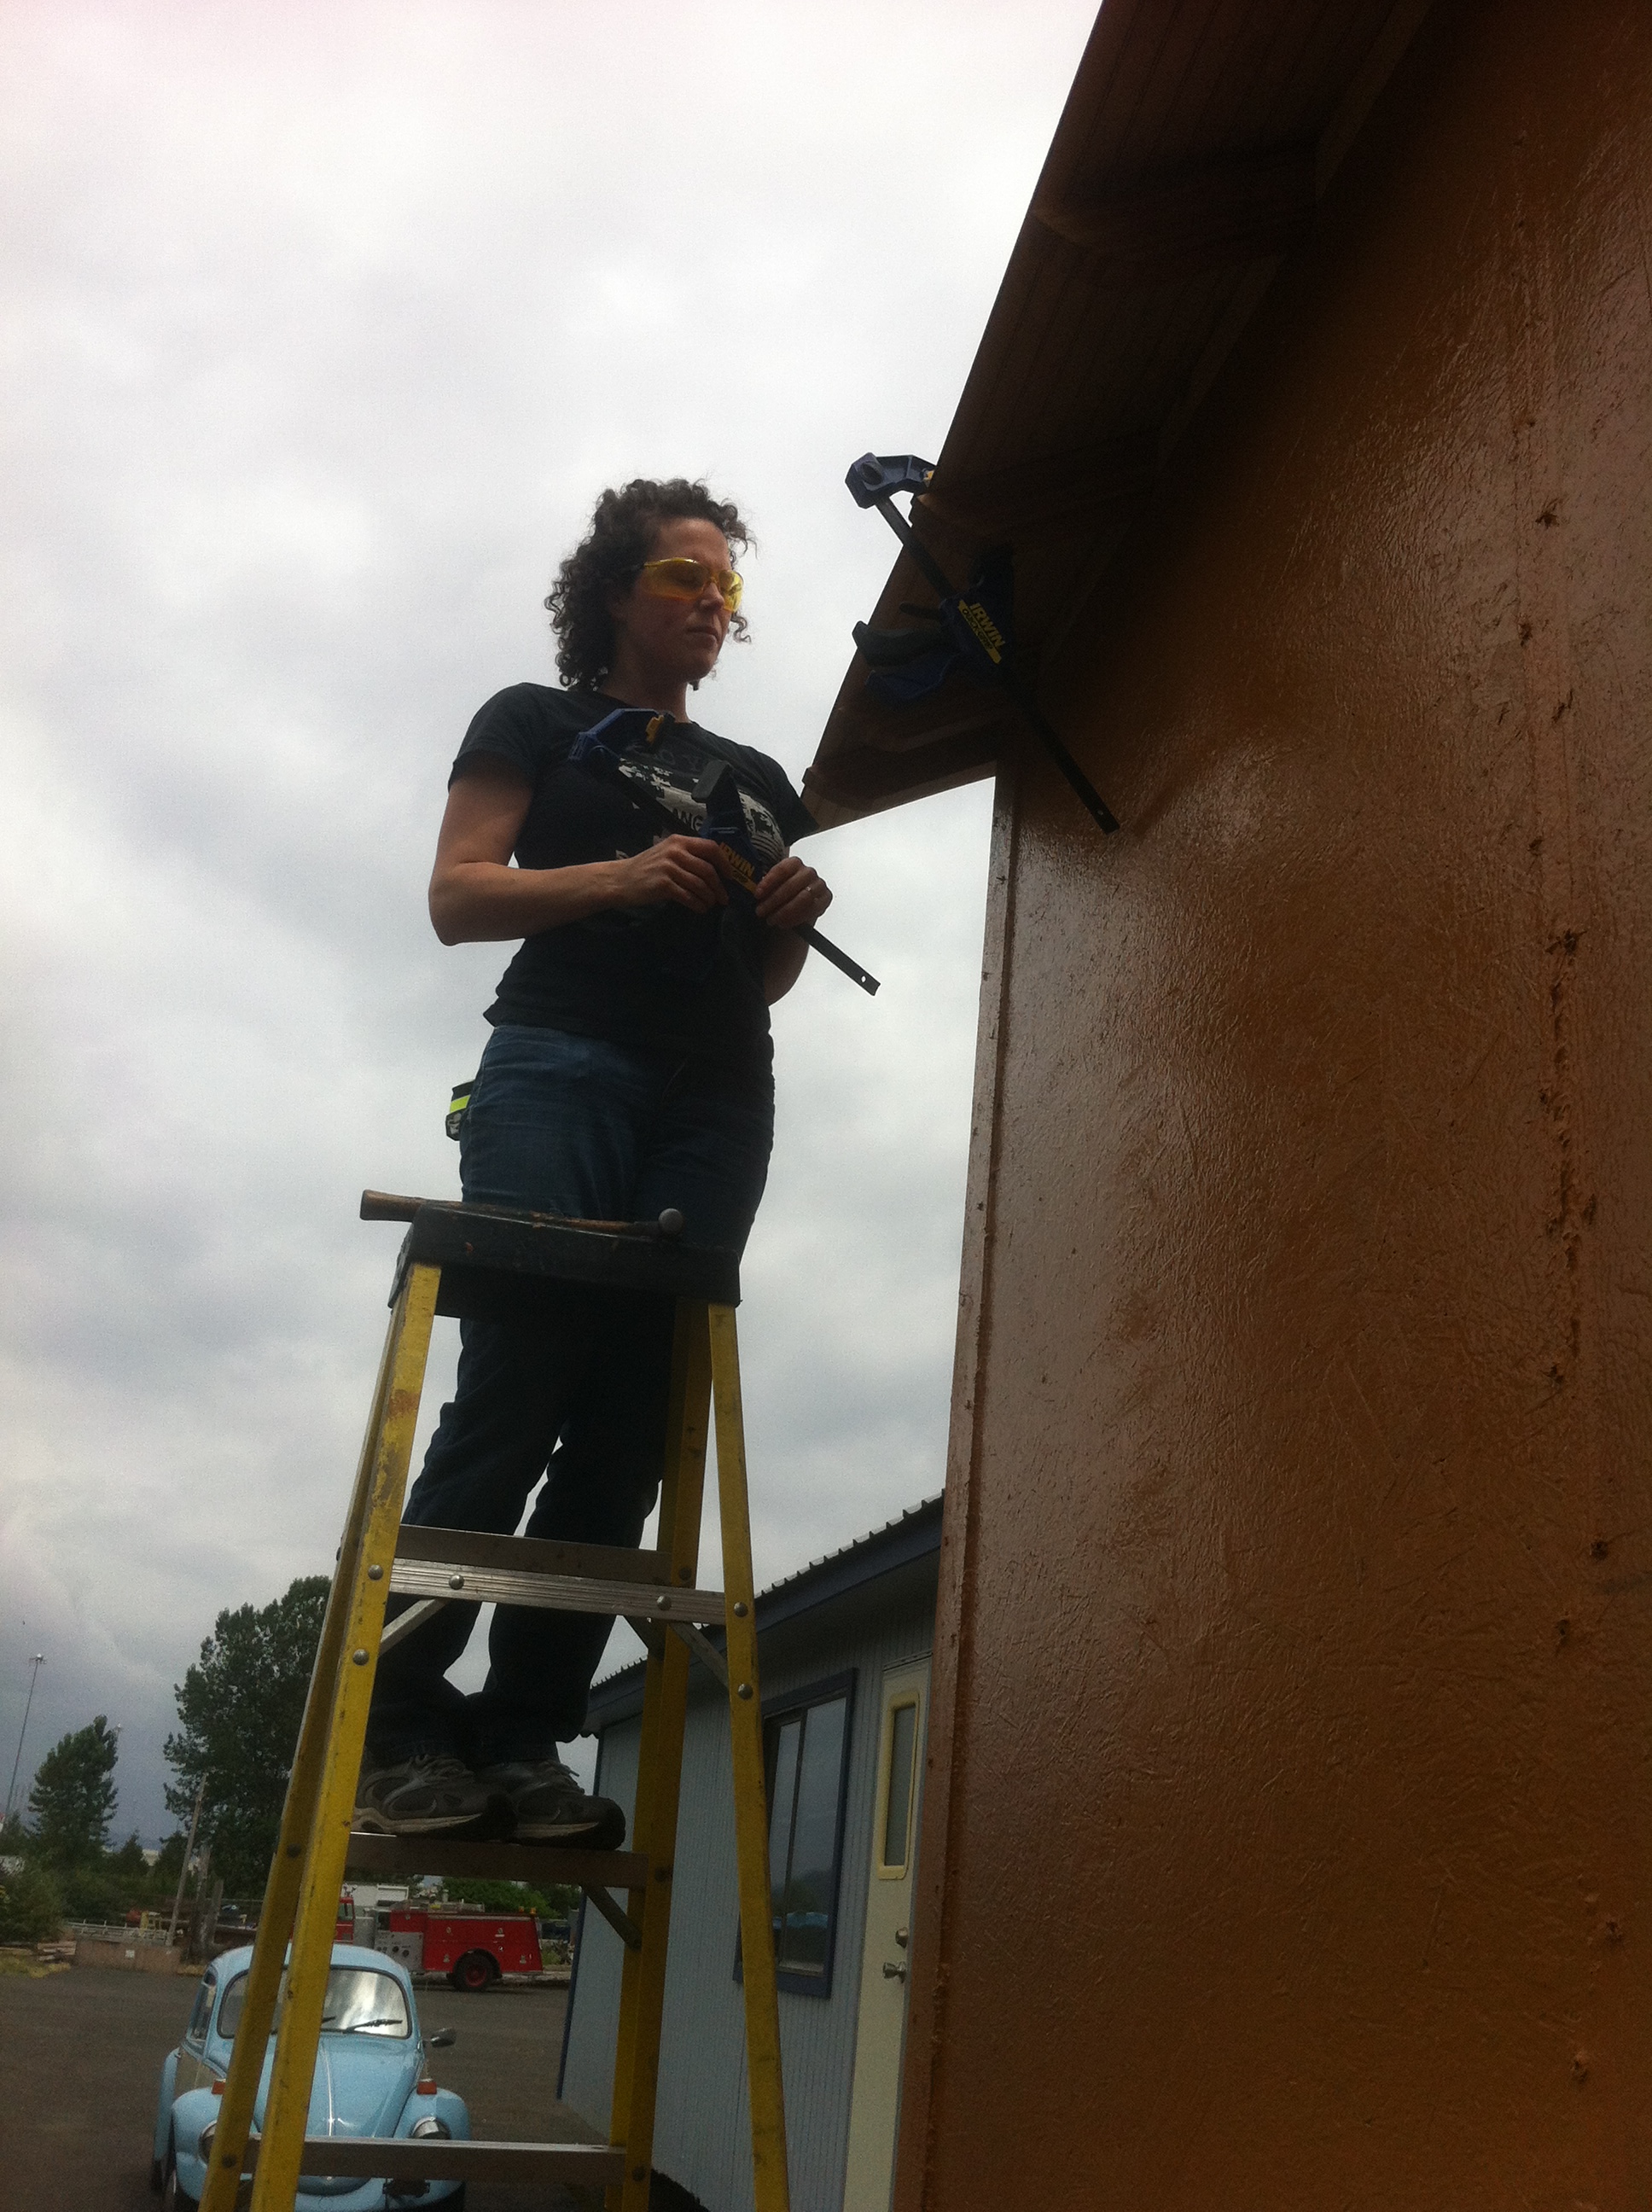
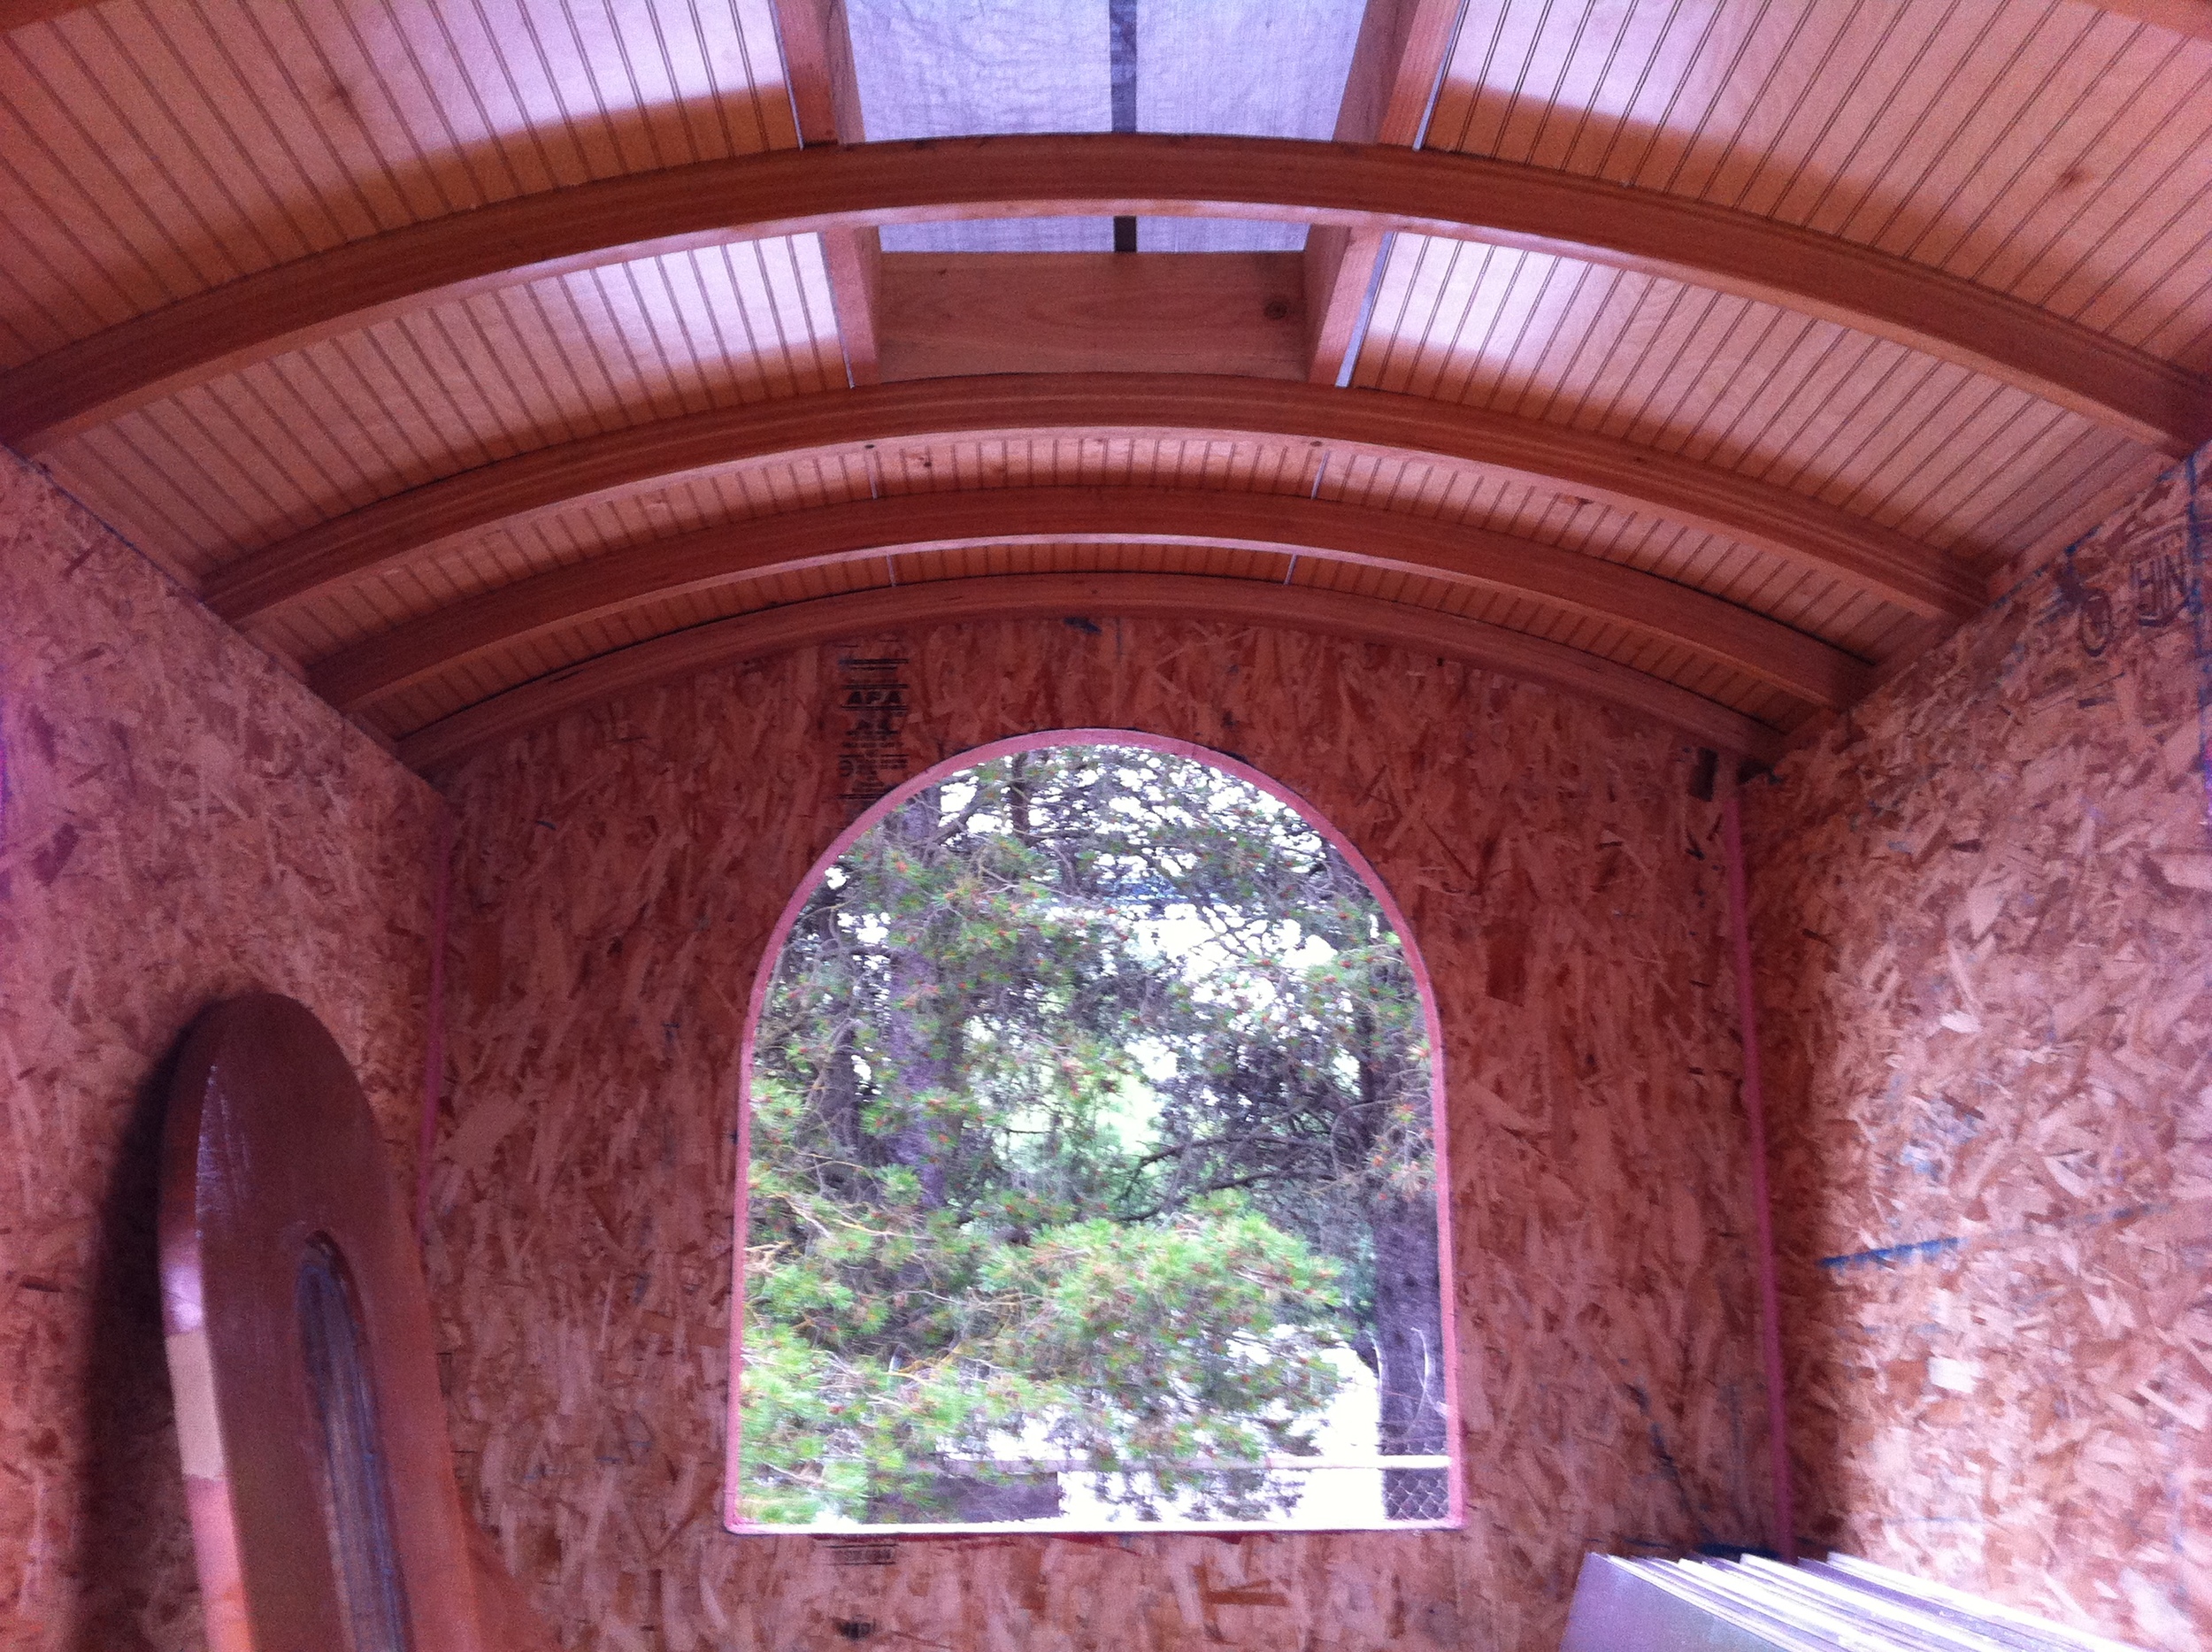
Meanwhile, Kenny, Natalie, Alex, and I installed the bead board ceiling over the rafters. (BTW, Kenny has done roofing professionally so I should probably add a "don't try this at home" to the photos below!) We finally had a decent stapler this time, thanks to Eric for letting me borrow his pneumatic. Having the right tool for the job makes all the difference in the world! On each side of the skylight box we stapled two full sheets of pre-finished birch paneling detailed to look like bead board. Then we cut a fifth sheet of bead board panel into two smaller pieces to fill in the gap on either end of the skylight box. Kenny and Alex notched away the bottom corners so that it could rest on the rafter along with the skylight box. Along the way we employed most of my clamps. You really never can have too many clamps!
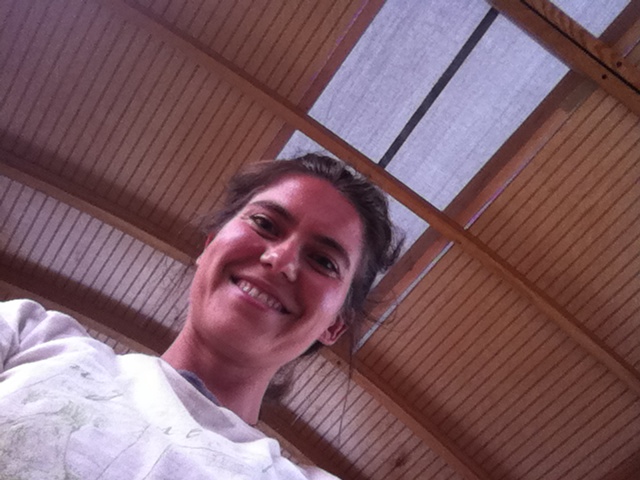
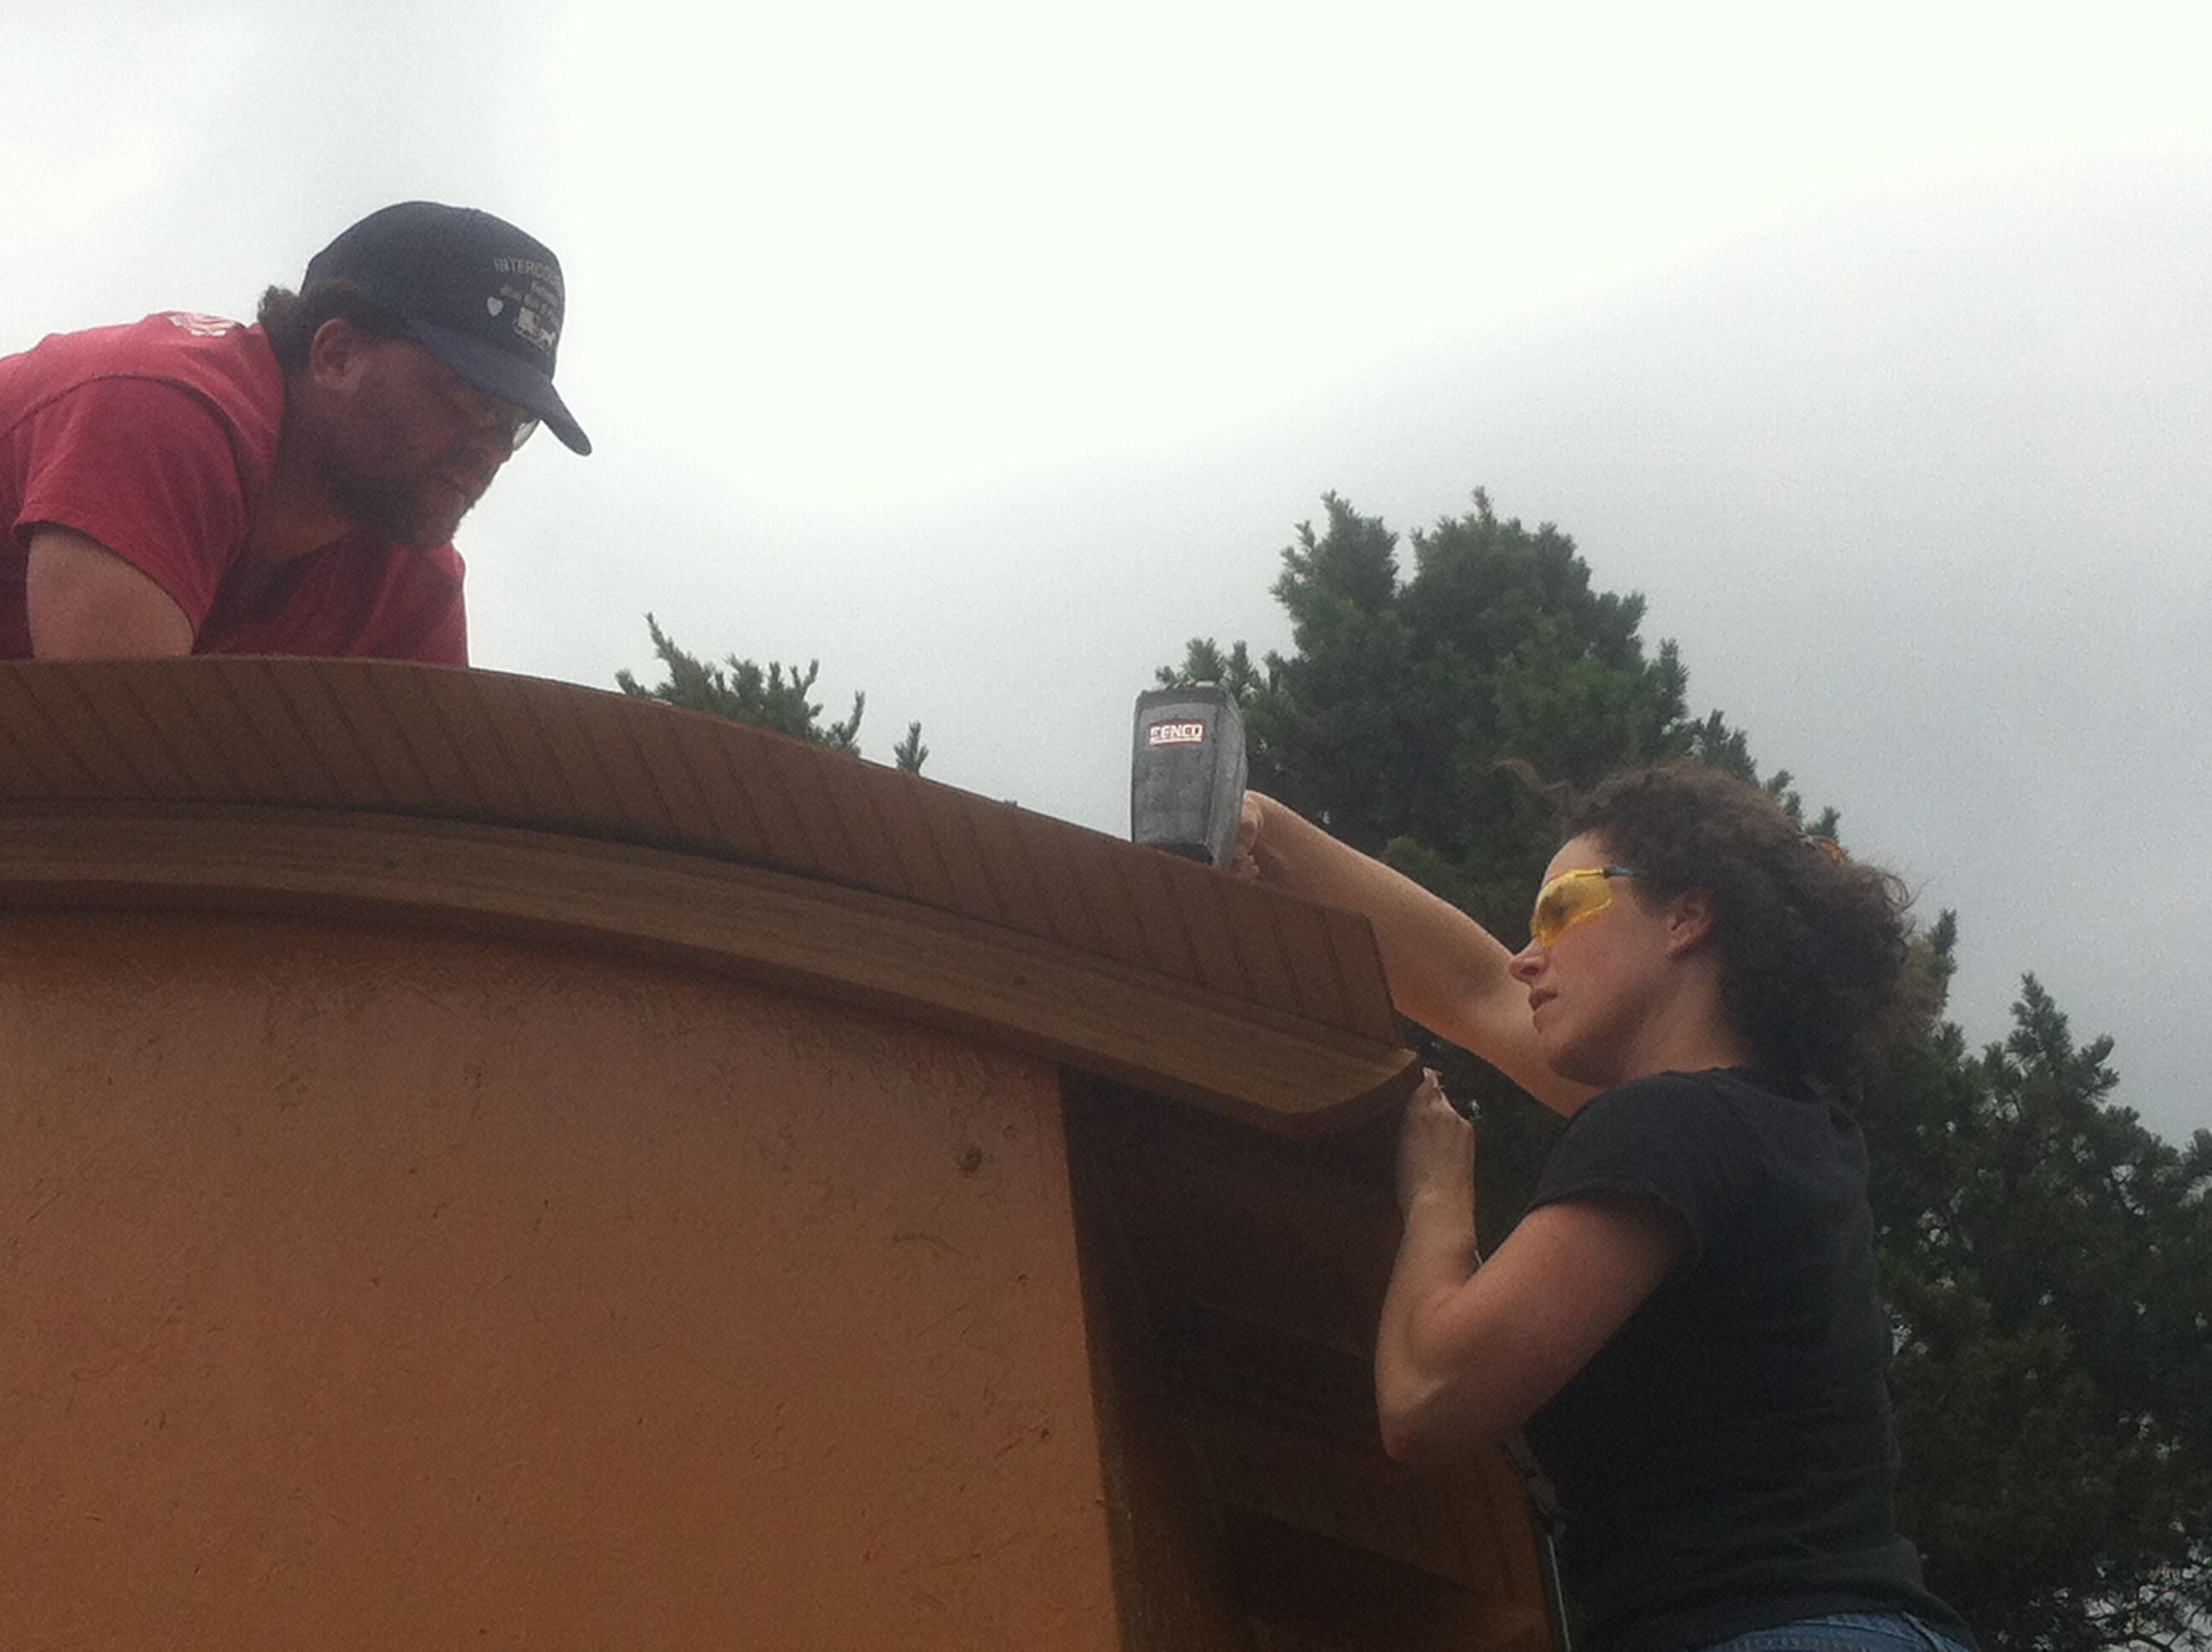 You might wonder why my roof is taking so long when my build buddy Laura Klement had her roof done weeks ago. Basically, because of my exposed rafters I wasn't able to sheathe the vardo to get it dried in and then insulate and install the ceiling from the inside. So it's taking longer to get the roof up than it would on a standard roof. I'm so sick of tarpping, I wish I were actually sealing up my vardo, but at least now the ceiling's up on my vardo! It took most of the day, because of the curves and the little variations here and there. But it sure looks beautiful! It's starting to come together like I envisioned, thanks to my Tiny House Helpers!
 We also picked up EPS foam board for the roof insulation (it seems the 1" is bendable enough to really make that curve well so we'll stack it up). I have 5 1/2 inches of insulation in my floors and 3 1/2" in my walls, so I'm hoping to have 3" in my roof. That's all sort of backwards as really it would be best to have the most in the roof, but my roof is mostly skylights, so I'm not sure it will make an enormous difference putting more insulation in there. Instead I'm focusing on air sealing and making plans for shading as well as I can.
As the ceiling went up I noodled over a new plan for the edge of the roof since my initial plan of putting up 2x4s on end was clearly not going to work once I looked at it in the field. When I'd done my sketches I hadn't accounted for the curve of the rafter tails which reduces the amount of rafter we had to bite into with the Timber Tite screws. I'll need to keep working on a plan for that. So we decided to tarp it up and pack it in around 5pm. We headed to Occidental Brewing Co to talk tiny. Cheers to a good day's work! Hopefully we'll have a productive day again tomorrow...