


 On day 8 of Yestermorrow's Tiny House Design-Build course we spent our morning on the job site getting the rest of the walls raised. A couple people have been especially enjoying the design portion of the class so they've hunkered down in the studio to learn more about how their buildings work by building models and drawing up sections and elevations. (See more photos in the Day 8 Slideshow.)

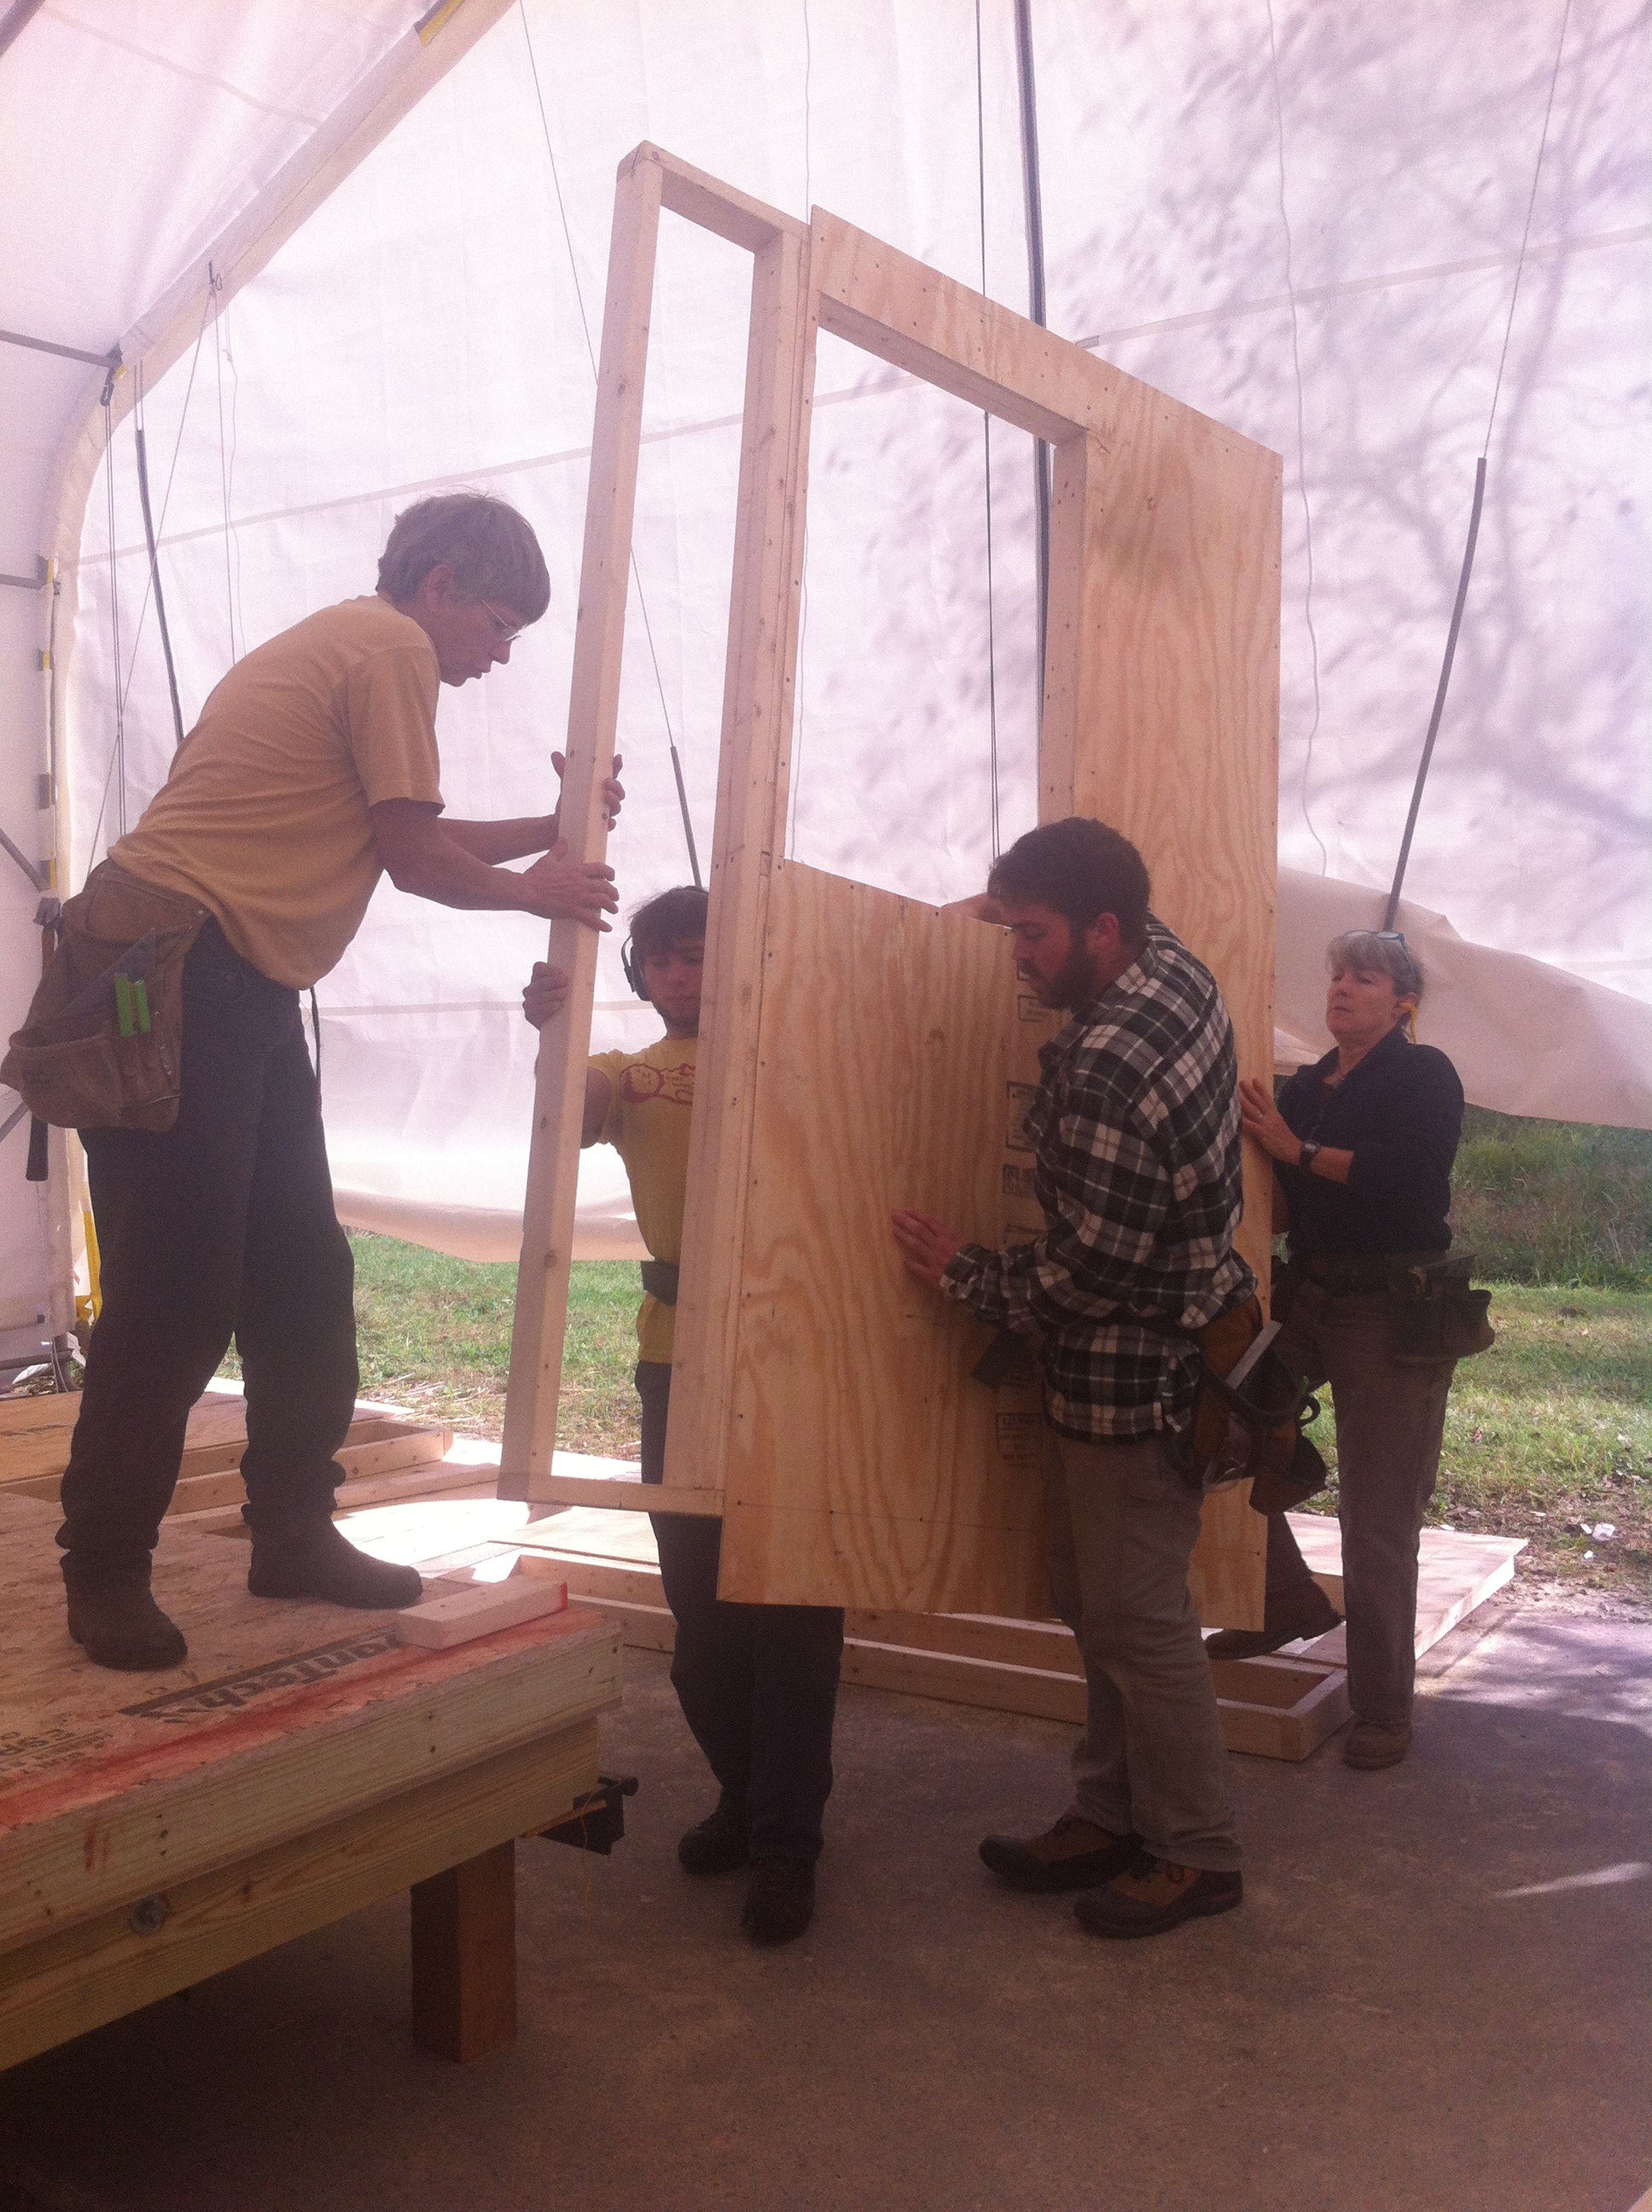
The center sections of the wall are taller because we've done a balloon frame in the area where the dormers will be, so these wall sections are quite heavy. We've braced each of the walls up in place while we square the walls and attached them to each other. Yesterday when we were sheathing we cut out most of the window openings using the circular saw to make plunge cuts. (The trick here is to drill a hole in each corner from the inside of the wall so that you can see the starting and stopping points for your cut.) However, we didn't get all the windows cut out so Julien tackled the rest today with a reciprocating saw once the walls were up. It's messier work, but definitely satisfying to see those windows pop open!

Meanwhile, Laura figured out a plan for blocking out around the wheel wells with pressure treated 2x6s so that we would have a surface to which we can nail our sheathing. It took some head scratching, just as it did on Day 4 of the Tiny Barn building blitz.
After supper Paul gave one last slideshow about proportion, line, and color. Then everyone got back to work on their own tiny house designs in the studio. The models are shaping up nicely and many people have glued a copy of their floor plans to the models which makes them easier to understand. It's so fun to see the houses people have described start to take shape.