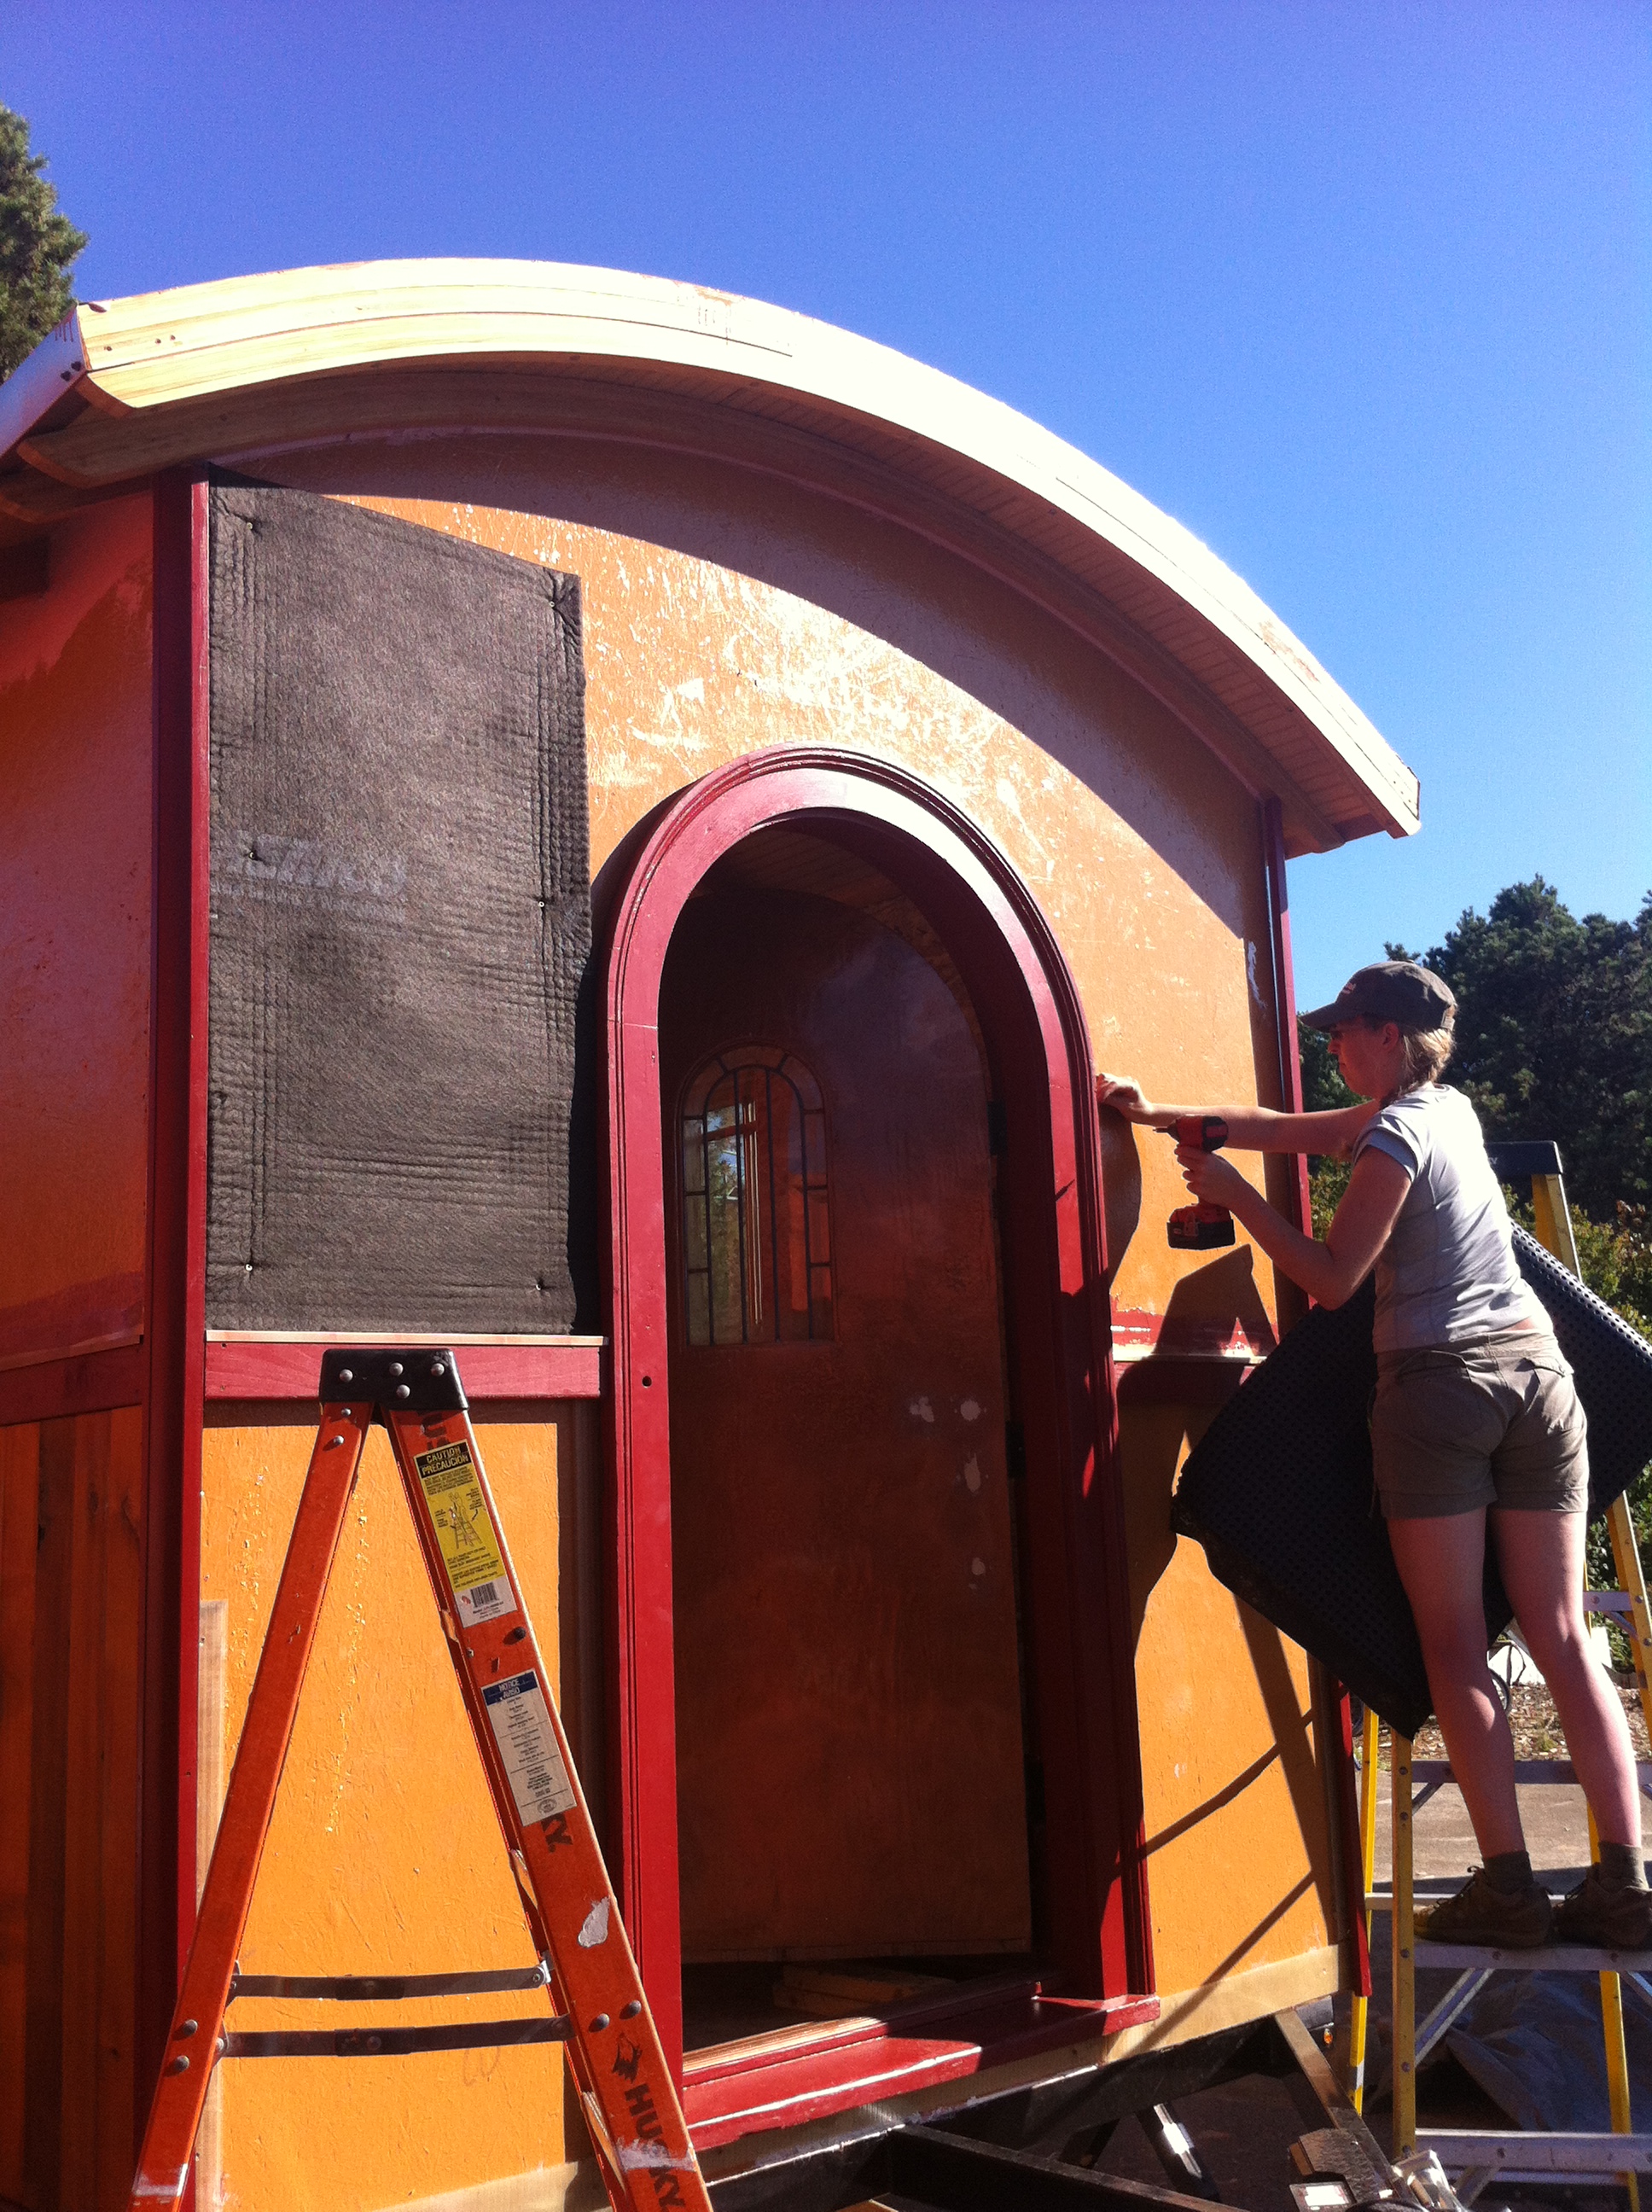
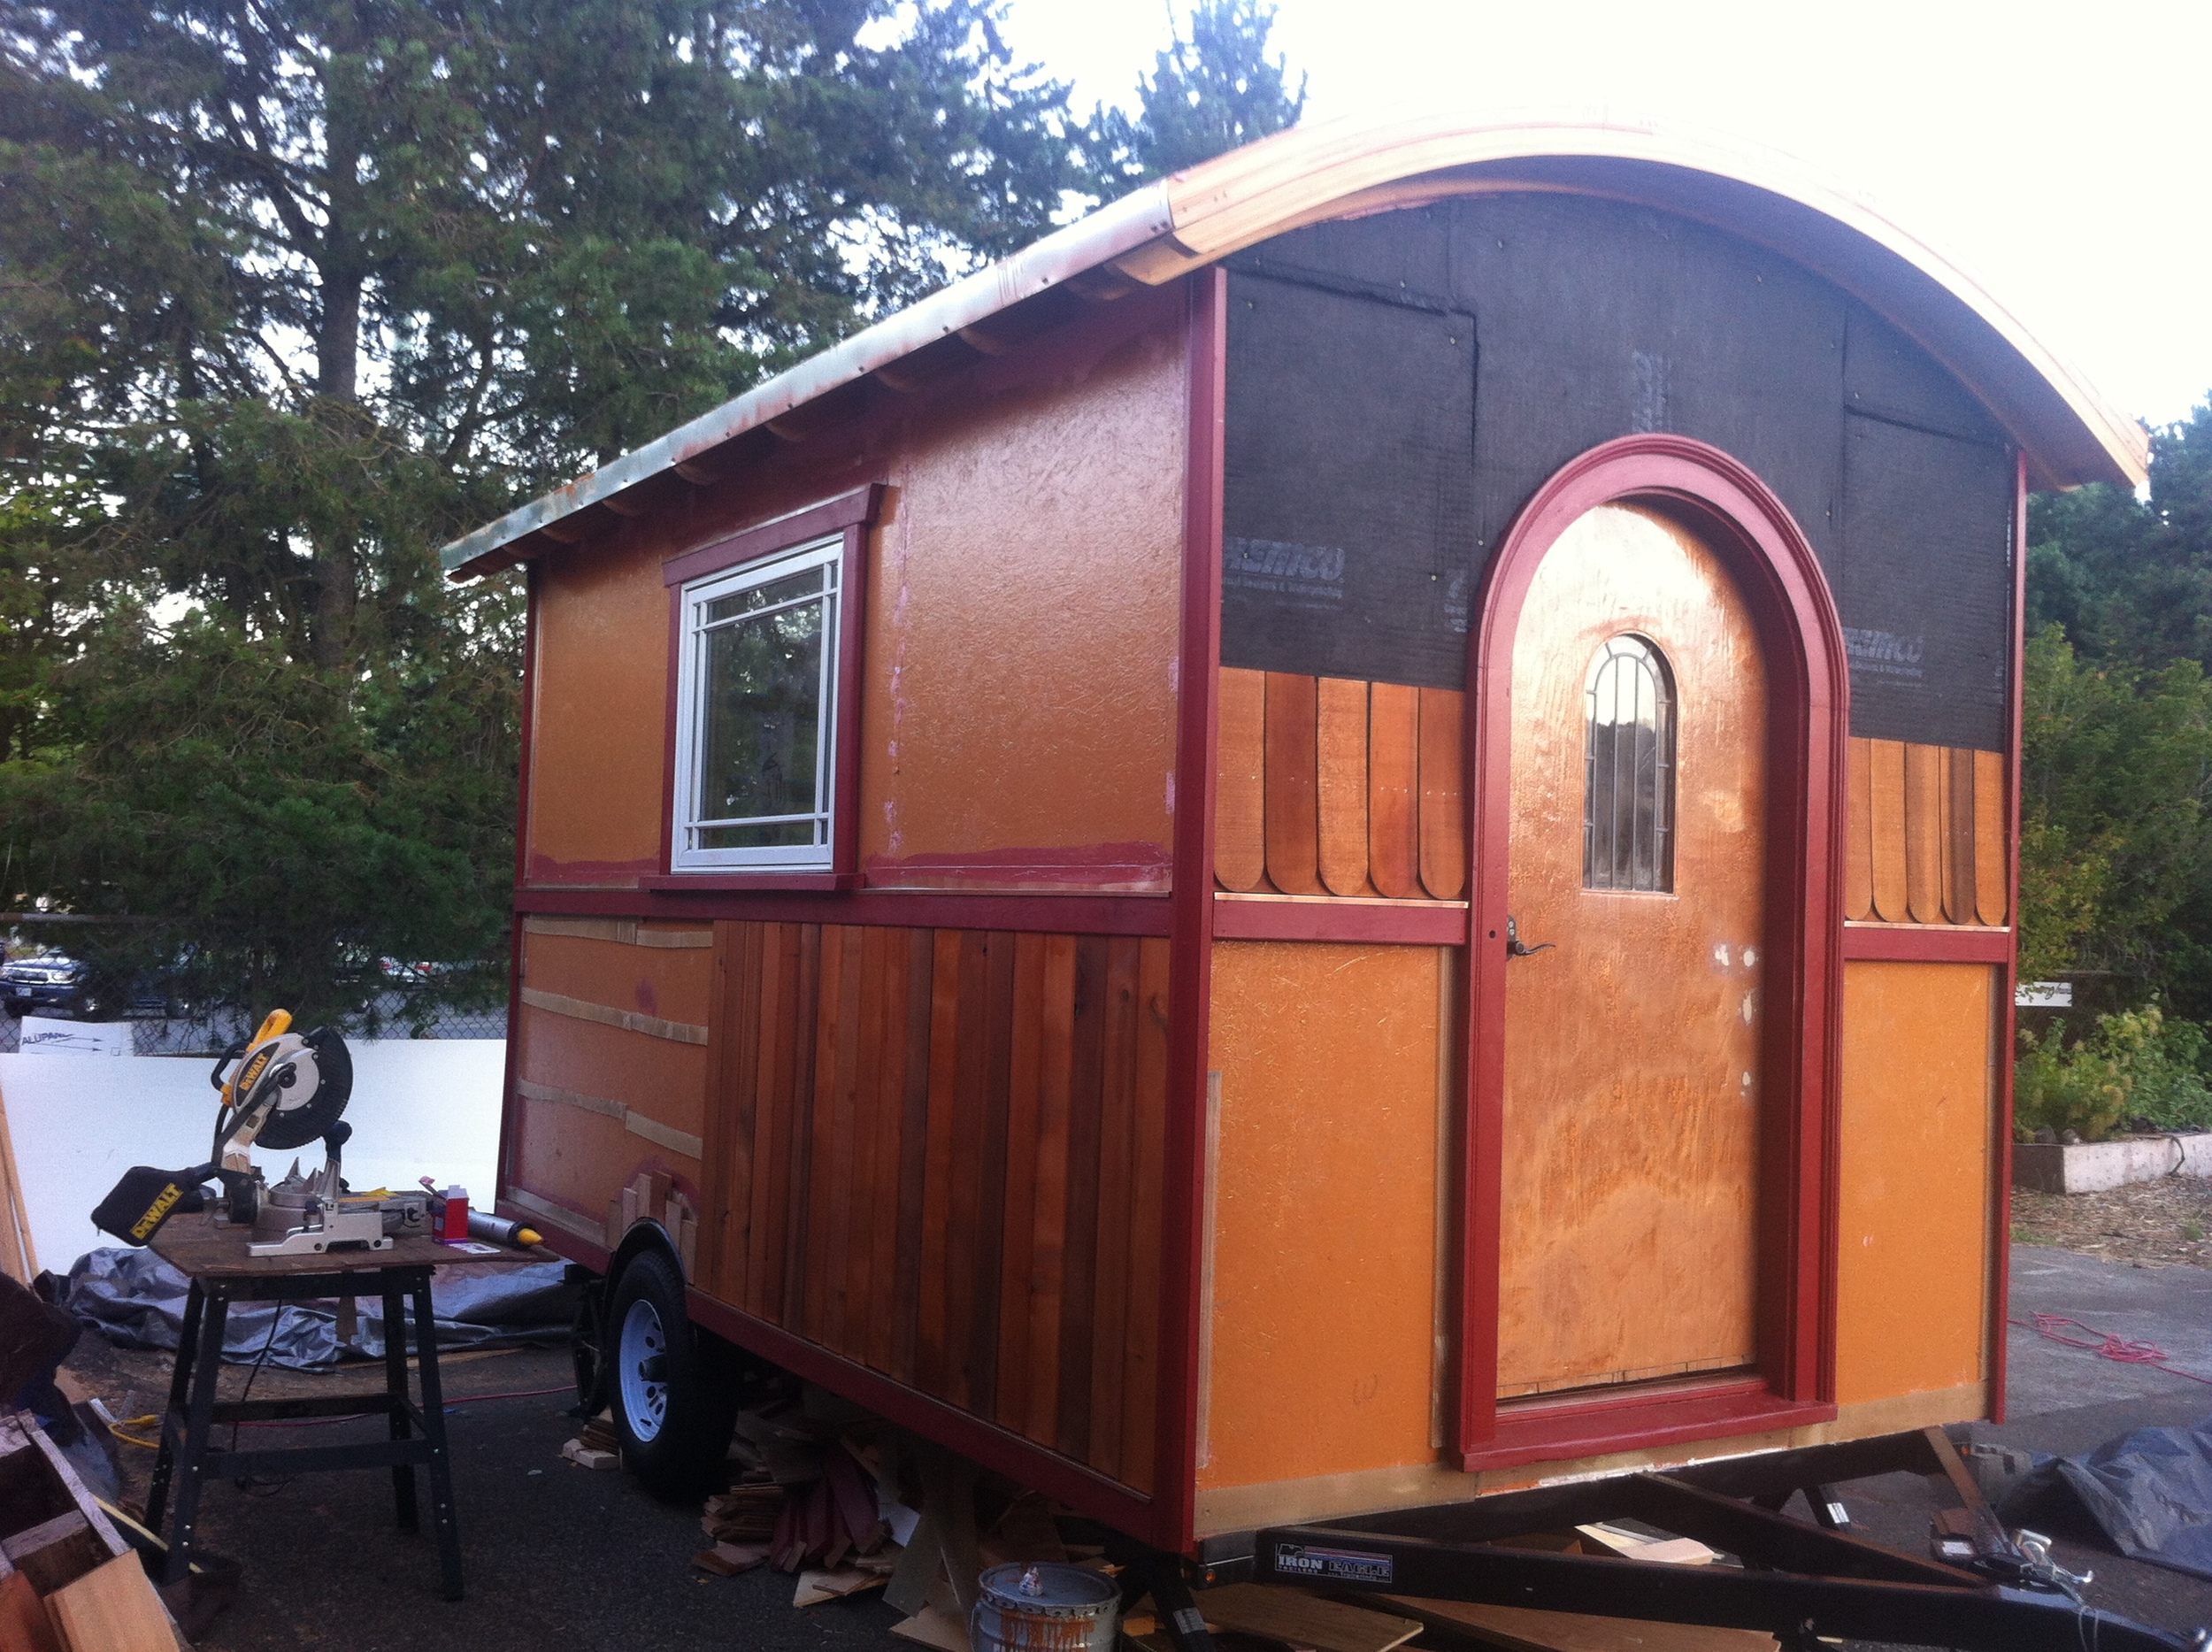
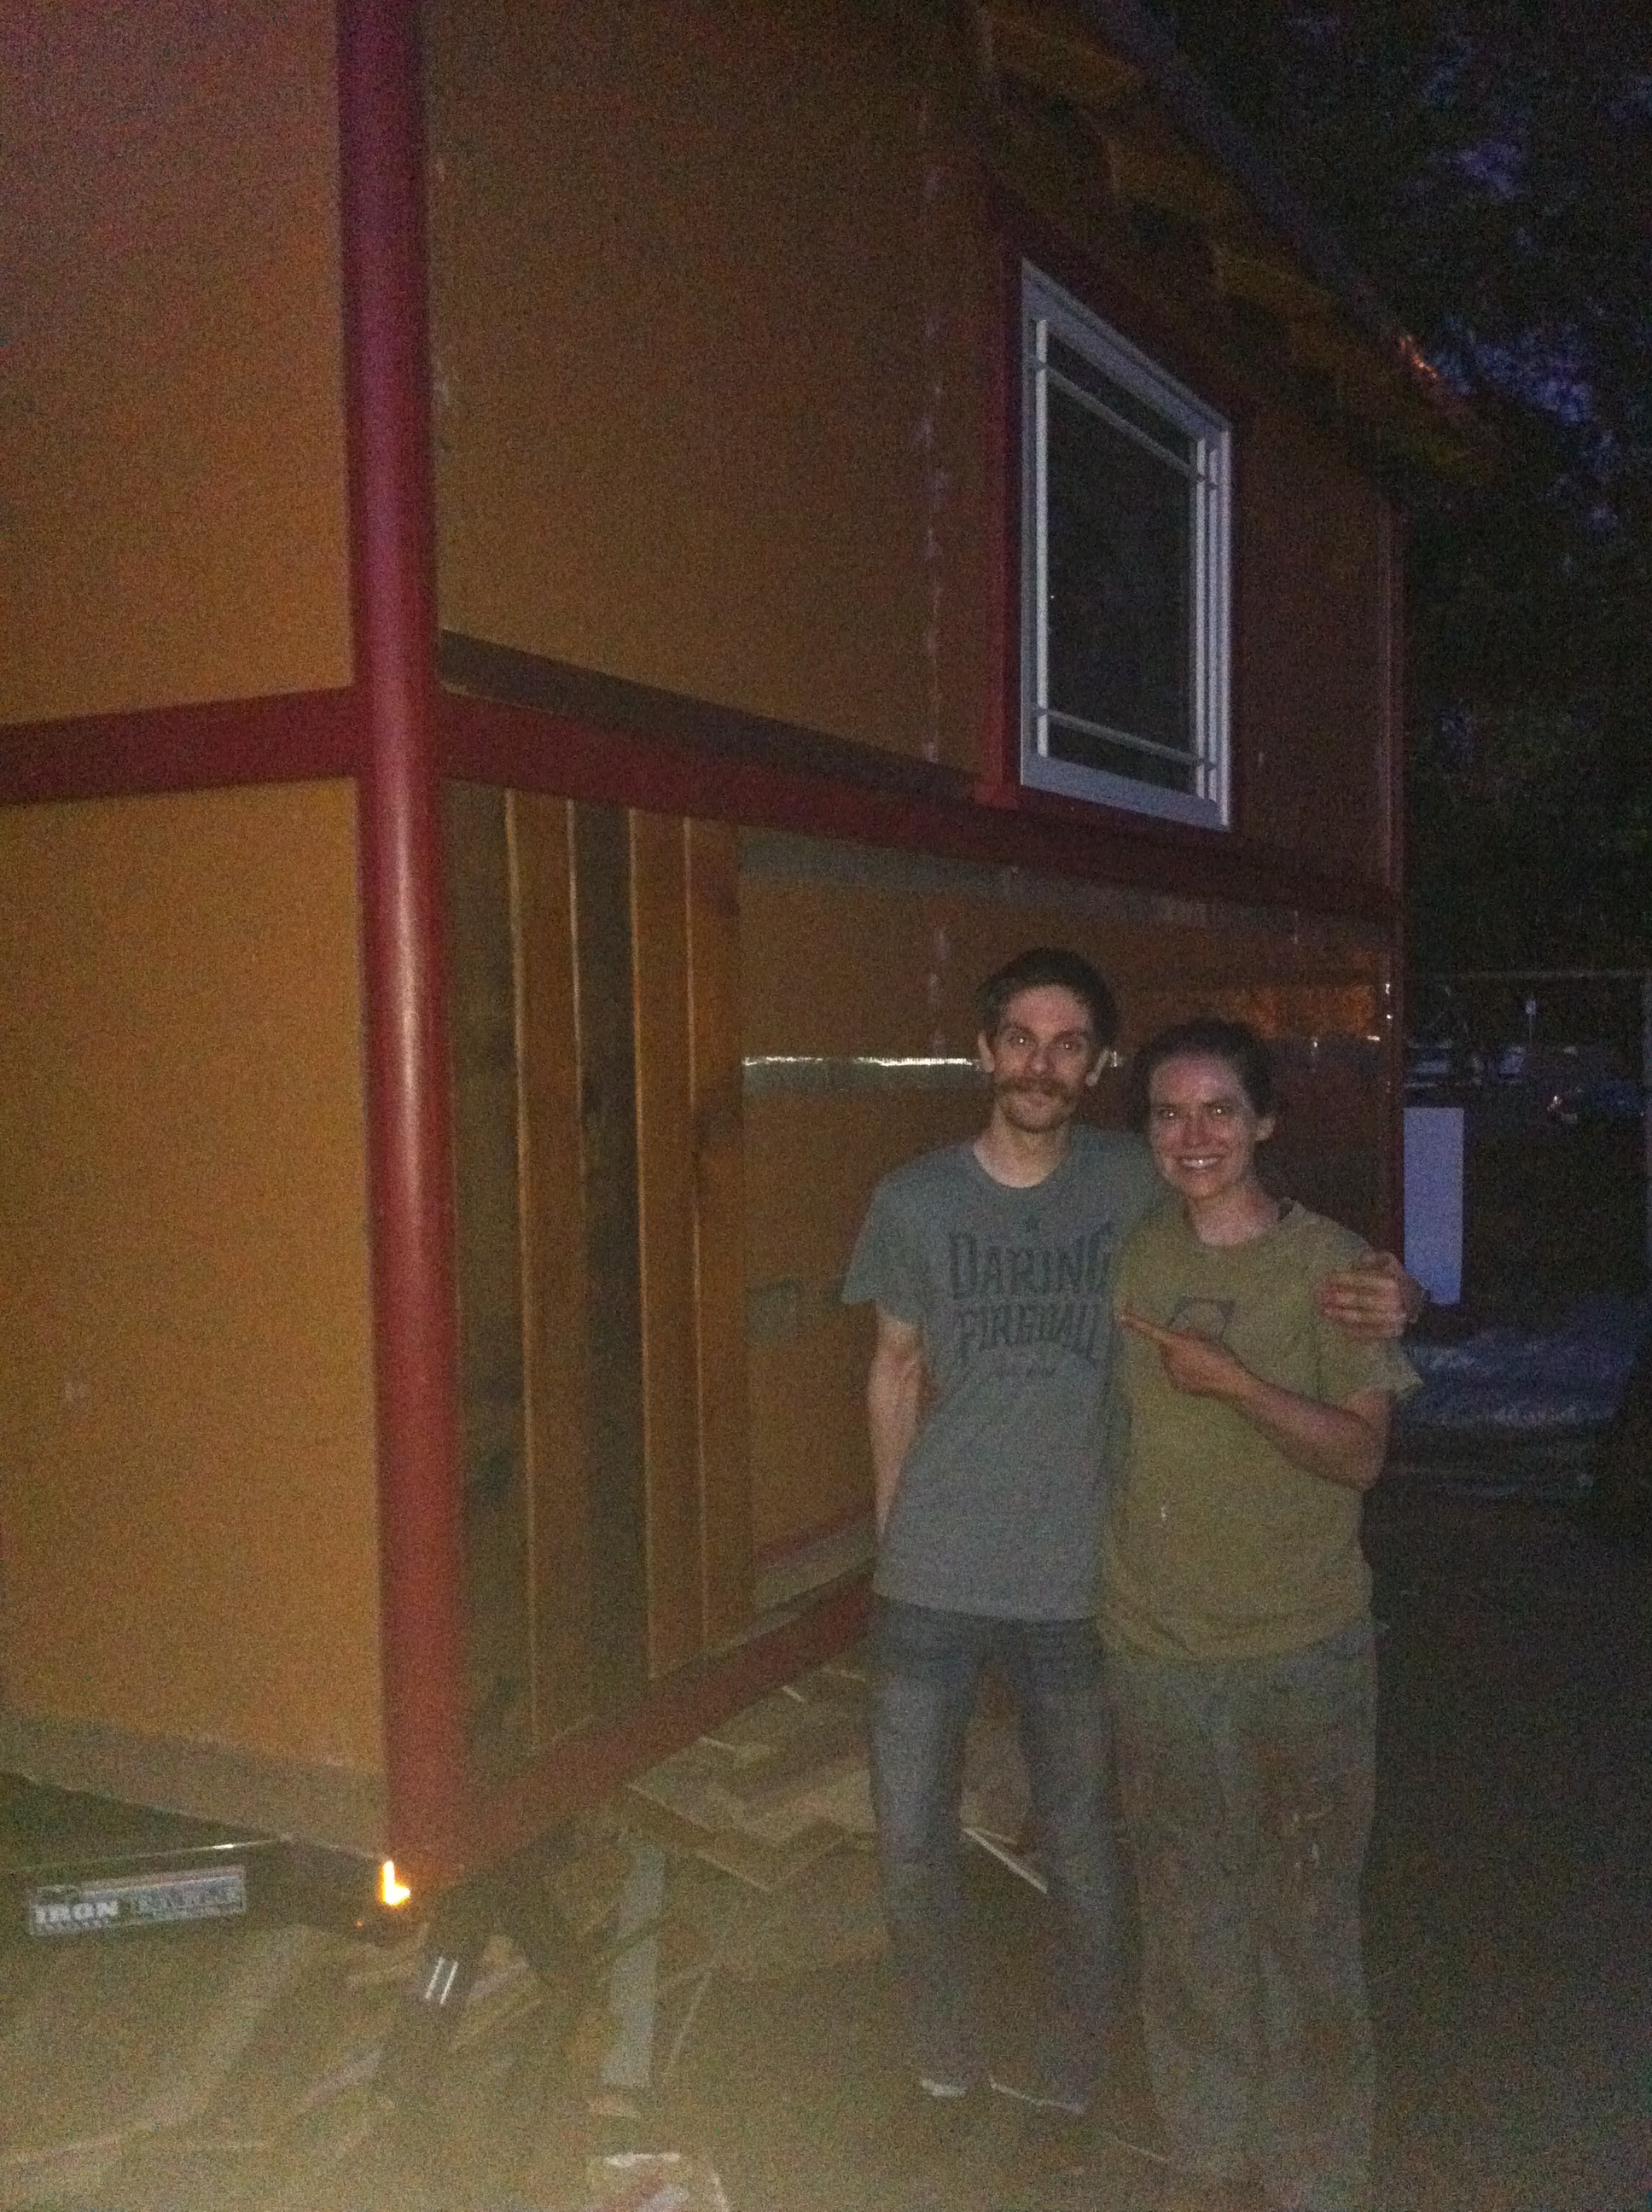
On Independence Day I celebrated the freedom The Lucky Penny will give me with Tiny House Window Installation. I even had my very own version of red, white, and blue in the form of My Arched Window. The rest of this weekend was dedicated to installing my exterior trim and siding.
On Saturday my friends Karin, Mike, and Eleanor came to help out. The first step was to install the rain screen strips at the corners and under the windows, so Mike tackled that project. (I’ll write up a separate little side post about my Tiny House Rain Screen.)
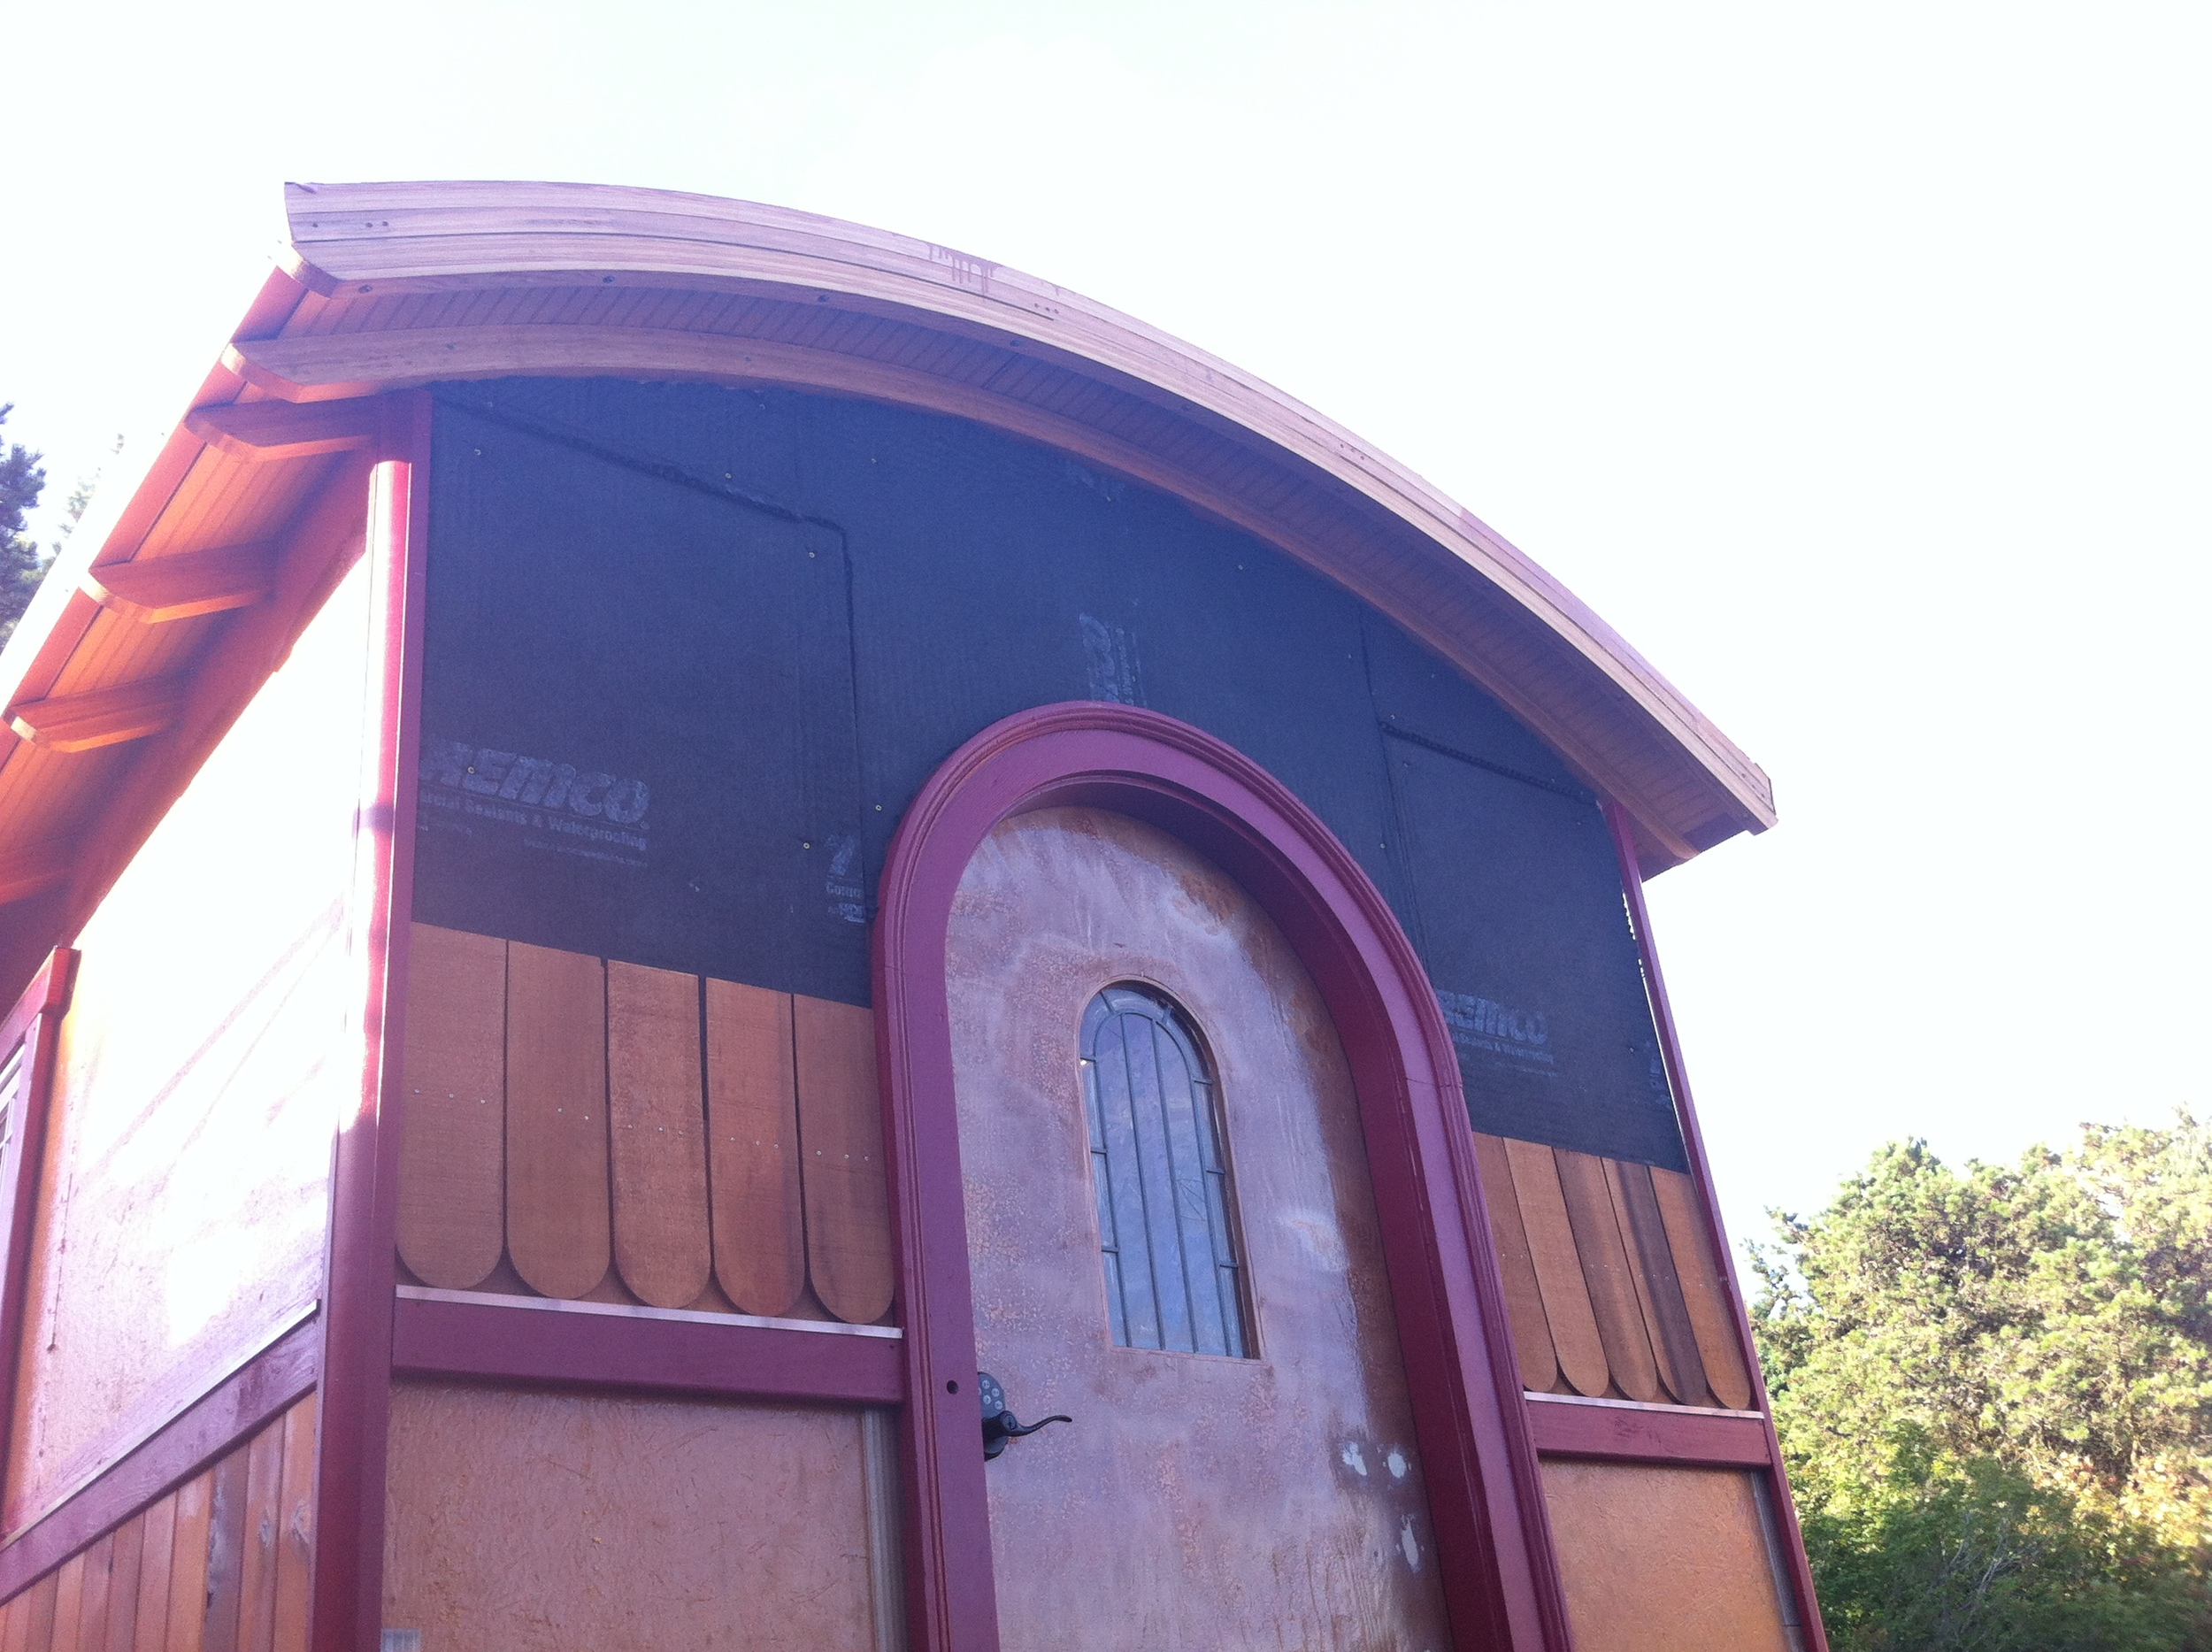
Meanwhile, Karin spray-painted the Z-flashing to go over my bellyband and bottom band. Eleanor is an art teacher so she’s got a way with detailed work. She finished sealing up around My Arched Window and My Arched Door with AirDam from Prosoco’s R-Guard system. Then she helped me noodle through a solution to close up the gap above my wheel well. The gap would have been small enough to seal up with backer rod except that I added an extra plate under my bottom plates. So I had a 2" gap to fill instead of a 1/2" gap. "You know," I said. "What we need is something like a pool noodle..."
So that's precisely what we used. Eleanor cut the pool noodle to fit and we wedged it into the gap and sealed up the edges with AirDam from Prosoco. Then we flashed over it with Fast Flash. It's certainly not how I planned to close up that gap, but I think it will work! Thanks to Eleanor my house is officially dried-in!
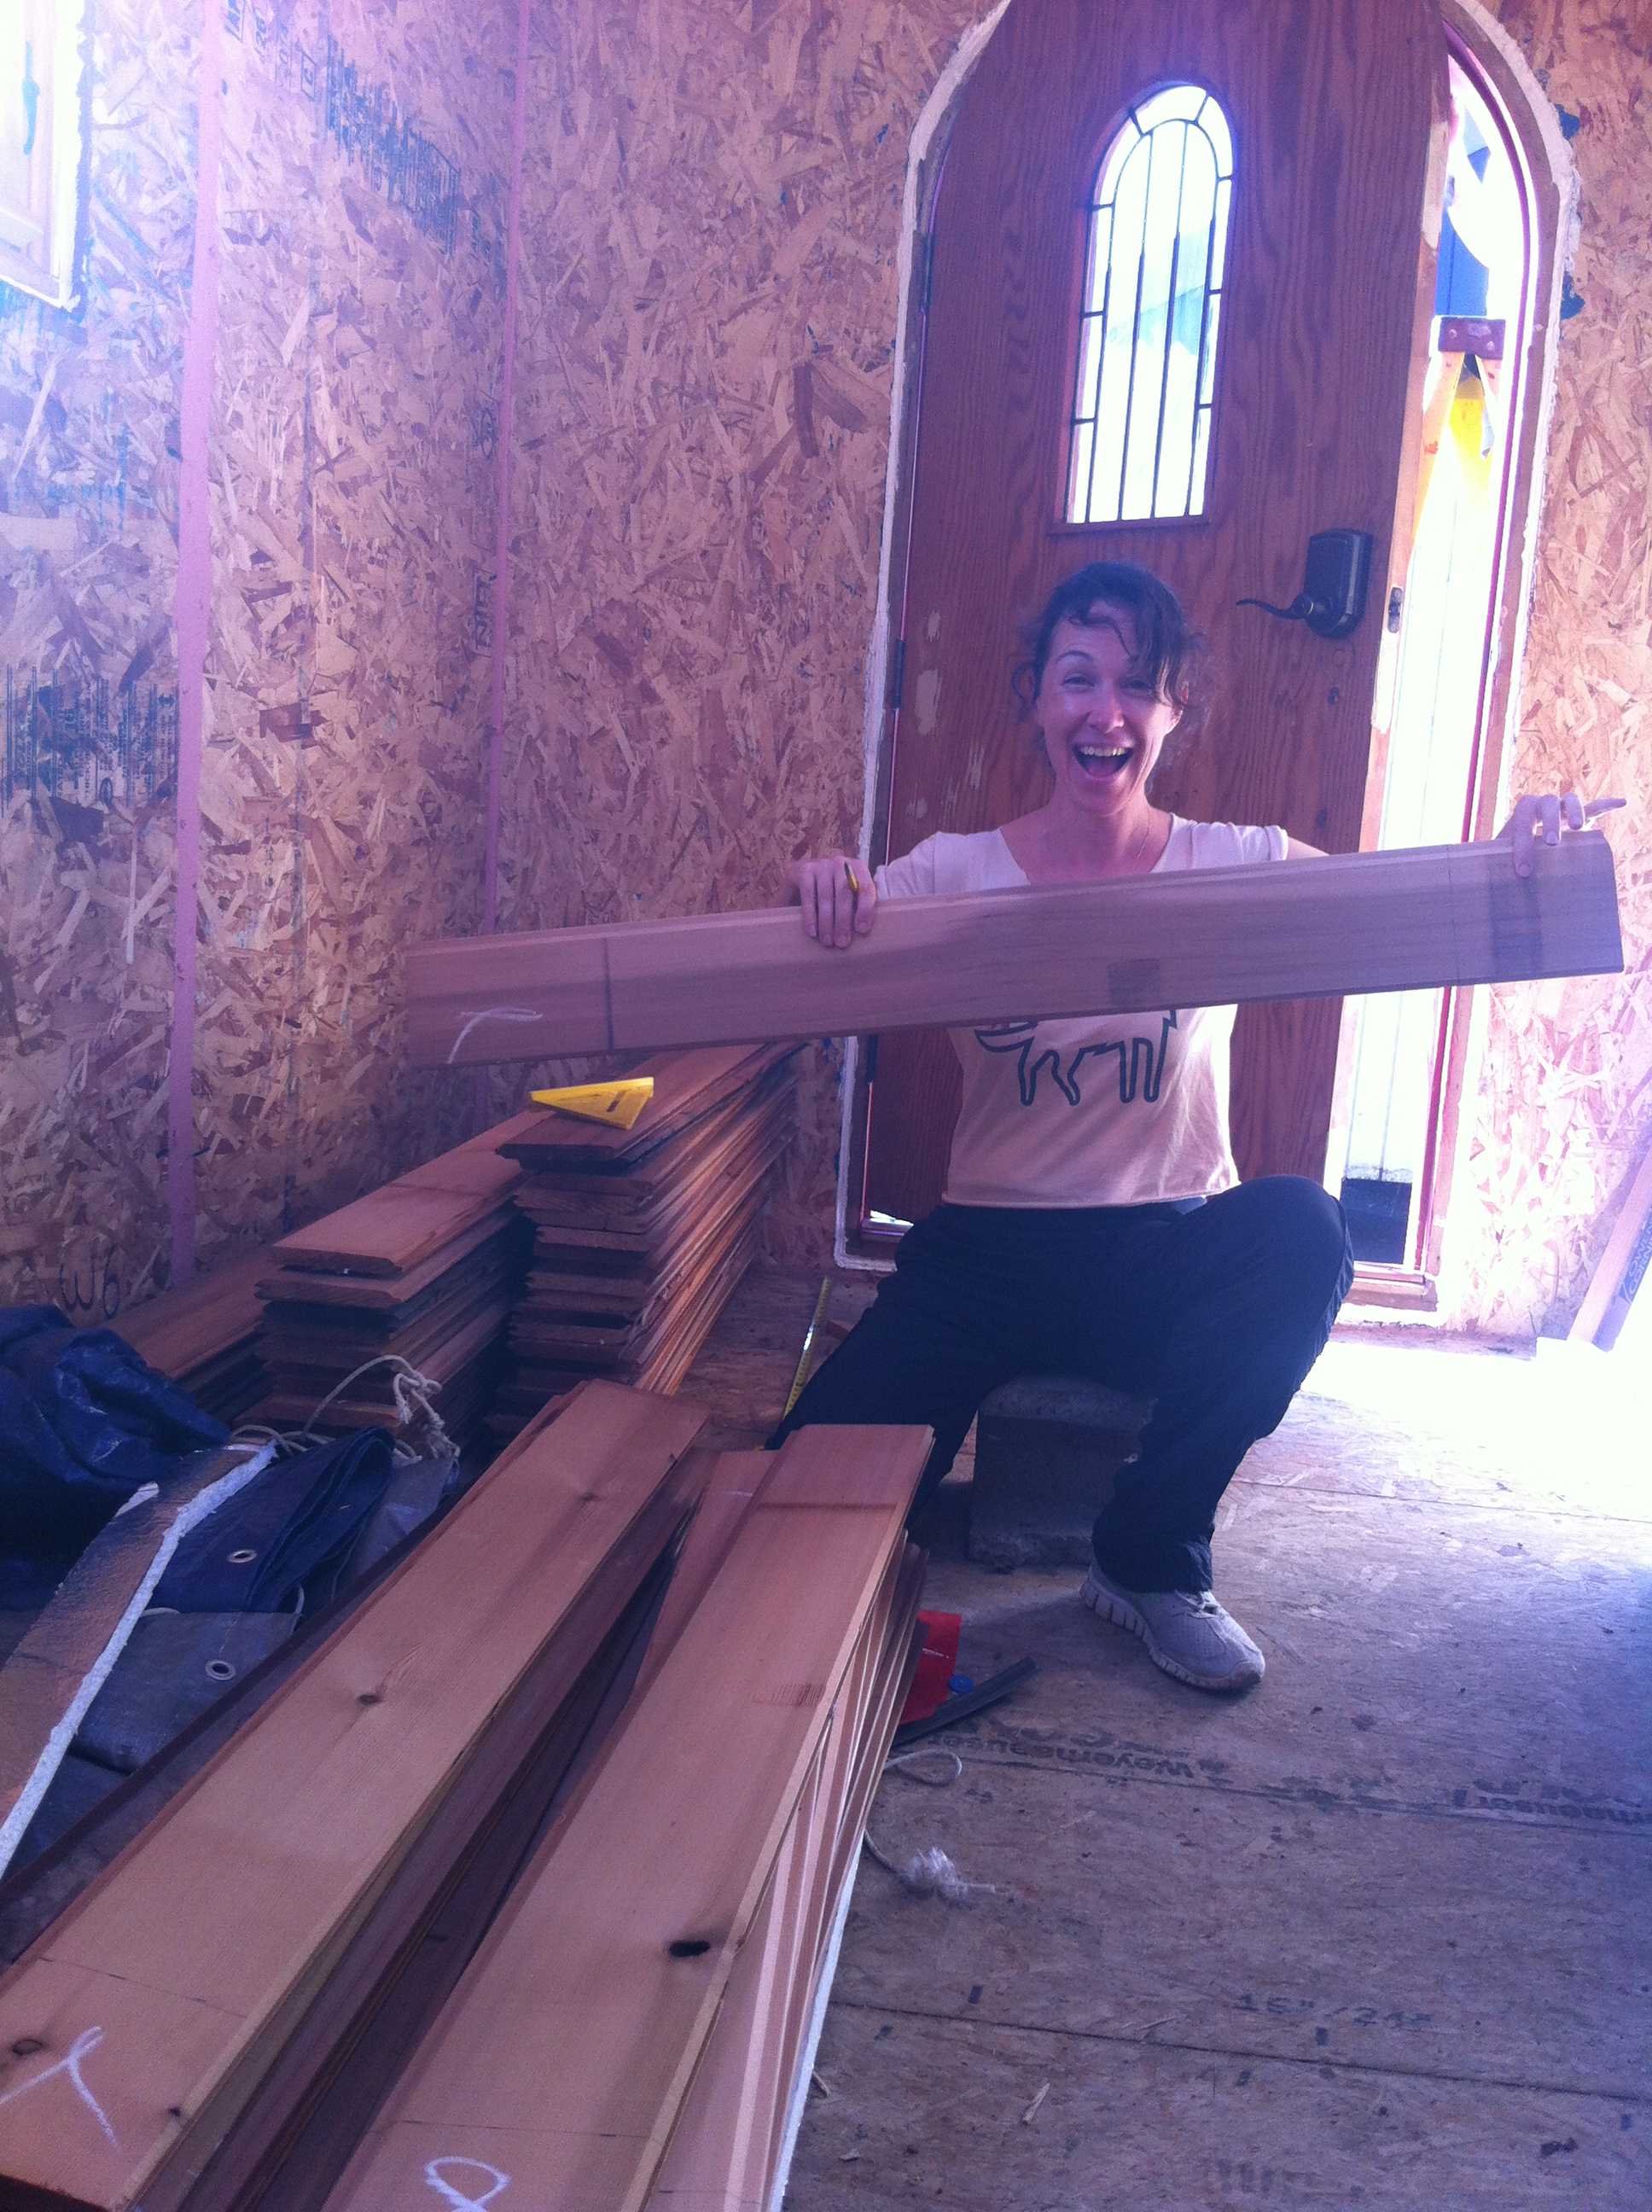
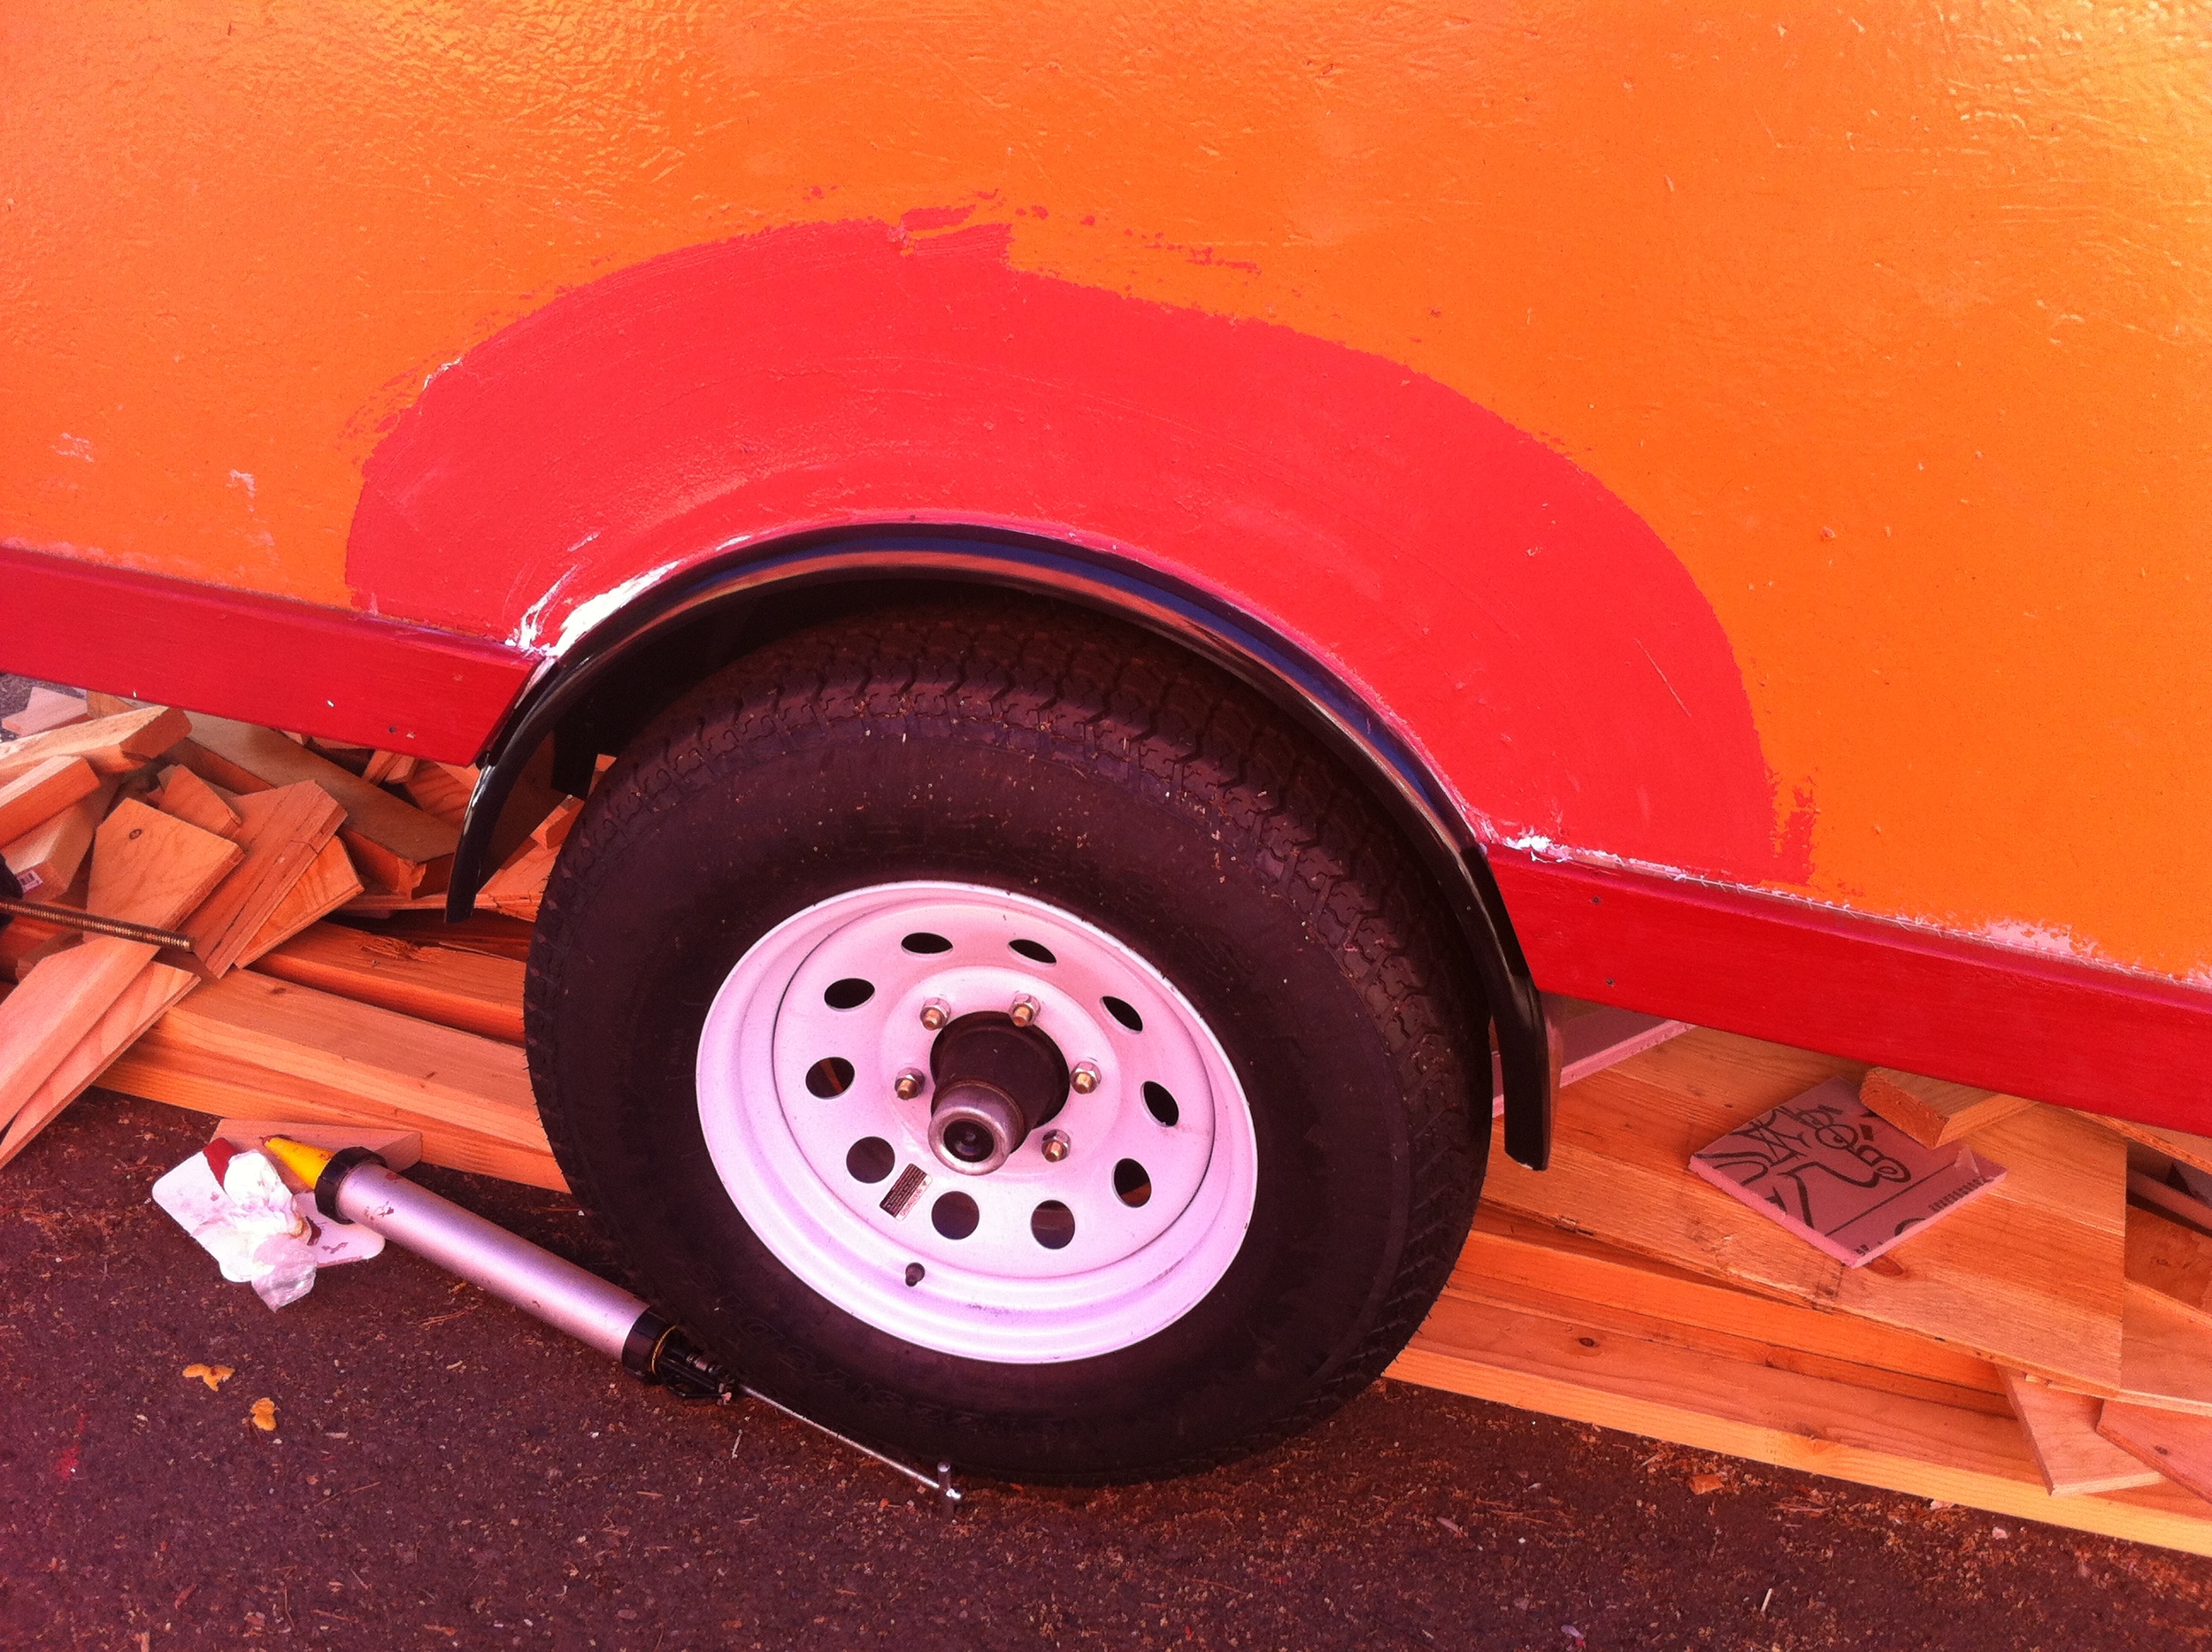
 Once the rainscreen strips were in place under the window, we installed the first window sill. Then Mike and I cut the corner boards to length and installed them. When I was Sidestepping with Siding, I picked up some Deco Corners from Lakeside Lumber and they really are a nice touch! Once the corner boards were installed, we could cut the bottom band and the bellyband (which doubles as the skirt for the sill plates). The bottom band had to be cut at an angle to accommodate the fender and we determined that 30 degrees was just right. The bellyband runs the length of the house so we started out with a 10-foot-long piece on each side. We cut the end at 45 degrees so that the next piece can slip behind it and the two will look like one long piece with a little caulk and paint.
It was great to get the corner boards, sill plates, and bellyband installed all around the house and the bottom band installed on three sides. (We will have to leave the bottom band on the tongue side till later since I still have some figuring to do for My Front Porch. I'm doing a porch at the front of my house because I can't stand Shrinky Dink Porches and I don't want my Tiny House to Turn Its Back on the Street!) Mike, Eleanor, and I celebrated our Saturday accomplishments with dinner at Por Que No.
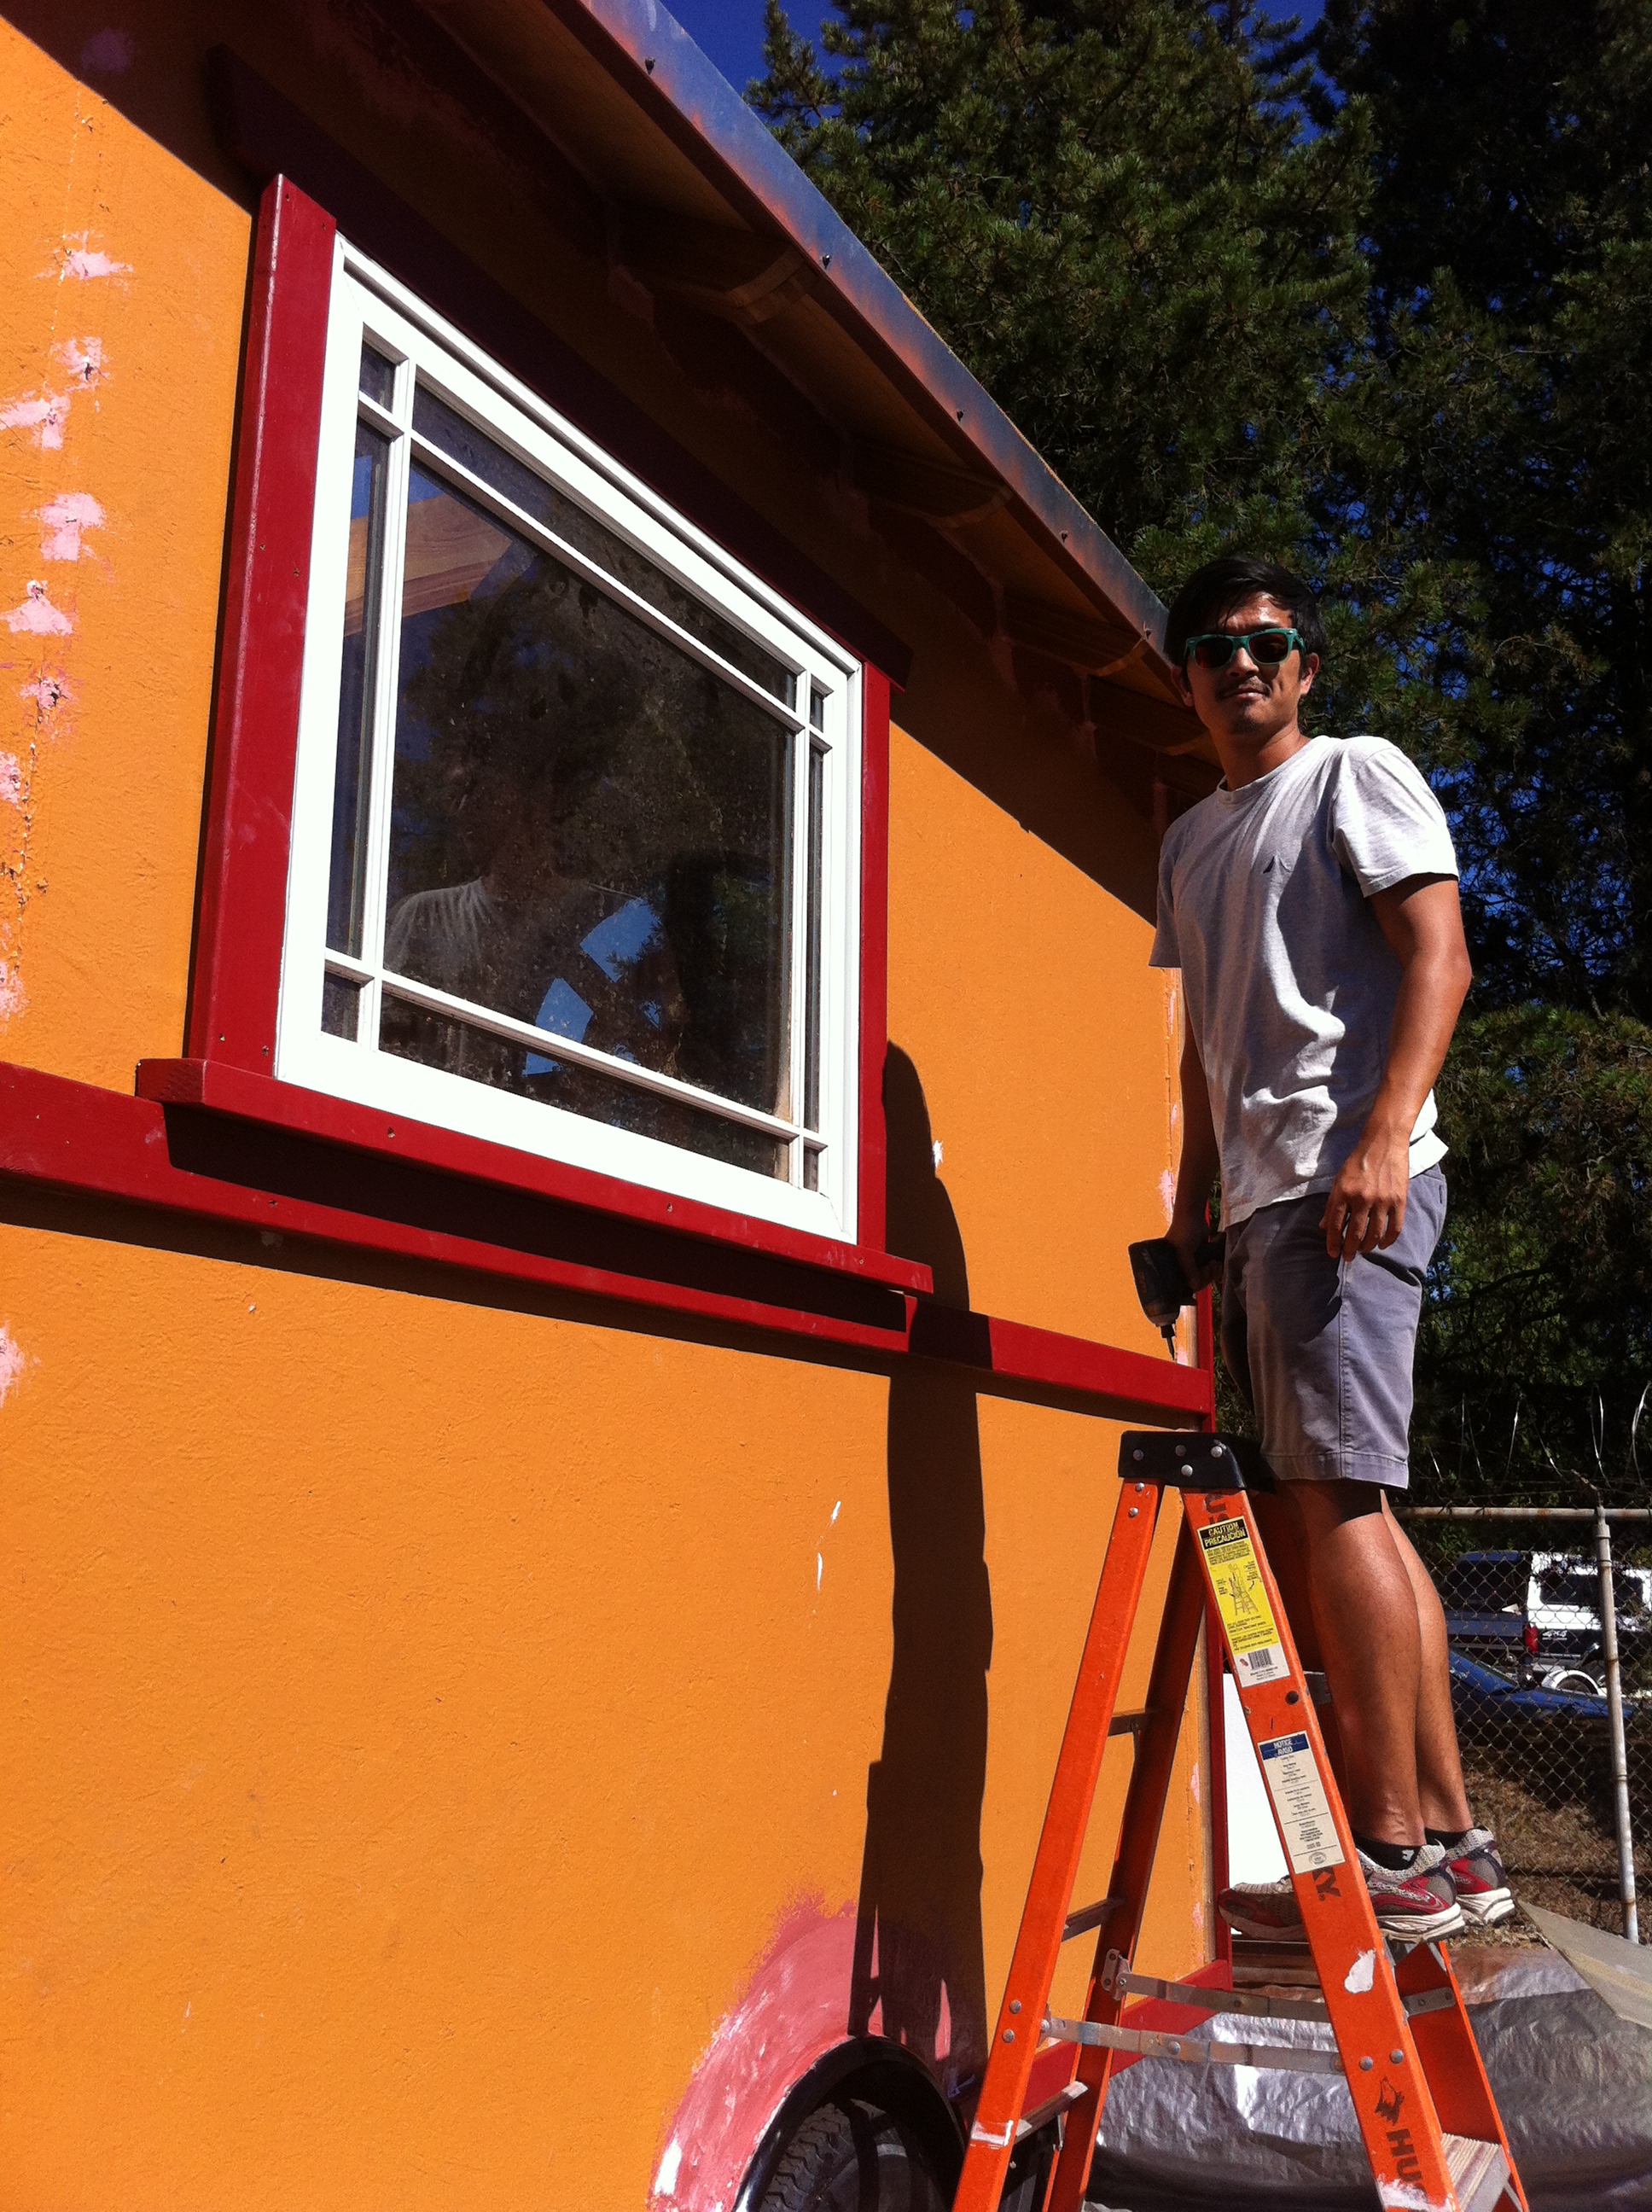
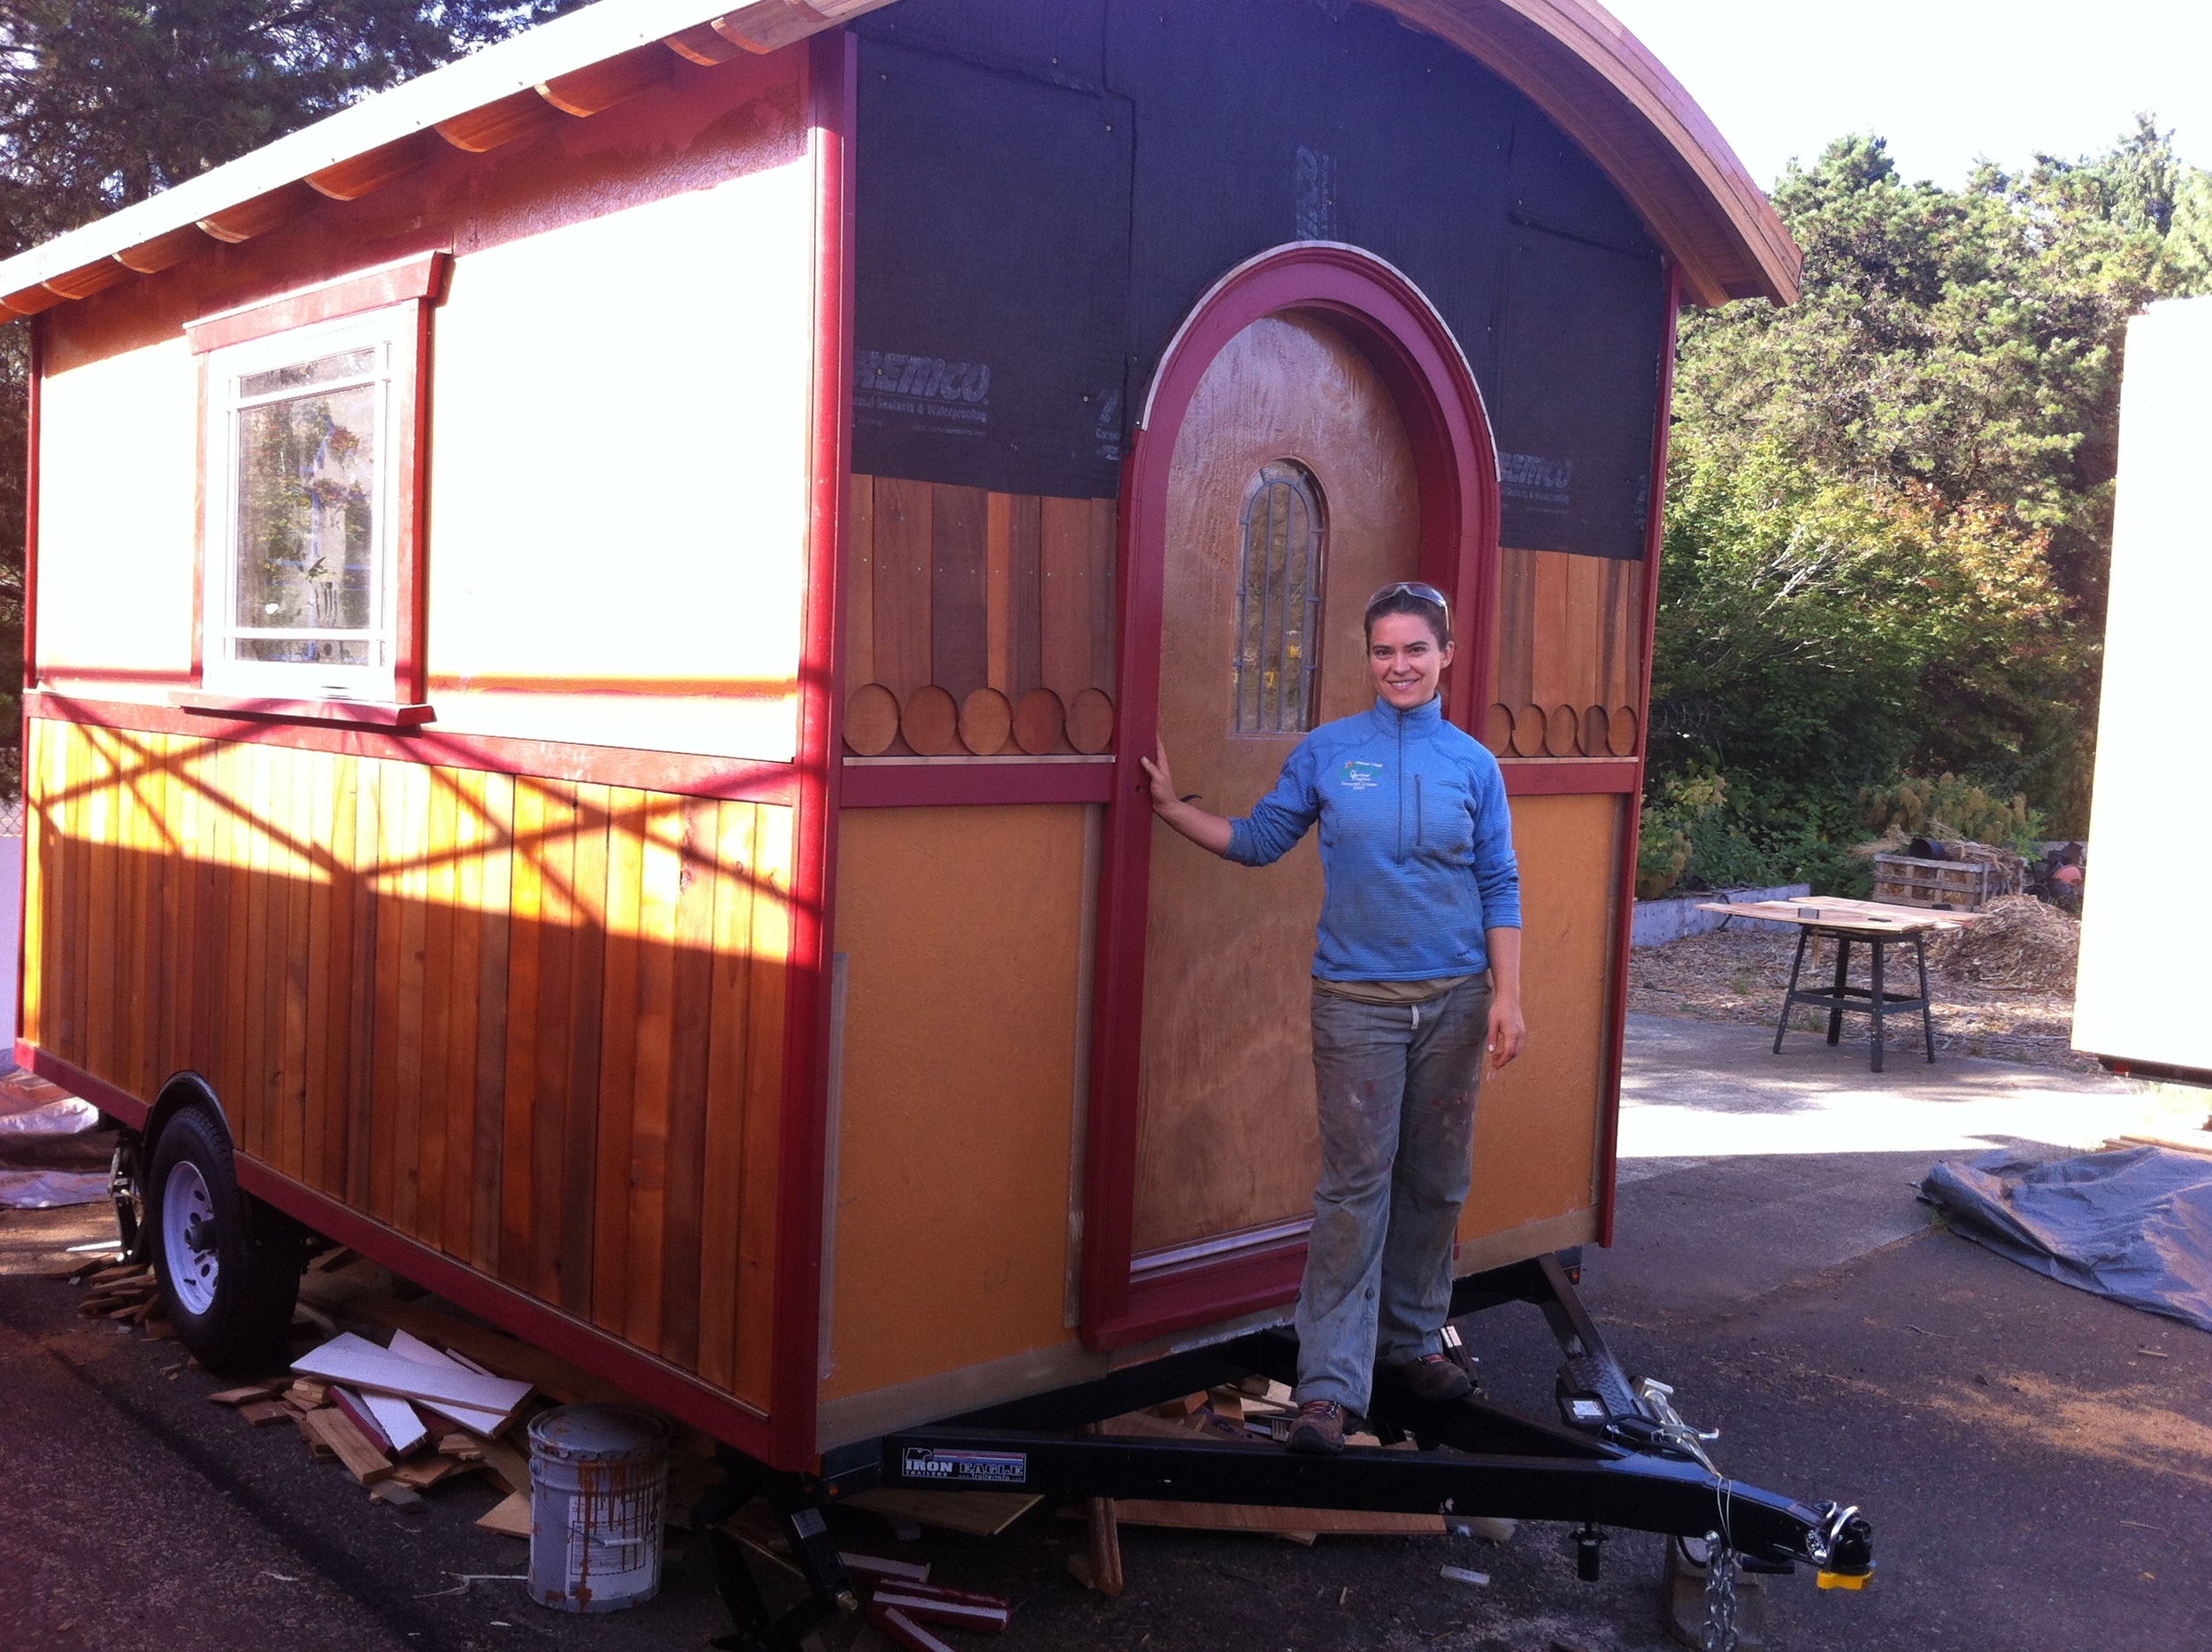
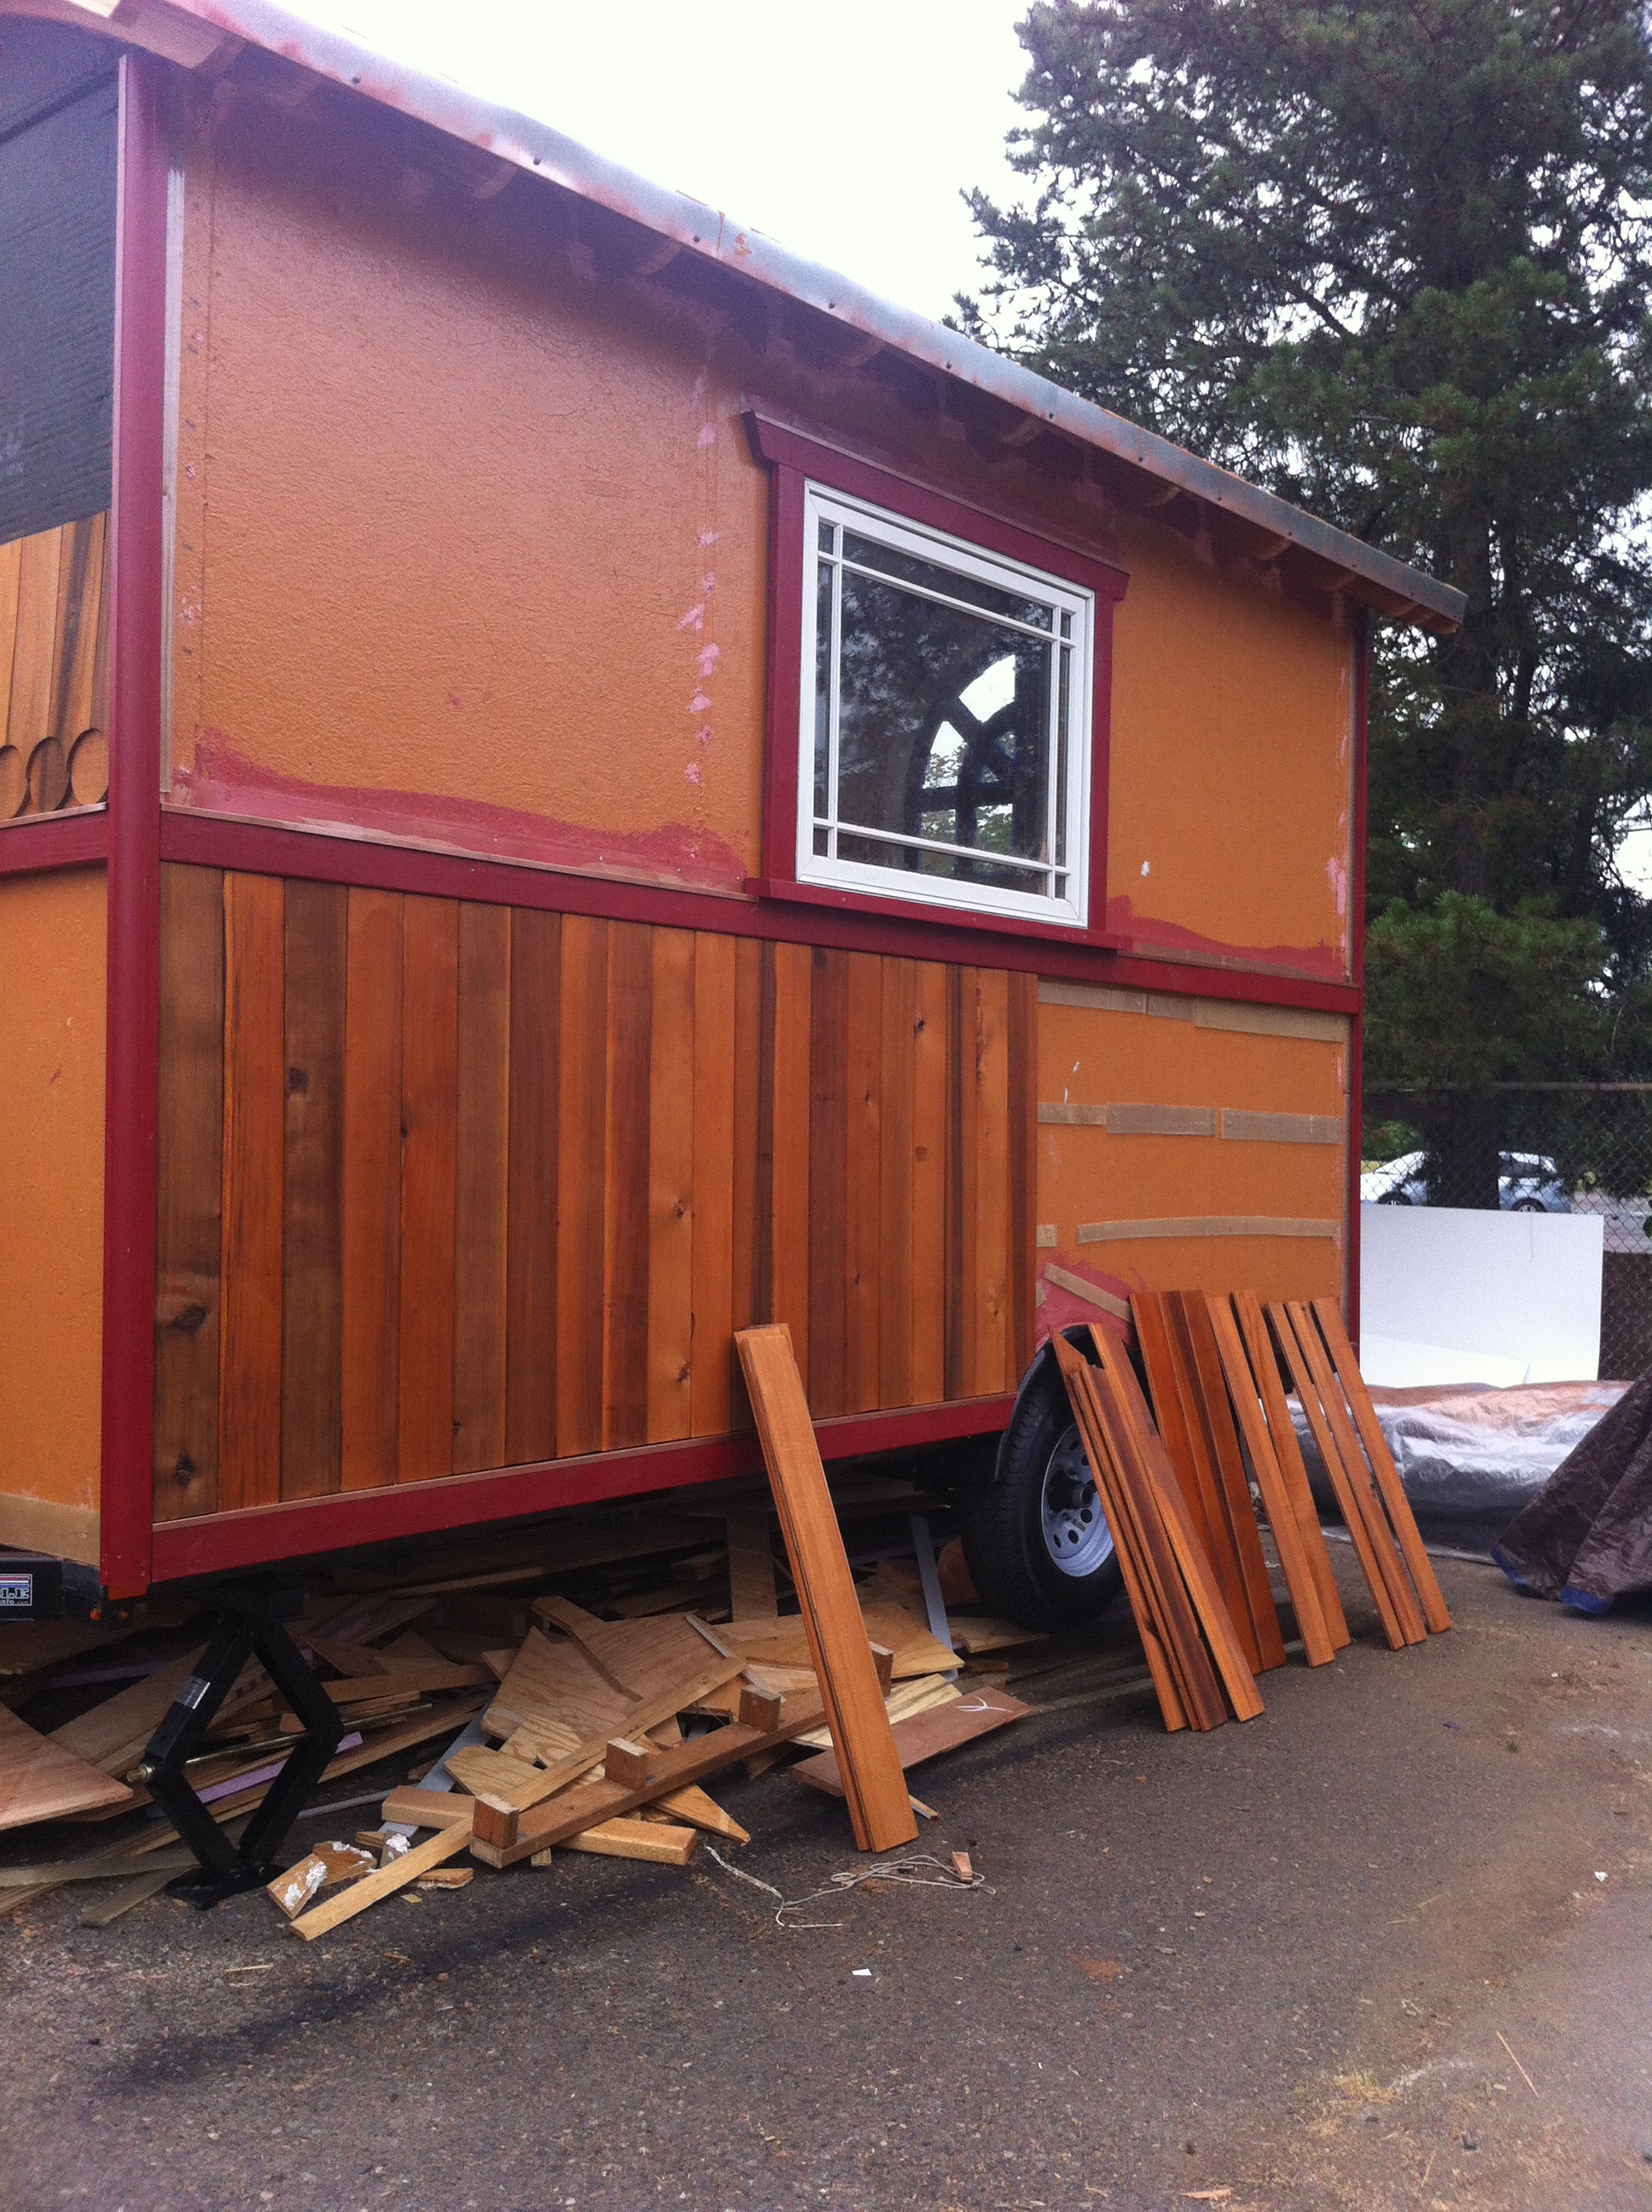
 On Sunday Julie and Jack took turns helping my build buddy Laura and me. I’ve finally caught up to Laura again now that we’re both working on siding, but I doubt that will last long! (Especially since I'm heading out of town for a couple weeks to teach the Tiny House Design-Build class at Yestermorrow!) We installed the window trim around My Kitchen Windows, picking 22.5 degrees for the angle. I thought 30 might be right because that was the angle of the bottom board for the fender, but it was too extreme. So 22.5 degrees it is!
We also installed the Z flashing over the bottom band. This process involved cutting the flashing to length with tin snips, putting a bead of Fast Flash behind it near the top, smoothing out the bead with a spatula, tacking it in place with tiny self-tapping screws, and then tooling the edge again to make a nice seam that will shed water. I’ve always liked playing with substances that are malleable: clay, plaster, frosting, play dough, marzipan, etc. (Perhaps it’s no wonder that when I took an aptitude test as a kid it recommended that I consider becoming a cake decorator!) Needless to say, I’m especially enjoying working with the Fast Flash and Air Dam!)
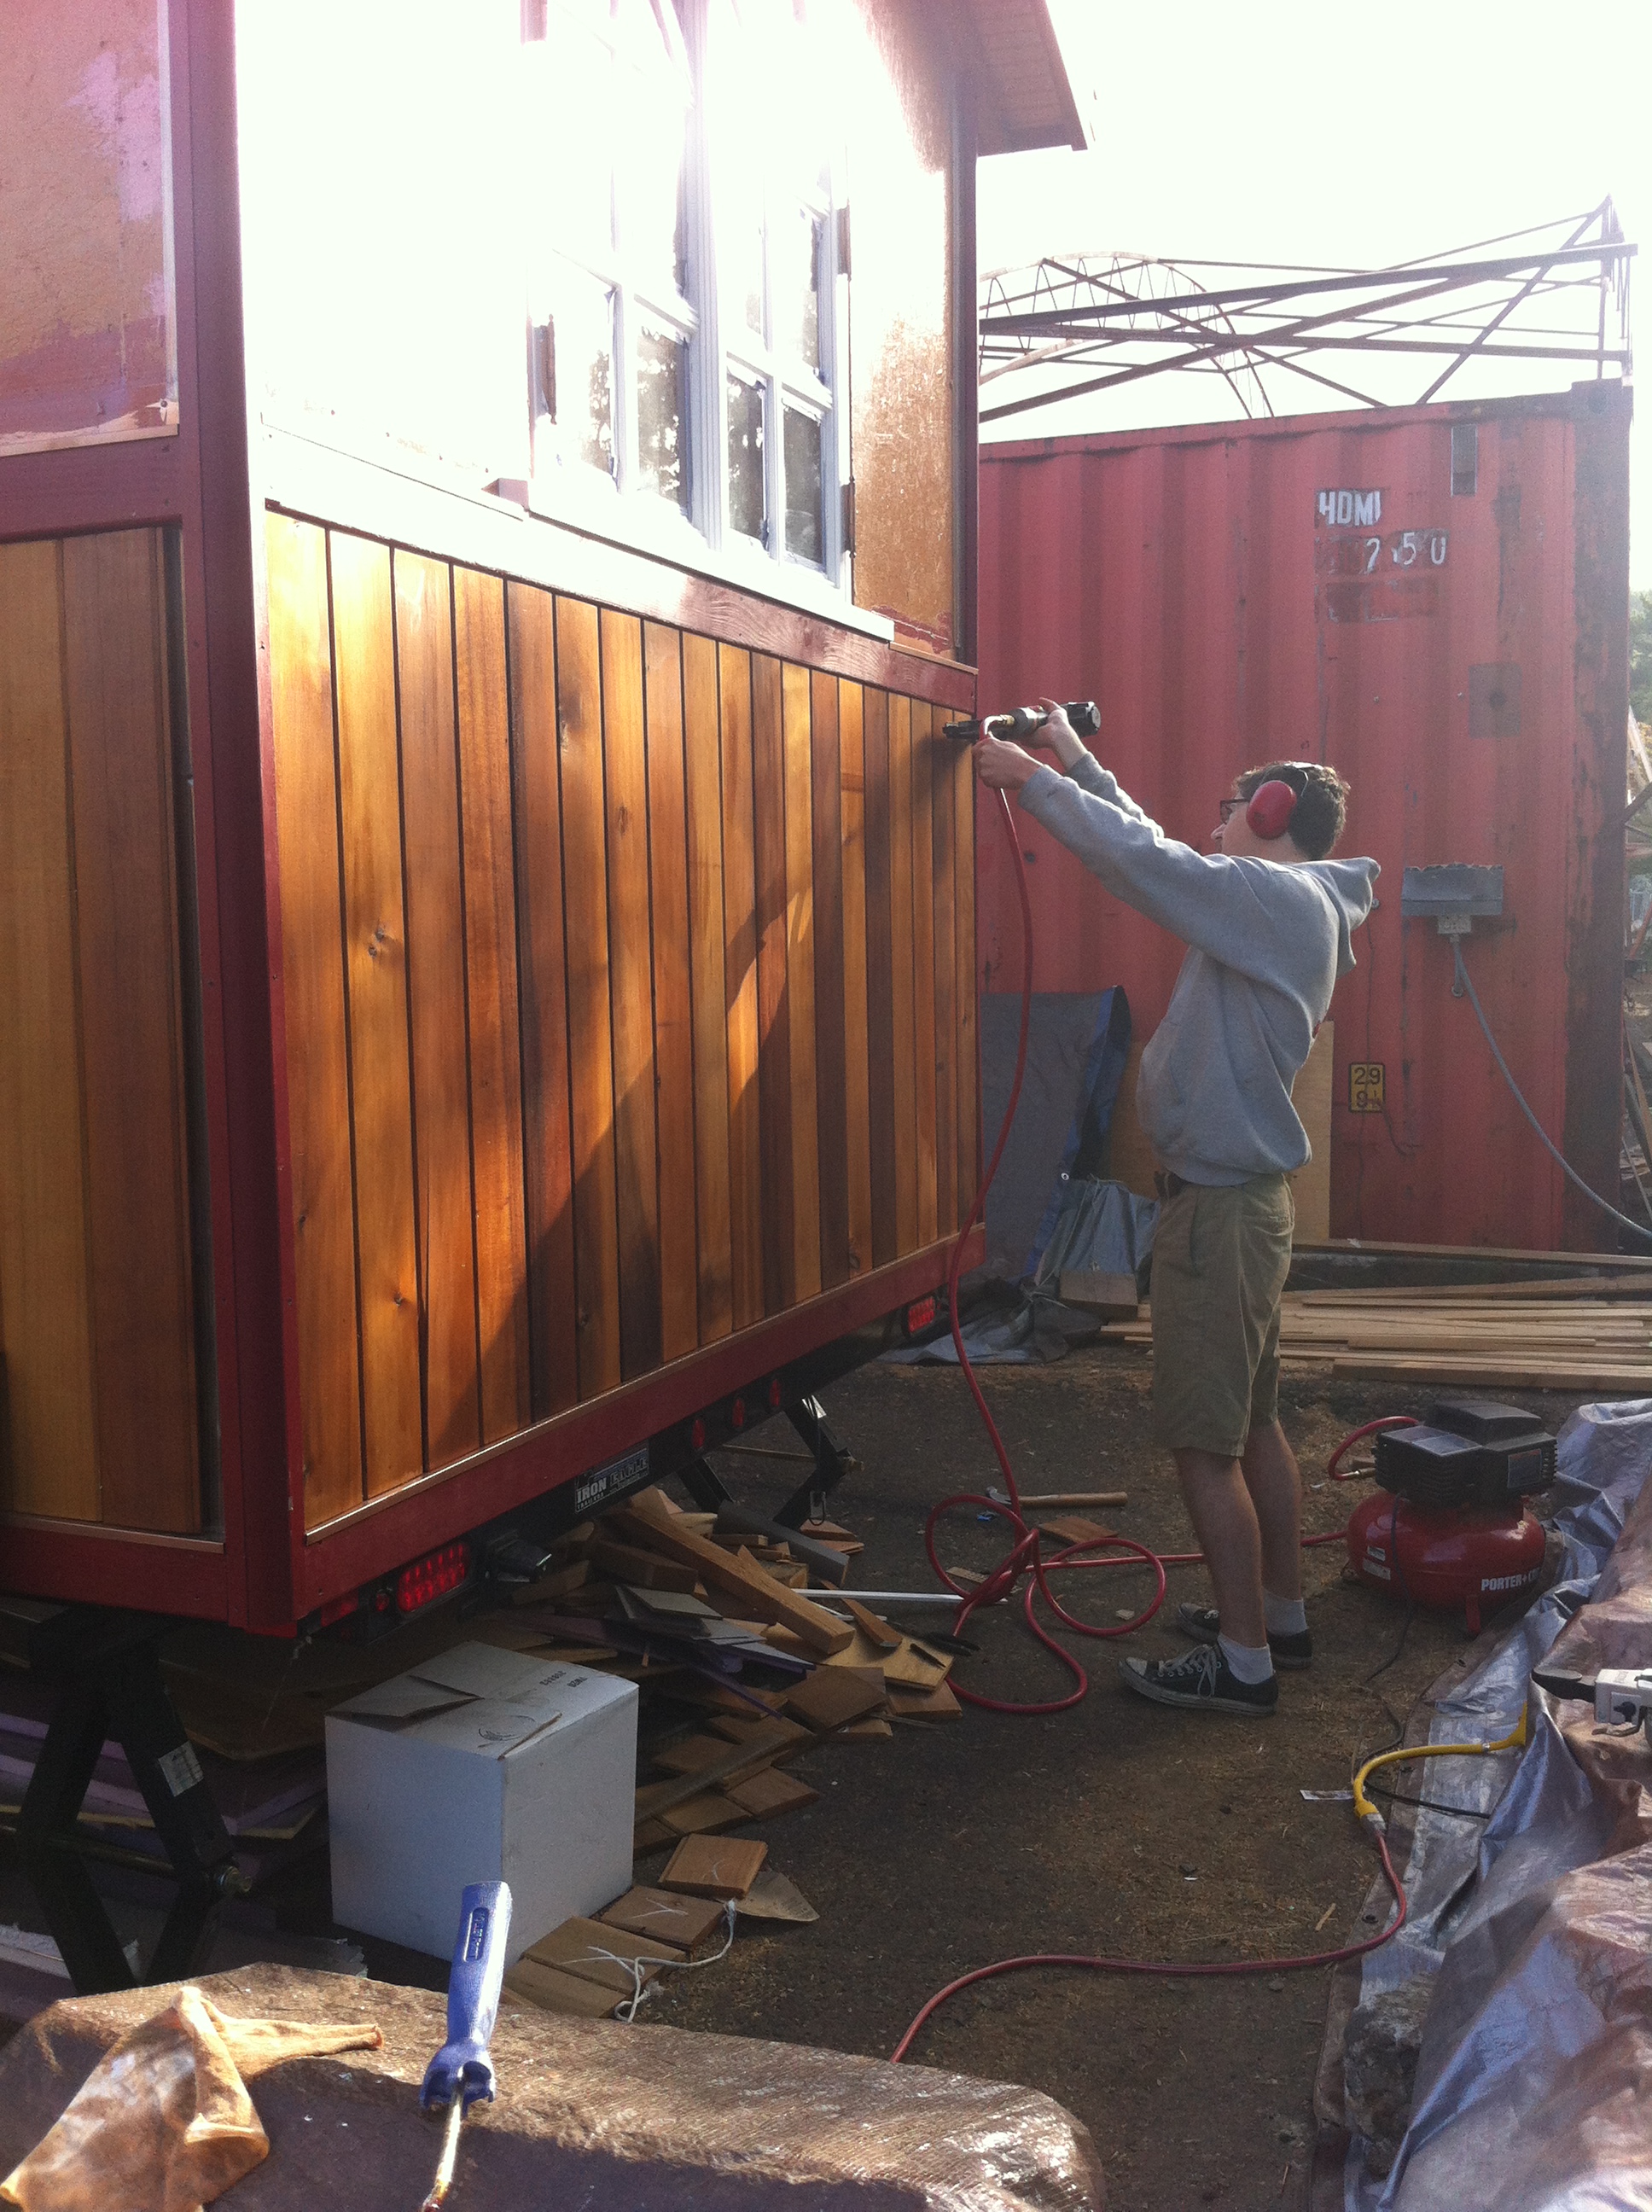
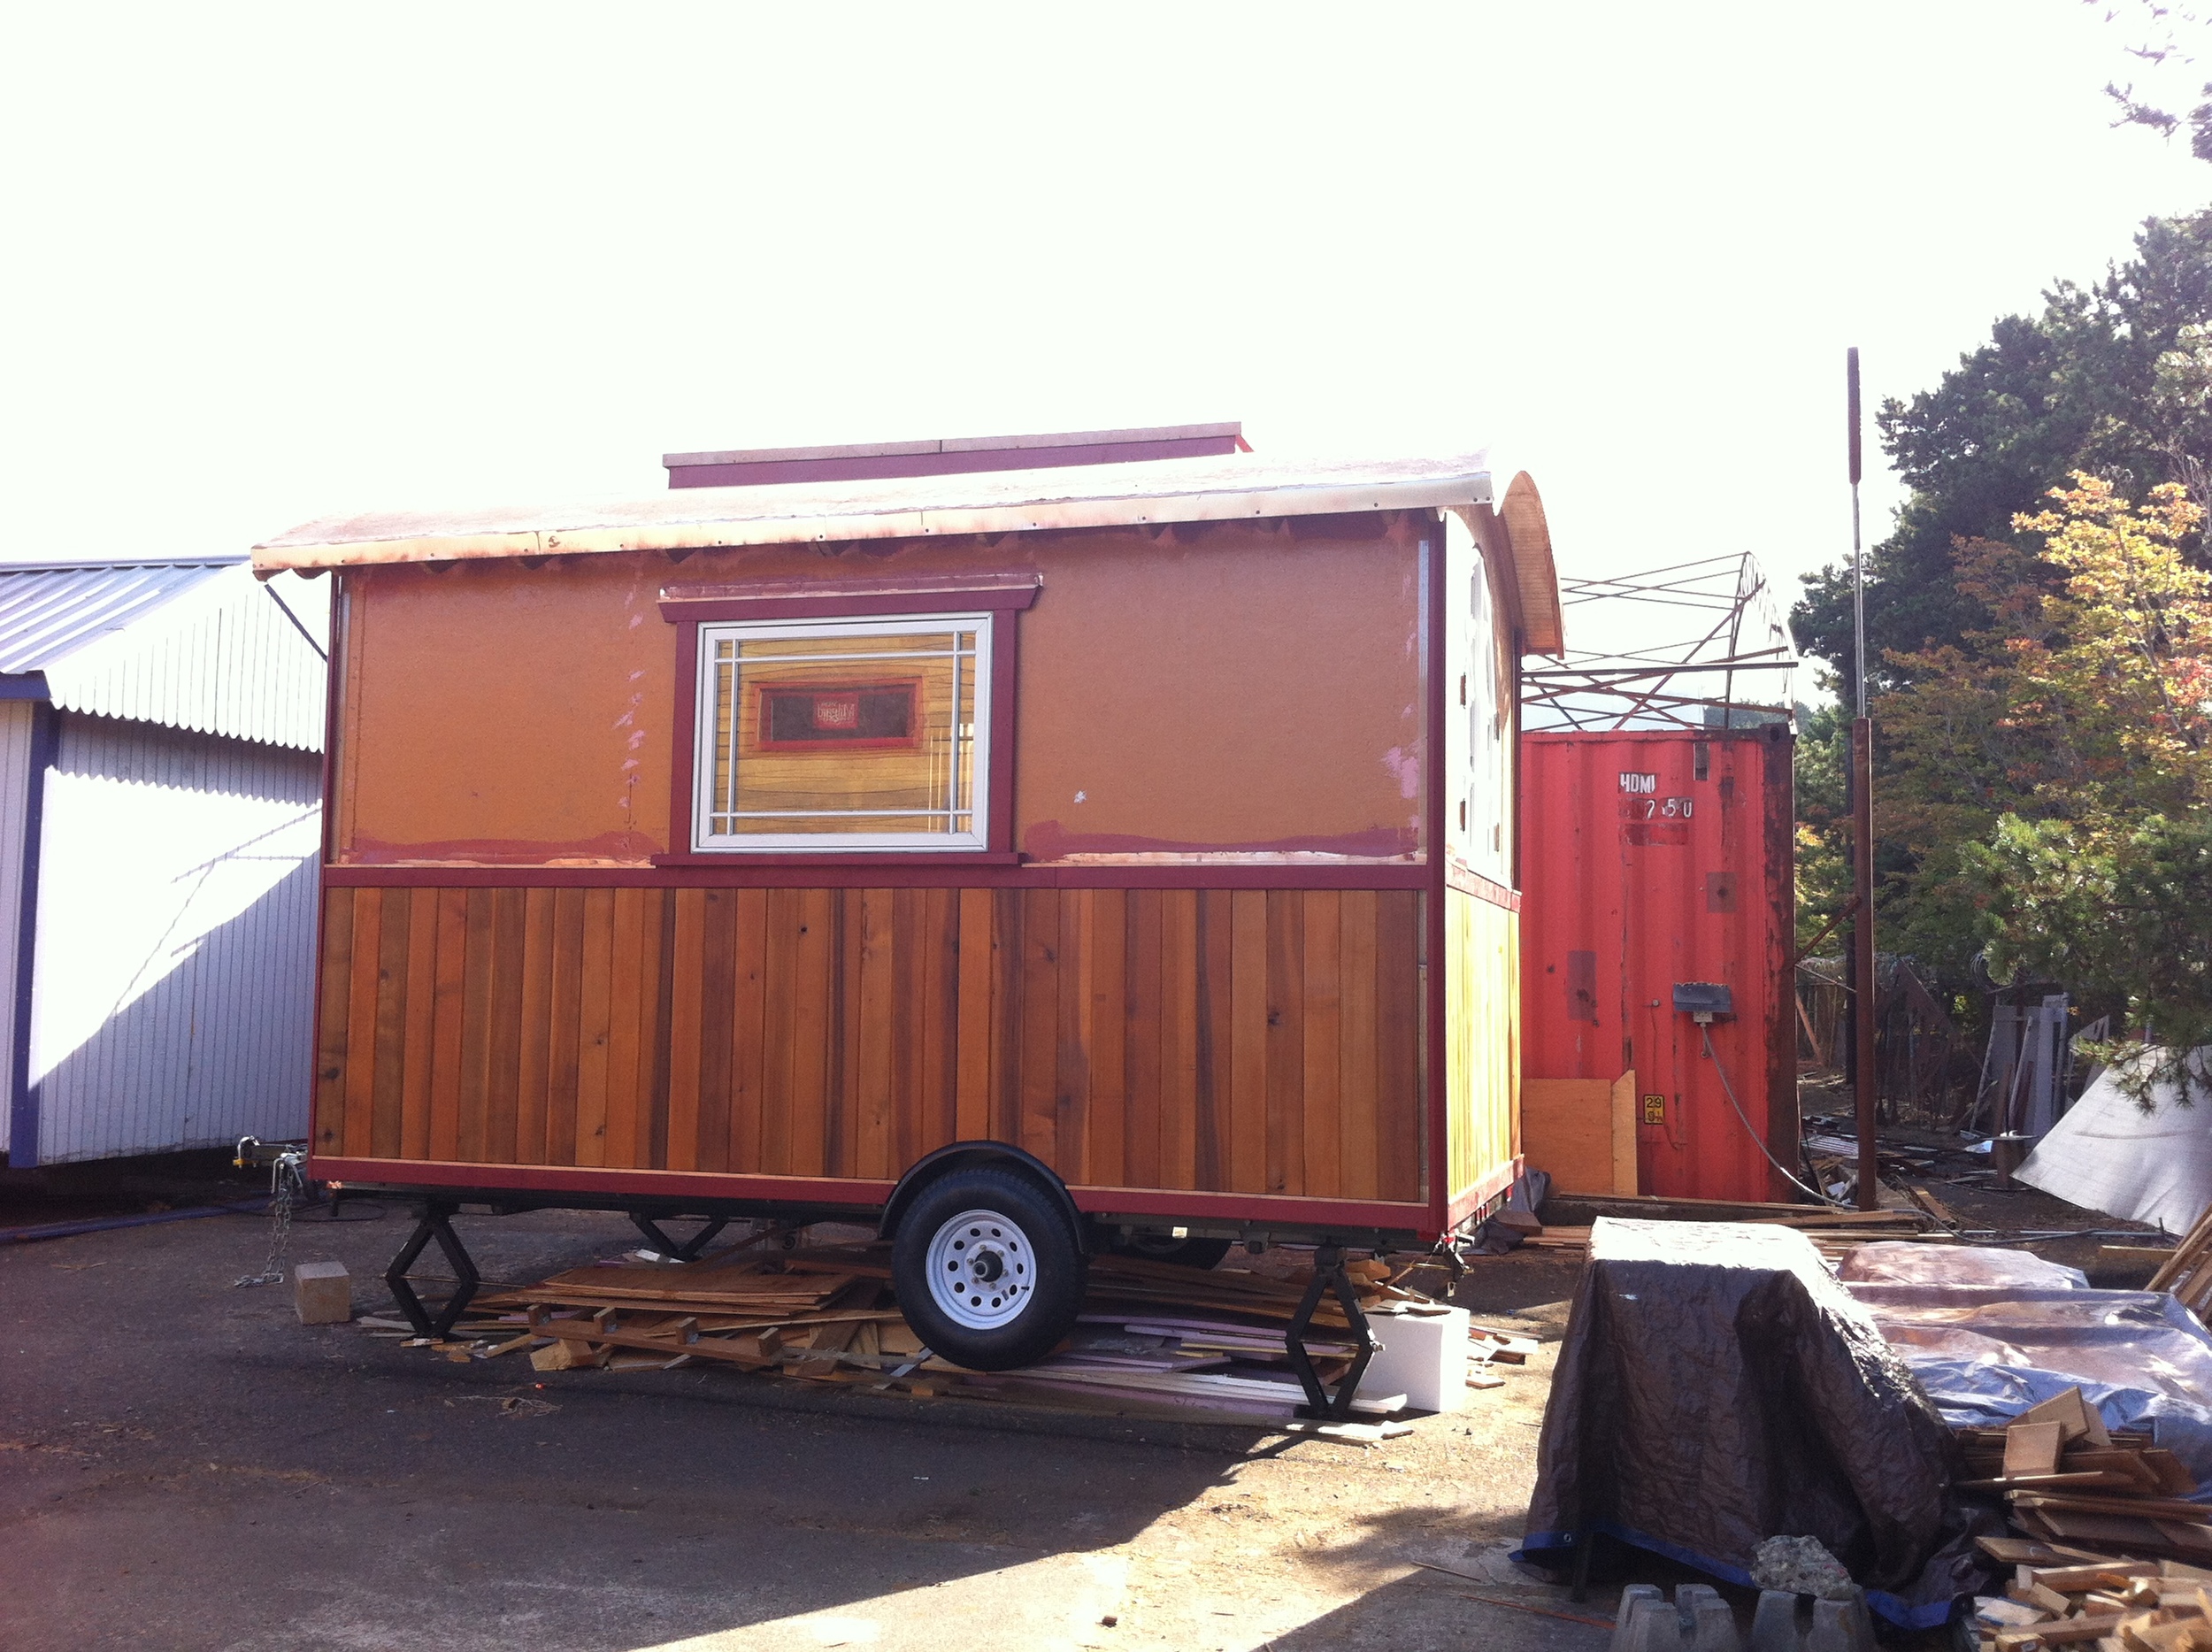
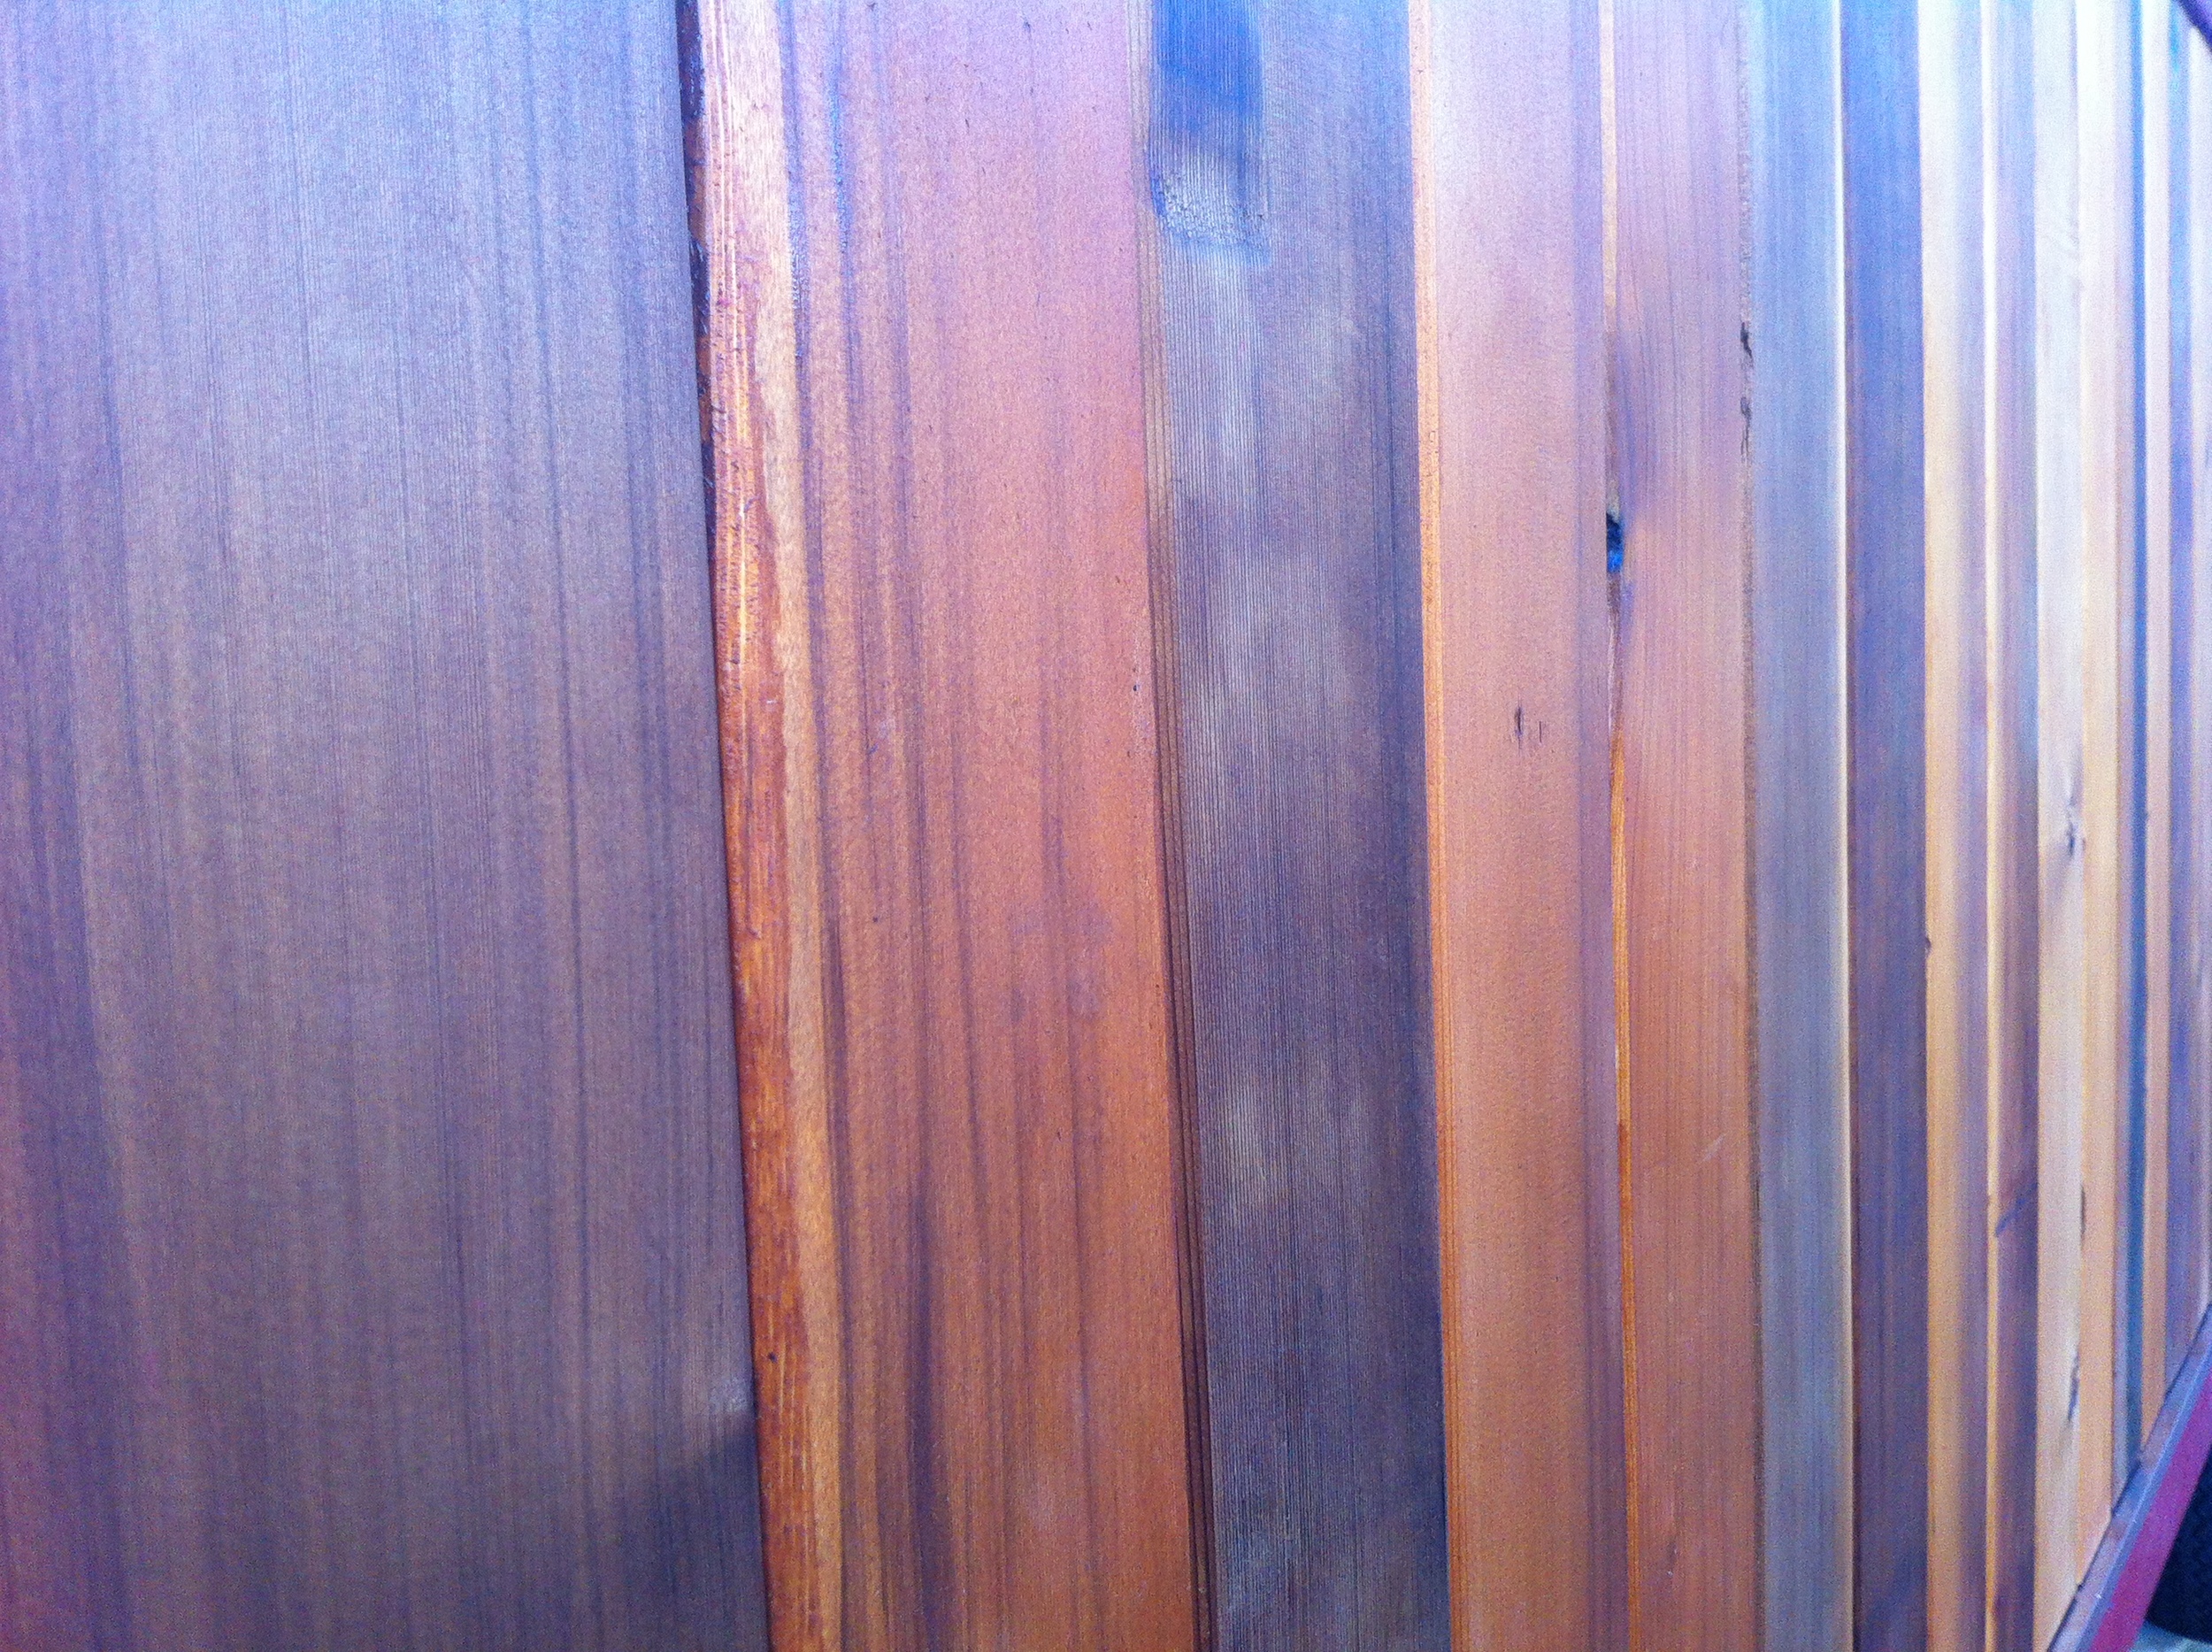
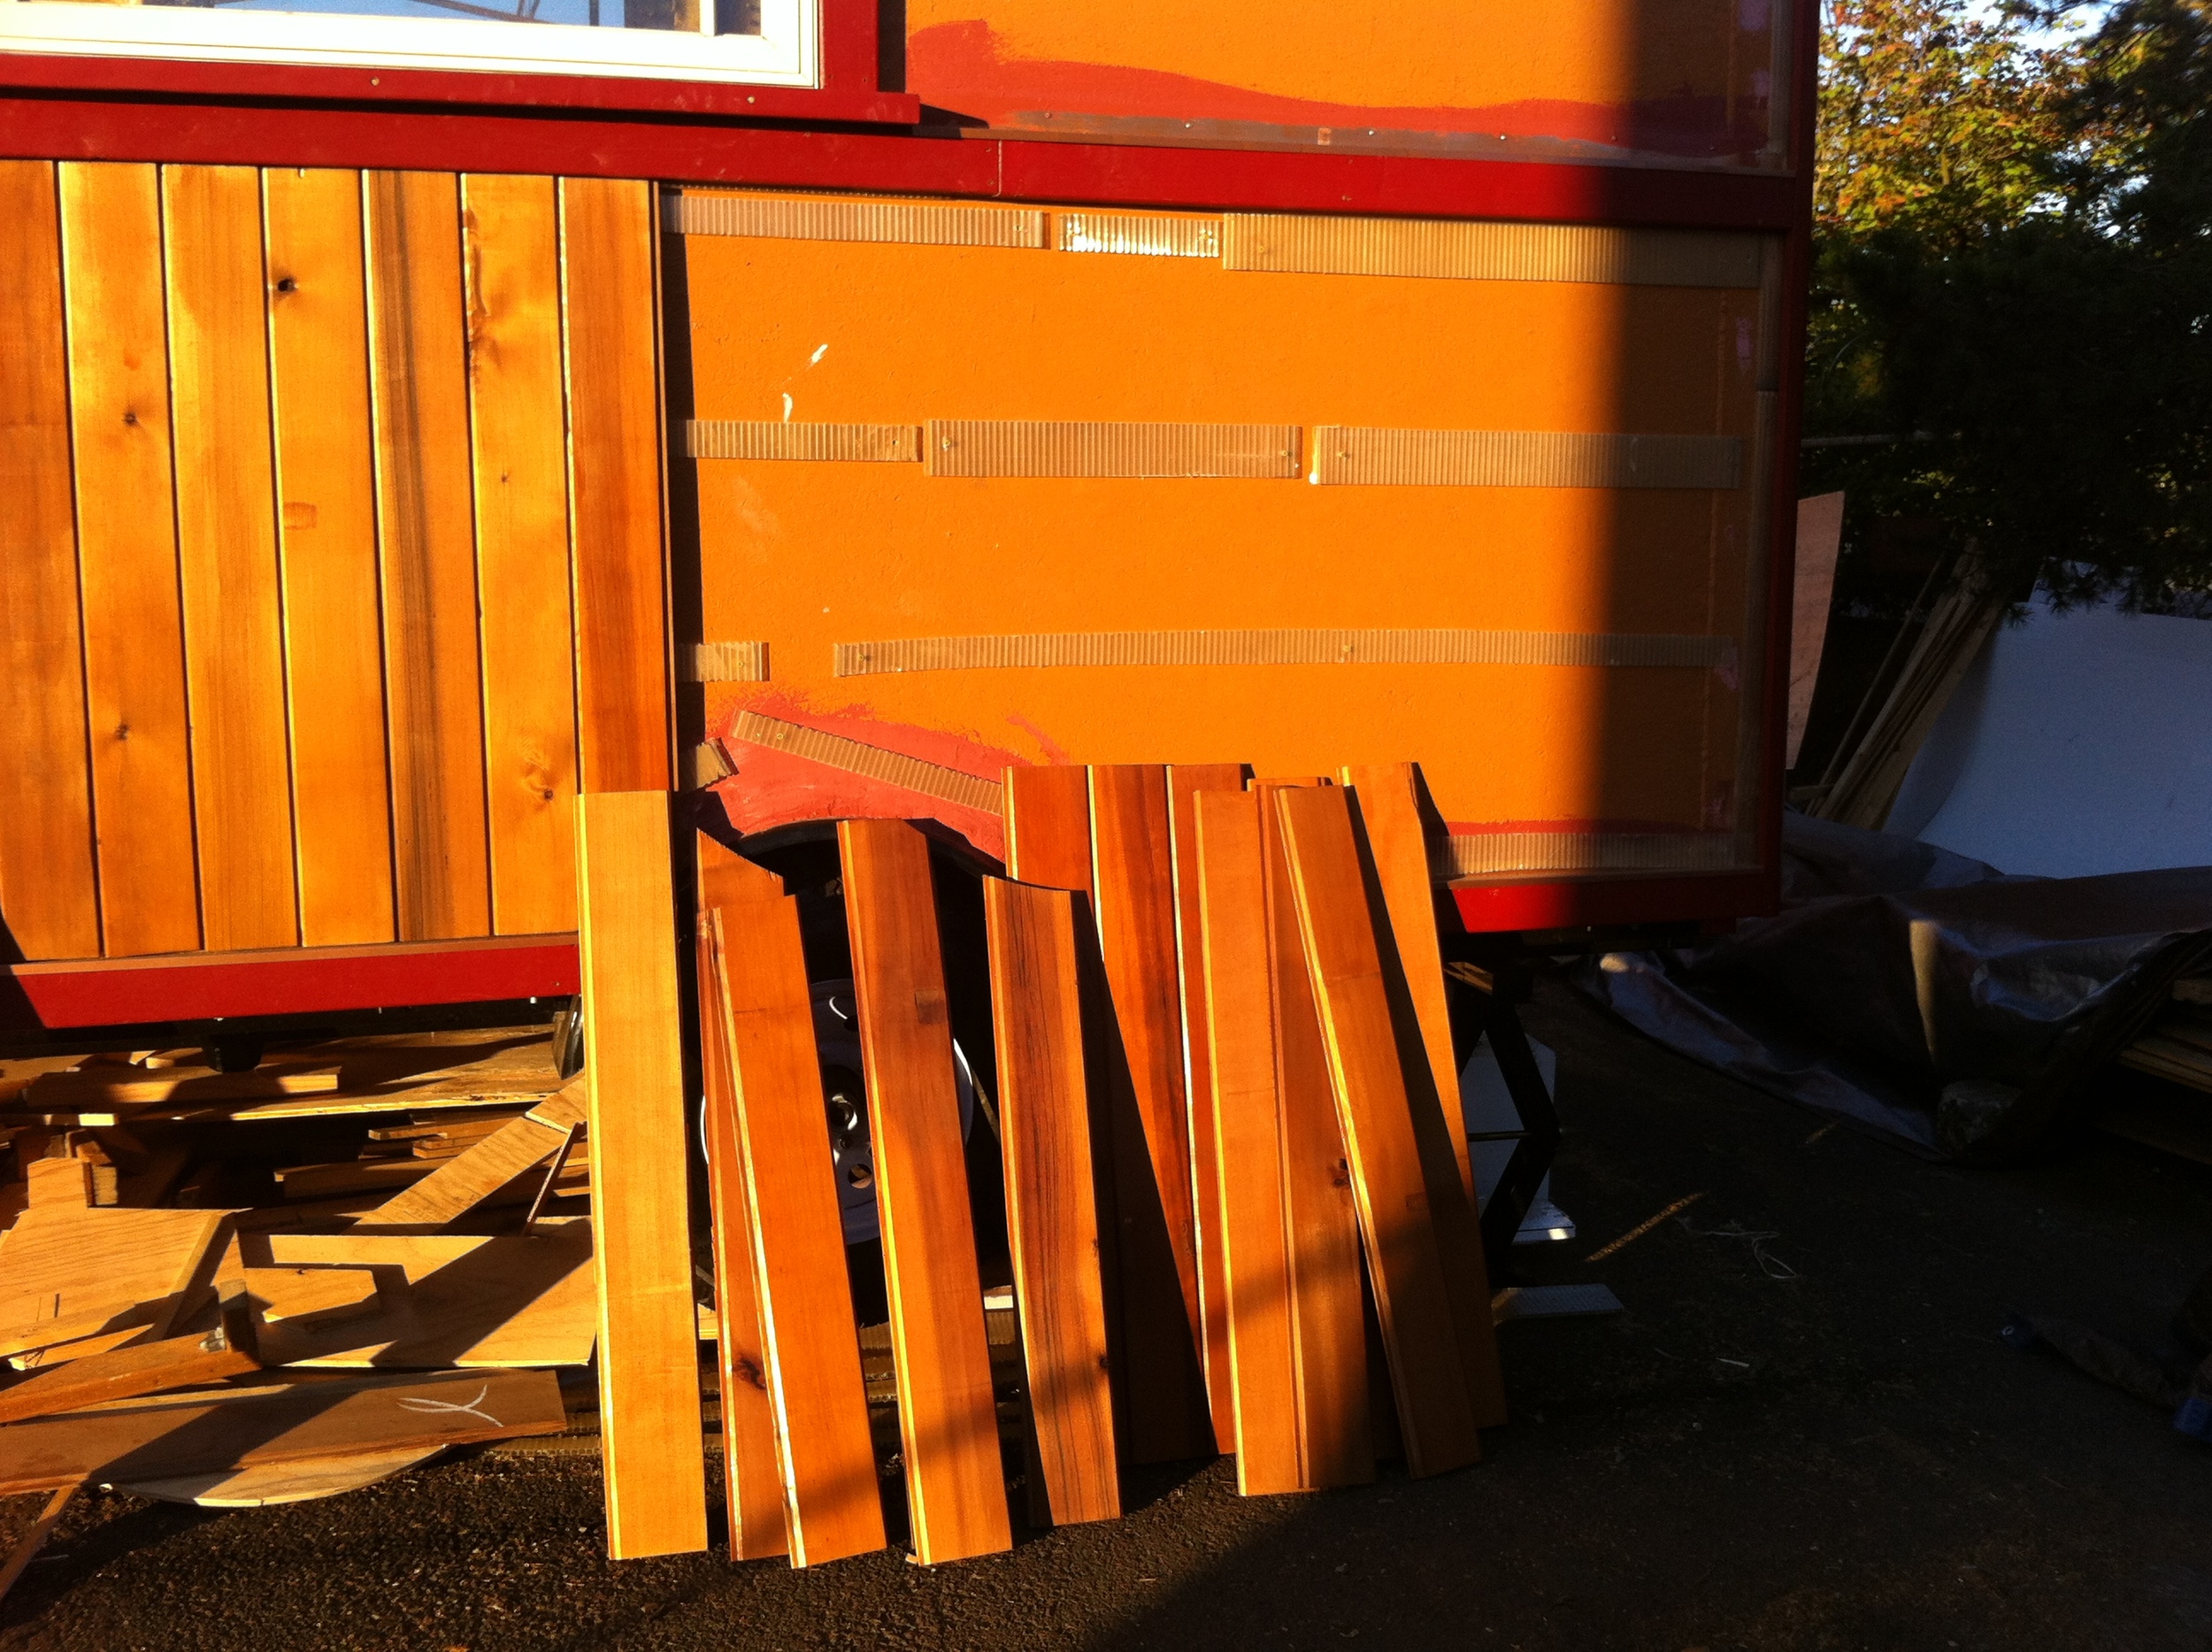 Julie and Jack also helped me get started with staining my cedar T & G siding. And that evening fellow tiny house builder Wade came by, full of fresh energy. He helped me install the first of the siding, working our way to the wheelwells. When we ran out of light we sat at the river to drink a beer and compare notes. How fun it is to talk to three other people currently building their own tiny houses! Living in Portland, OR - the epicenter of the tiny house universe - certainly has its perks!
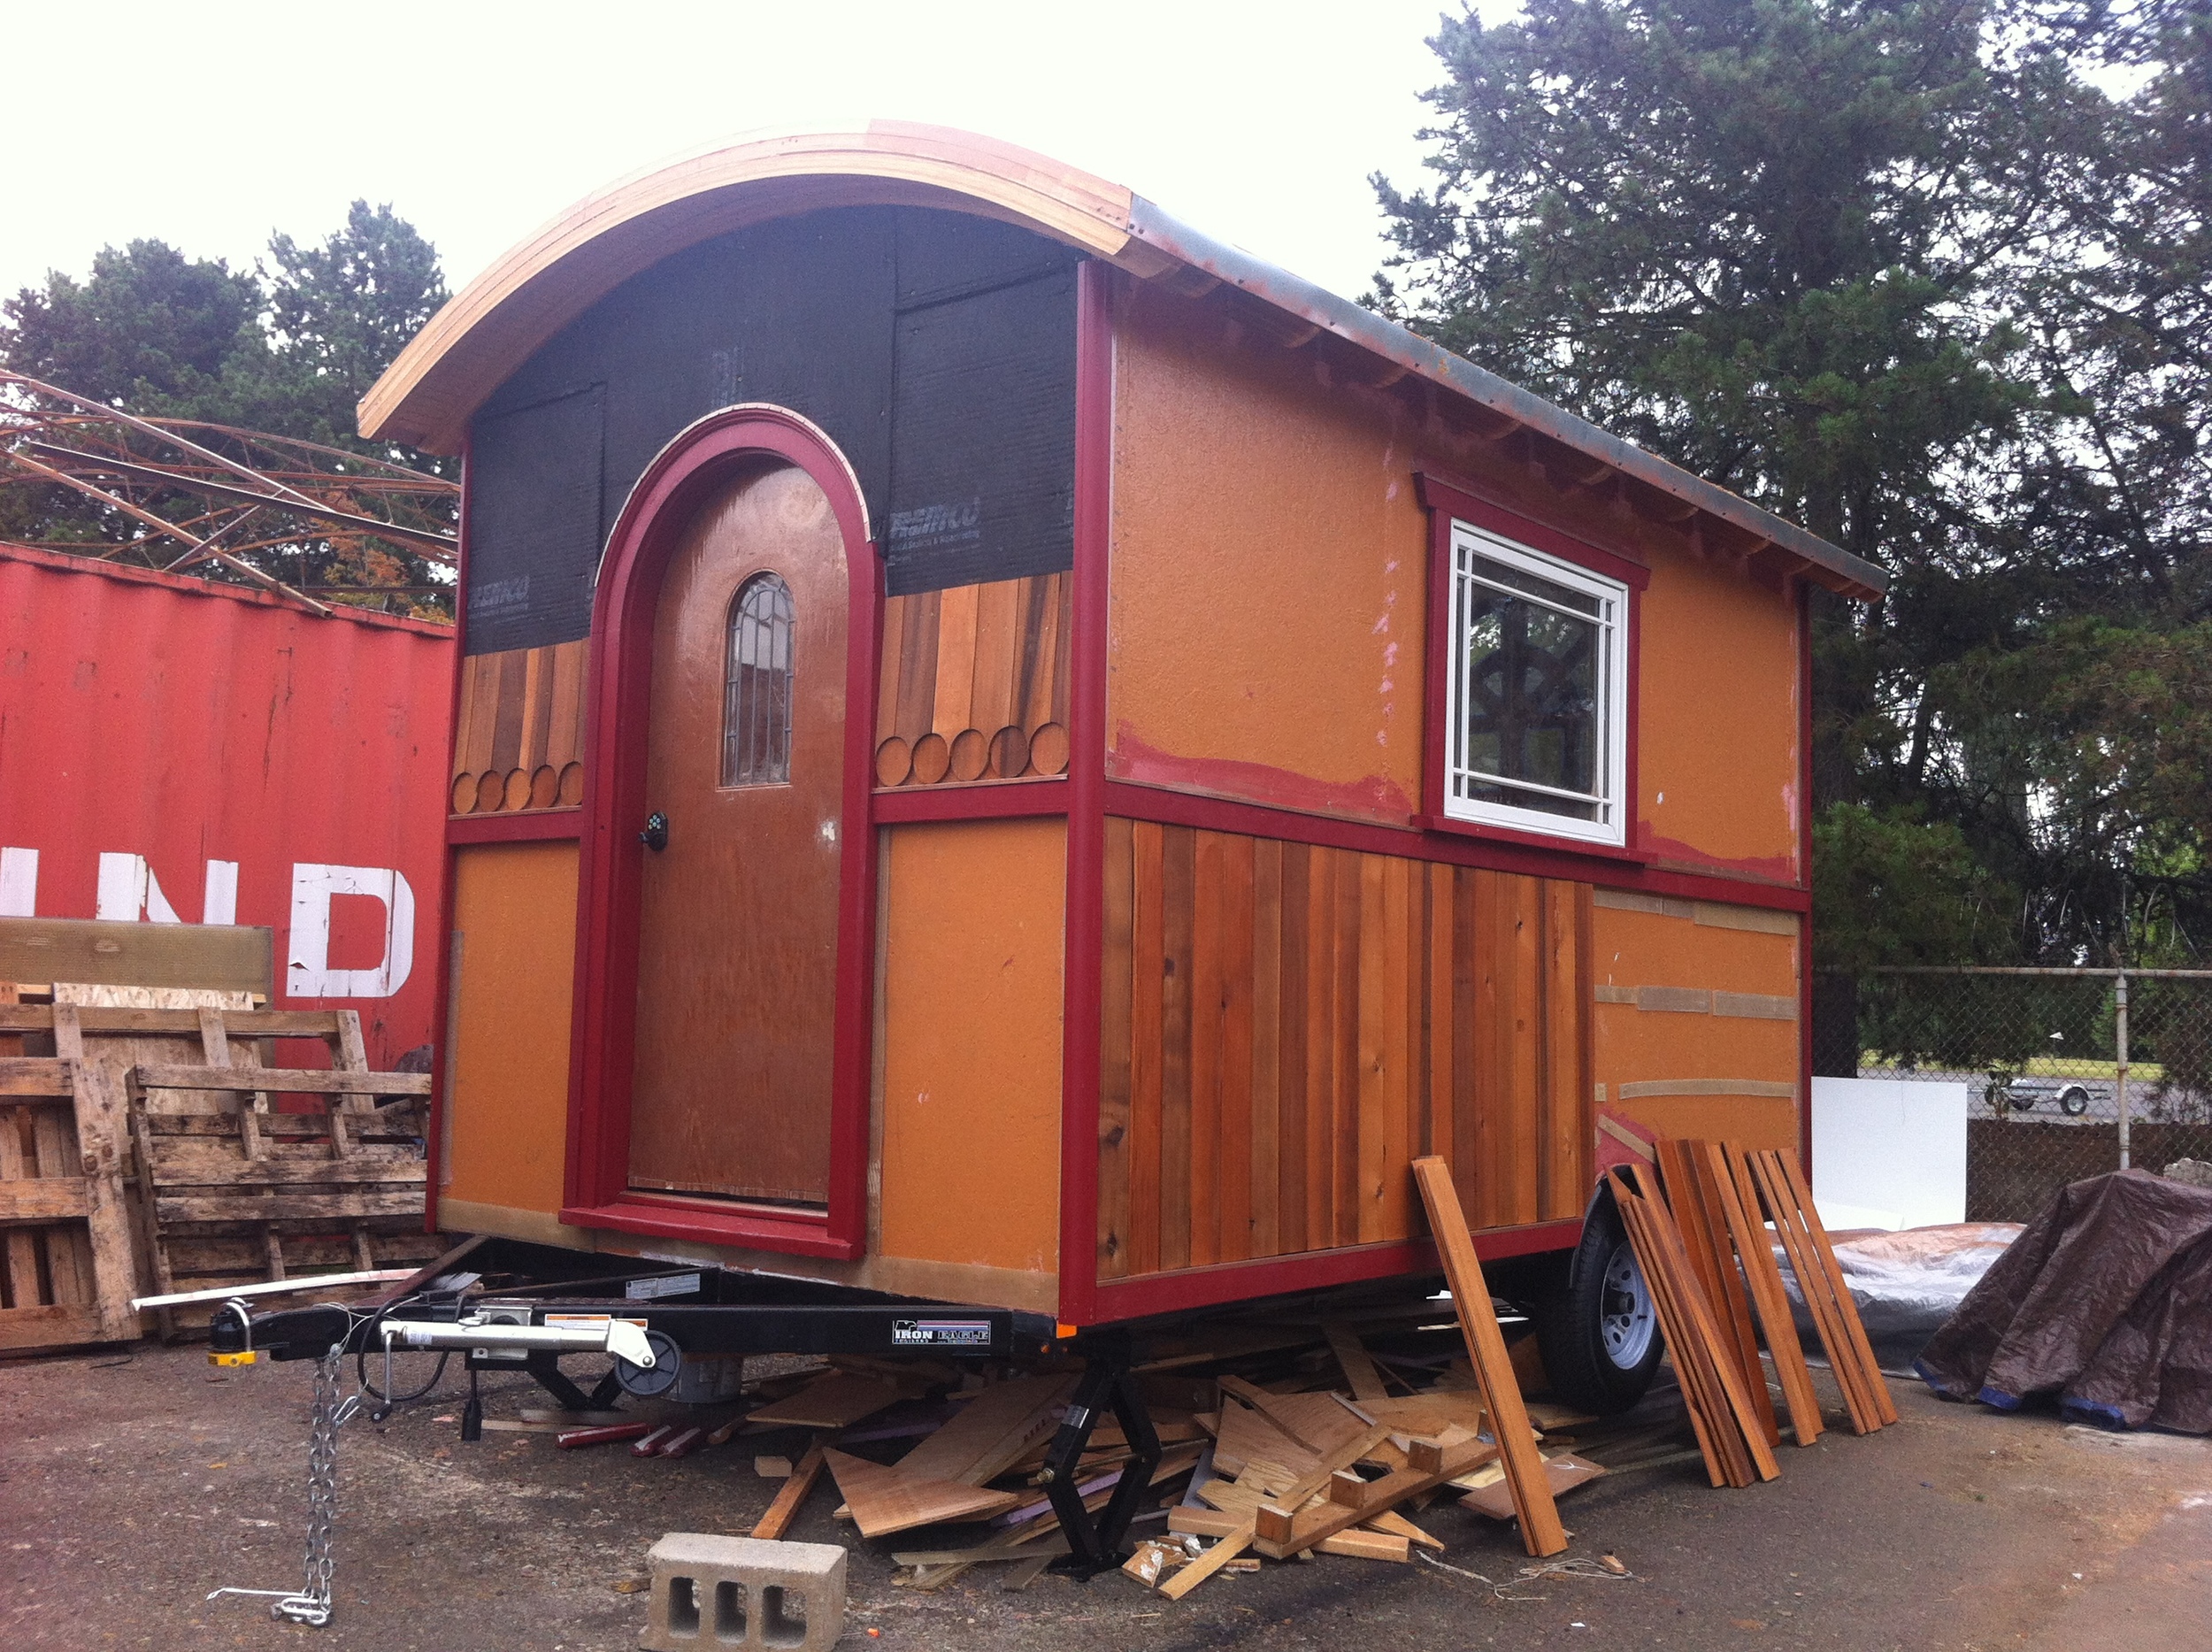
On Monday morning I did a bit more supply sourcing and shopping (including cedar fancy-cut arrow shingles for my end walls from the helpful folks at Shur-Way Building Center). That afternoon Julie helped me paint and install Z-flashing for my bellyband and over my windows. Meanwhile, Laura hit a stopping point with her siding so she came on over to install a different version of my Rain Screen system around my door in preparation for the fancy-cut cedar shingles.
As evening wore on, Laura and Julie helped me stain the cedar shingles and I got the first shingles up. I’m delighted. My house is so darn cute I can hardly stand it!