floor box

My Floorbox Continued


ta da! floor box! (and then I changed my mind...)

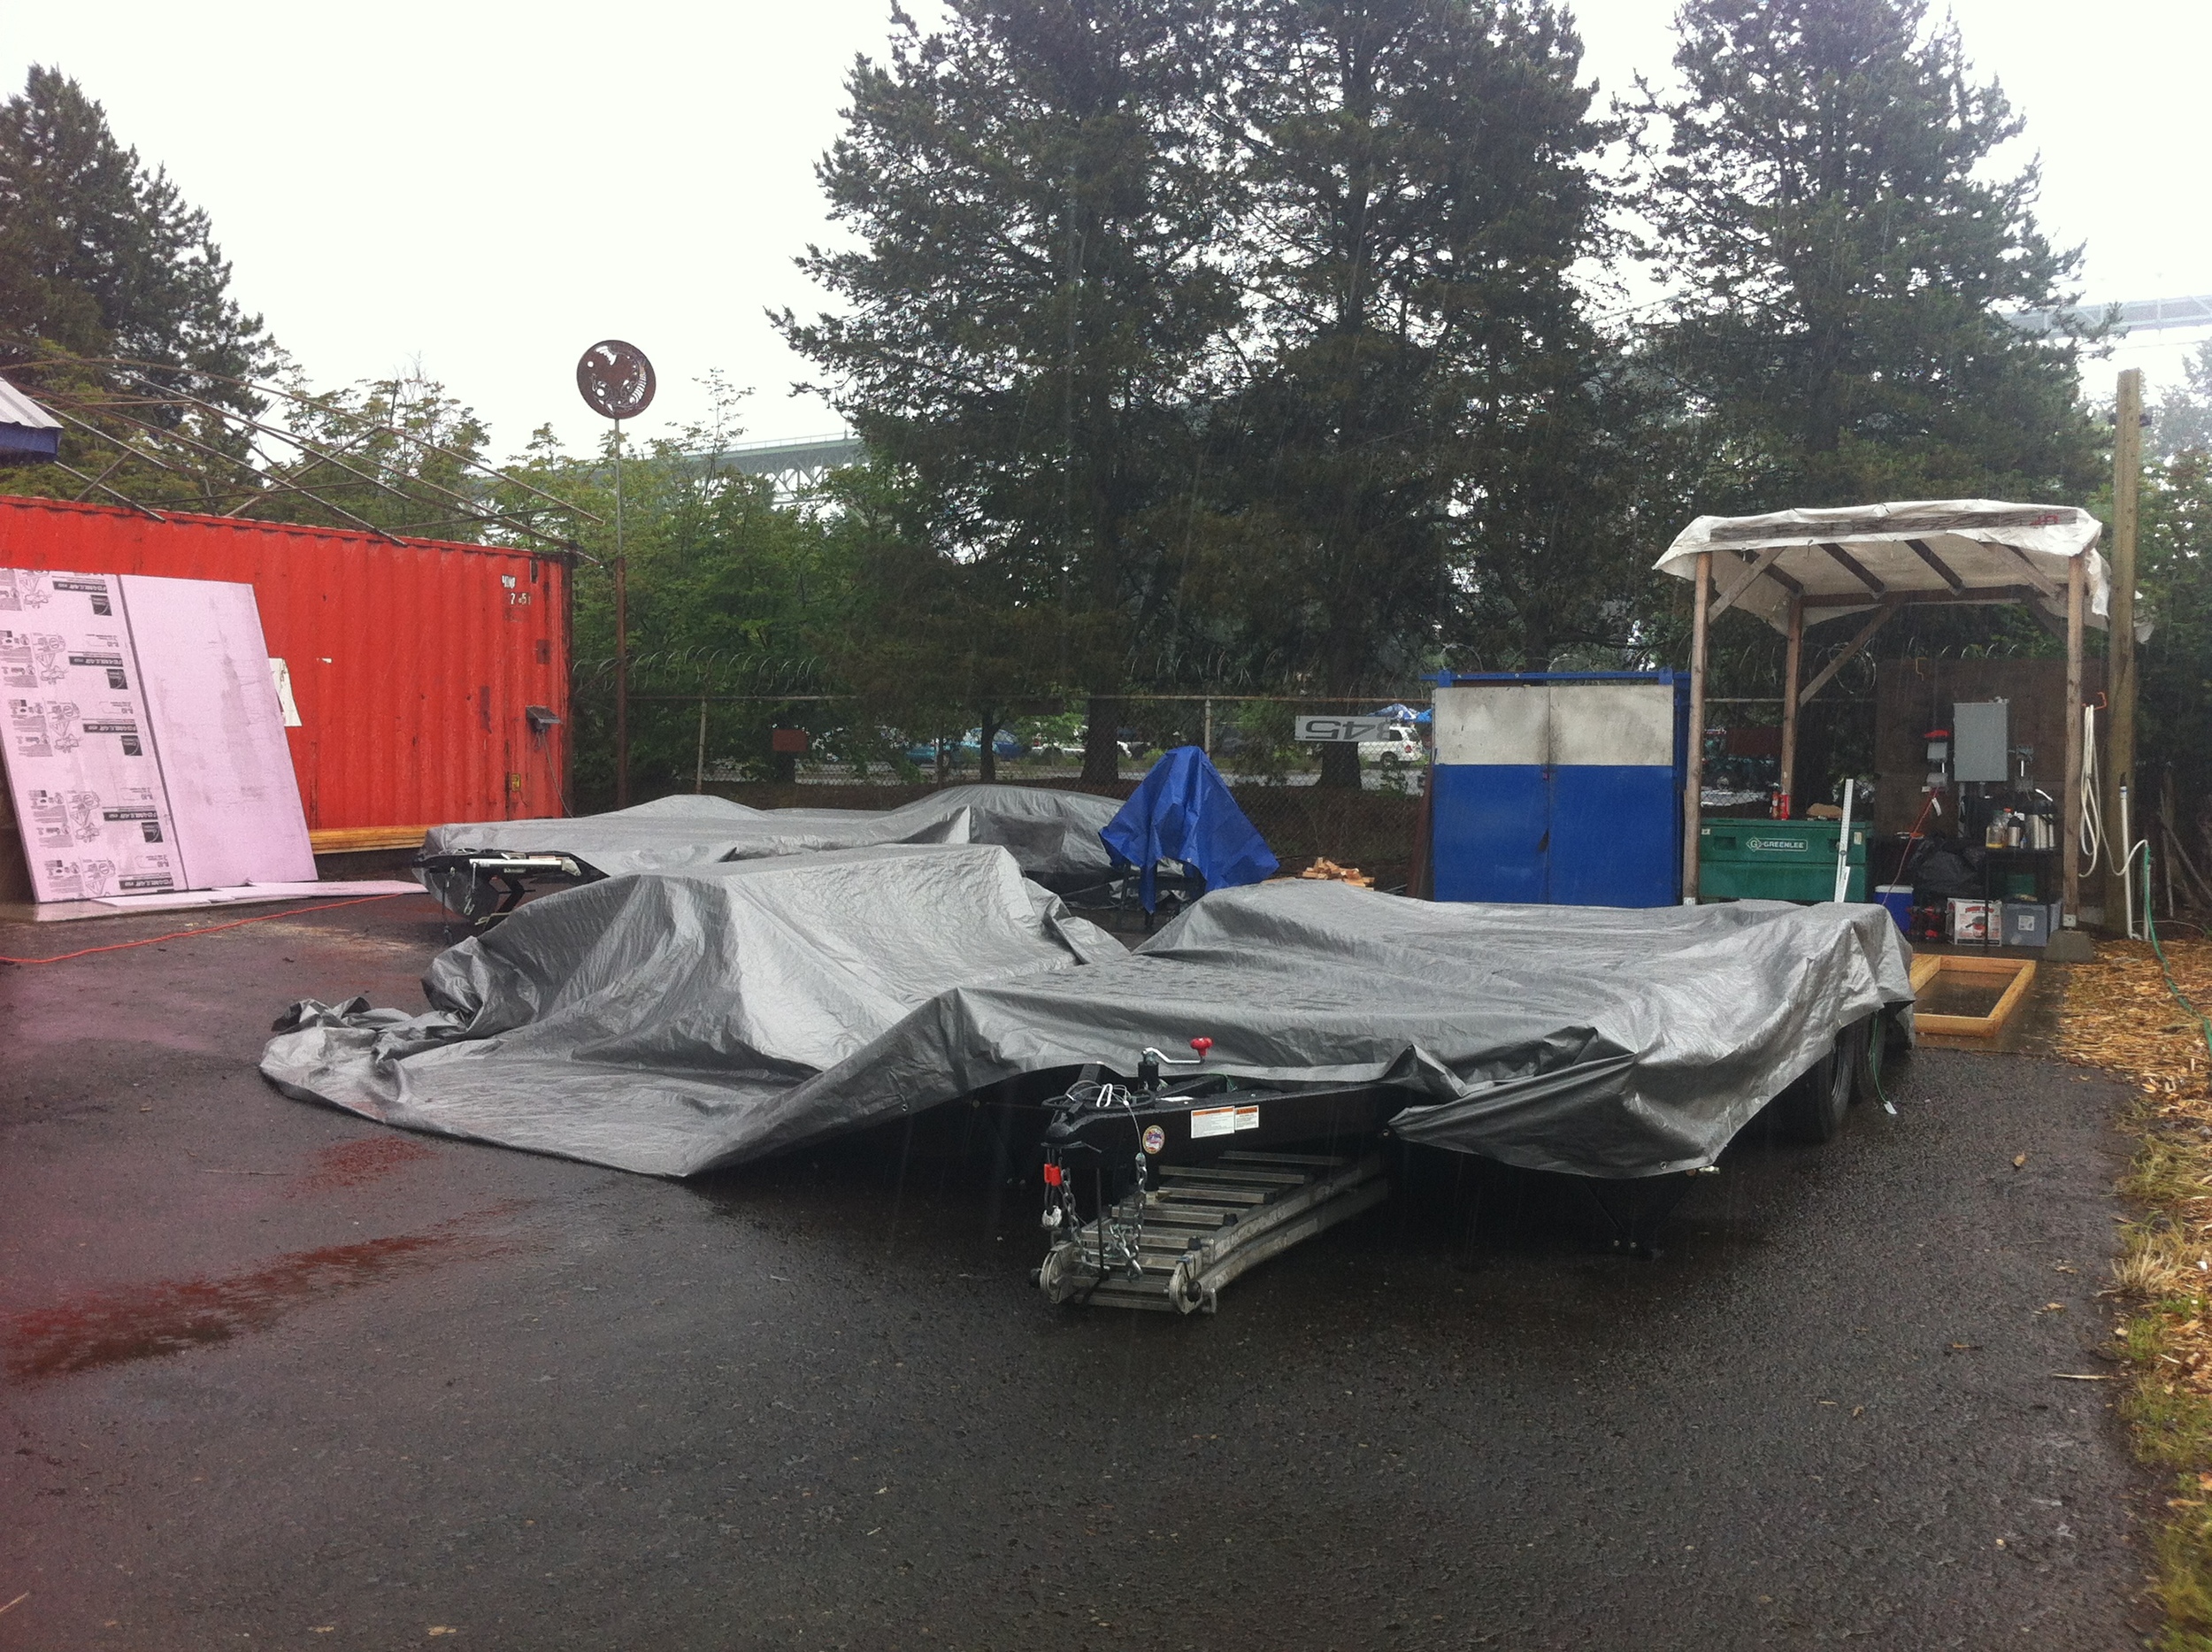
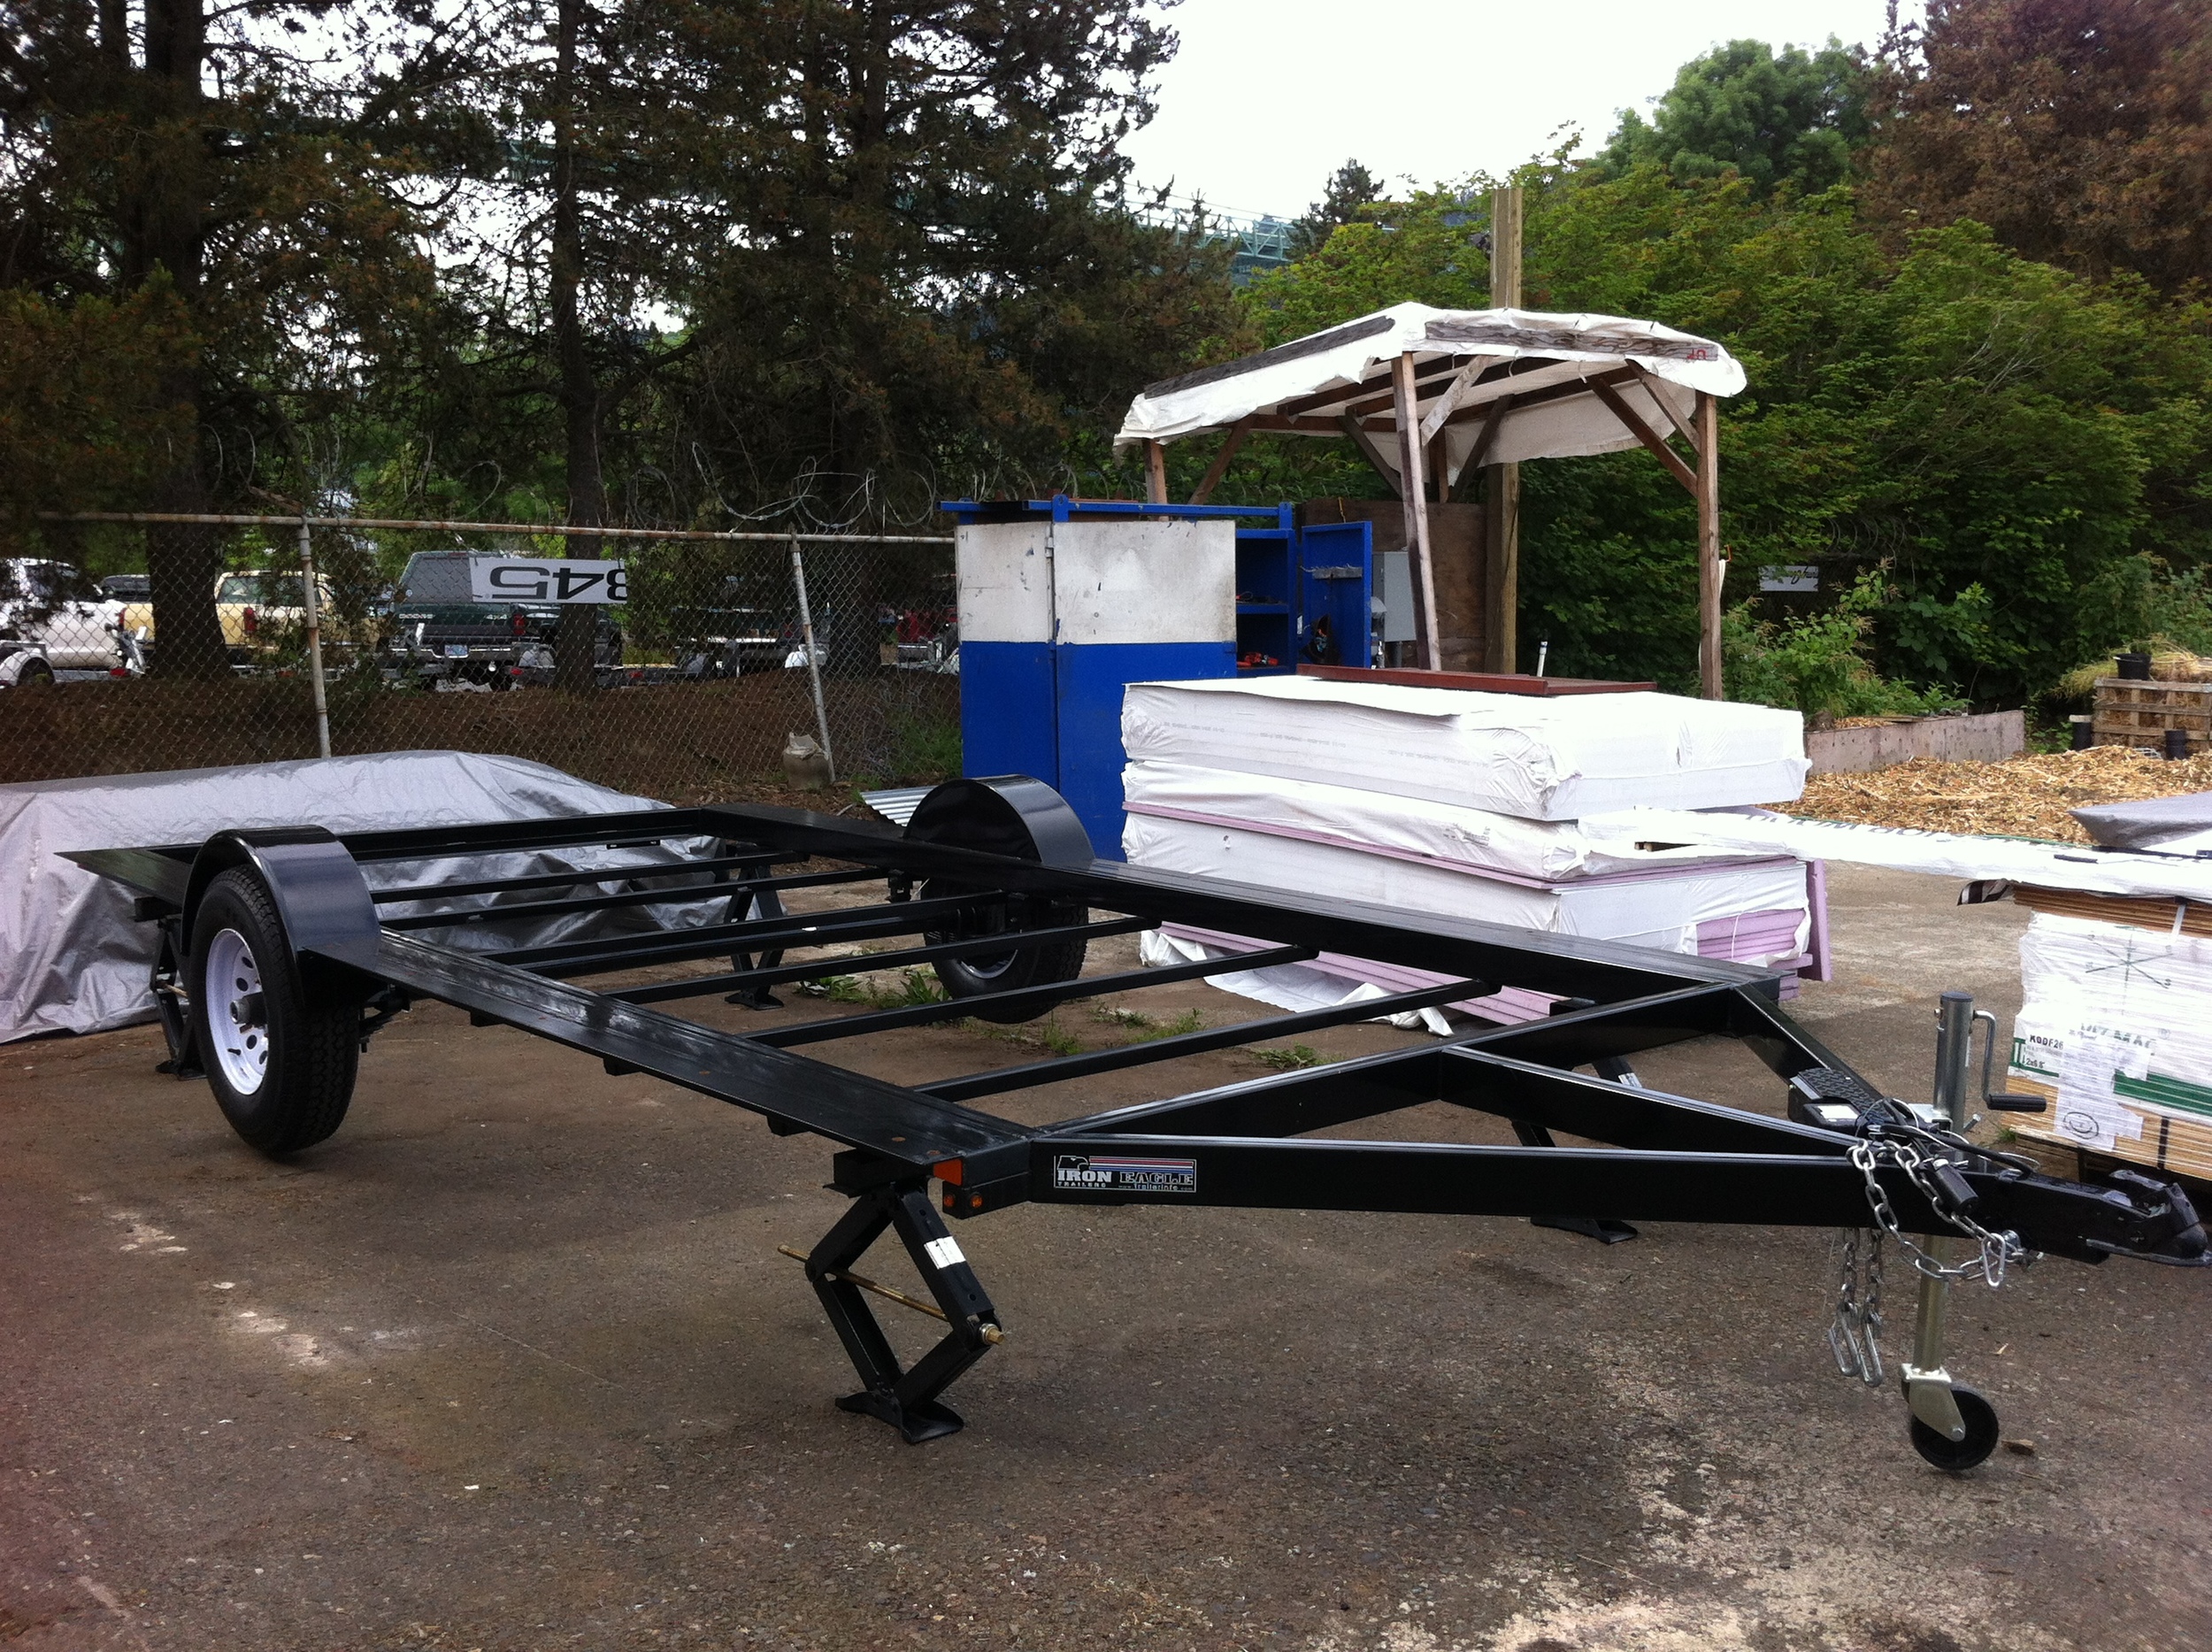
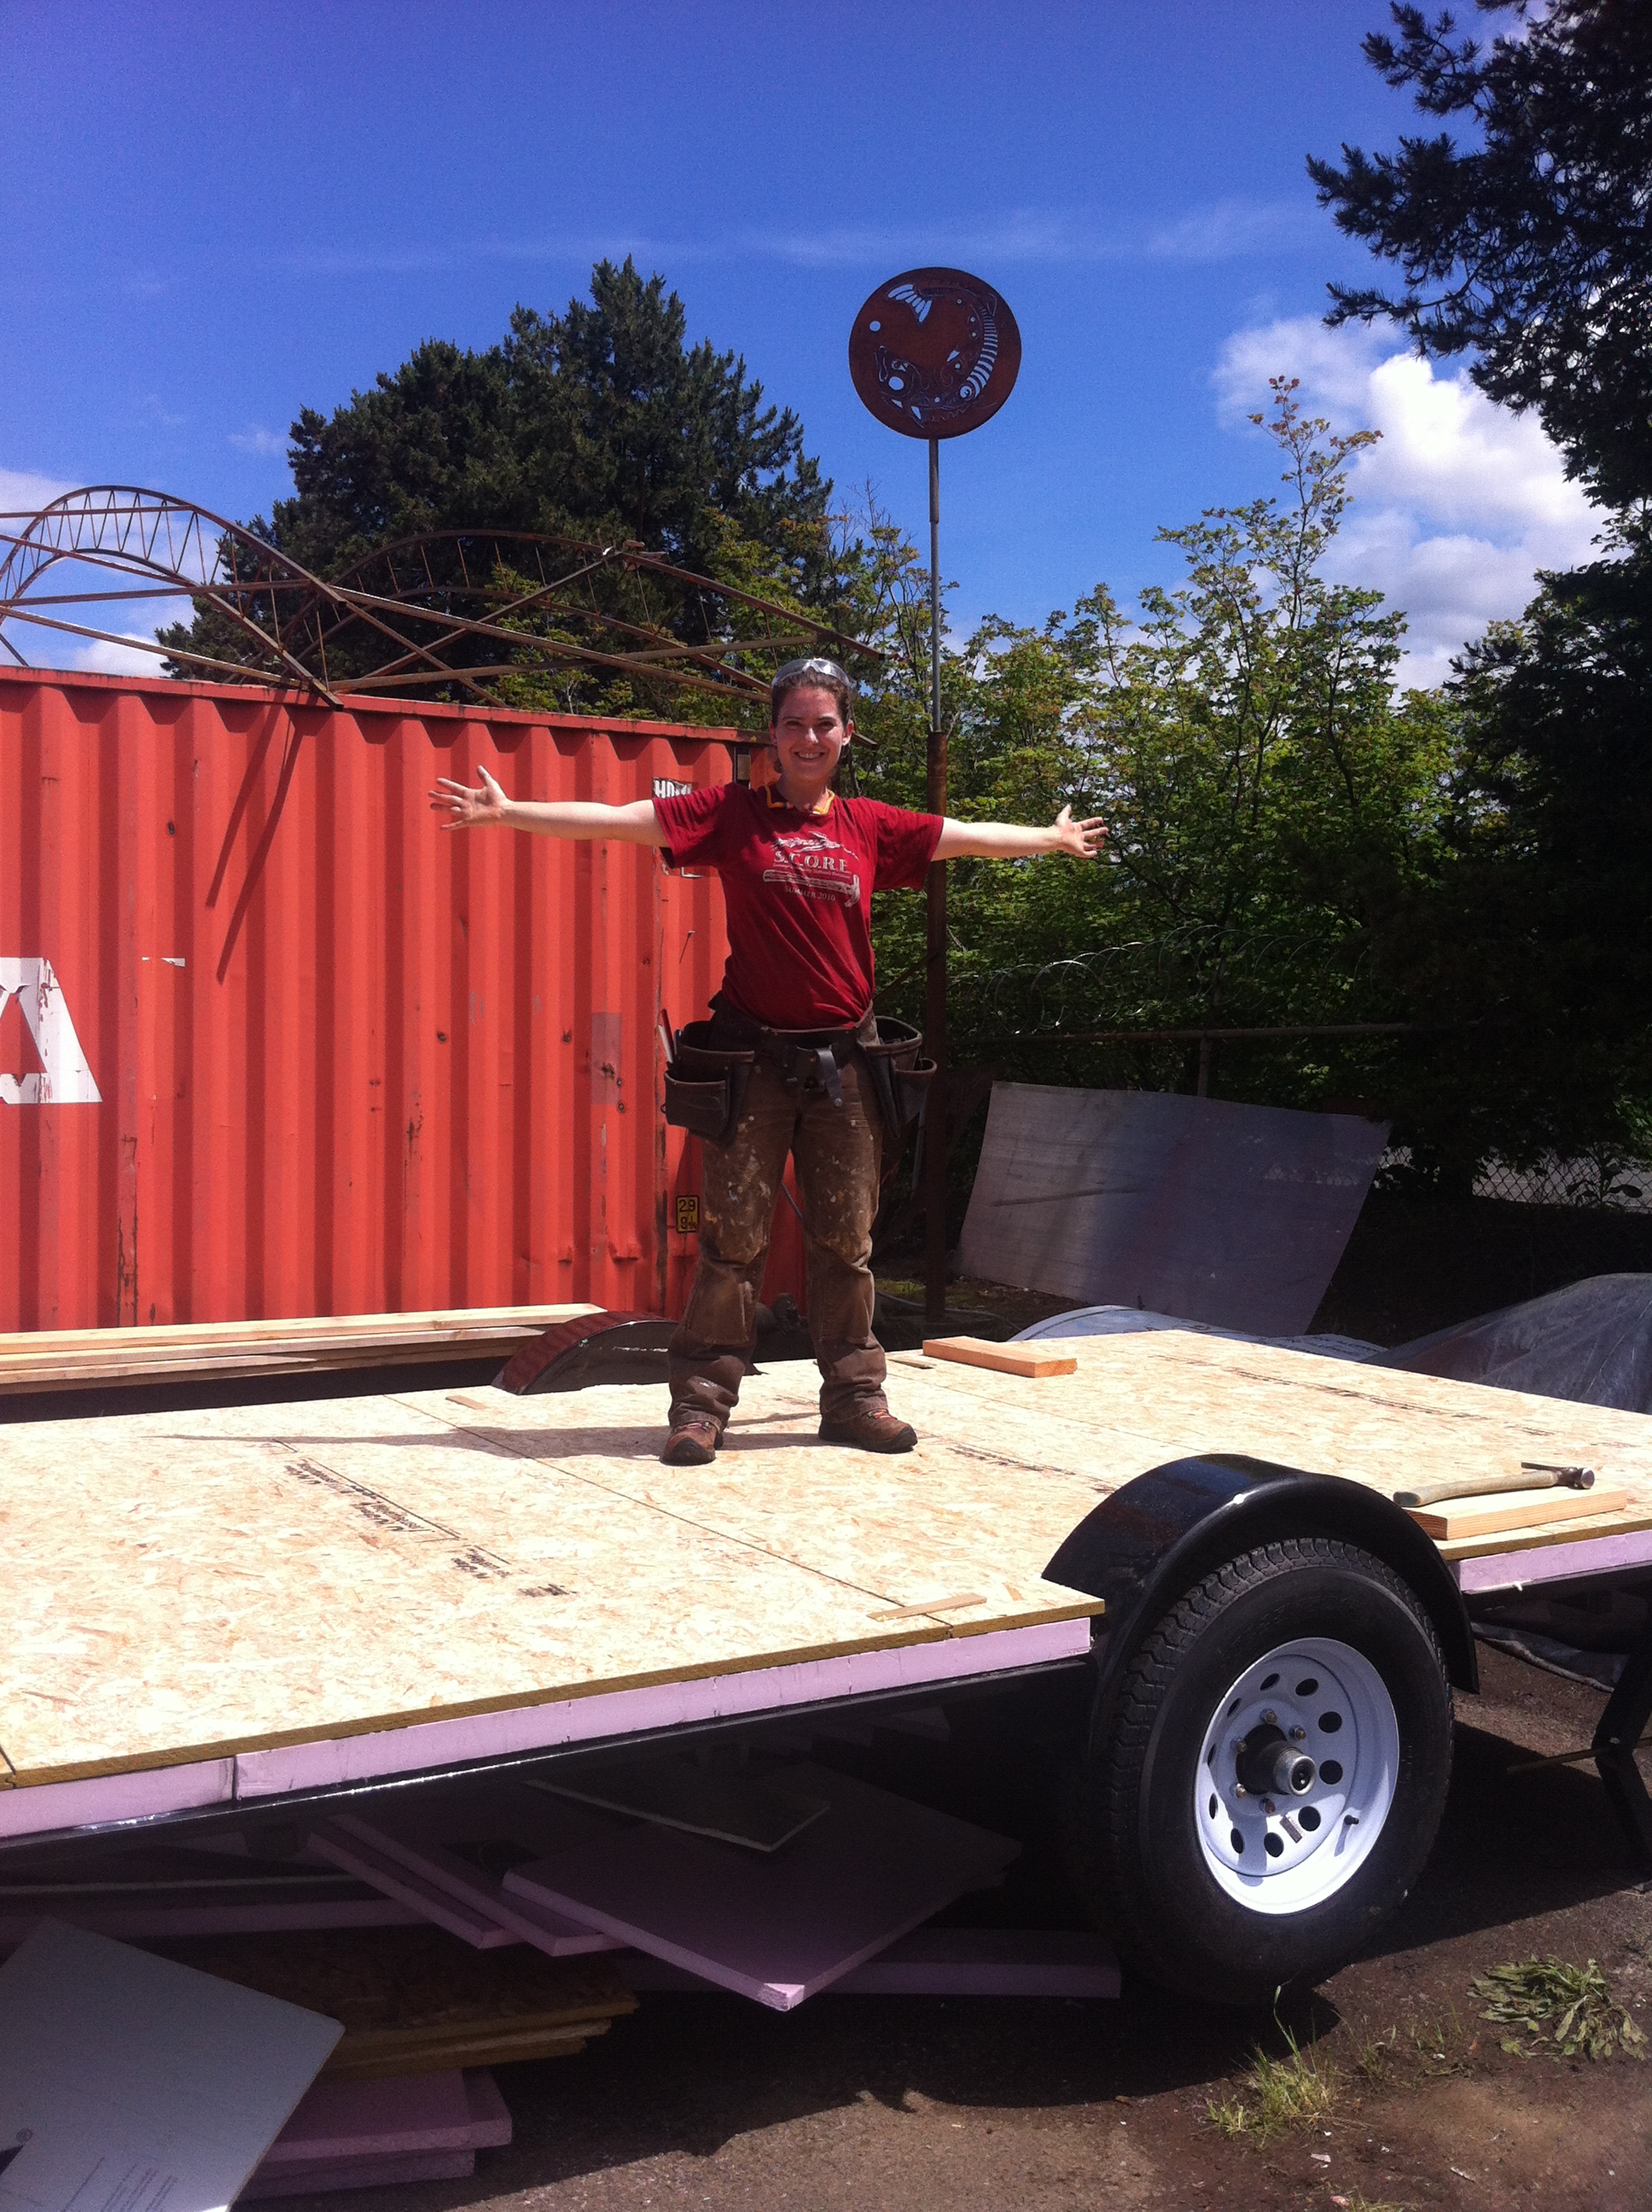
My Tiny House Build Began on Friday last week when friends helped me pick up My Custom Vardo Trailer and work on my floorbox. I wasn’t able to finish the floorbox that day because I couldn’t source the ½” rigid foam I needed, but I managed to have plenty of Floorbox Lessons Learned anyhow.

Over the weekend I helped my build buddy Laura with her floorbox and wall framing. Sunday was a crazy-rainy day so Laura, Jeff, Logan, and I snuck in moments of foam layering for my floorbox during the collective 30 minutes or so when it was dry enough. We worked on Laura’s framing during the mist, the drizzles, and the showers. We hunkered down in her car during the pure downpours.

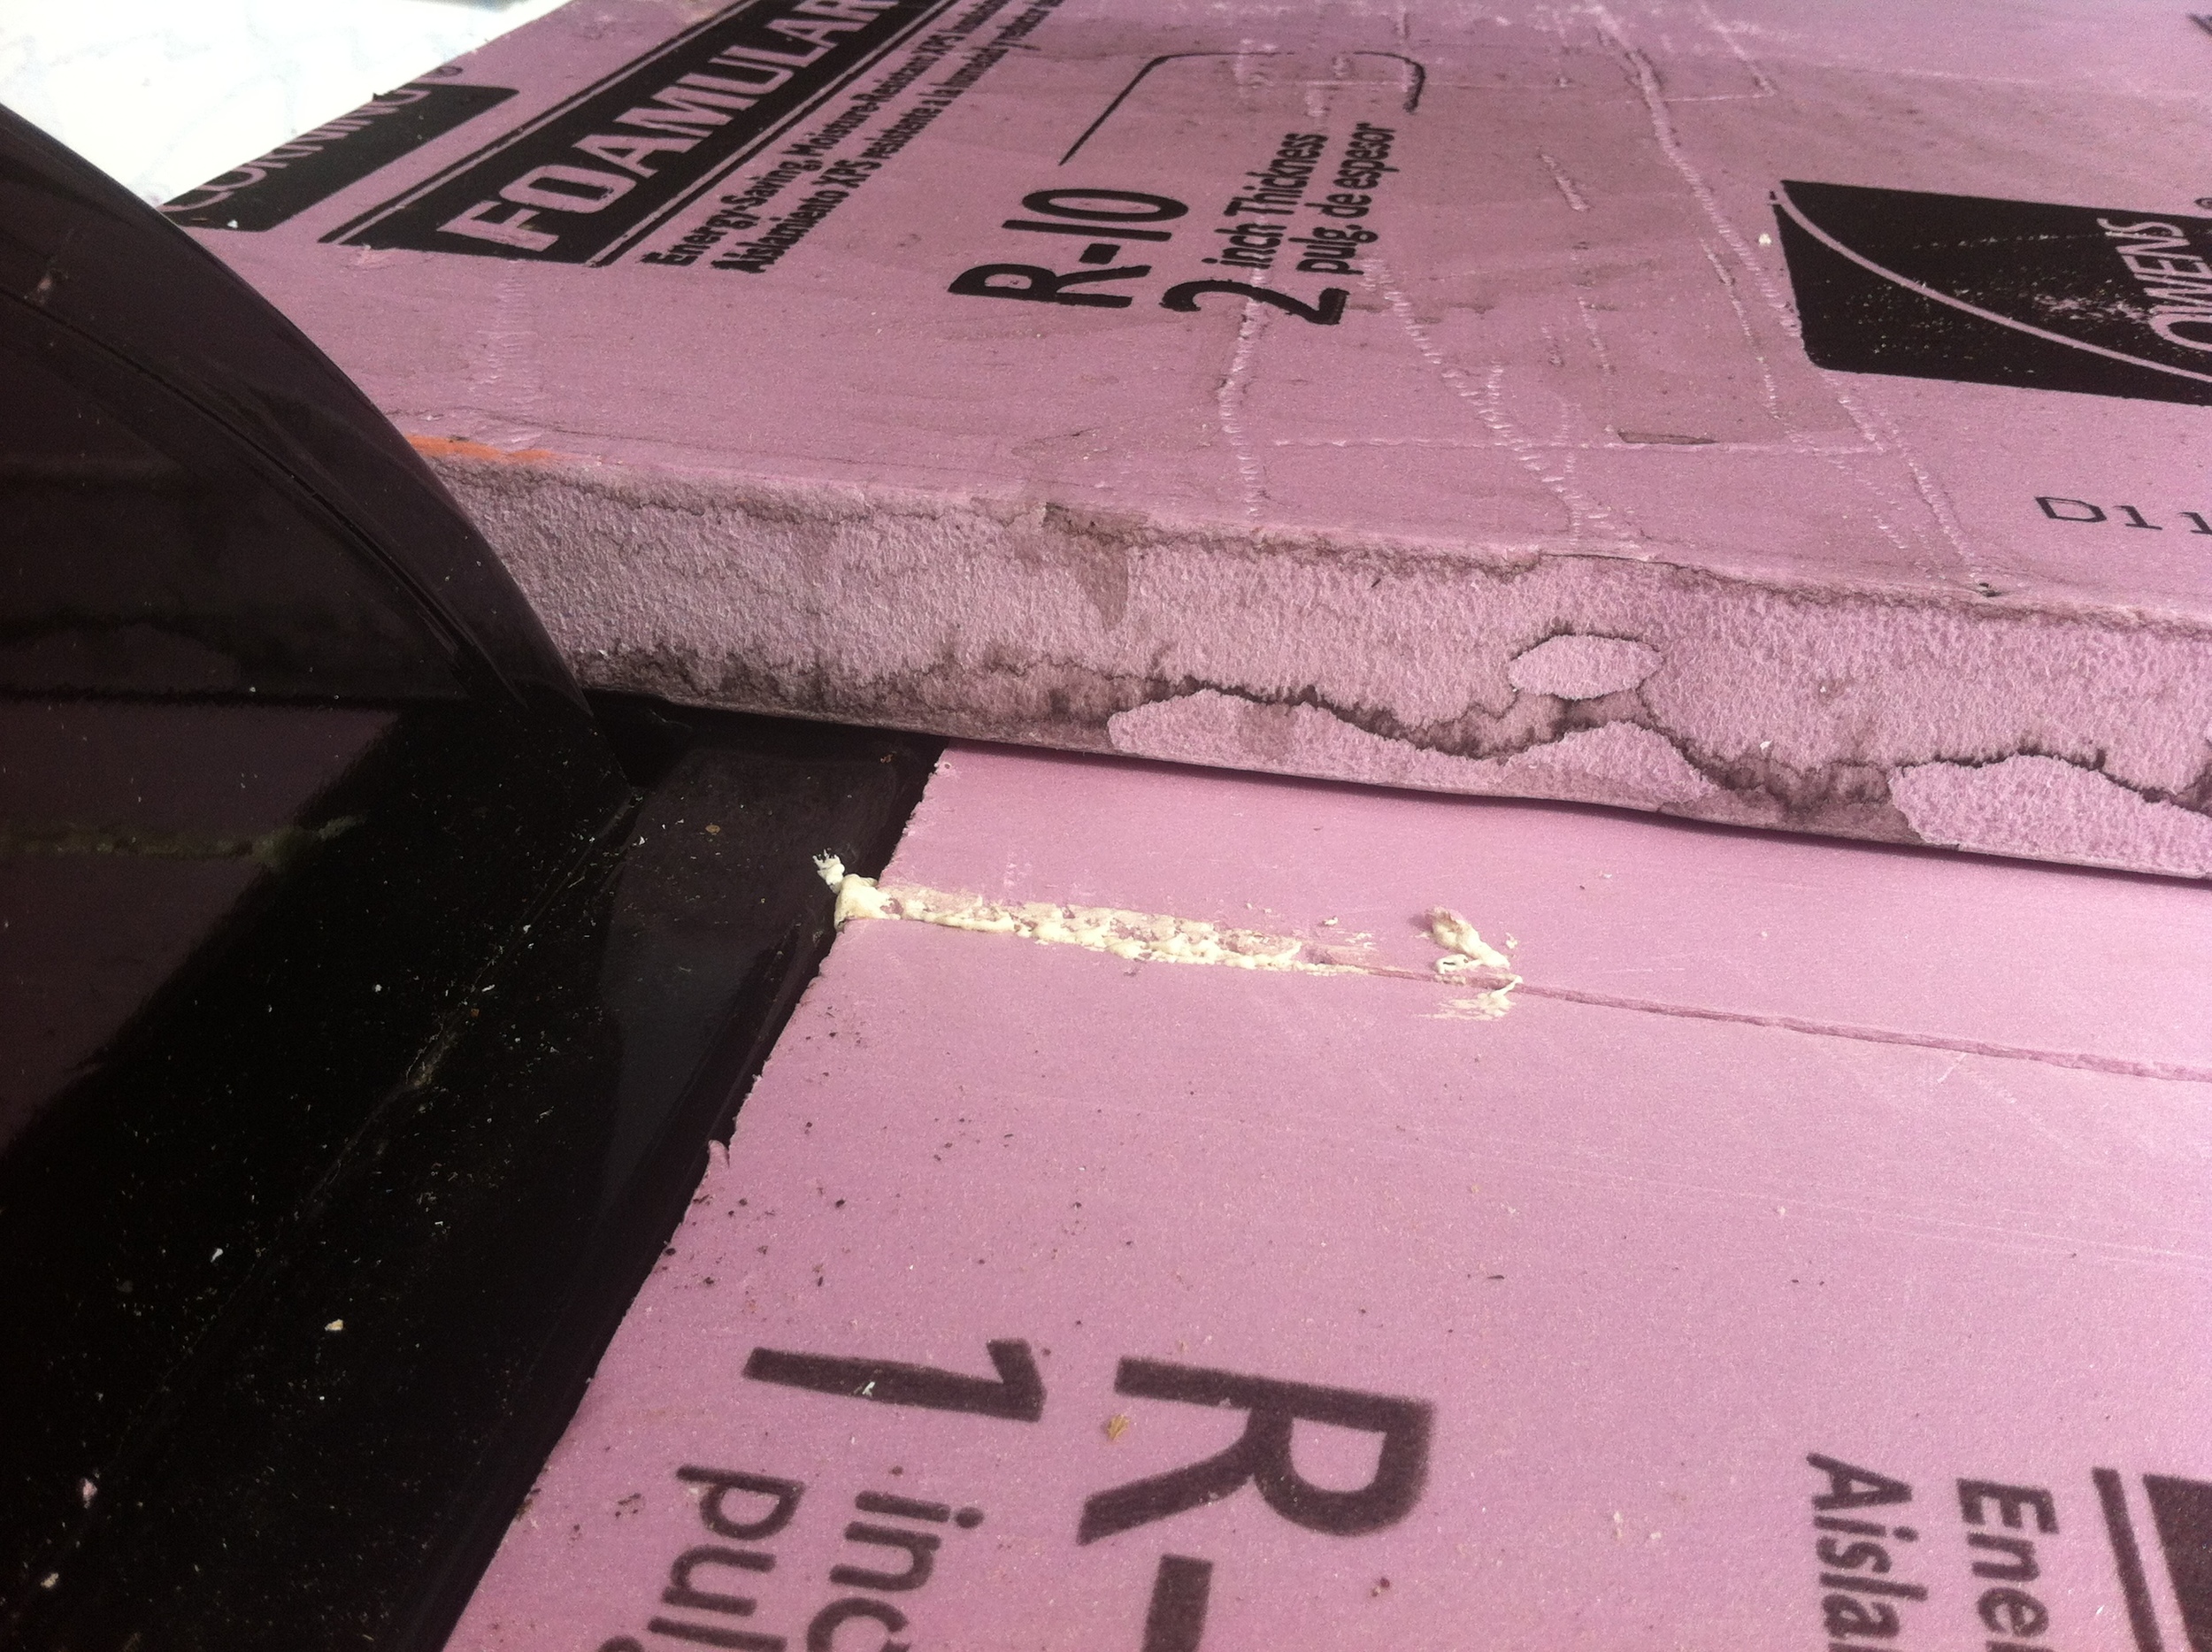
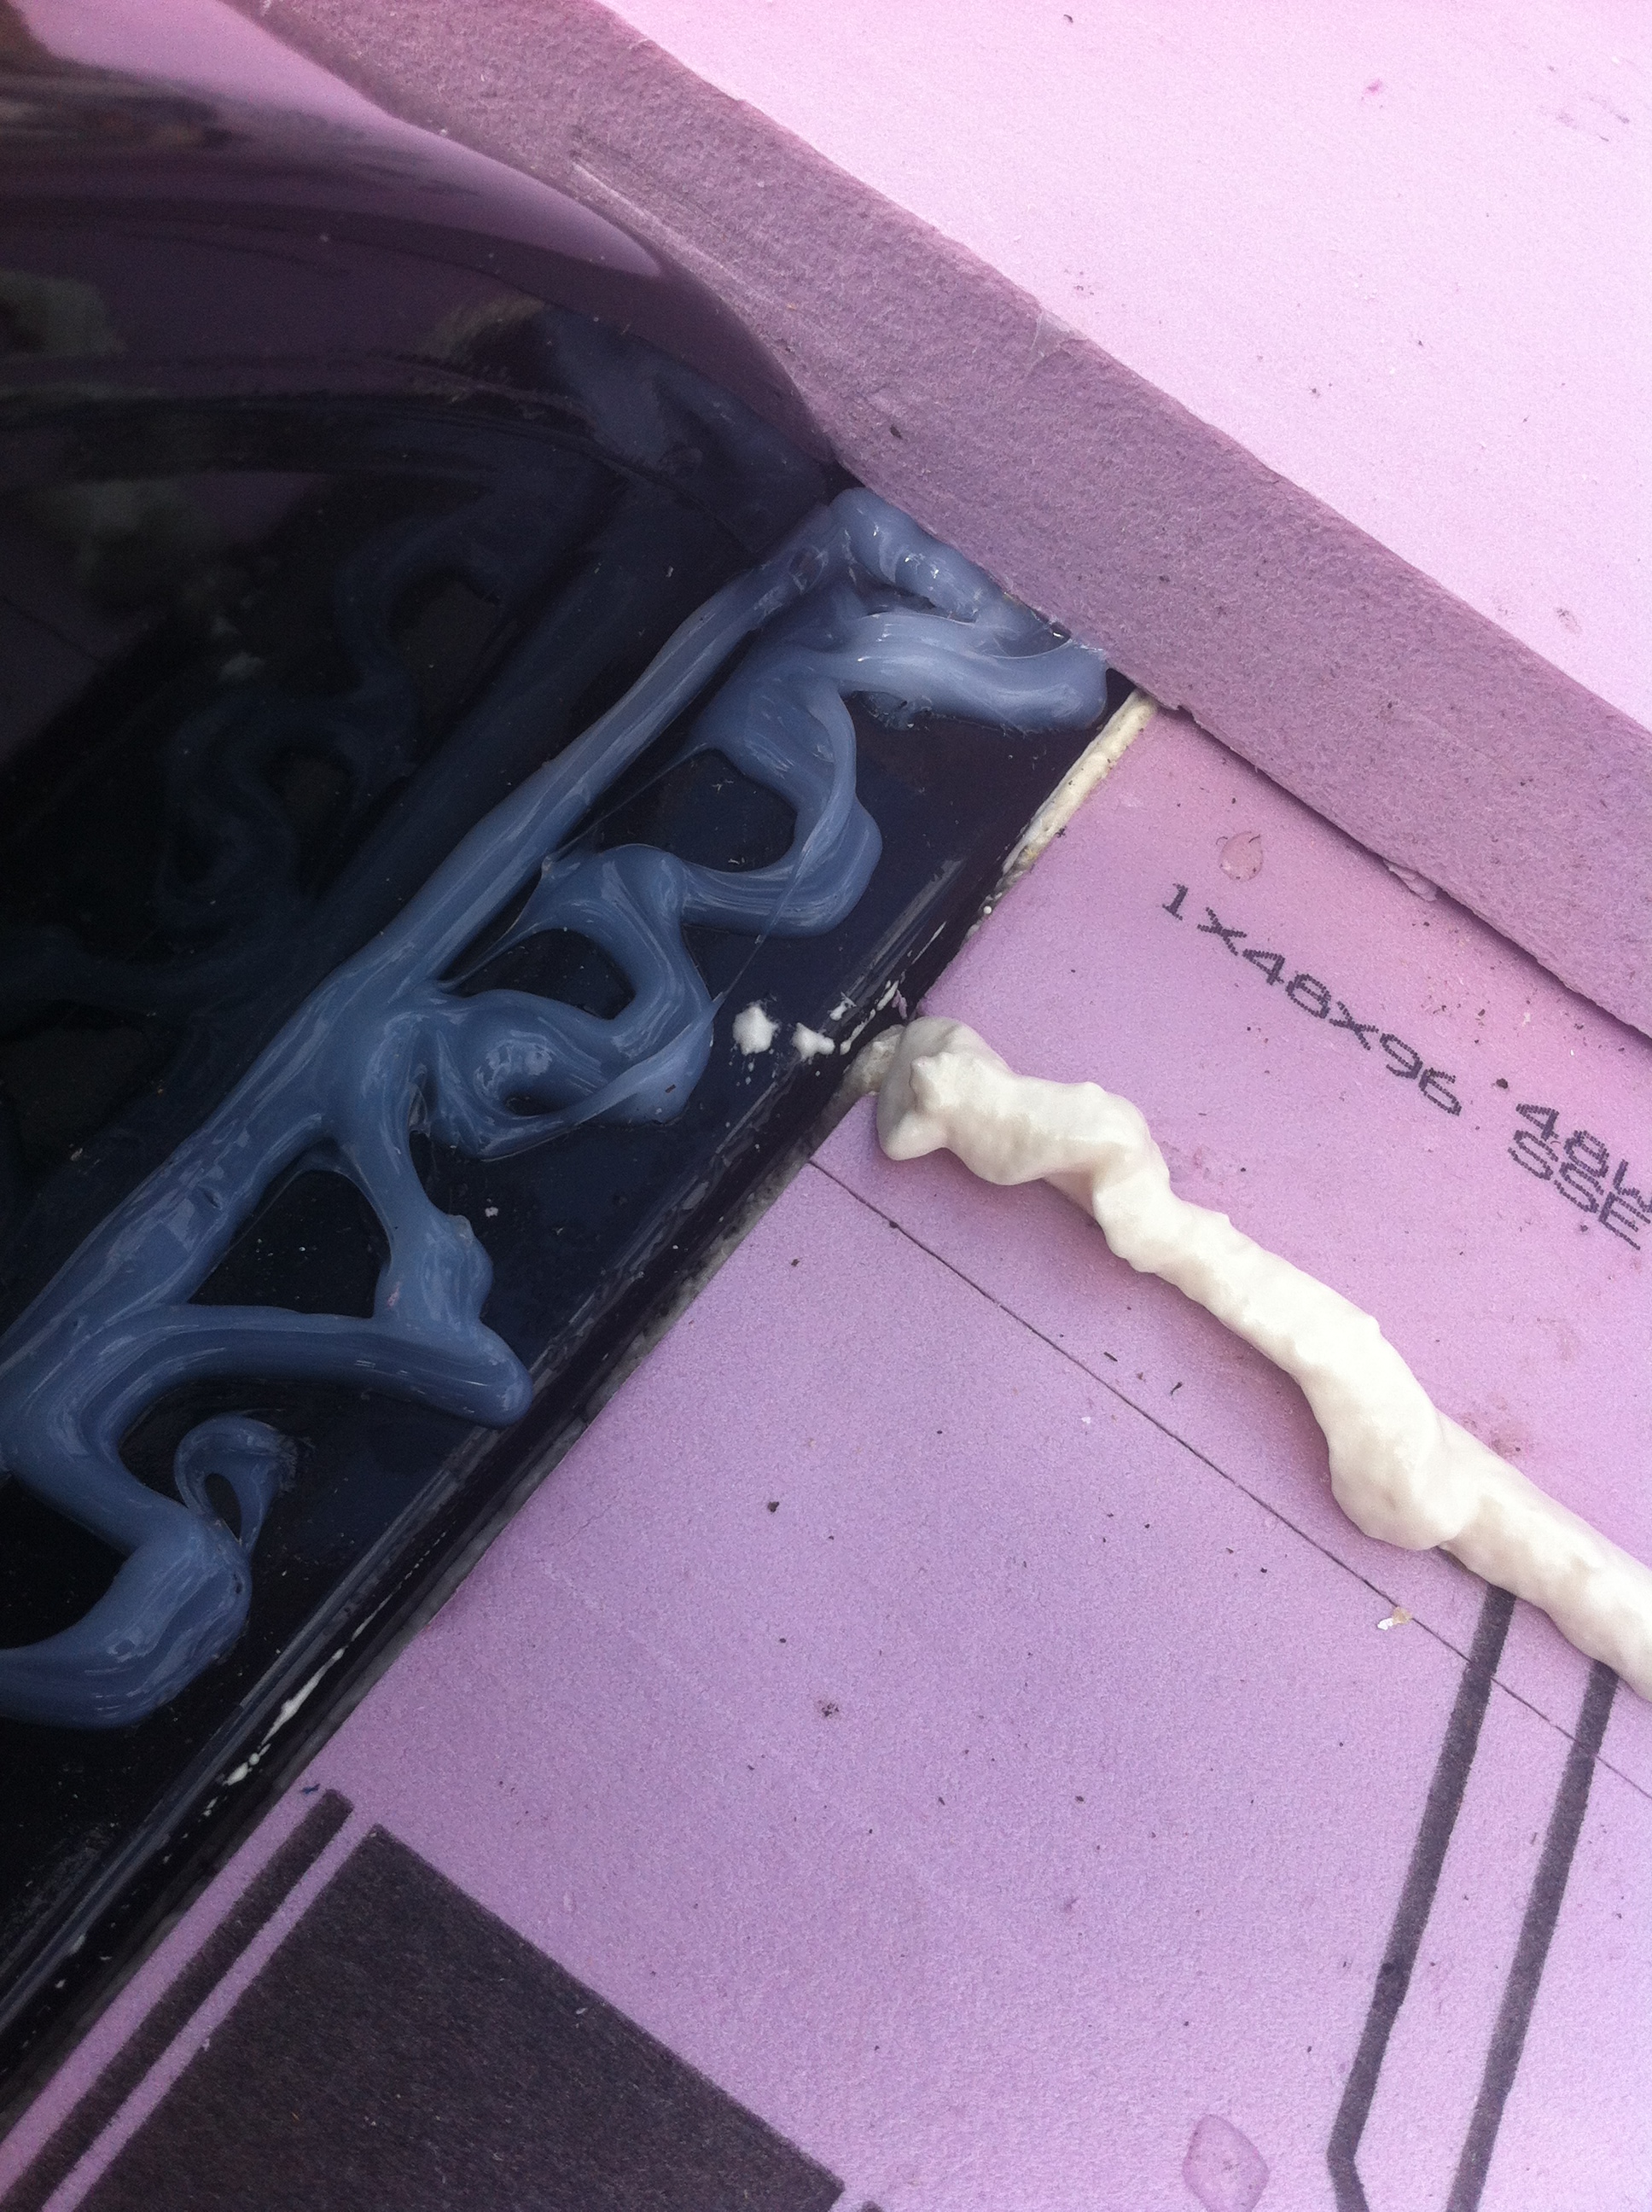
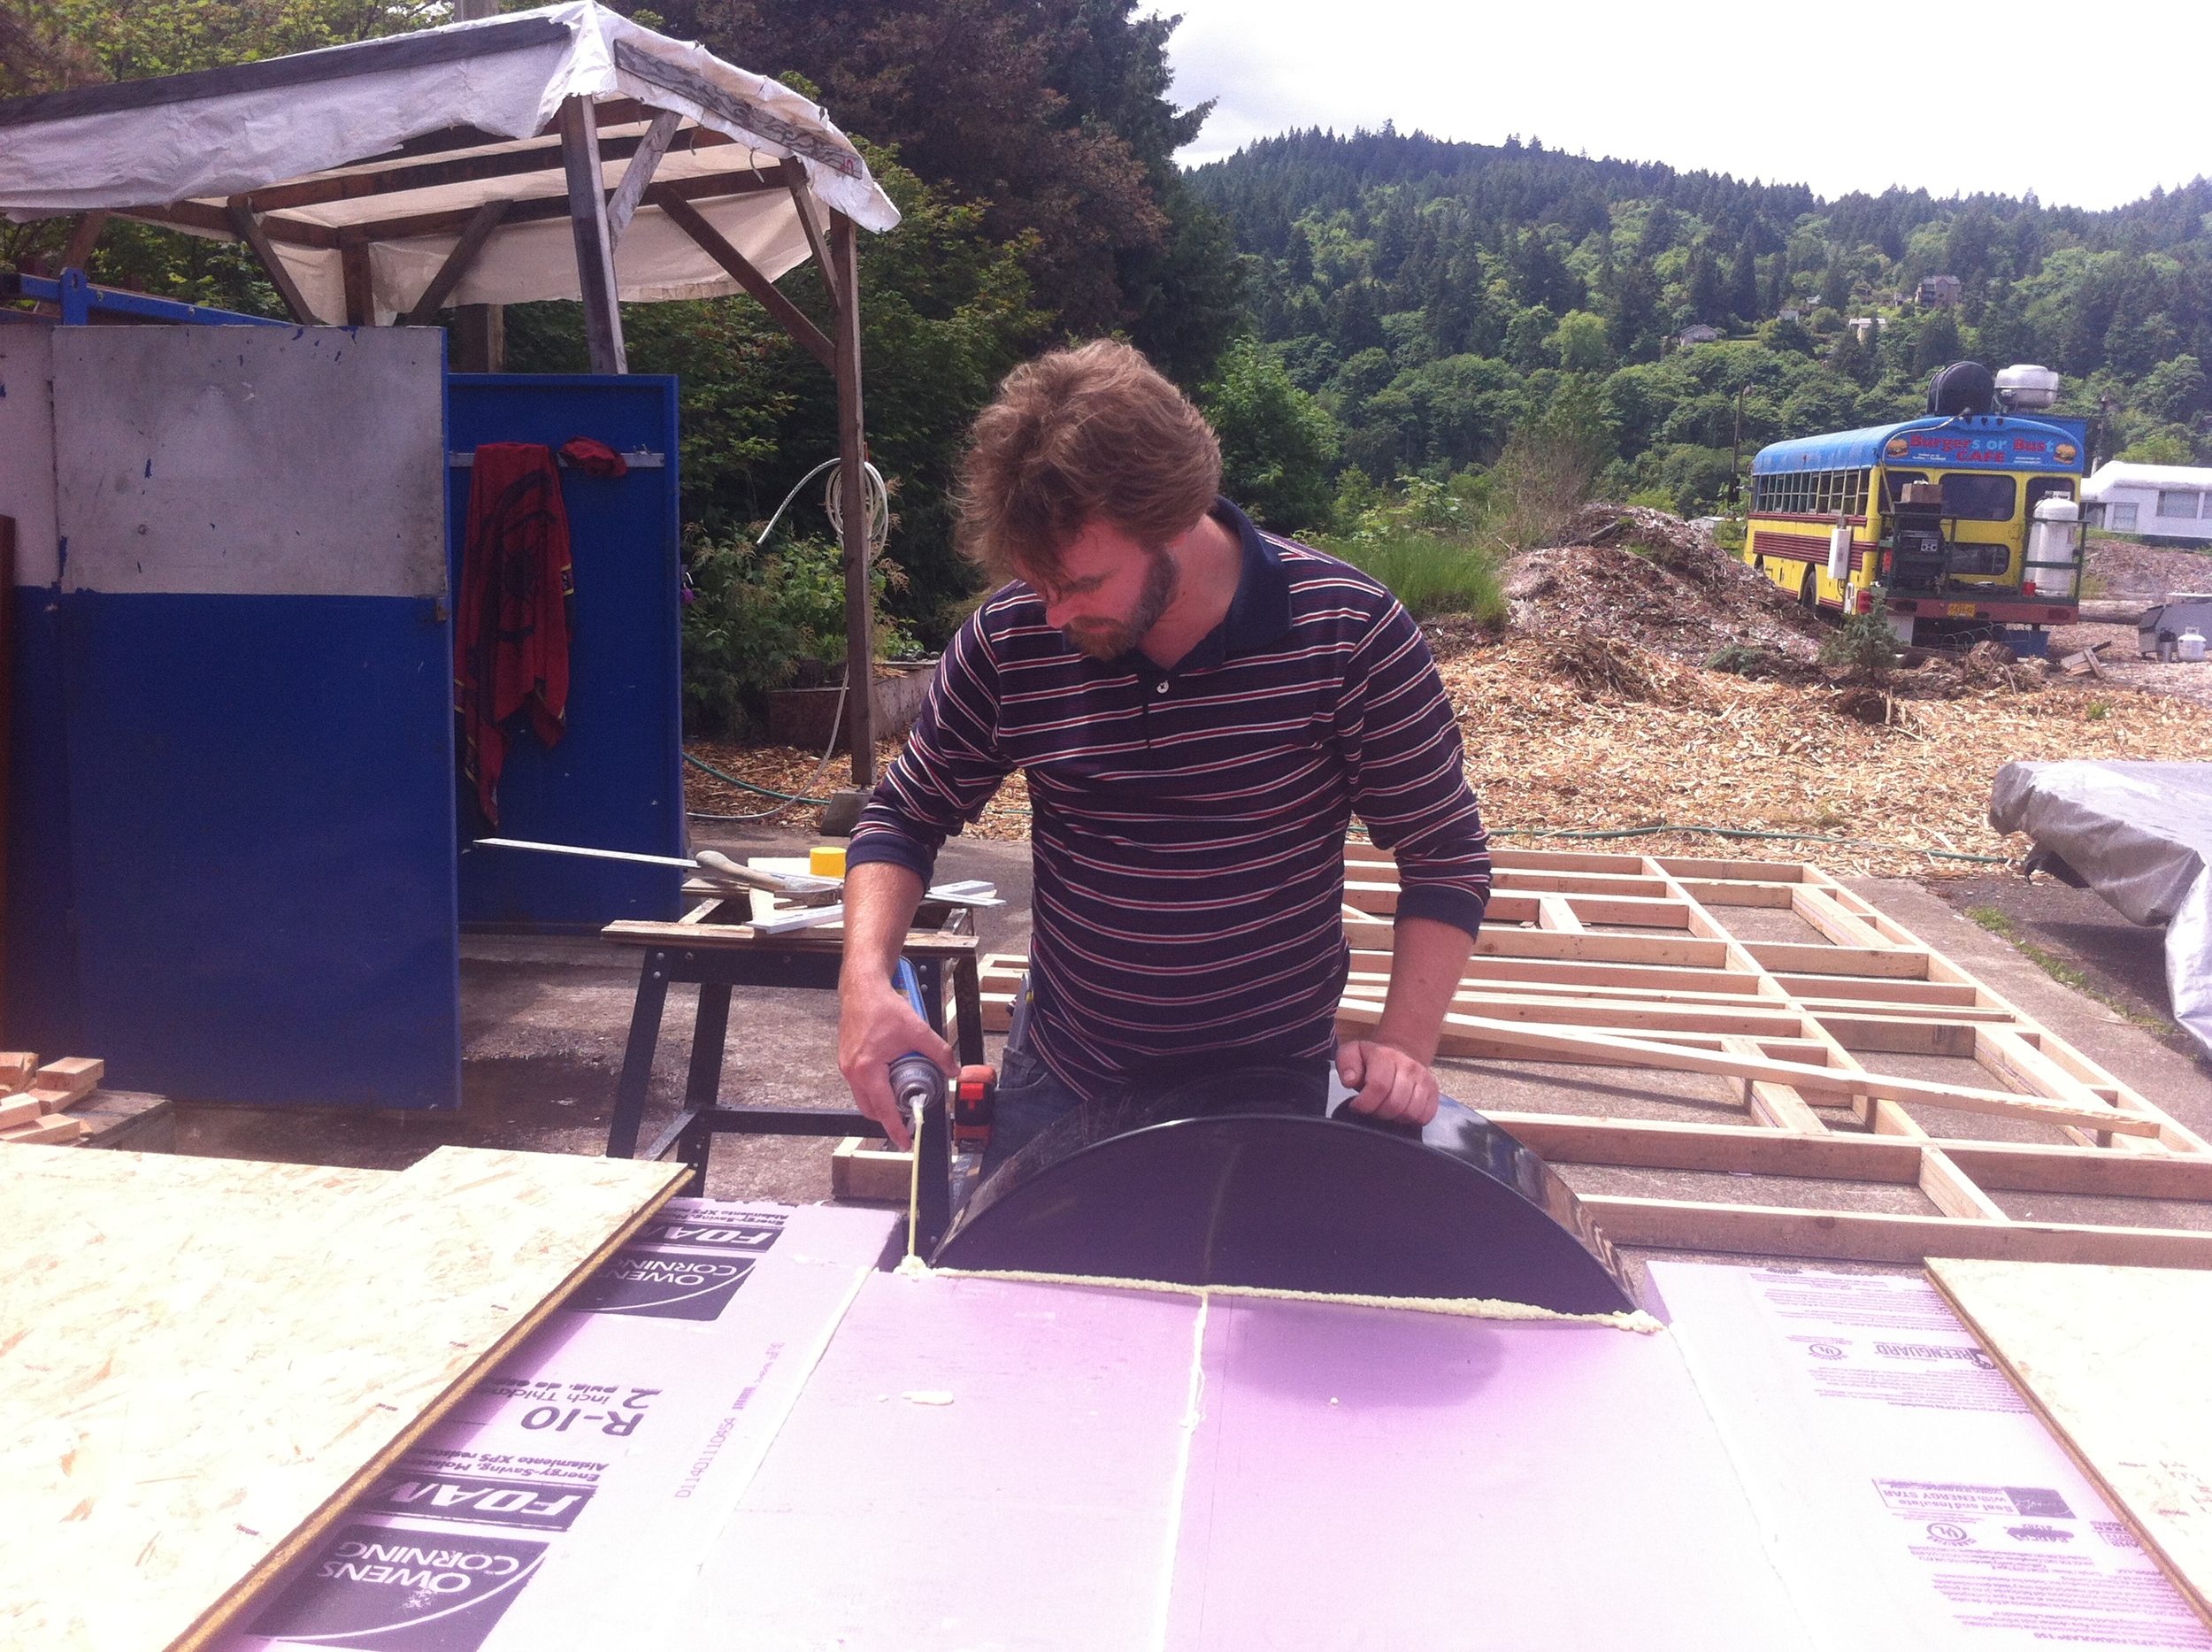
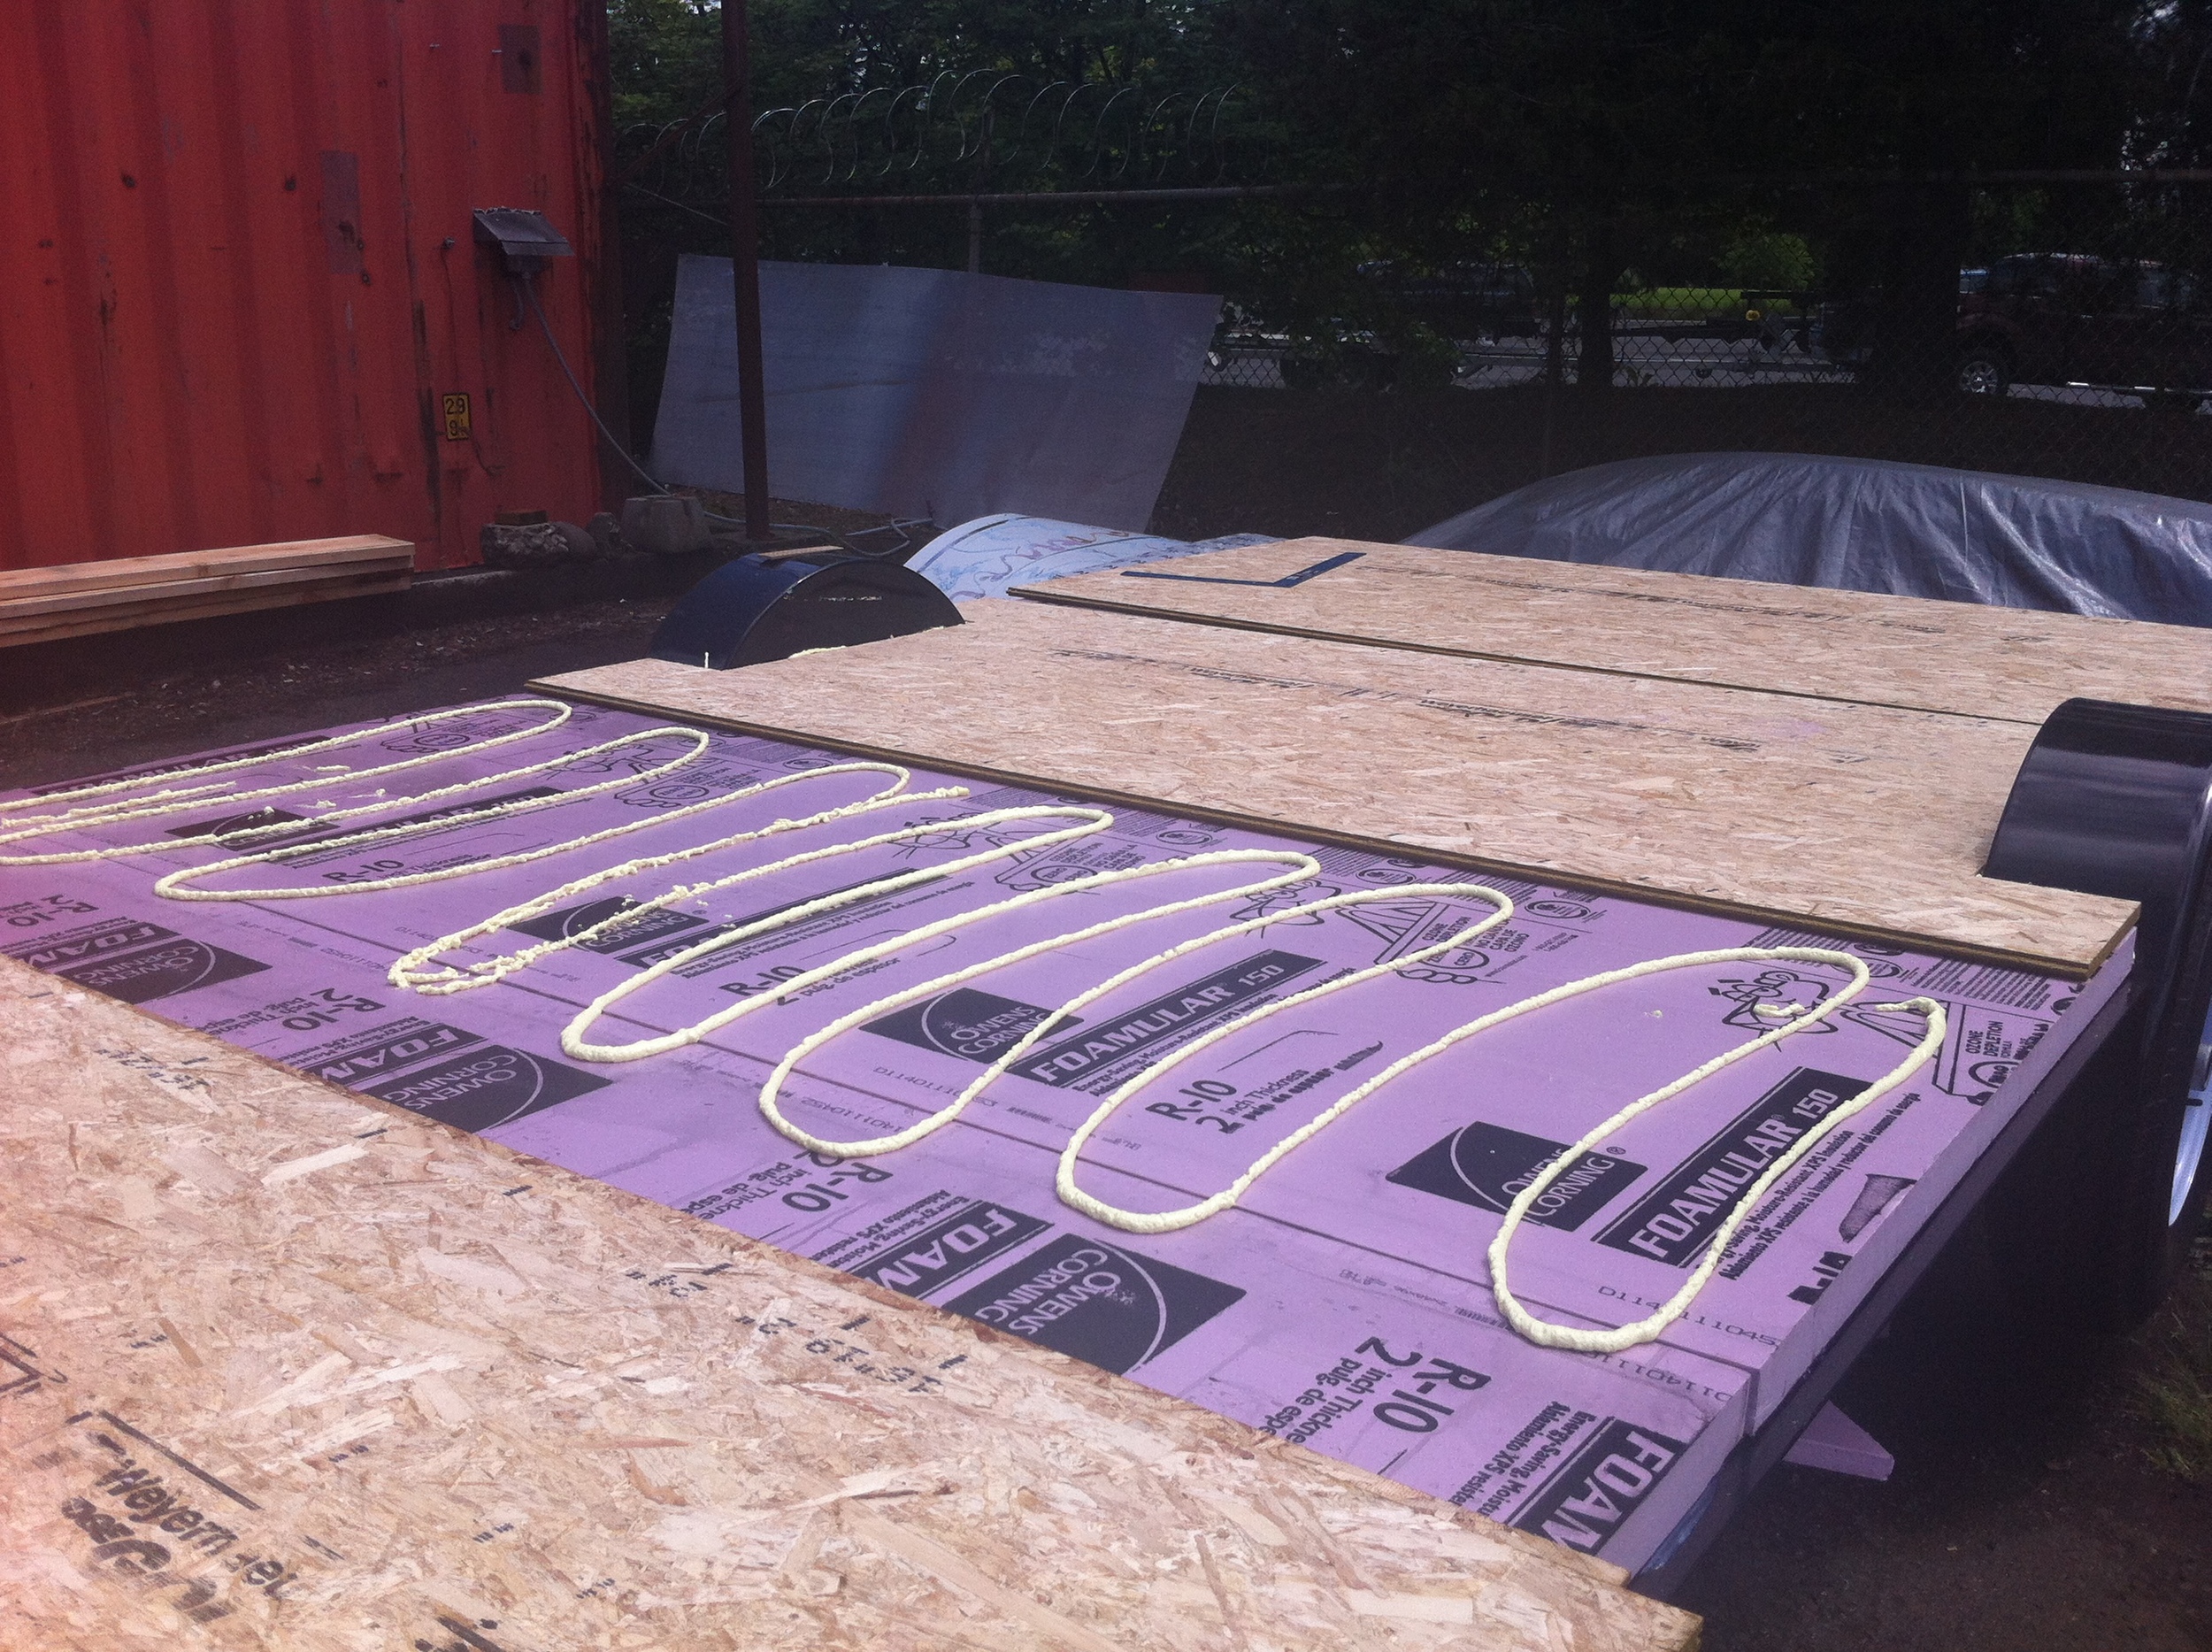
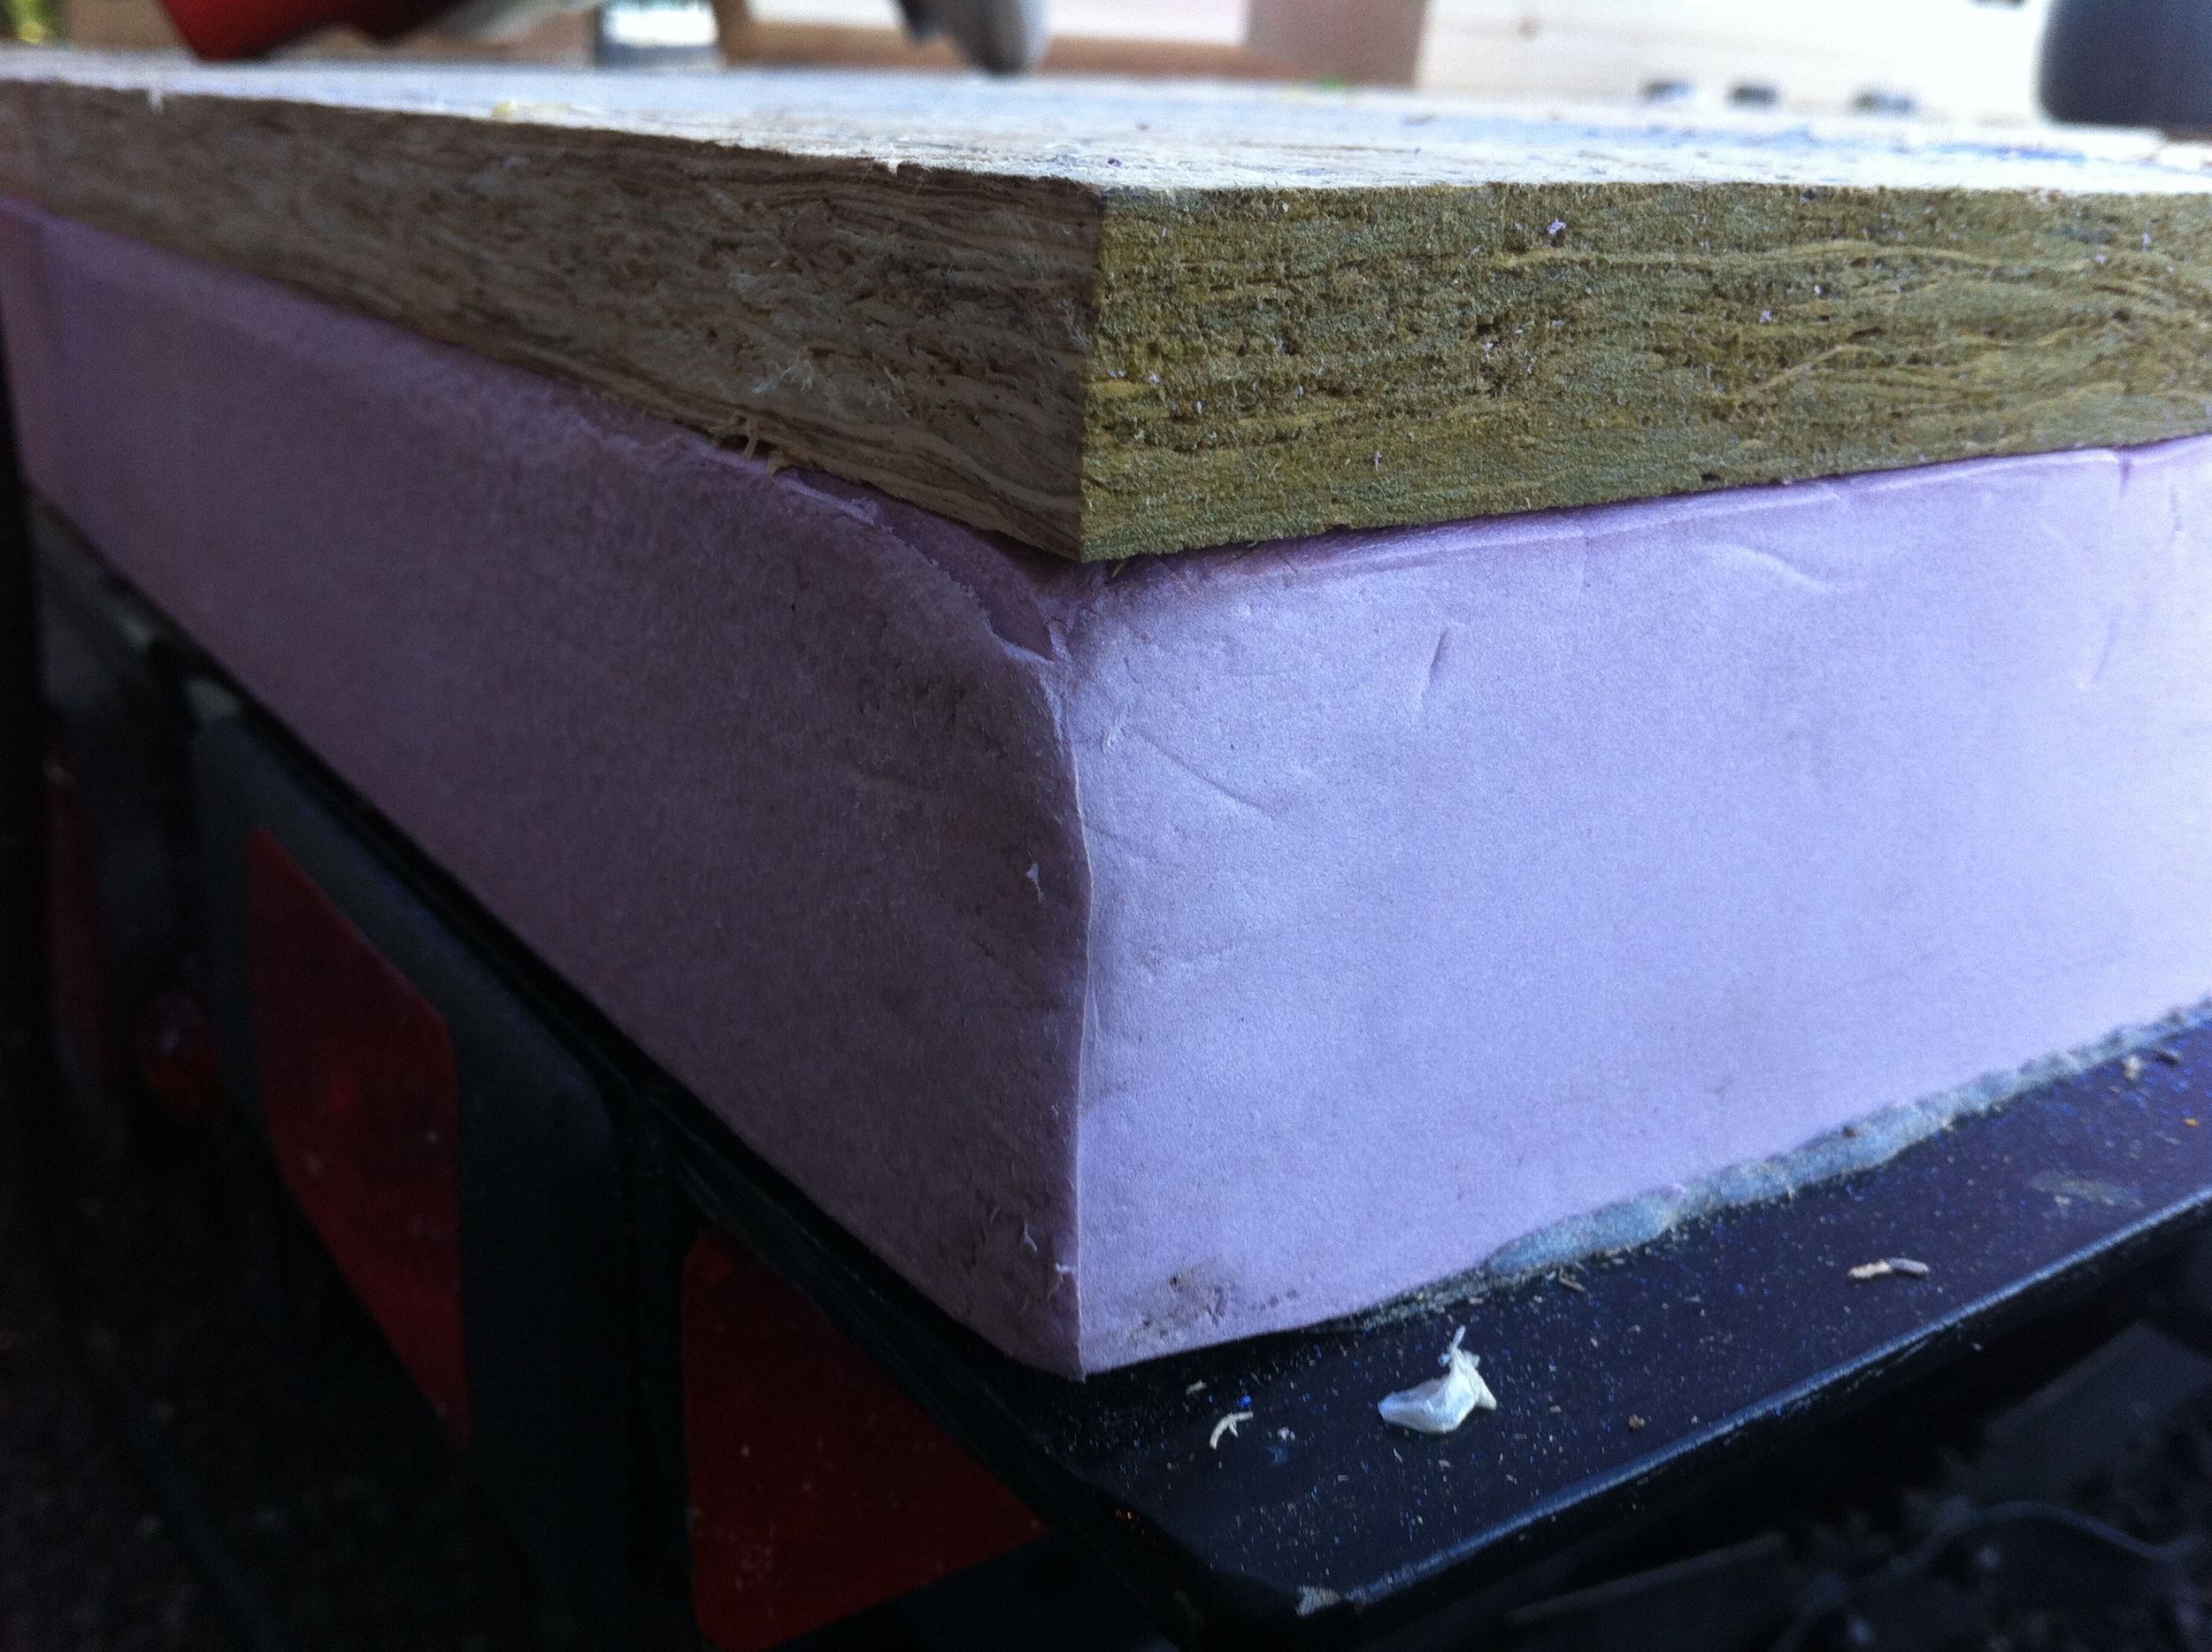
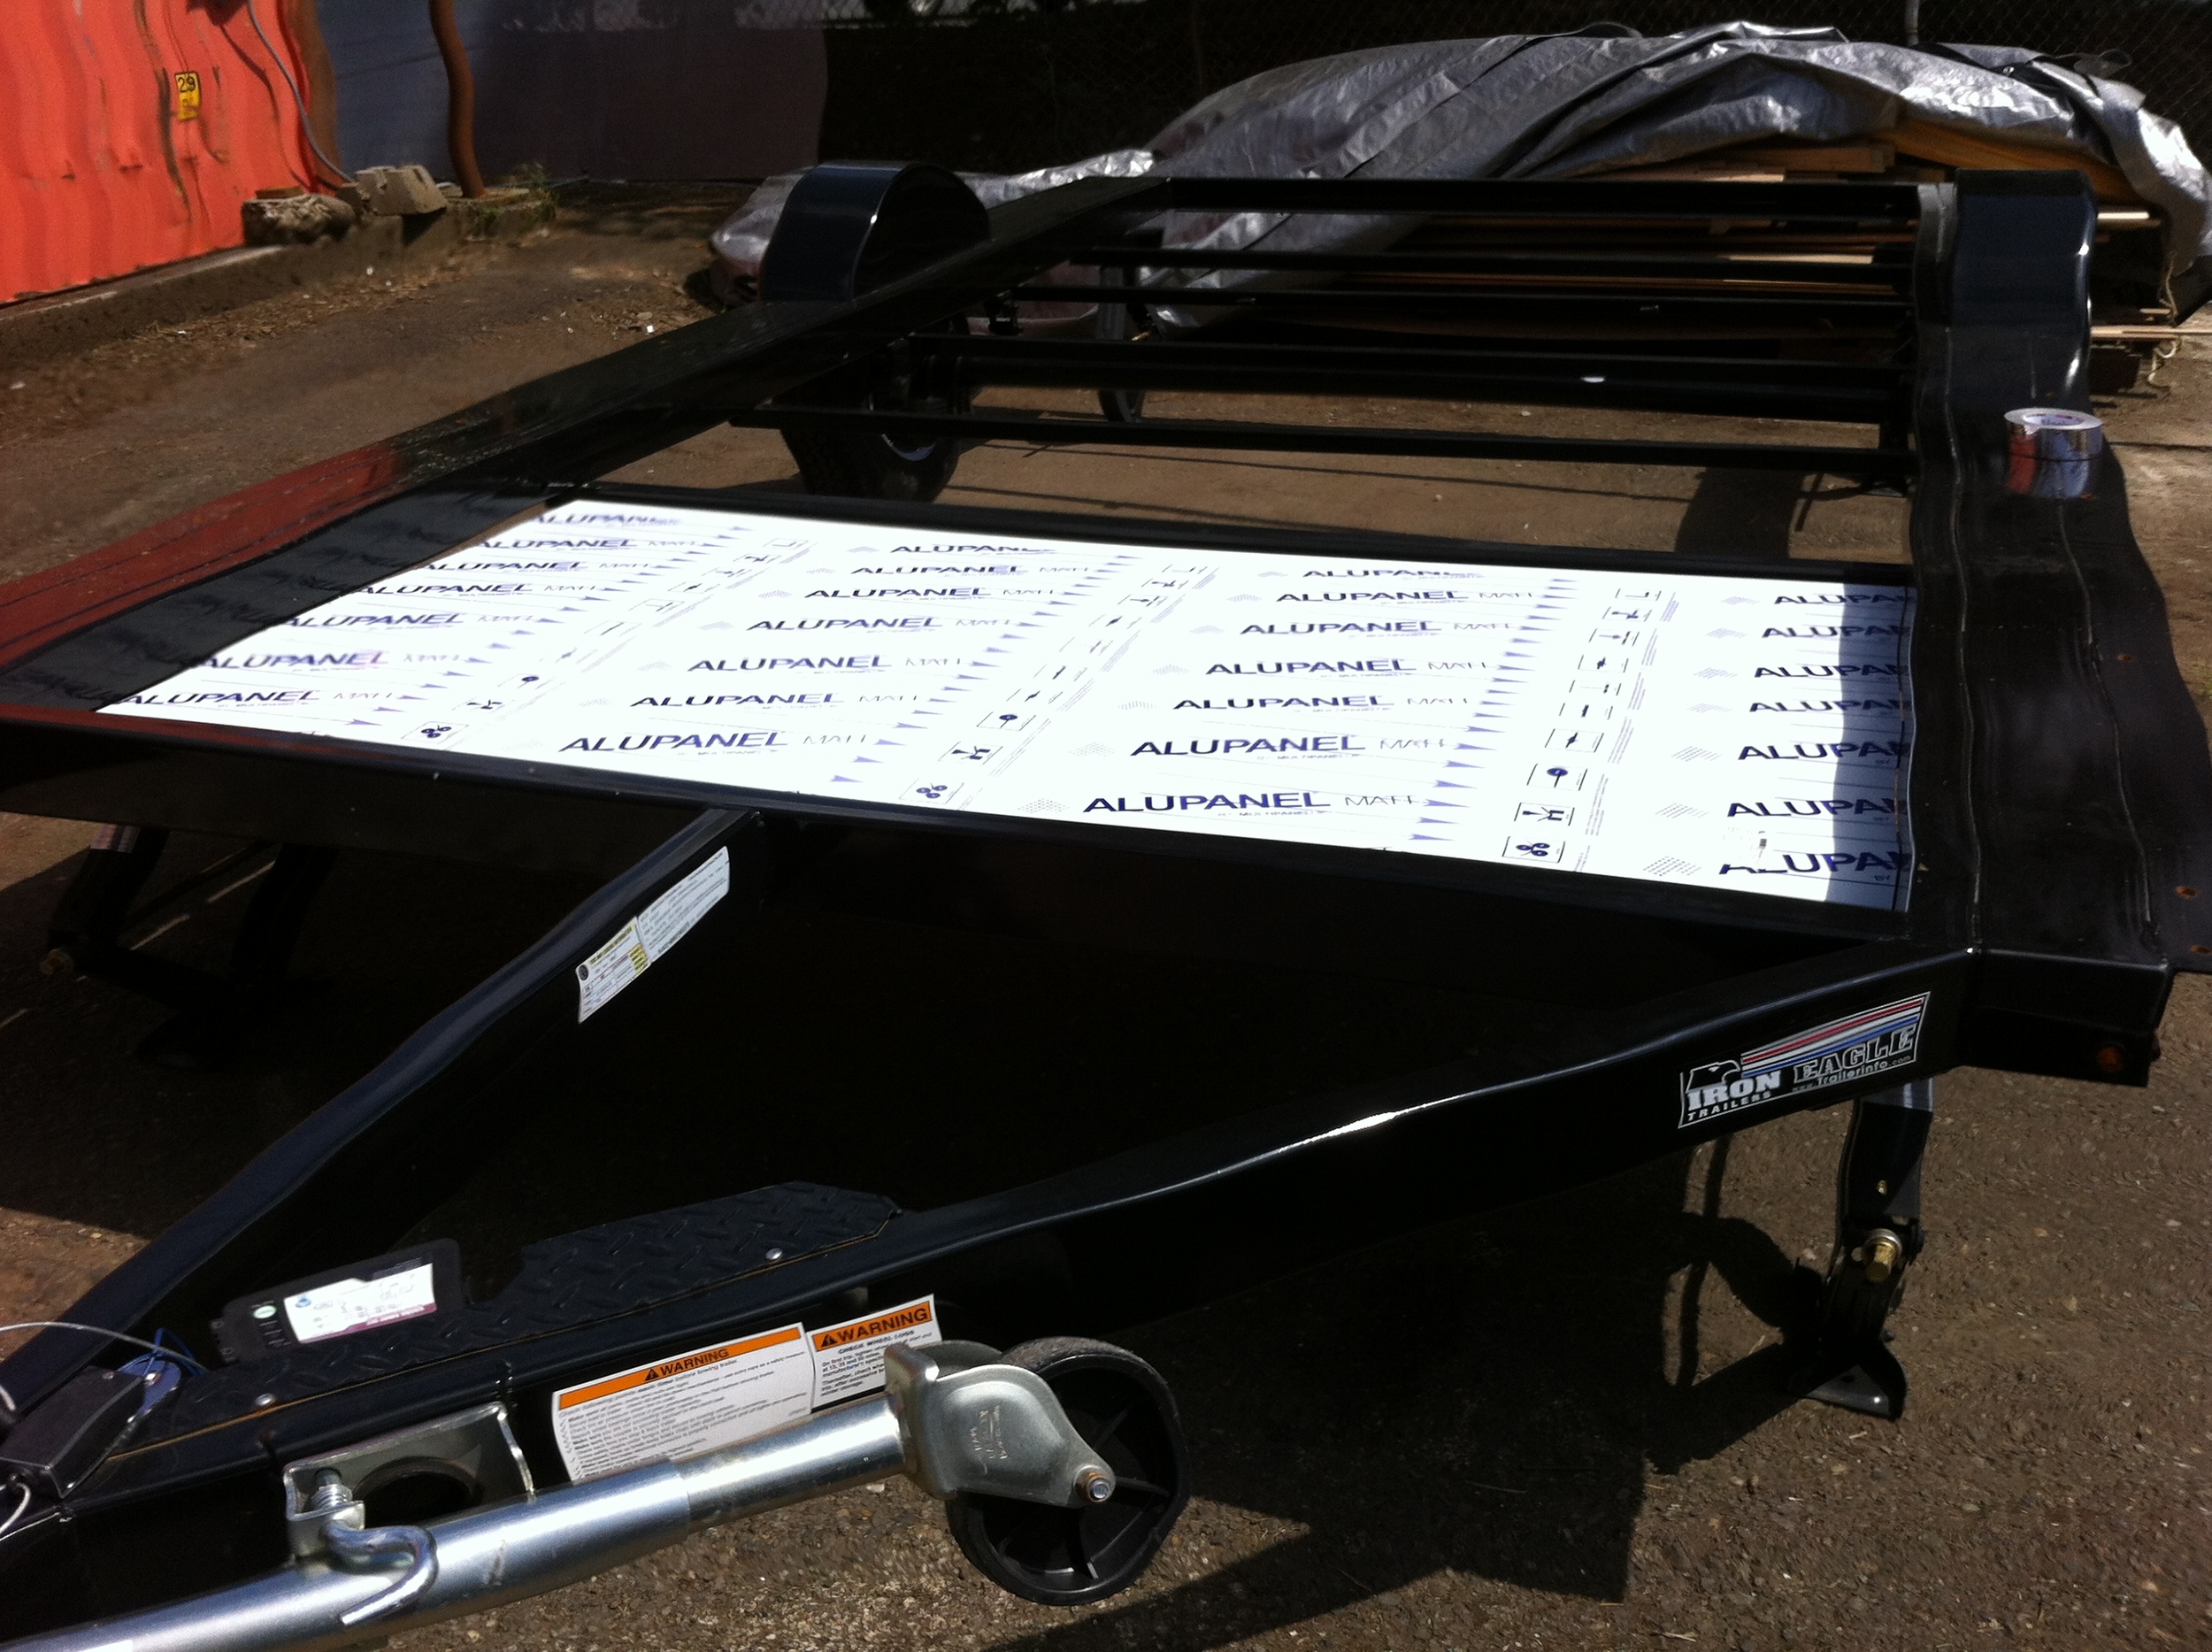
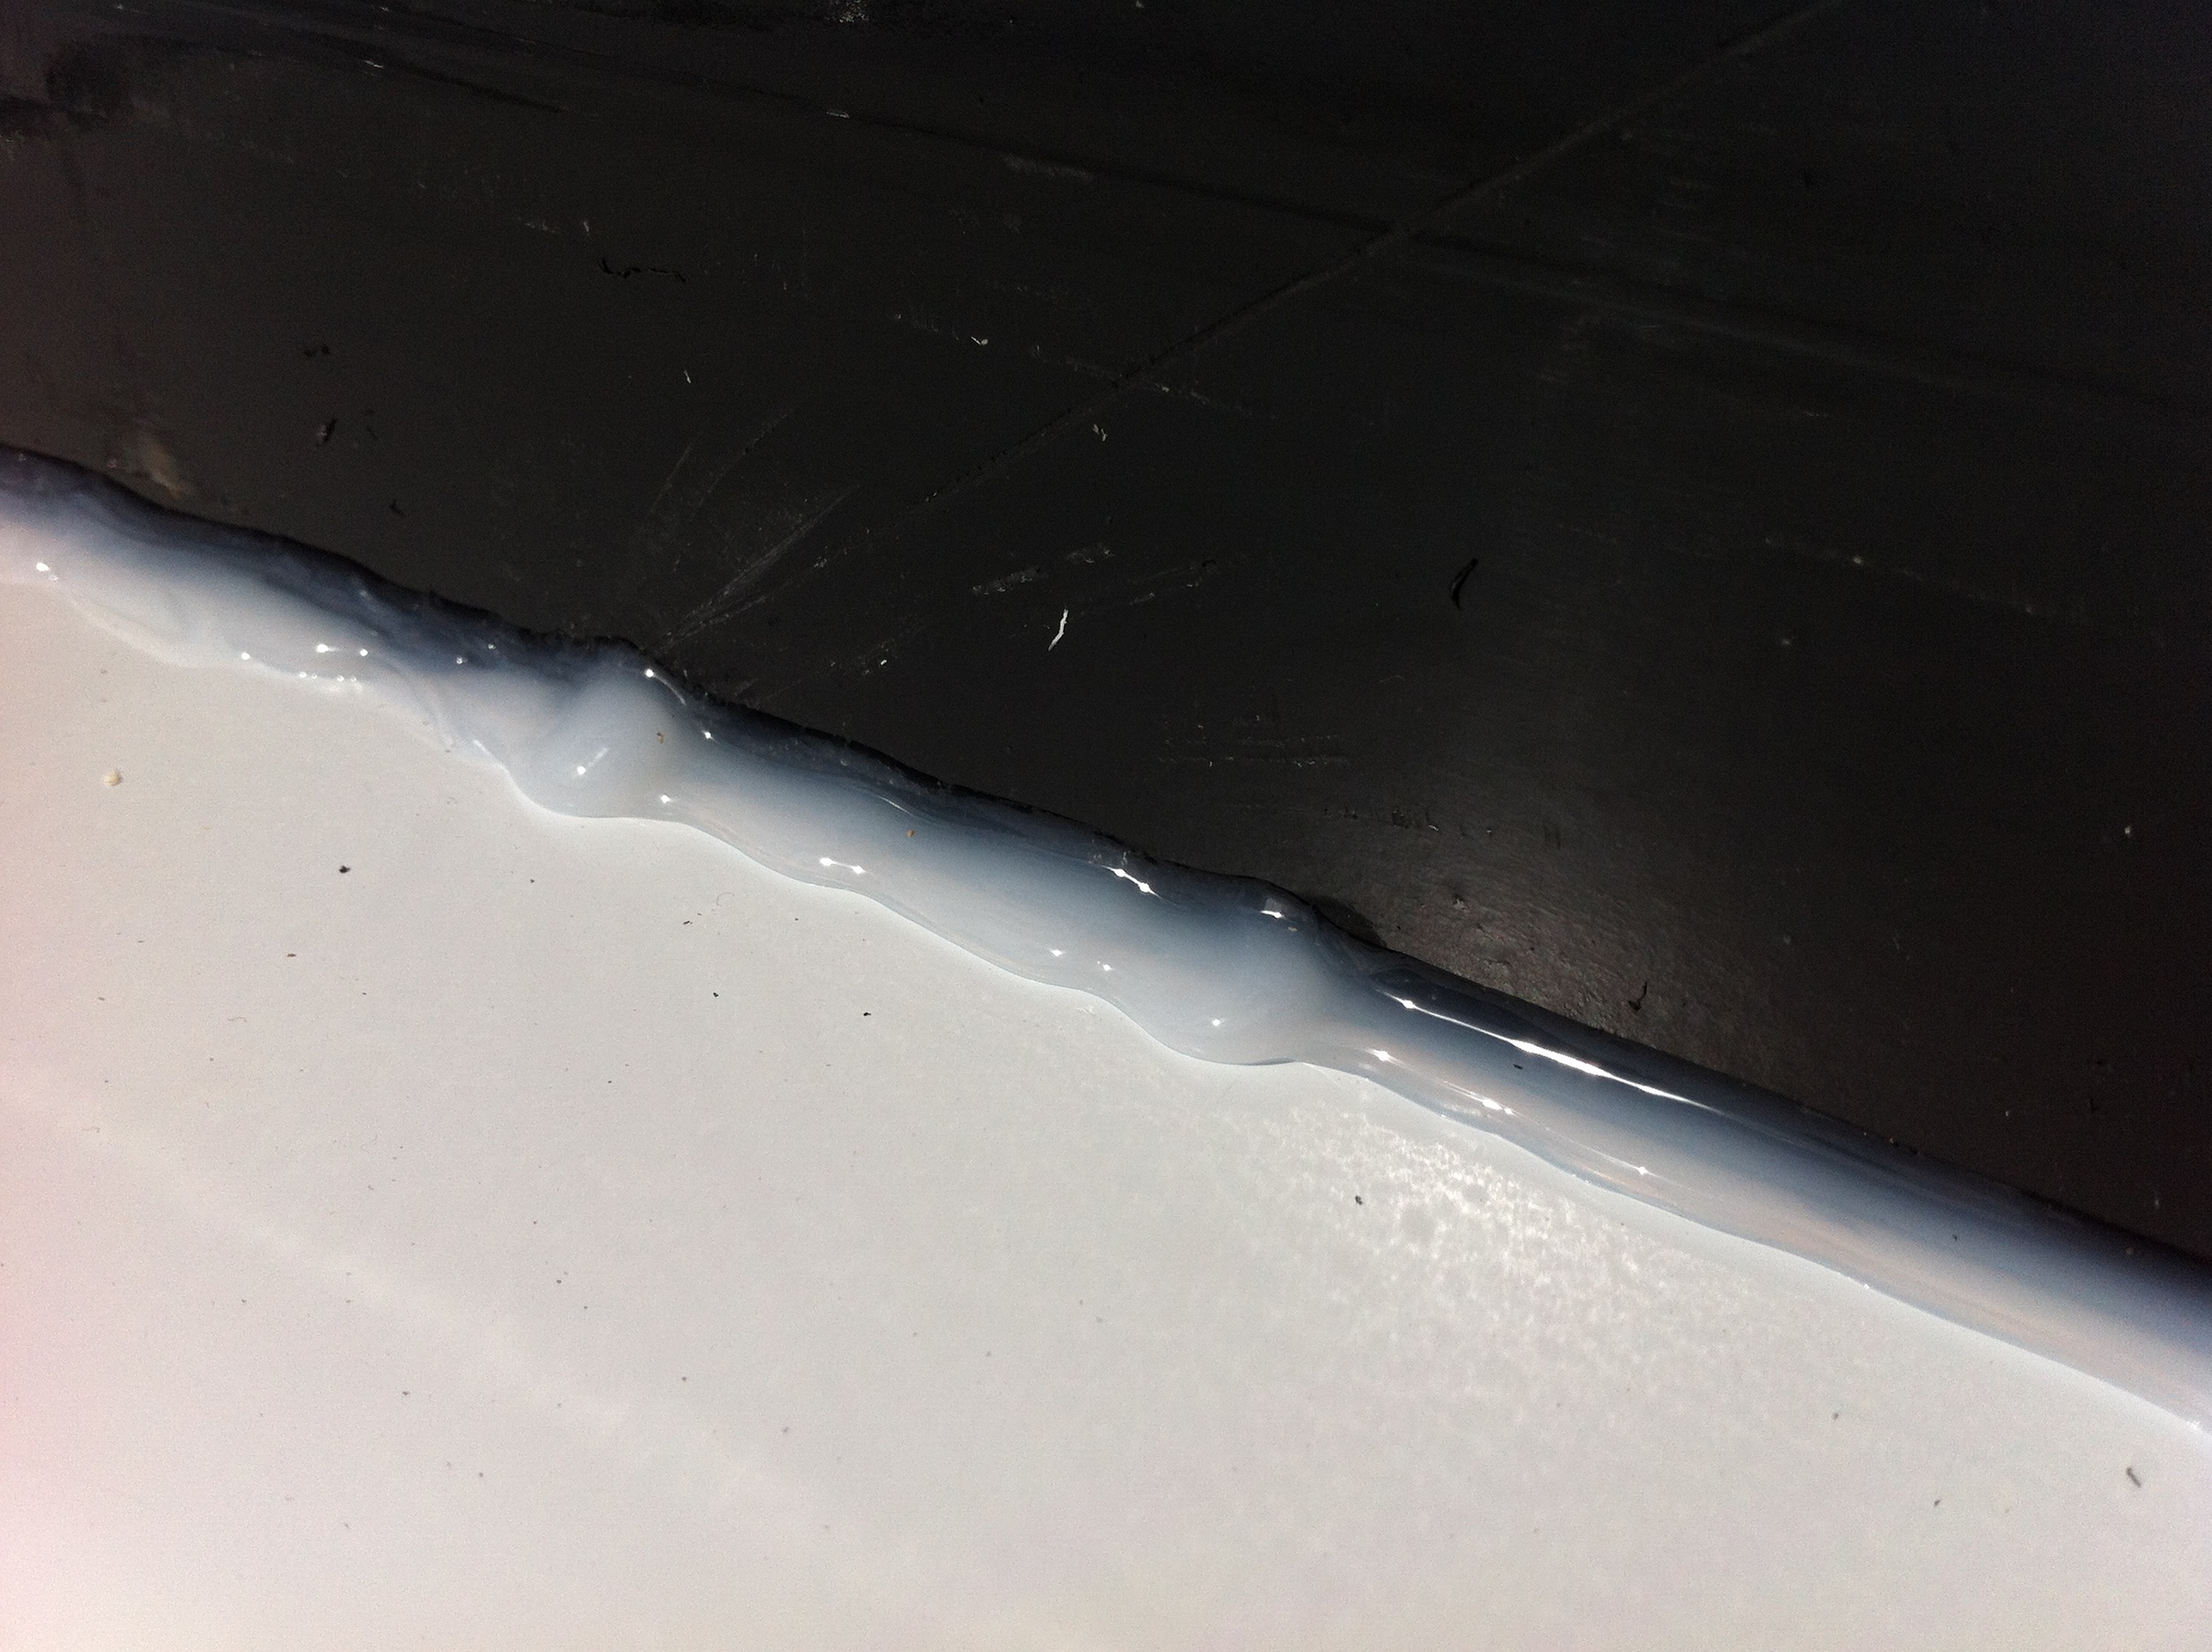
On Monday my friend Christian helped me finish up the floorbox. We layered in the rest of the foam, lapping the seams so that none of them were directly above the ones in the previous layer. Between each course and around all the edges we sealed up the gaps with a low-expansion spray foam. The top layer of foam is 2” that spans the trailer frame and is sealed to the trailer with silicone caulk.

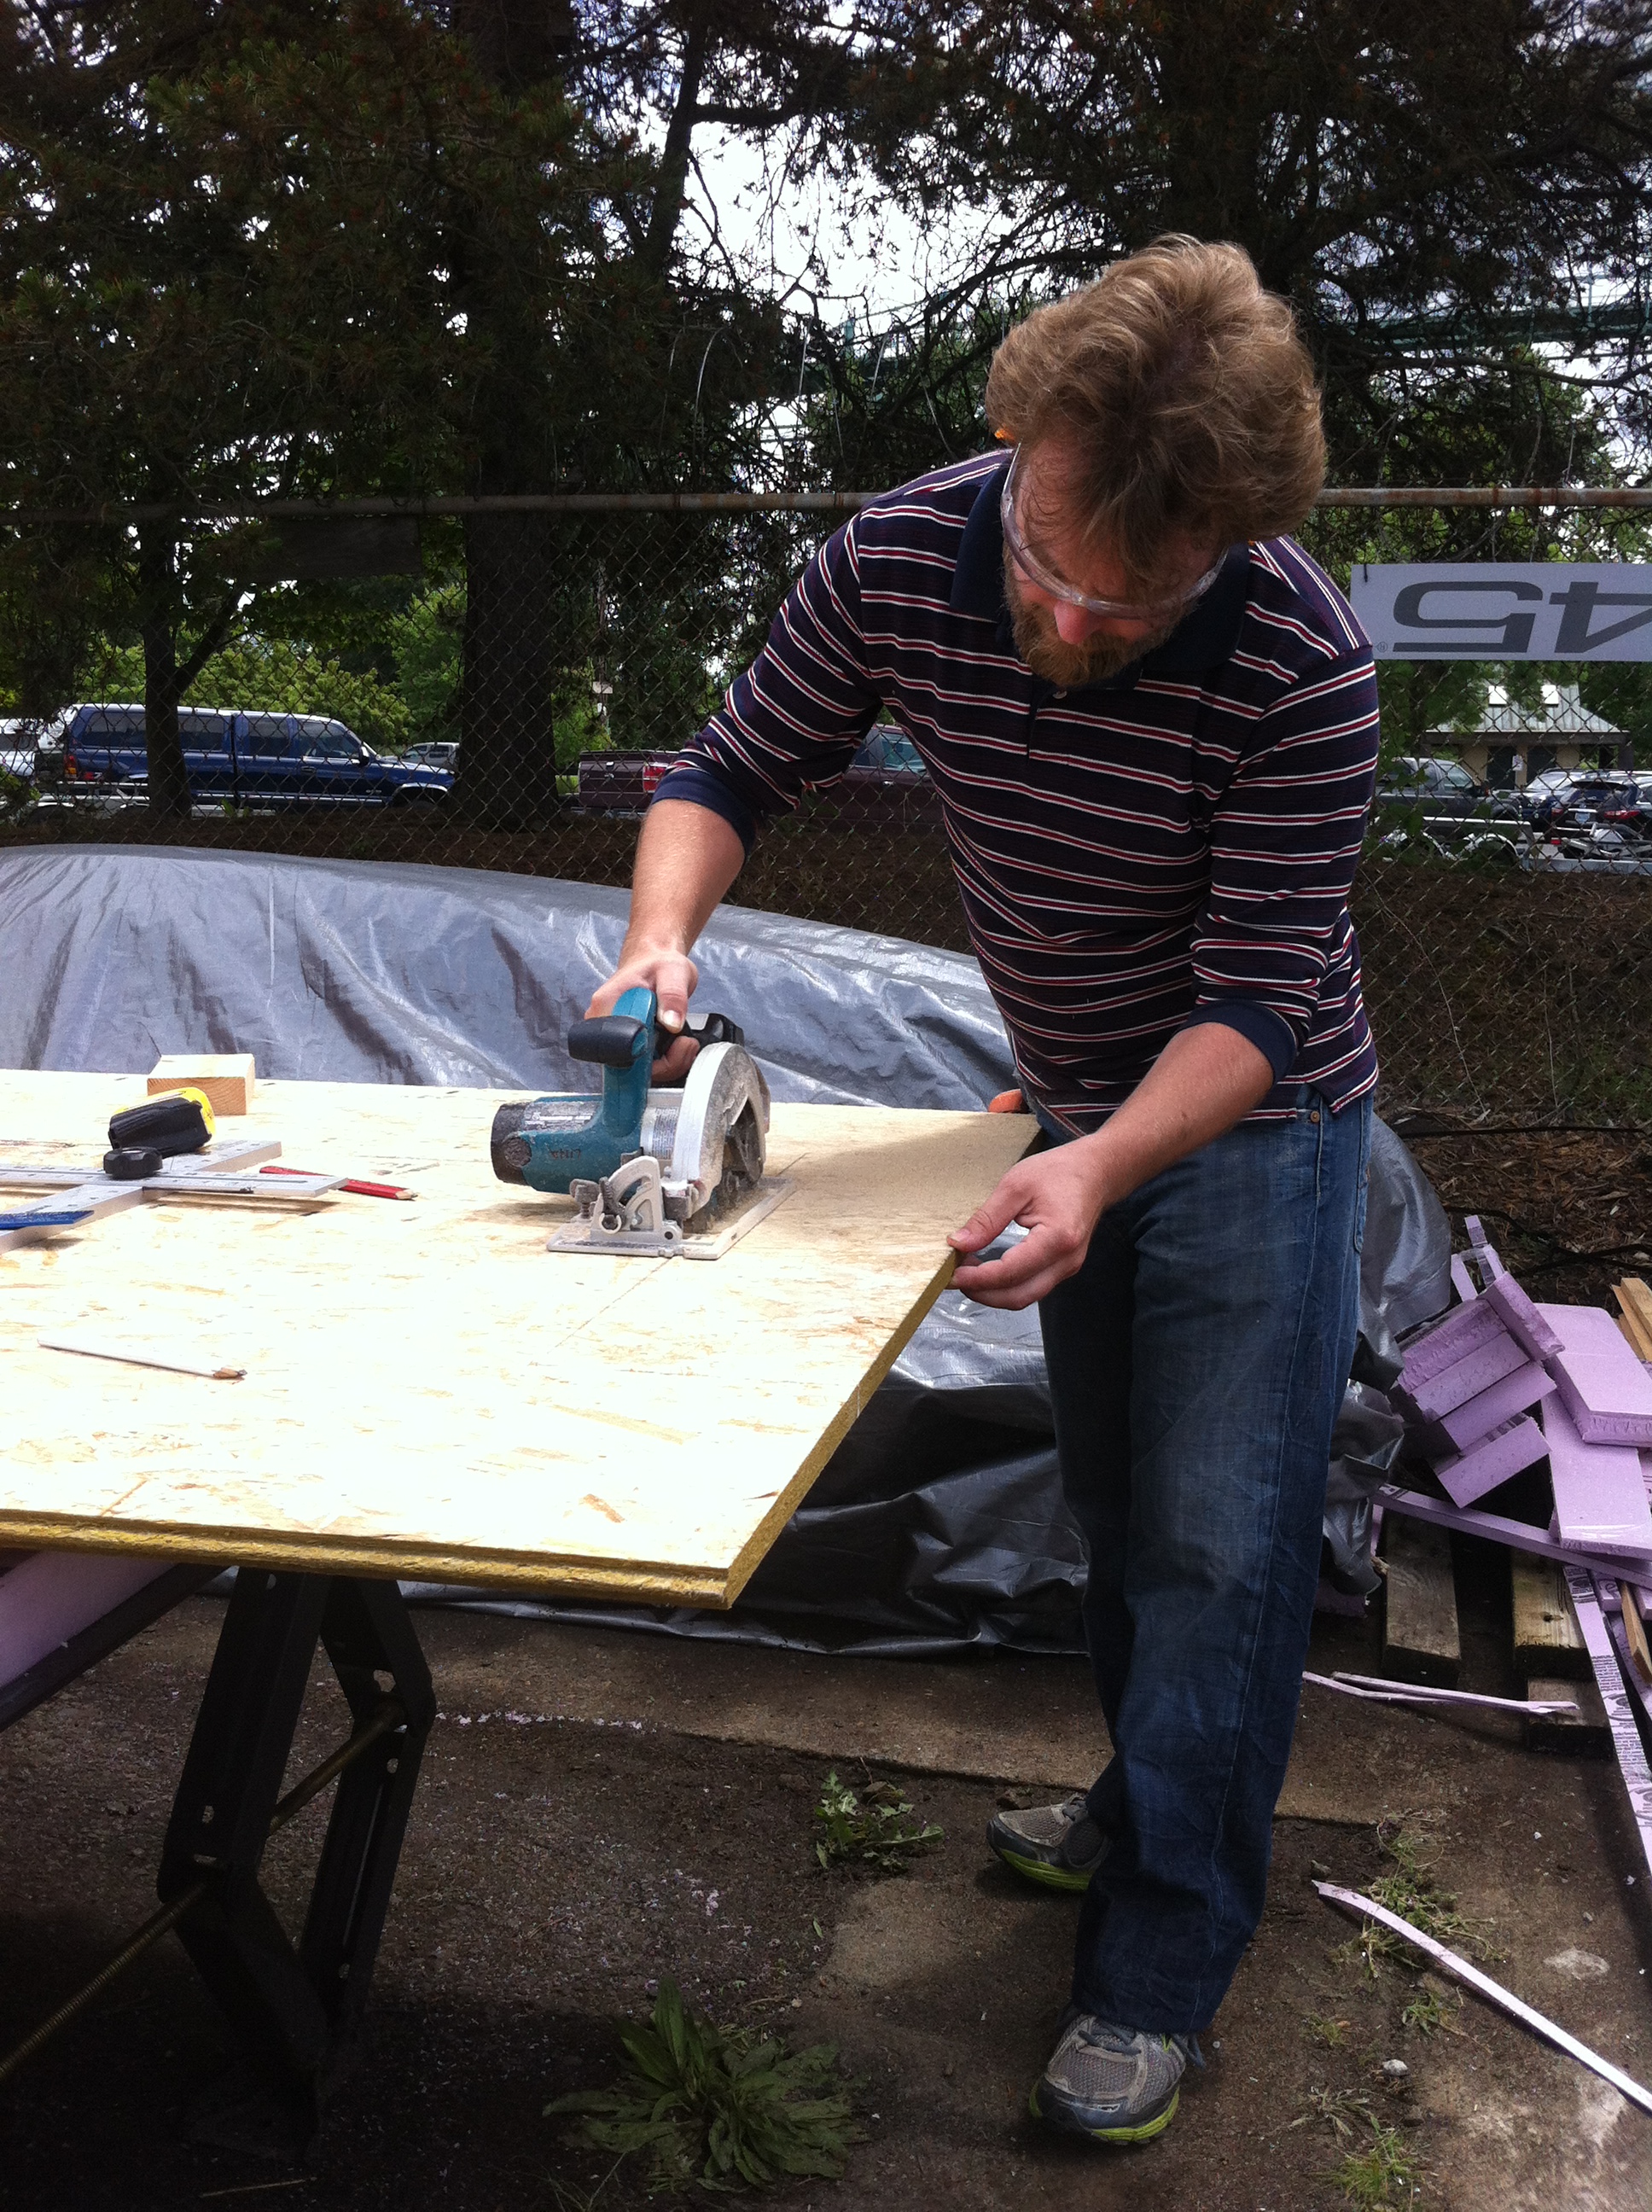
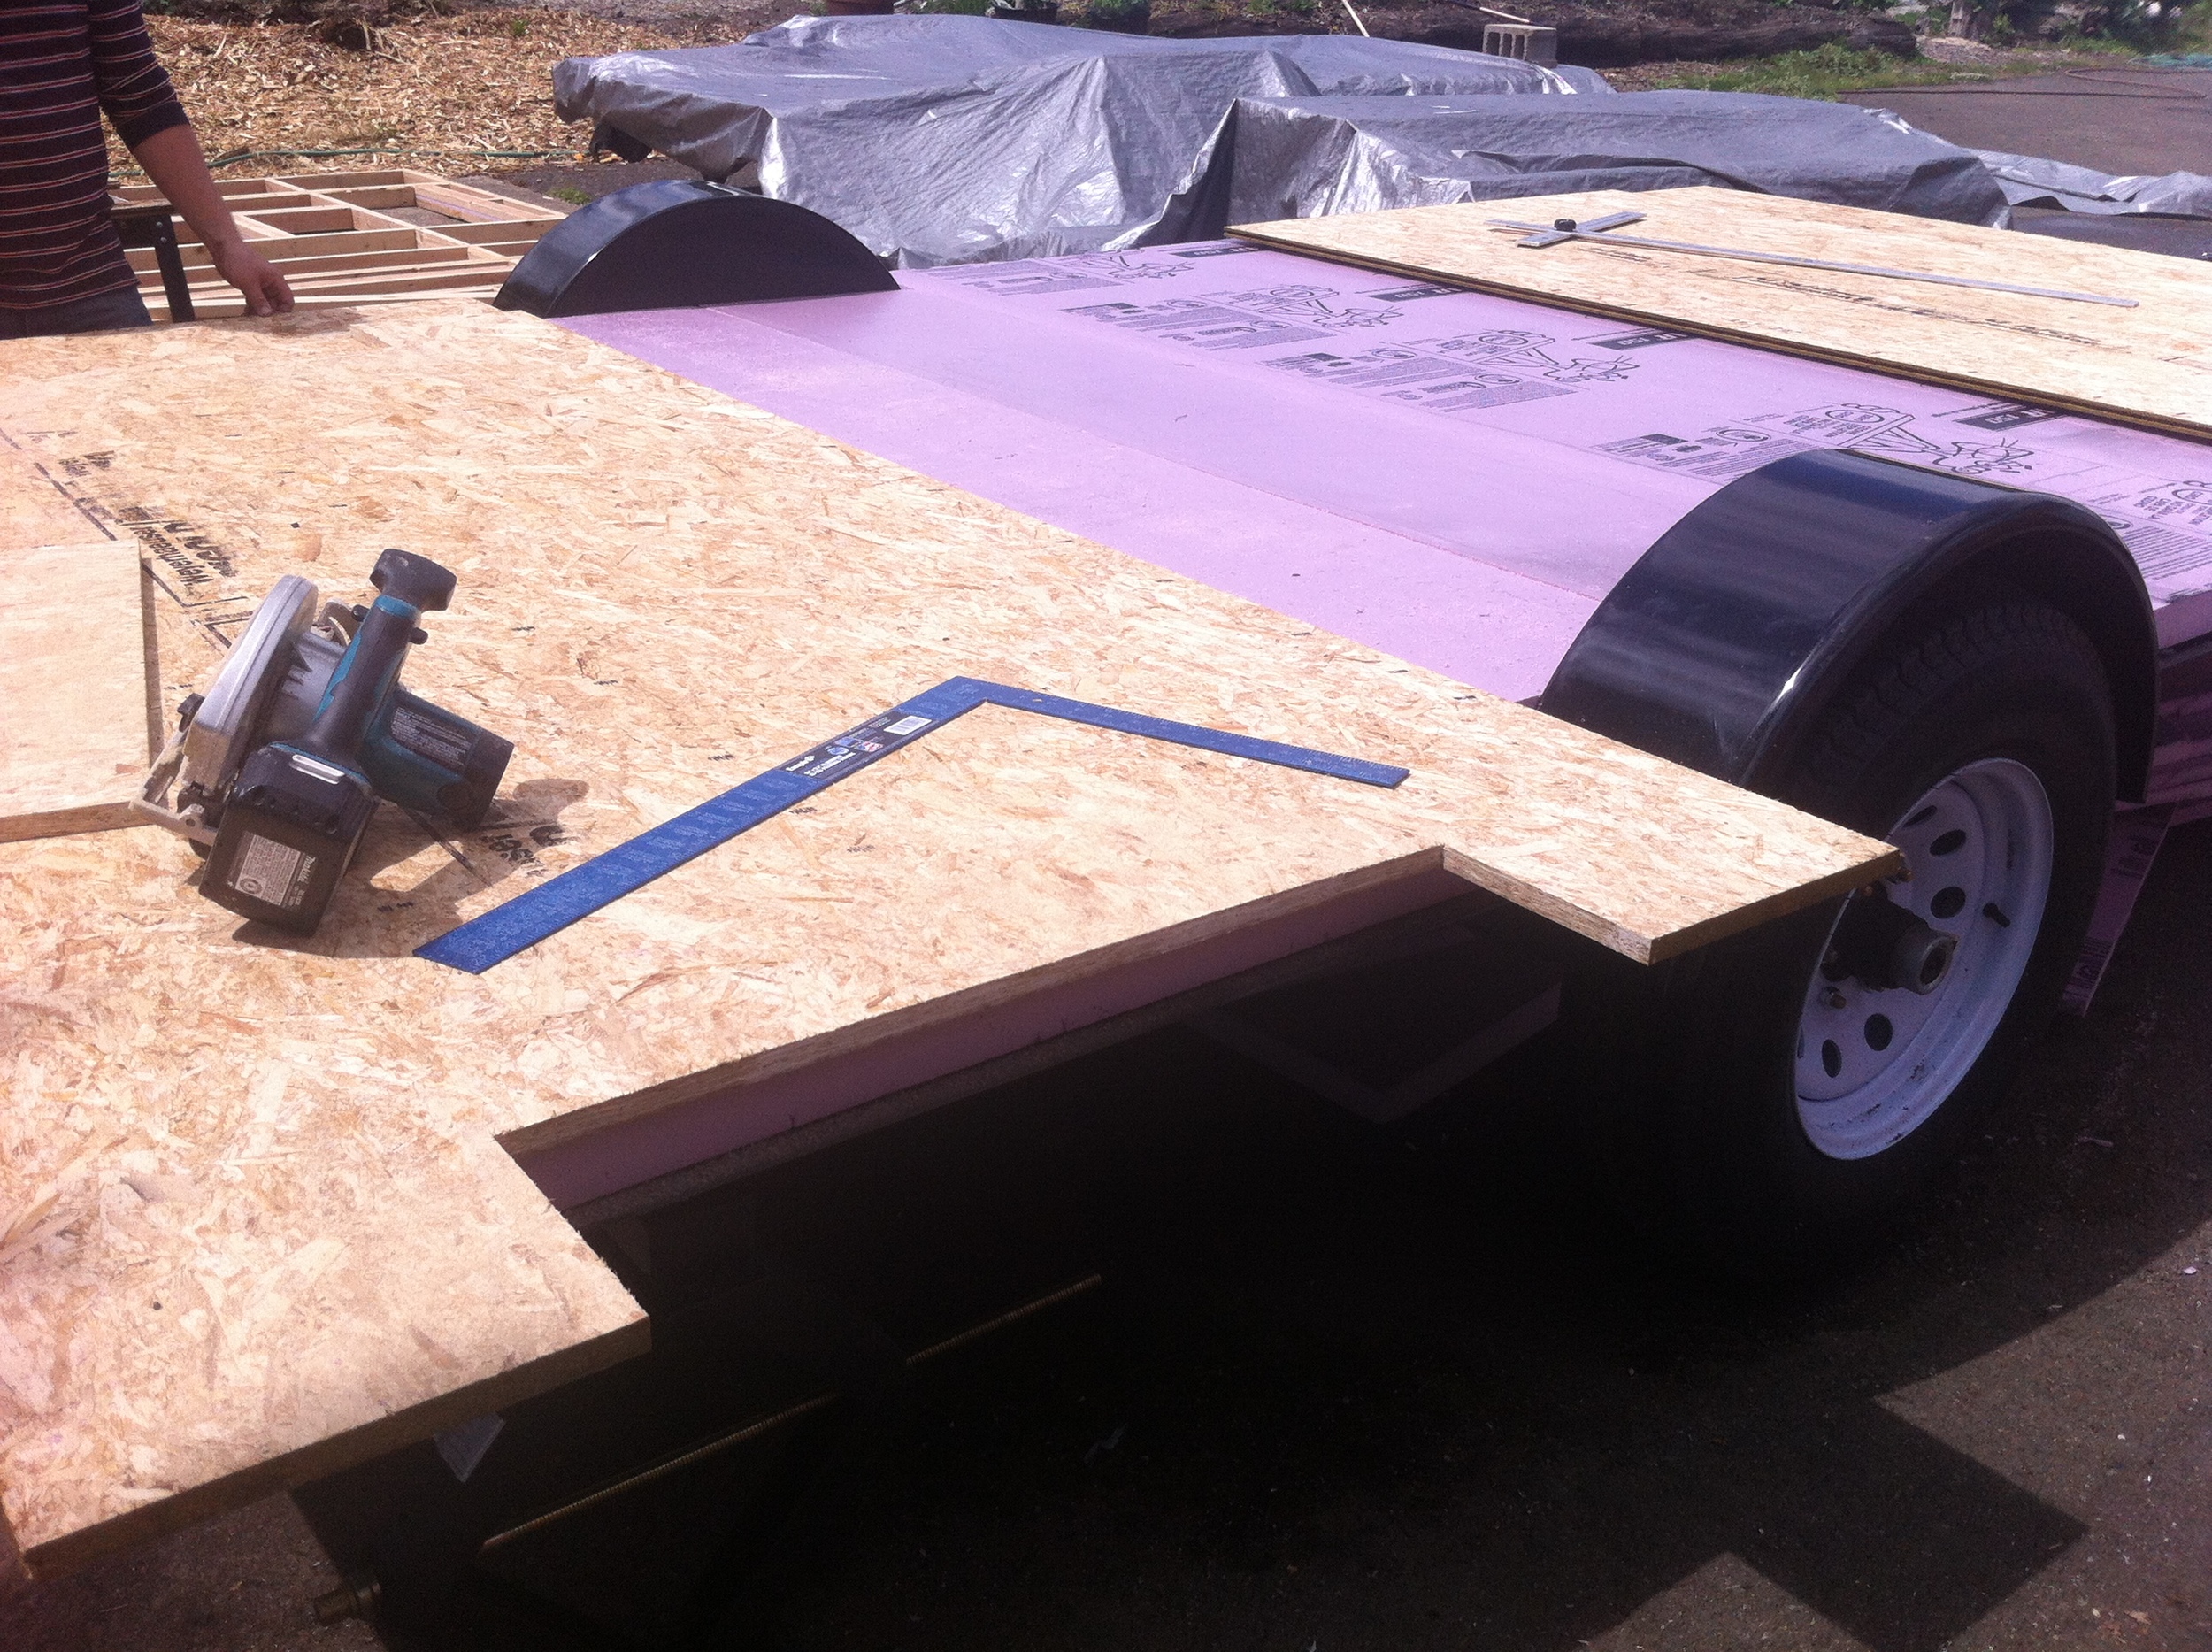
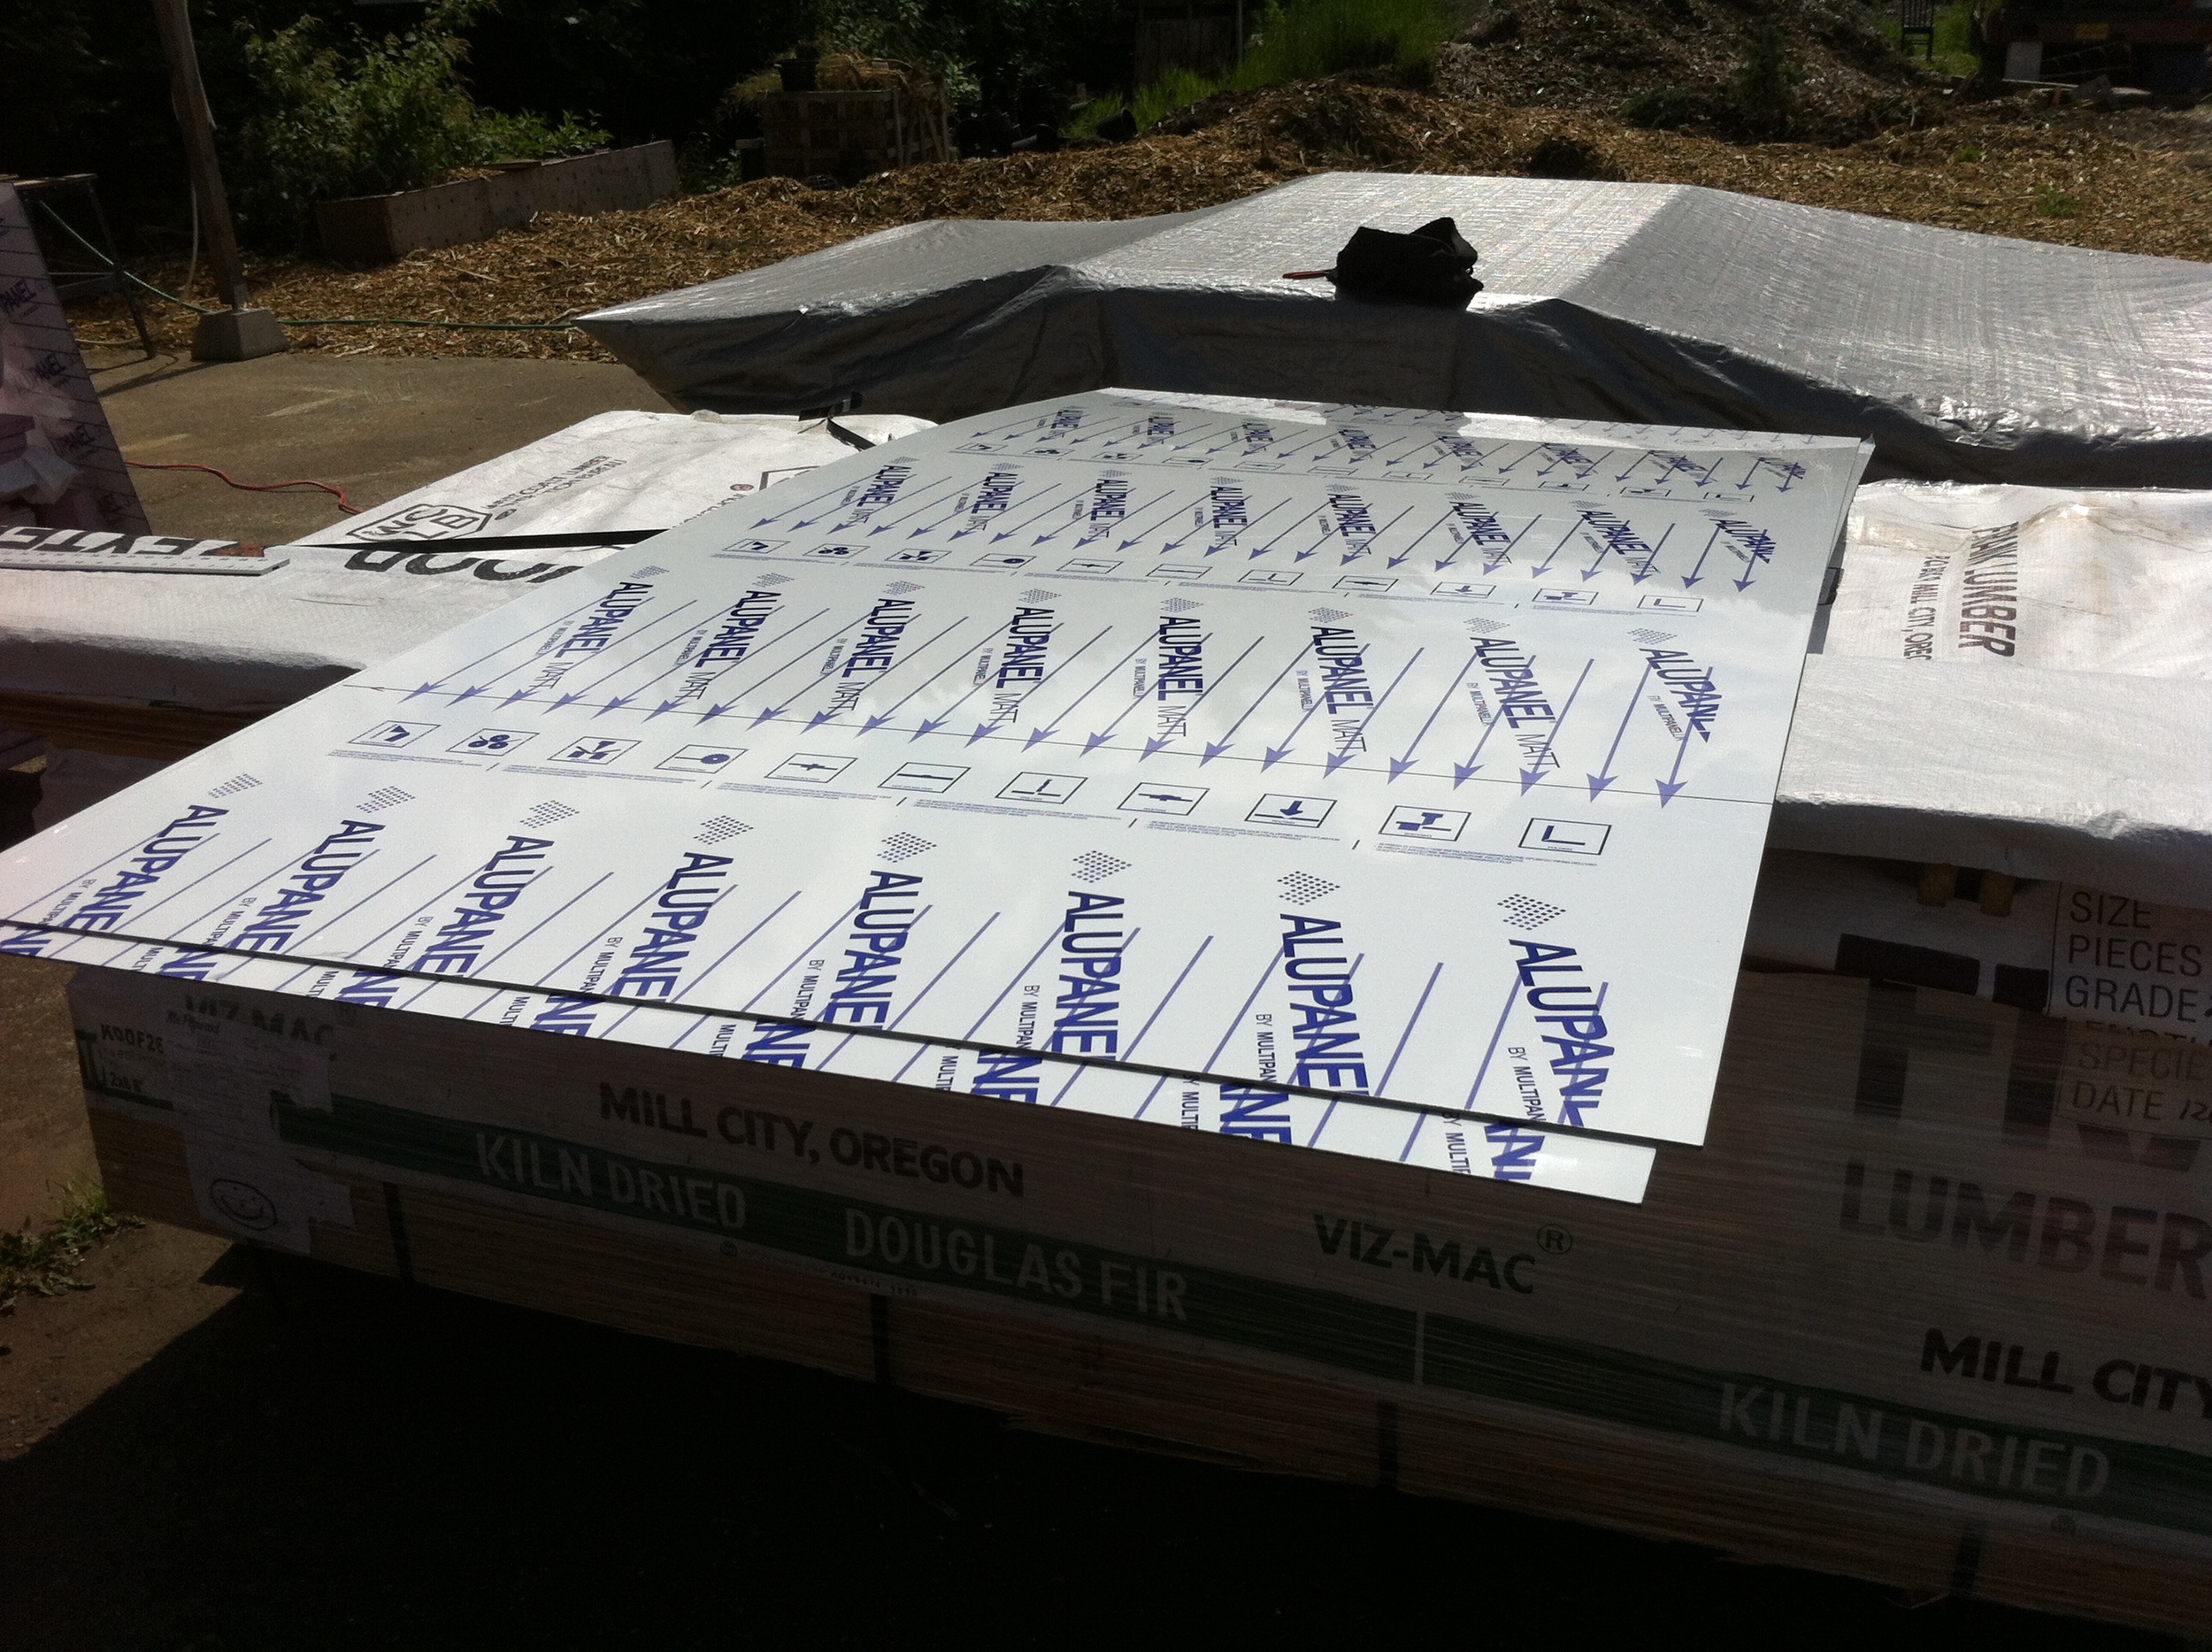
We then cut the ¾” Edge Gold to fit, starting with the piece we had to notch out for the wheelwells. We nestled the sheets on either end into that first sheet and cut off the excess. We didn’t have to cut the sides because the sheets of Edge Gold were 8 feet long, exactly the same length as the SIPs.

I’d originally planned to isolate my floor system from my wall system because it would provide a thermal break between them, my walls would be directly connected to my trailer frame, and it would be a better use of materials since my house was going to be 8’-6” wide. However, once my house was only 8’ wide I decided to just line them up and put my walls right on top of my subfloor. So we cut the sill plates and bolted them down through the trailer frame, securing them with carriage bolts. Ta da! Floorbox complete!

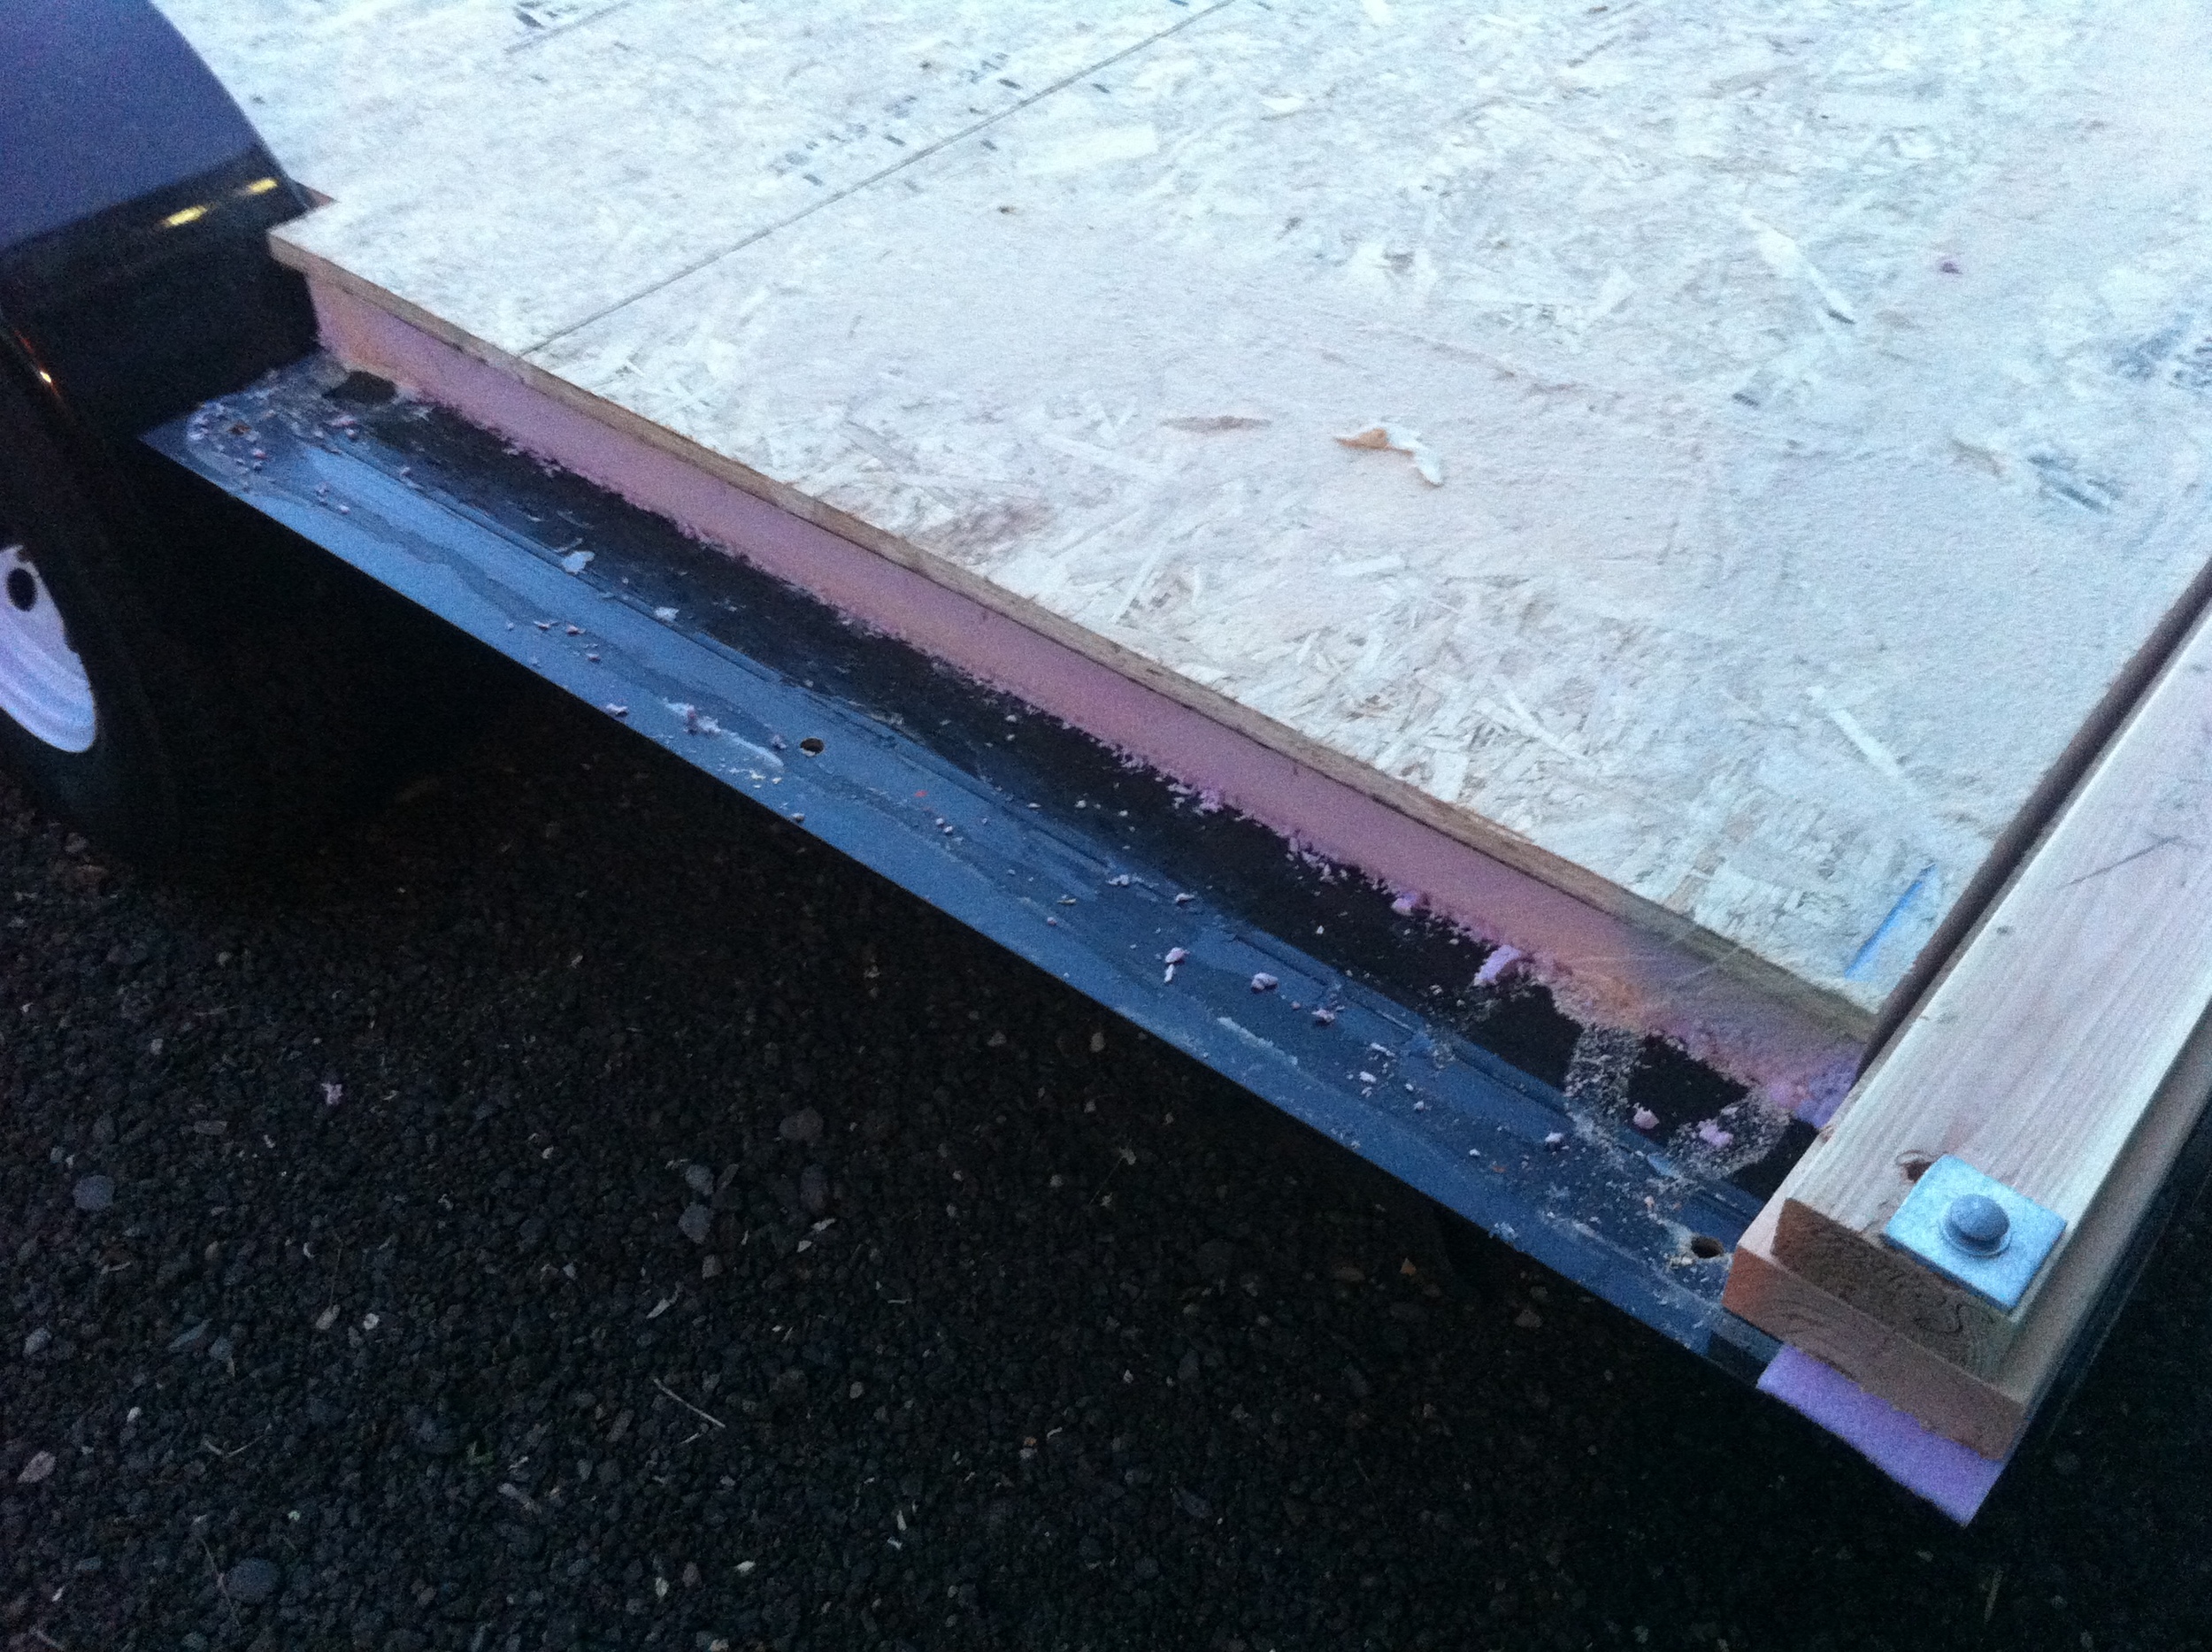
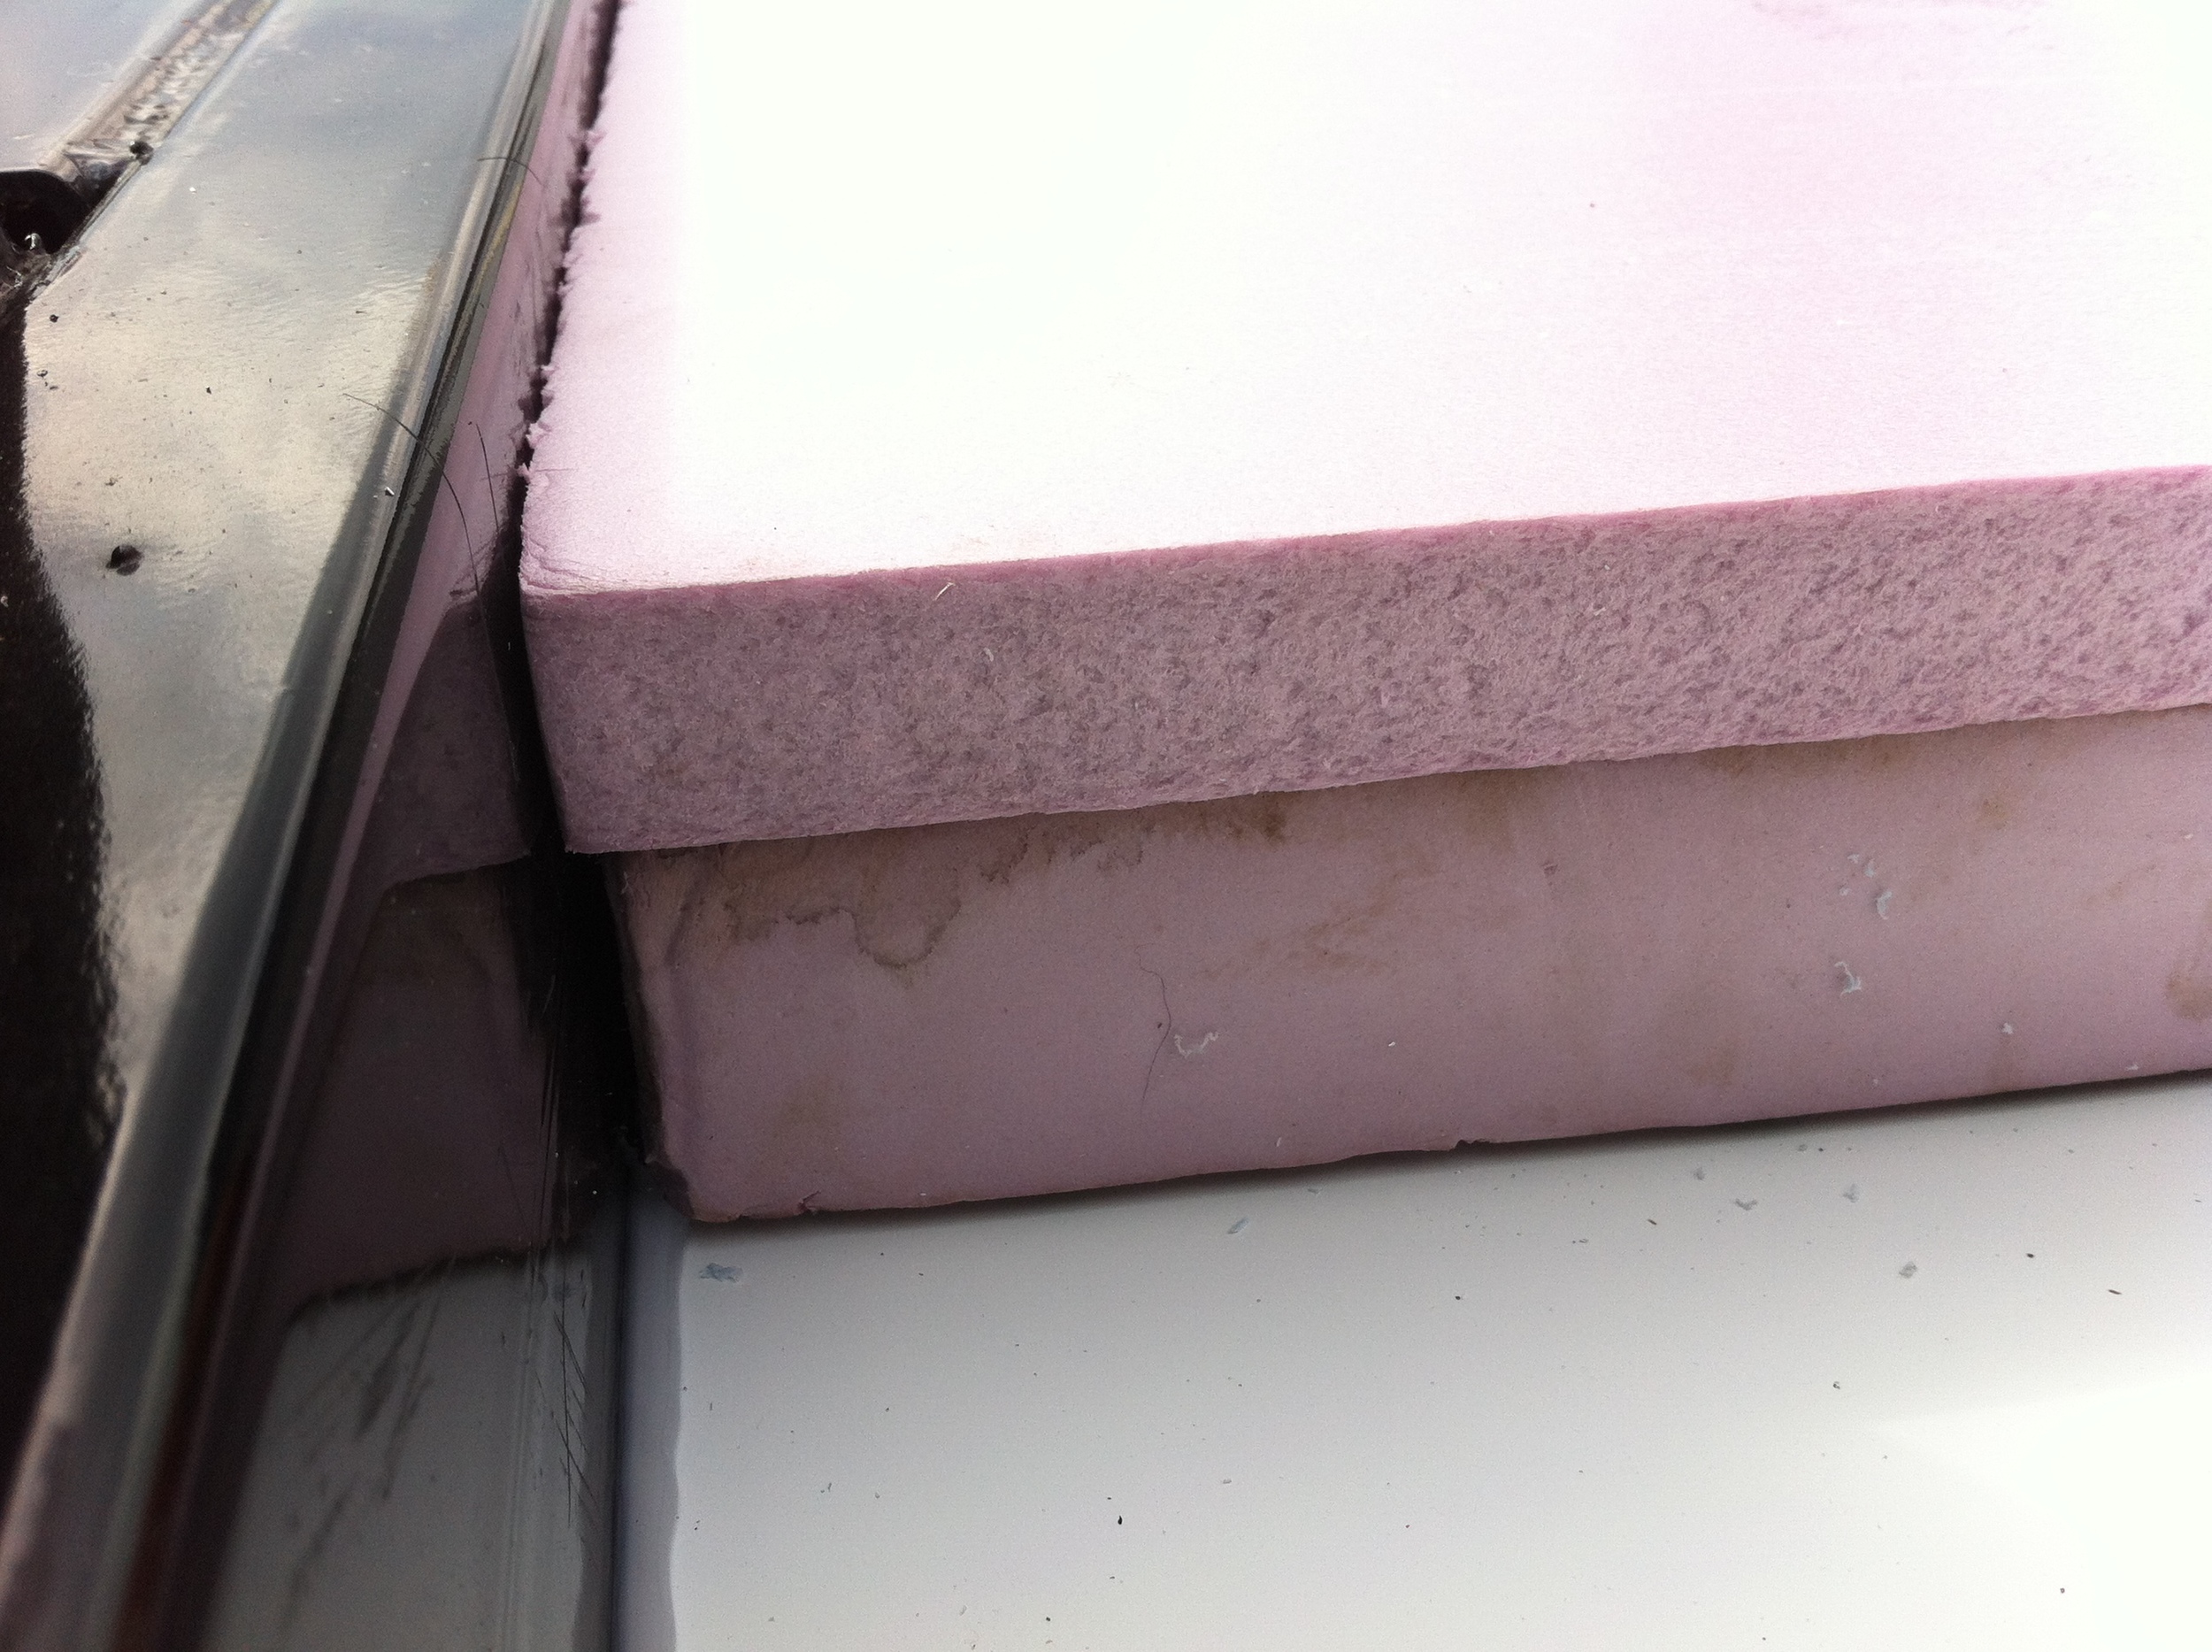
But I couldn’t sleep that night. I didn’t like the way the bolts were angled. And I didn’t like the fact that I’d put all that insulation into my floorbox only to run the subfloor out to the edge where it would get cold and make my feet cold. And I didn’t like that I didn’t have a solid nailer all the way around. And I didn’t like that the foam wasn’t well protected. I just didn’t sit right. I wished I’d used my original design of having the floor system inside the wall system rather than on top of it. I decided I’d better fix it while I still had the chance.

So this evening Patrick Sughrue of Structures NW, the supplier for my SIPS (structural insulated panels), helped me with my first remodeling project. We ripped a set of 2 x 6s to 4 ½ inches. Then we cut the foam back all the way around, put down a layer of sill seal then the 2 x 6s, followed by a layer of liquid nails and then the sill plate. We bolted these down to the trailer with the carriage bolts (which involved boring a couple new holes because some of the ones I’d requested were too close to the edge once I factored in the necessary spacing for my SIPs). We worked until dark and then called it quits. I’ll finish bolting down the rest of the bottom plates on Friday morning.

I feel so much better about this system that I’m annoyed with myself for not just doing this in the first place. My floorbox took much longer than it would have if I’d known then what I know now. However, I learned a lot in the process and I really enjoyed working with Alex, Christian, Laura, Jeff, Logan, and Patrick. I built my floor box in a way I’ve never seen done before and experiments sometimes require additional tweeking.

Most importantly, thanks to Patrick, I am now ready for My SIPs Wall Raising on Friday morning! Follow along!

Floorbox Lessons Learned

dryfitting the first piece of Alupanel Yesterday was my first official day of work on my tiny house! I Kicked Off Spring with Tiny House Prep with my build buddy Laura Klement. My prep work has included Building My Arched Rafters, Painting My Skylight Frames, Planing My Curved Rafters, and Refinishing My Arched Door. Starting in on the floor yesterday was a milestone (though the really exciting day will be next Friday when I have My SIPs Wall Raising). Stay tuned for more on that!

First thing in the morning, my friend Christian helped me pick up My Custom Vardo Trailer from Iron Eagle Trailers and haul it to my build site at Green Anchors. Then my friend Alex helped me move my tools and supplies to site and pick up the Alupanel for my floorbox undercarriage.

Alupanel is a product Derin Williams of Shelter Wise suggested last week when I asked him if he had any recommendations for a material that was lightweight, rigid, thin, and durable. Robert at Denco Sales was great to work with as I explained my project and he helped me figure out what my options were. Alupanel is quite pricy, so I went with 3 mm, the thinnest material that would do the job. (It cost $85 per sheet, about what it would have cost to have a steel pan fabricated for my trailer. It also cost about twice what it would have cost to do a wooden floor box a la Dee Williams, but I’m doing a few experimental things with my tiny house – like constructing my floor box sans wood so that I can save weight and increase the amount of insulation in my floors.)

Patrick Sughre of Structures Northwest (the supplier for my Structural Insulated Panels – SIPs) dropped by a couple minutes after we got back and he rolled up his sleeves and pitched in, helping us with the undercarriage. We cut the Alupanels to size, caulked the panels into place around the perimeter and along each seam with silicone caulk, and then started filling the cavity with rigid foam. We didn’t manage to finish it (see #5 below), but hopefully I can get finished up on Sunday. I’ve got to get my floor ready because the SIPs walls will be ready for pick up soon!

Here’s what I learned today:

  1. The Alupanel is truly an easy material to work with. A few cuts with a circular saw fitted with a 40-tooth carbonite blade and we were good to go!
  2. Figuring out that the first sheet was cut a bit shorter than I would have liked is a good reminder that it’s always a good idea to calibrate tape measures and to cut long at first. It’s much easier to take off another blade’s width (especially when working with an expensive-but-critical material!)
  3. It would have been really great to have the ribs of my trailer welded at 24” (OC) rather than twenty-four-inches-on-center-ish. Last summer, when I ordered My Custom Vardo Trailer, I was planning to do a version of the Dee Williams floorbox so the rib spacing didn’t matter much, but with my new system it would have been really nice to have support exactly where I wanted it!
  4. Sometimes my first instinct is right on. I’d originally planned for 3 ½” worth of insulation inside my trailer (one set of 2” XPS topped with another set of 1 ½”). However, I decided that since I was going with a thinner undercarriage material I’d better plan on the full 4” of foam. Turns out, once the Alupanel was in place 3 ½” worth of insulation fit much better. So I needed to trade my 4 sheets of 1” XPS for 4 sheets of ½” XPS (expanded polystyrene).
  5. No hardware store in Portland seems to carry ½” XPS foamboard. (Though if you call ahead, one of the big box stores will assure you they DO have it and they’ll even set it aside for you so that when you arrive you have the opportunity to explain them the difference between ½” and 2.”)

So My Floorbox Continues. Here’s to getting the floorbox finished on Sunday. Meanwhile, today is Laura’s wall raising work party. Wish us luck!