Note bene: This post has lingered in draft mode for a long time, like many others that chronicle Lucky Penny Finishes. (This is one of the side effects of Finishing an Owner-Built House!) The Lucky Penny has been livable since Nov 2014, when I had my Move In Day & Housewarming. I'm finally getting this post out there now because I have the motivation of the T42 Build Timeline approaching!

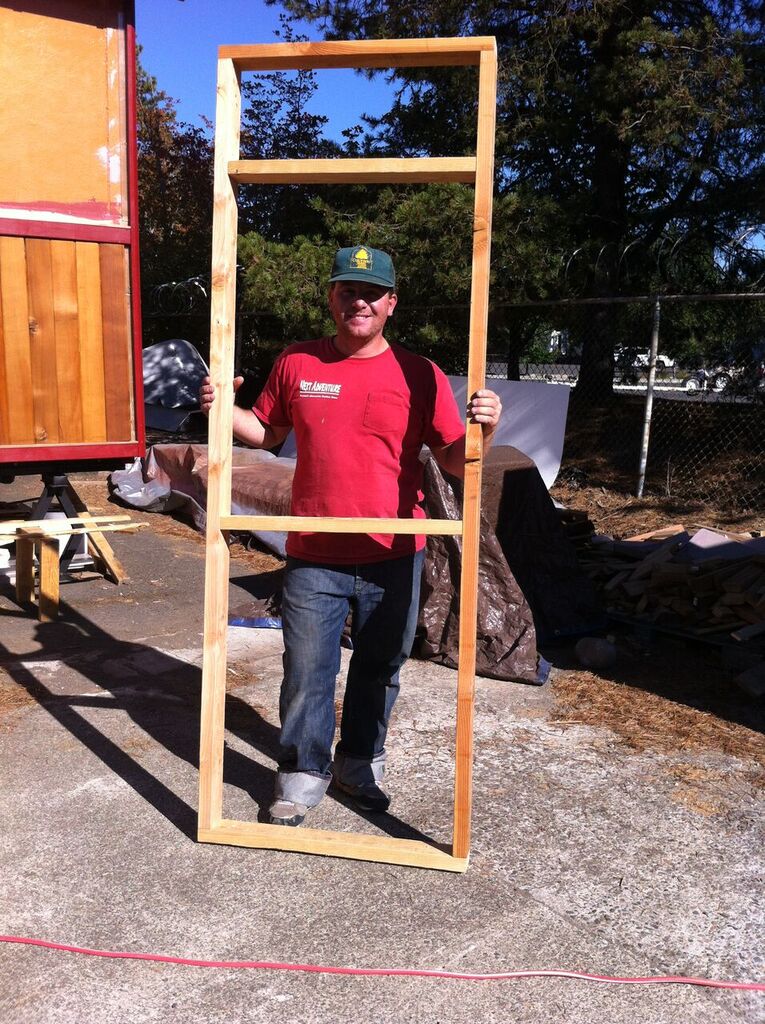
The past two Fridays, I've worked with a right hand man to accomplish two projects. Last weekend Eric McClelland helped me create the curved trim for my arched window and door and this past Friday my buddy Kenny Bovoso helped me rework a used pocket door frame and install the interior walls.
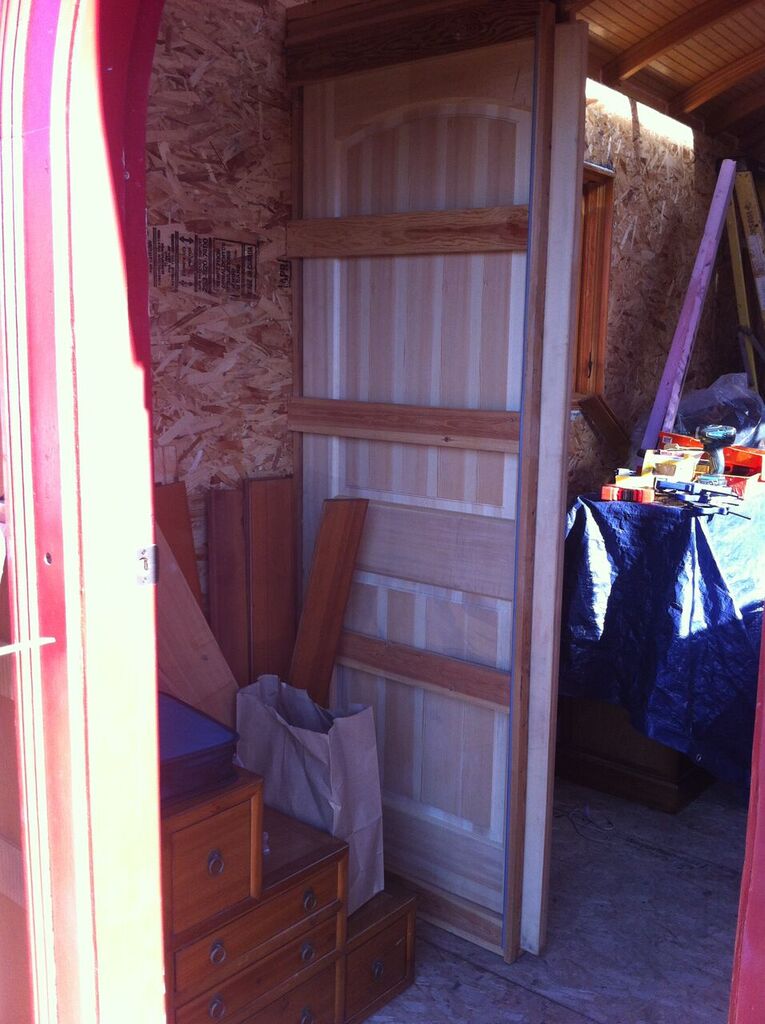
Eric and I started out the curved trim day by tracing the shape of my window and door onto scrap pieces of plywood. I'm lucky that the arched door came with it's jamb so we don't have to do any fancy business there. I just had it dip-stripped by Timby's Dip Strip since it tested positive for lead paint.
We then went to Parr Lumber to pick up a few pieces of exterior trim for the exterior of the curved window and Emerson Hardwood to pick up a big sheet of medium density fiberboard (MDF) for the interior trim for both the window and the door.
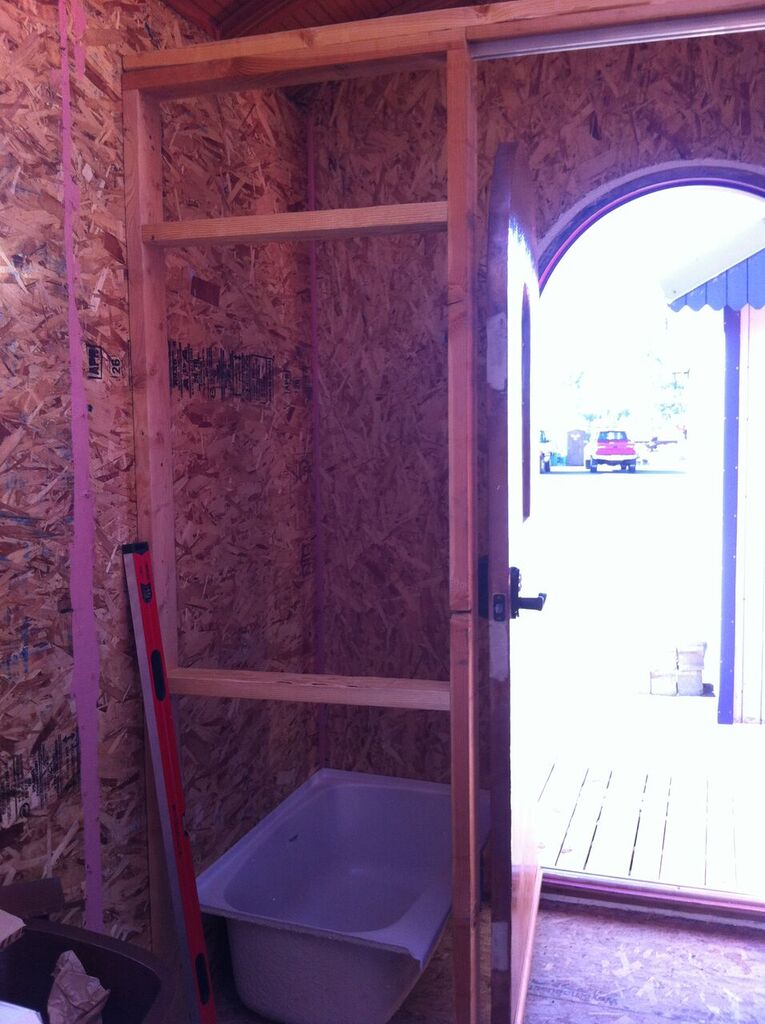
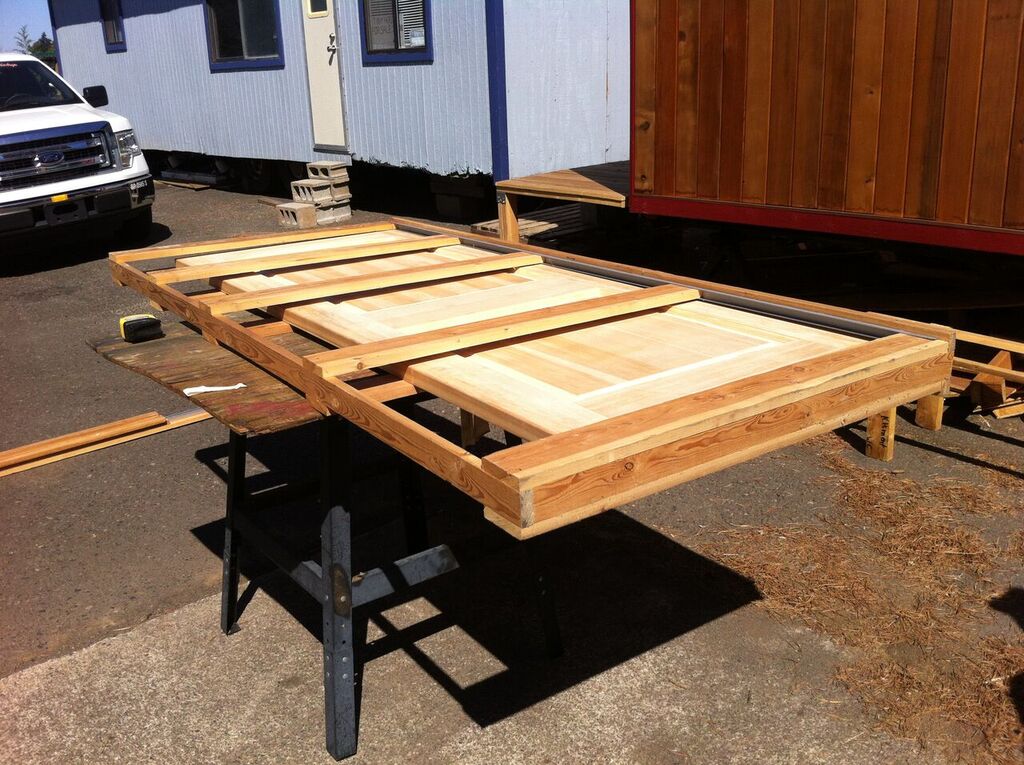
Eric is a talented cabinet maker so back at his shop he showed me how to piece the exterior trim together with biscuit joints to create an angular version of the curve we wanted to create. I got to make some fun cuts on the table saw and it was nice to have Eric's expert supervision and guidance since I'm still extra nervous around the table saw. We also cut the curved trim for the interior of the window and door out of the MDF using the band saw. Then we sanded the edges of all three curves to smooth them out. It's not perfect, but as I keep reminding myself and my Tiny House Helpers, my house needs a little wabi-sabi. It's certainly not bad for my first curved trim project and I'm pleased with the results and extremely grateful for Eric's guidance. I look forward to seeing how the trim looks with the trim paint I've picked! I think it's going to be beautiful! The interior walls project started with a trip to Building Material Resources where I found a pocket door frame that was 36" wide, six inches wider than I needed it. But I figured it could be reworked, and, indeed, it was, though I'm not sure it was worth it financially in the end. It certainly wouldn't have been if I'd been paying Kenny in cash instead of beer and hugs! On the other hand, we appreciated the quality time together to catch up and the project was pretty fun.
We removed the side braces, cut them back, and then reinstalled them at the right width. We then installed the pocket door frame and built the other interior wall to line up with it. It will need a little more finessing, but I've gotta say, it's pretty exciting to have this interior wall because it's the first big move on the interior. This wall divides my Quintuple-Duty Mud Room from the rest of the house and my little house is starting to feel more like I'd envisioned it! For the rest of the weekend I continued on with Siding & Shingling, which was a good project to be working on during the Green Anchors Open House because it was easy to take breaks and show people the little house.