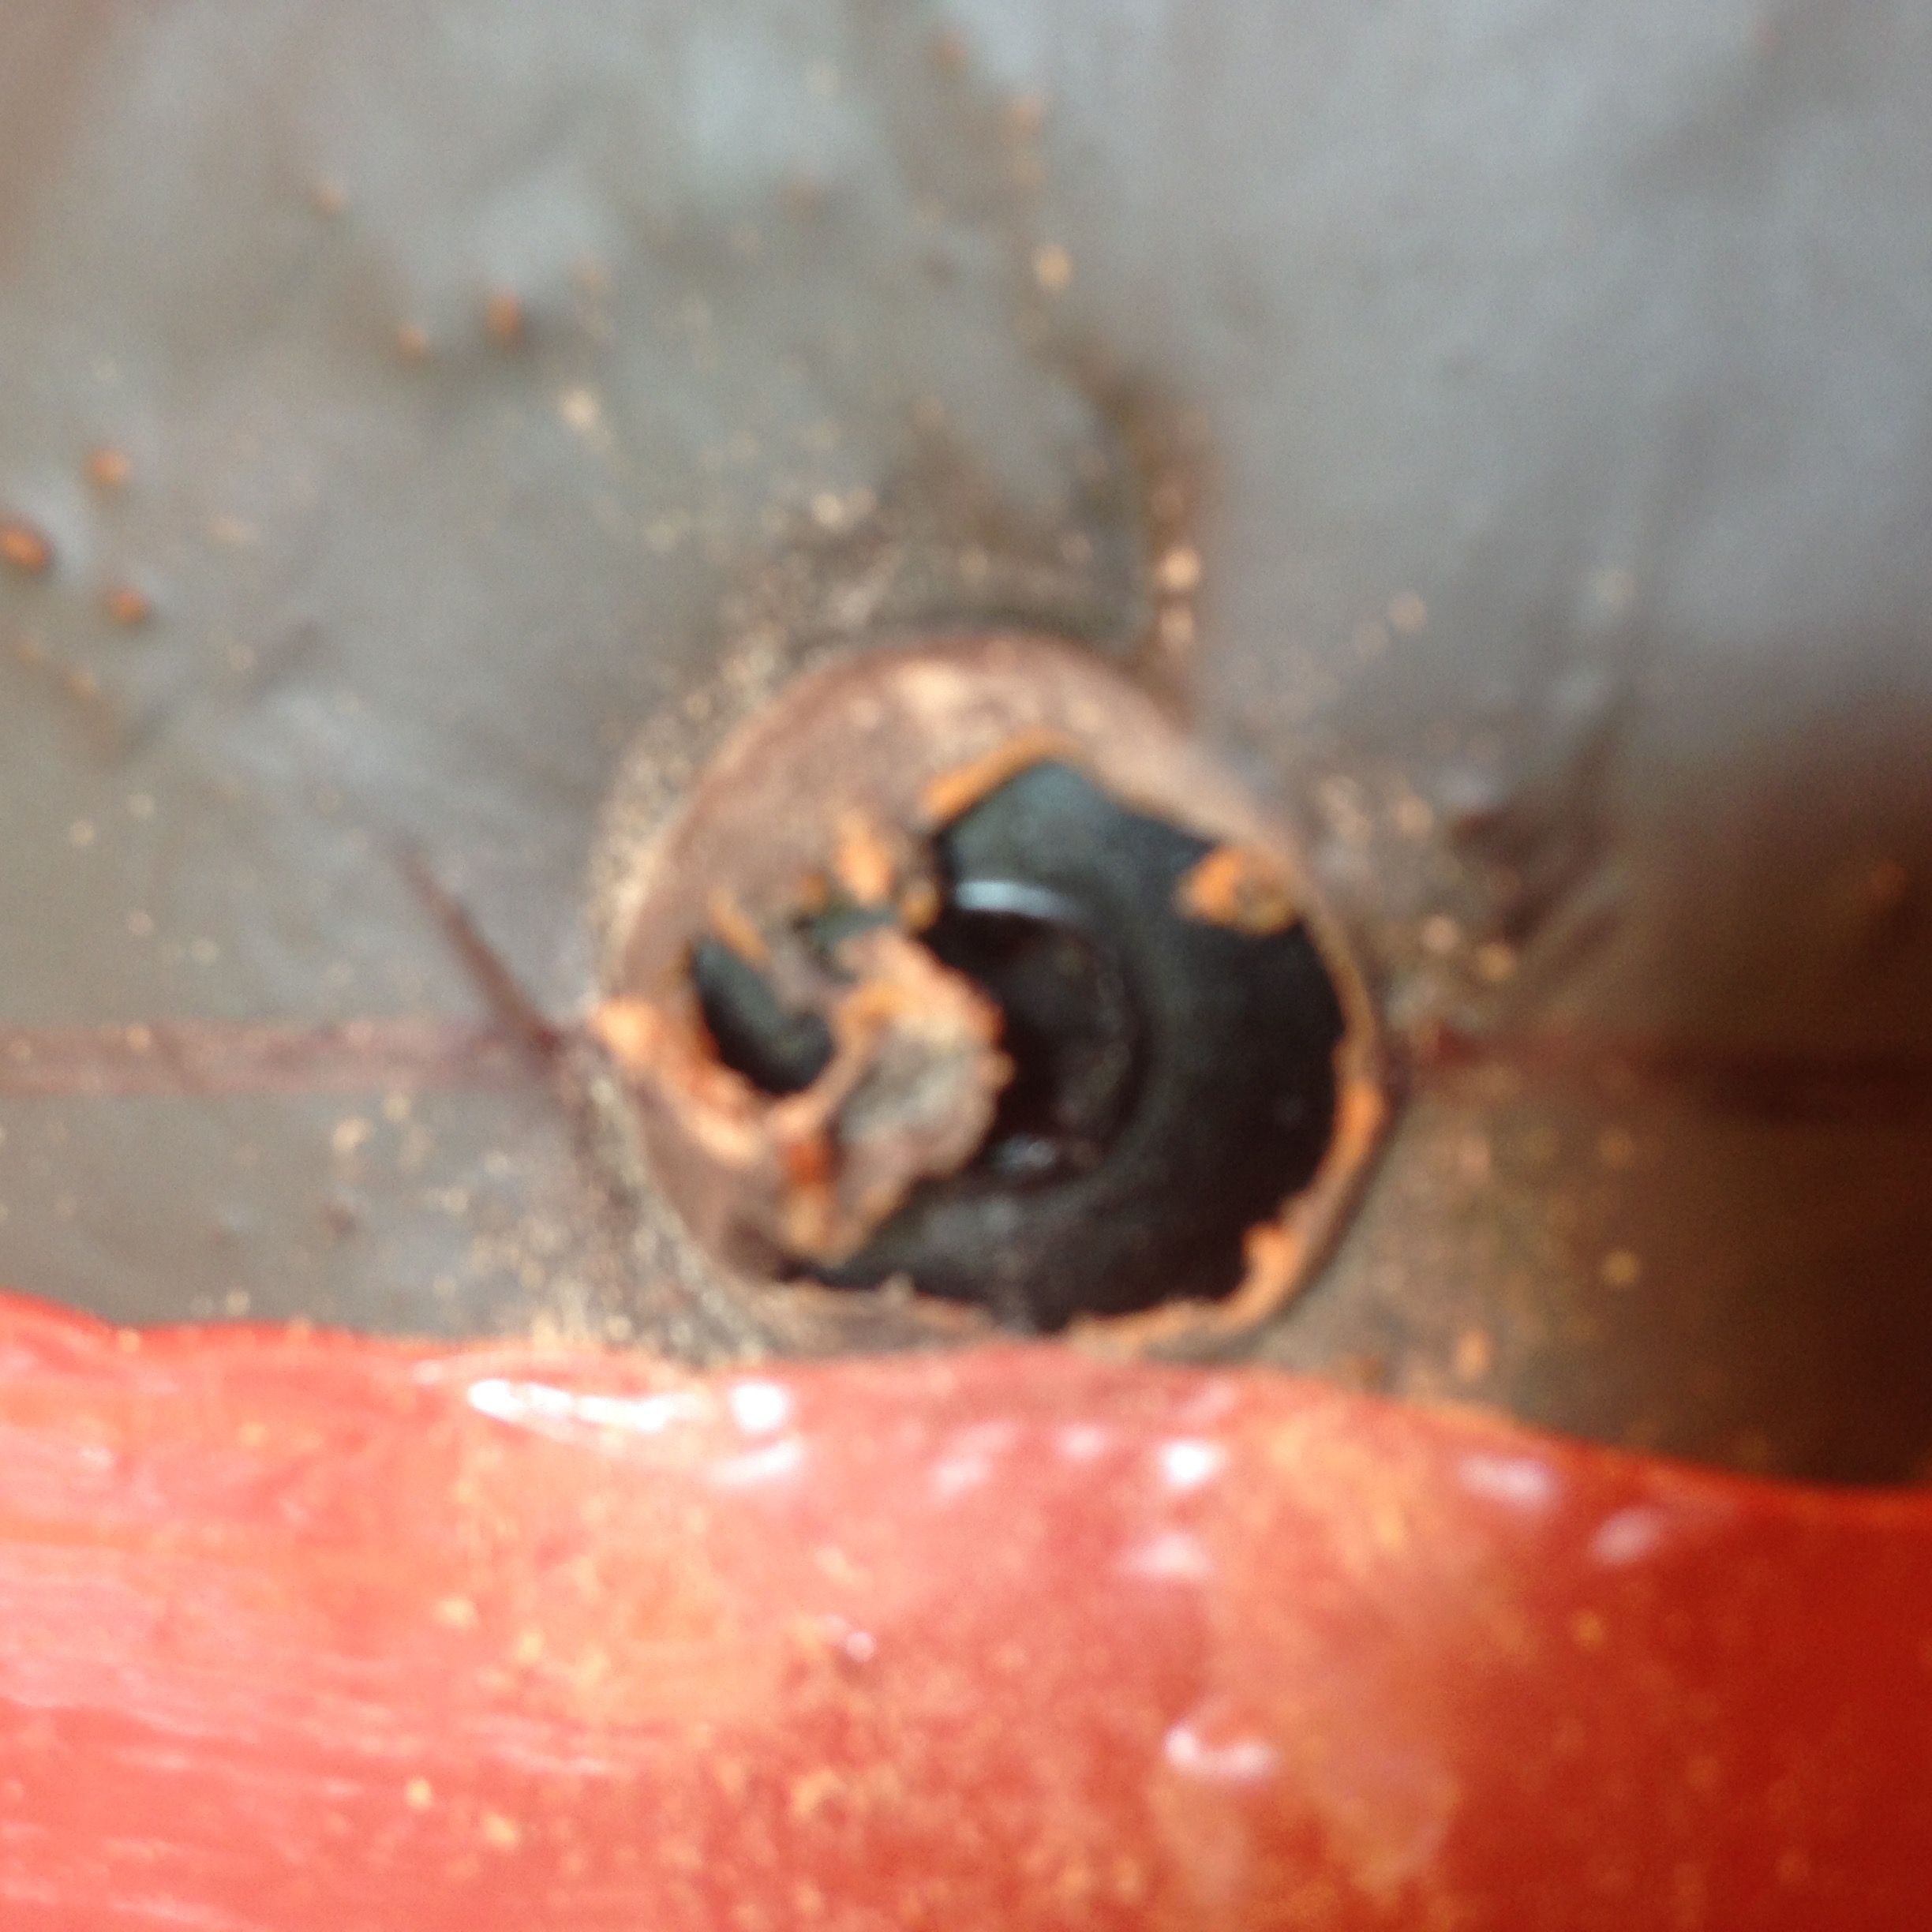
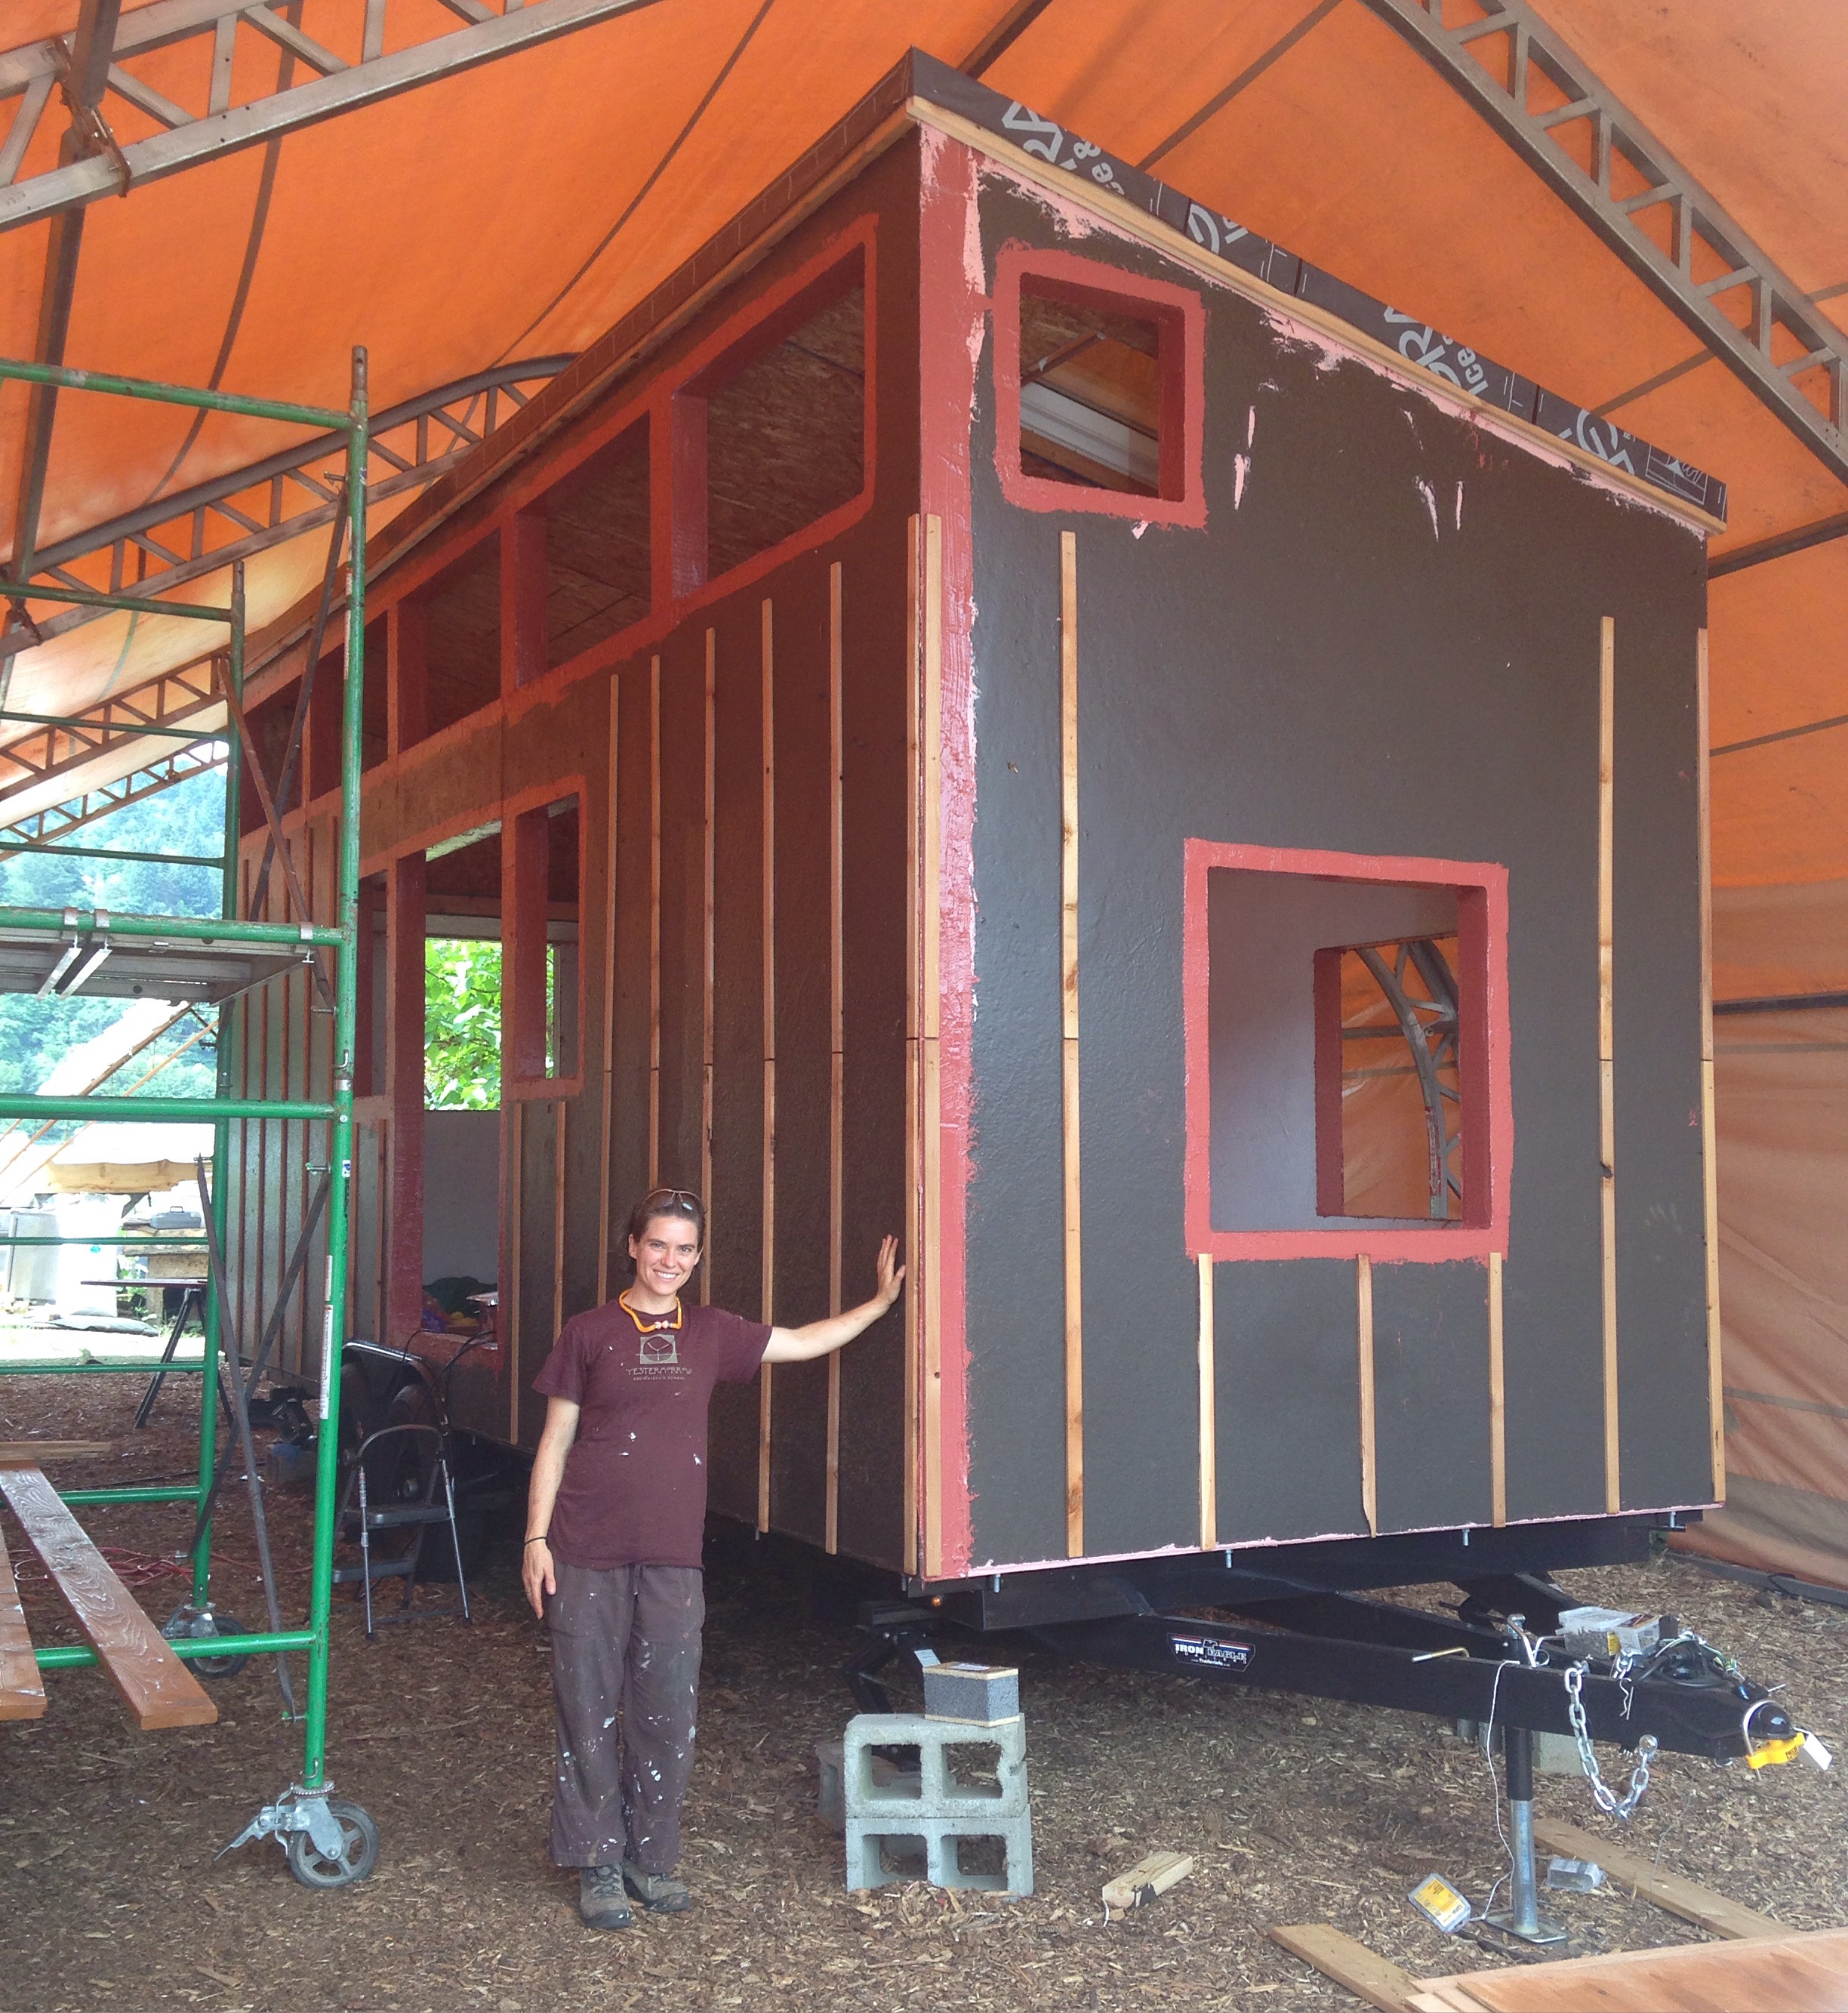
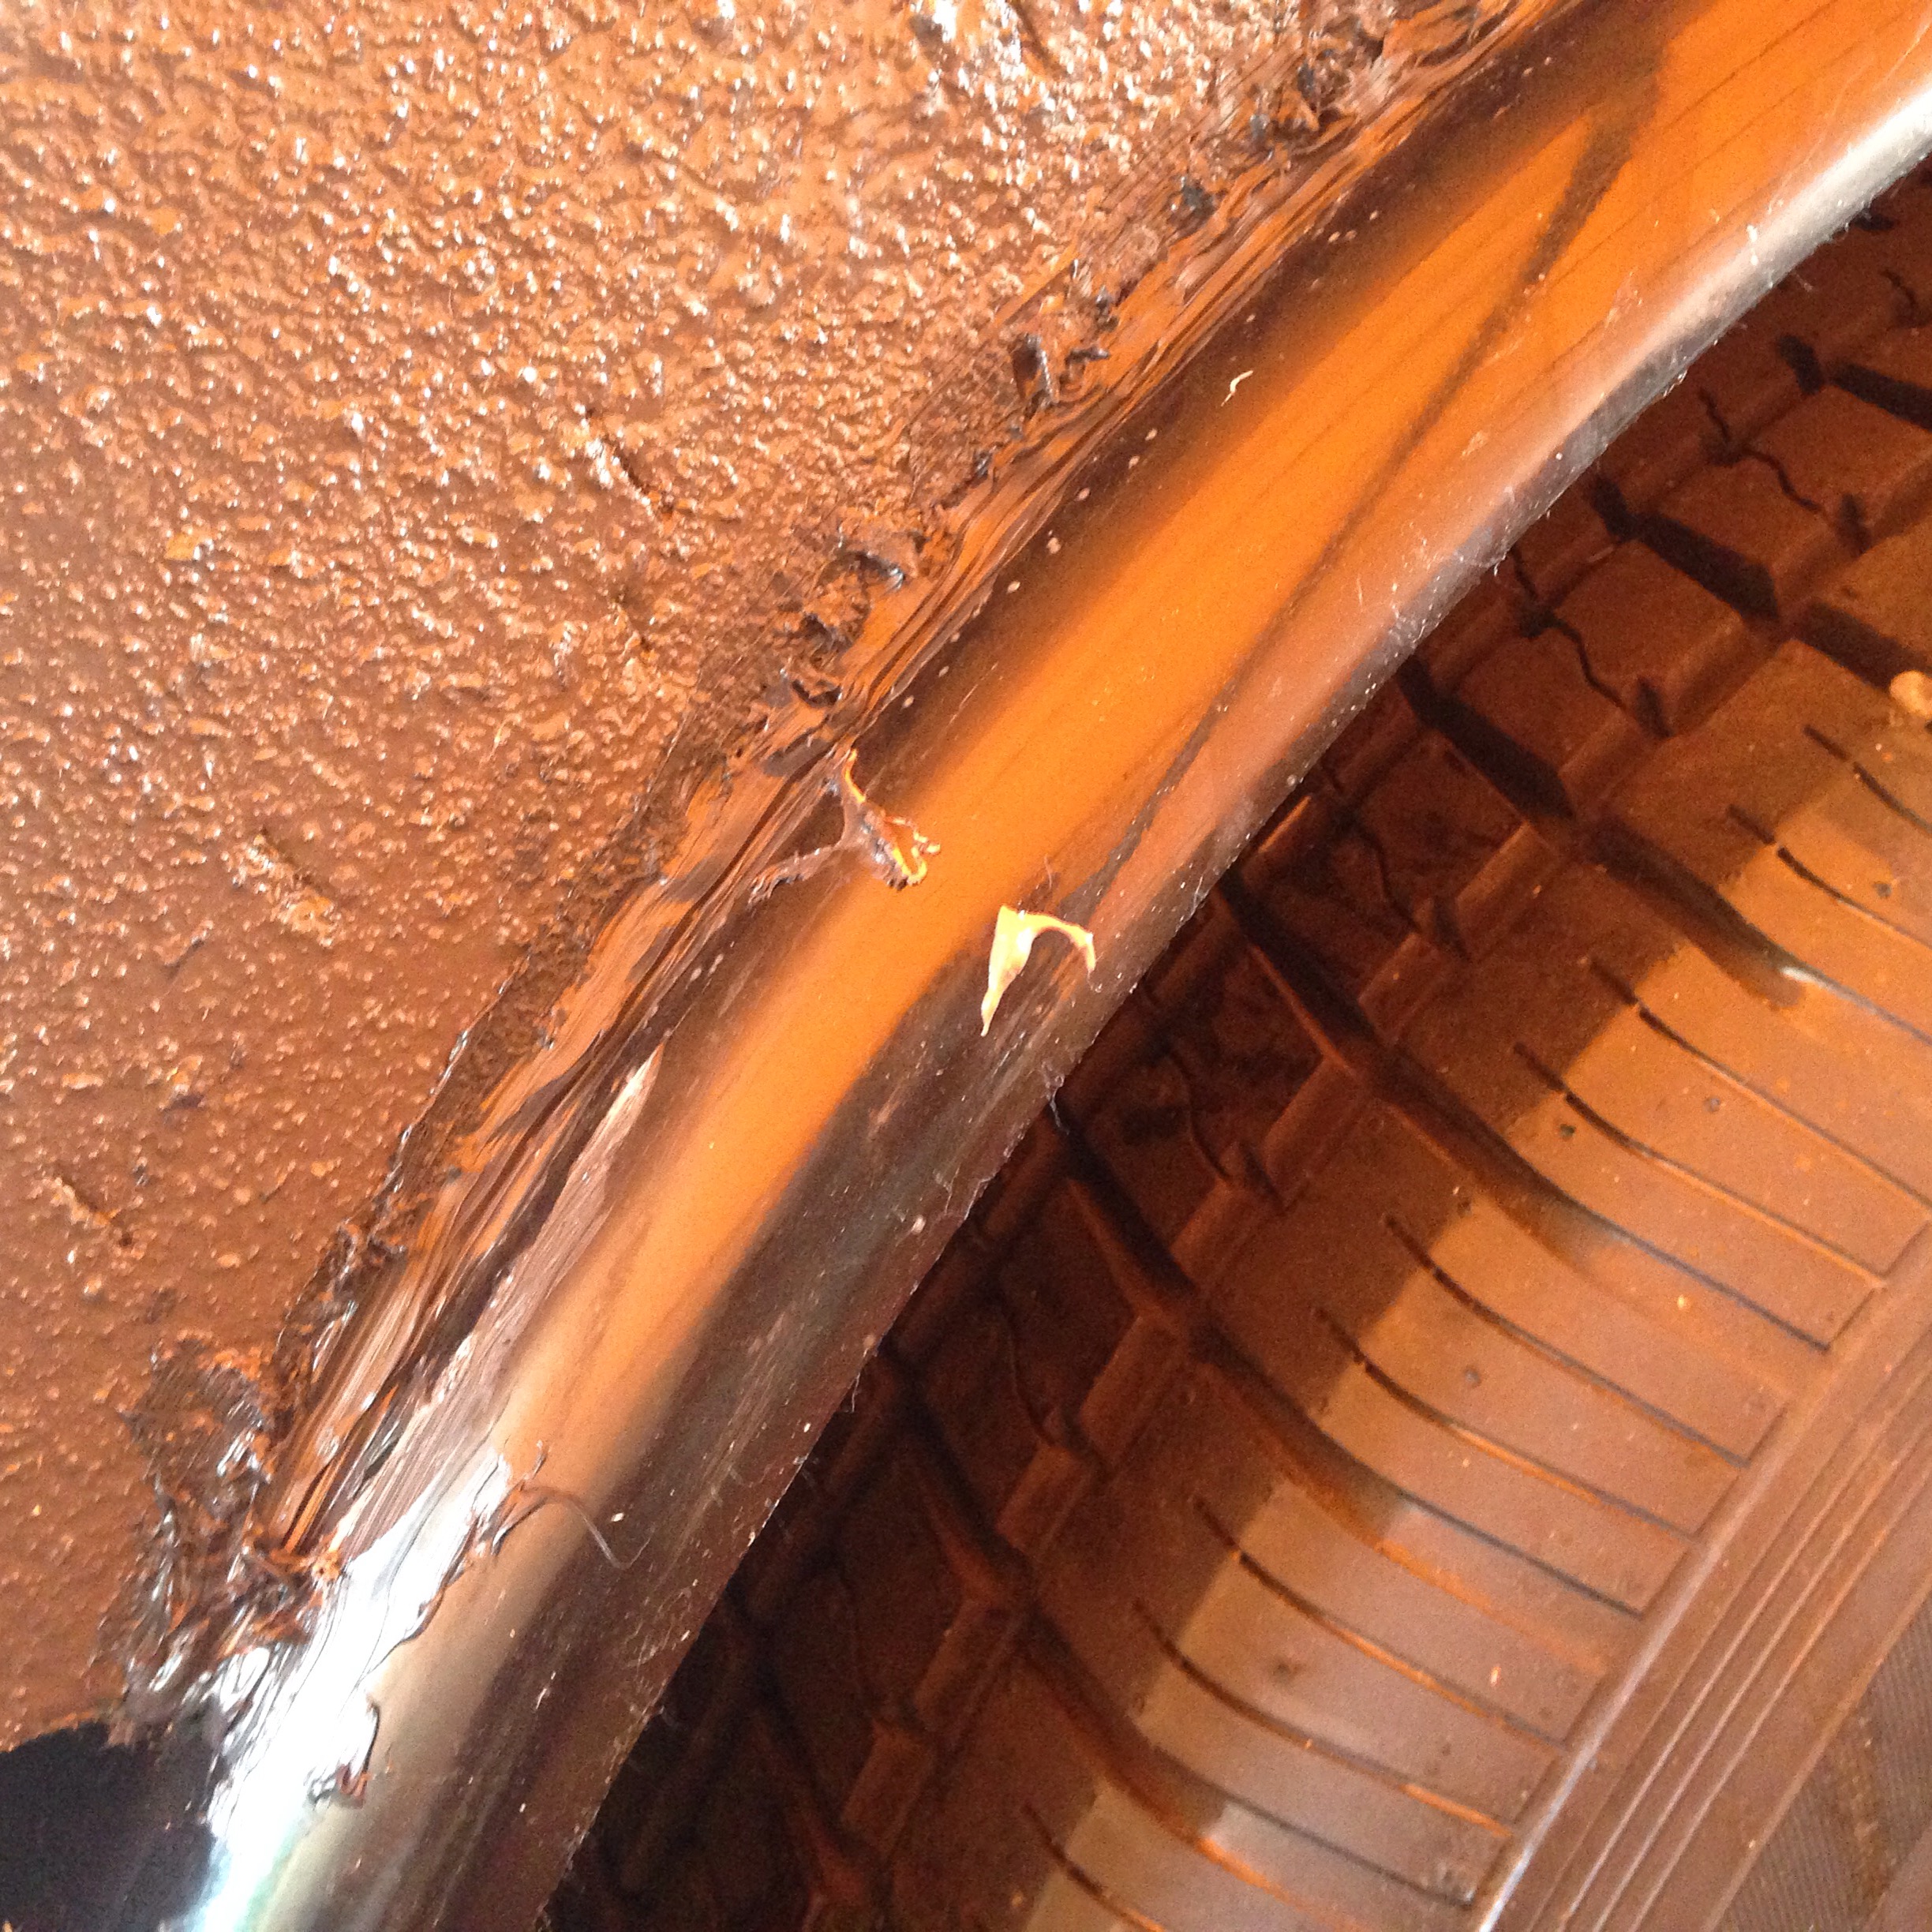
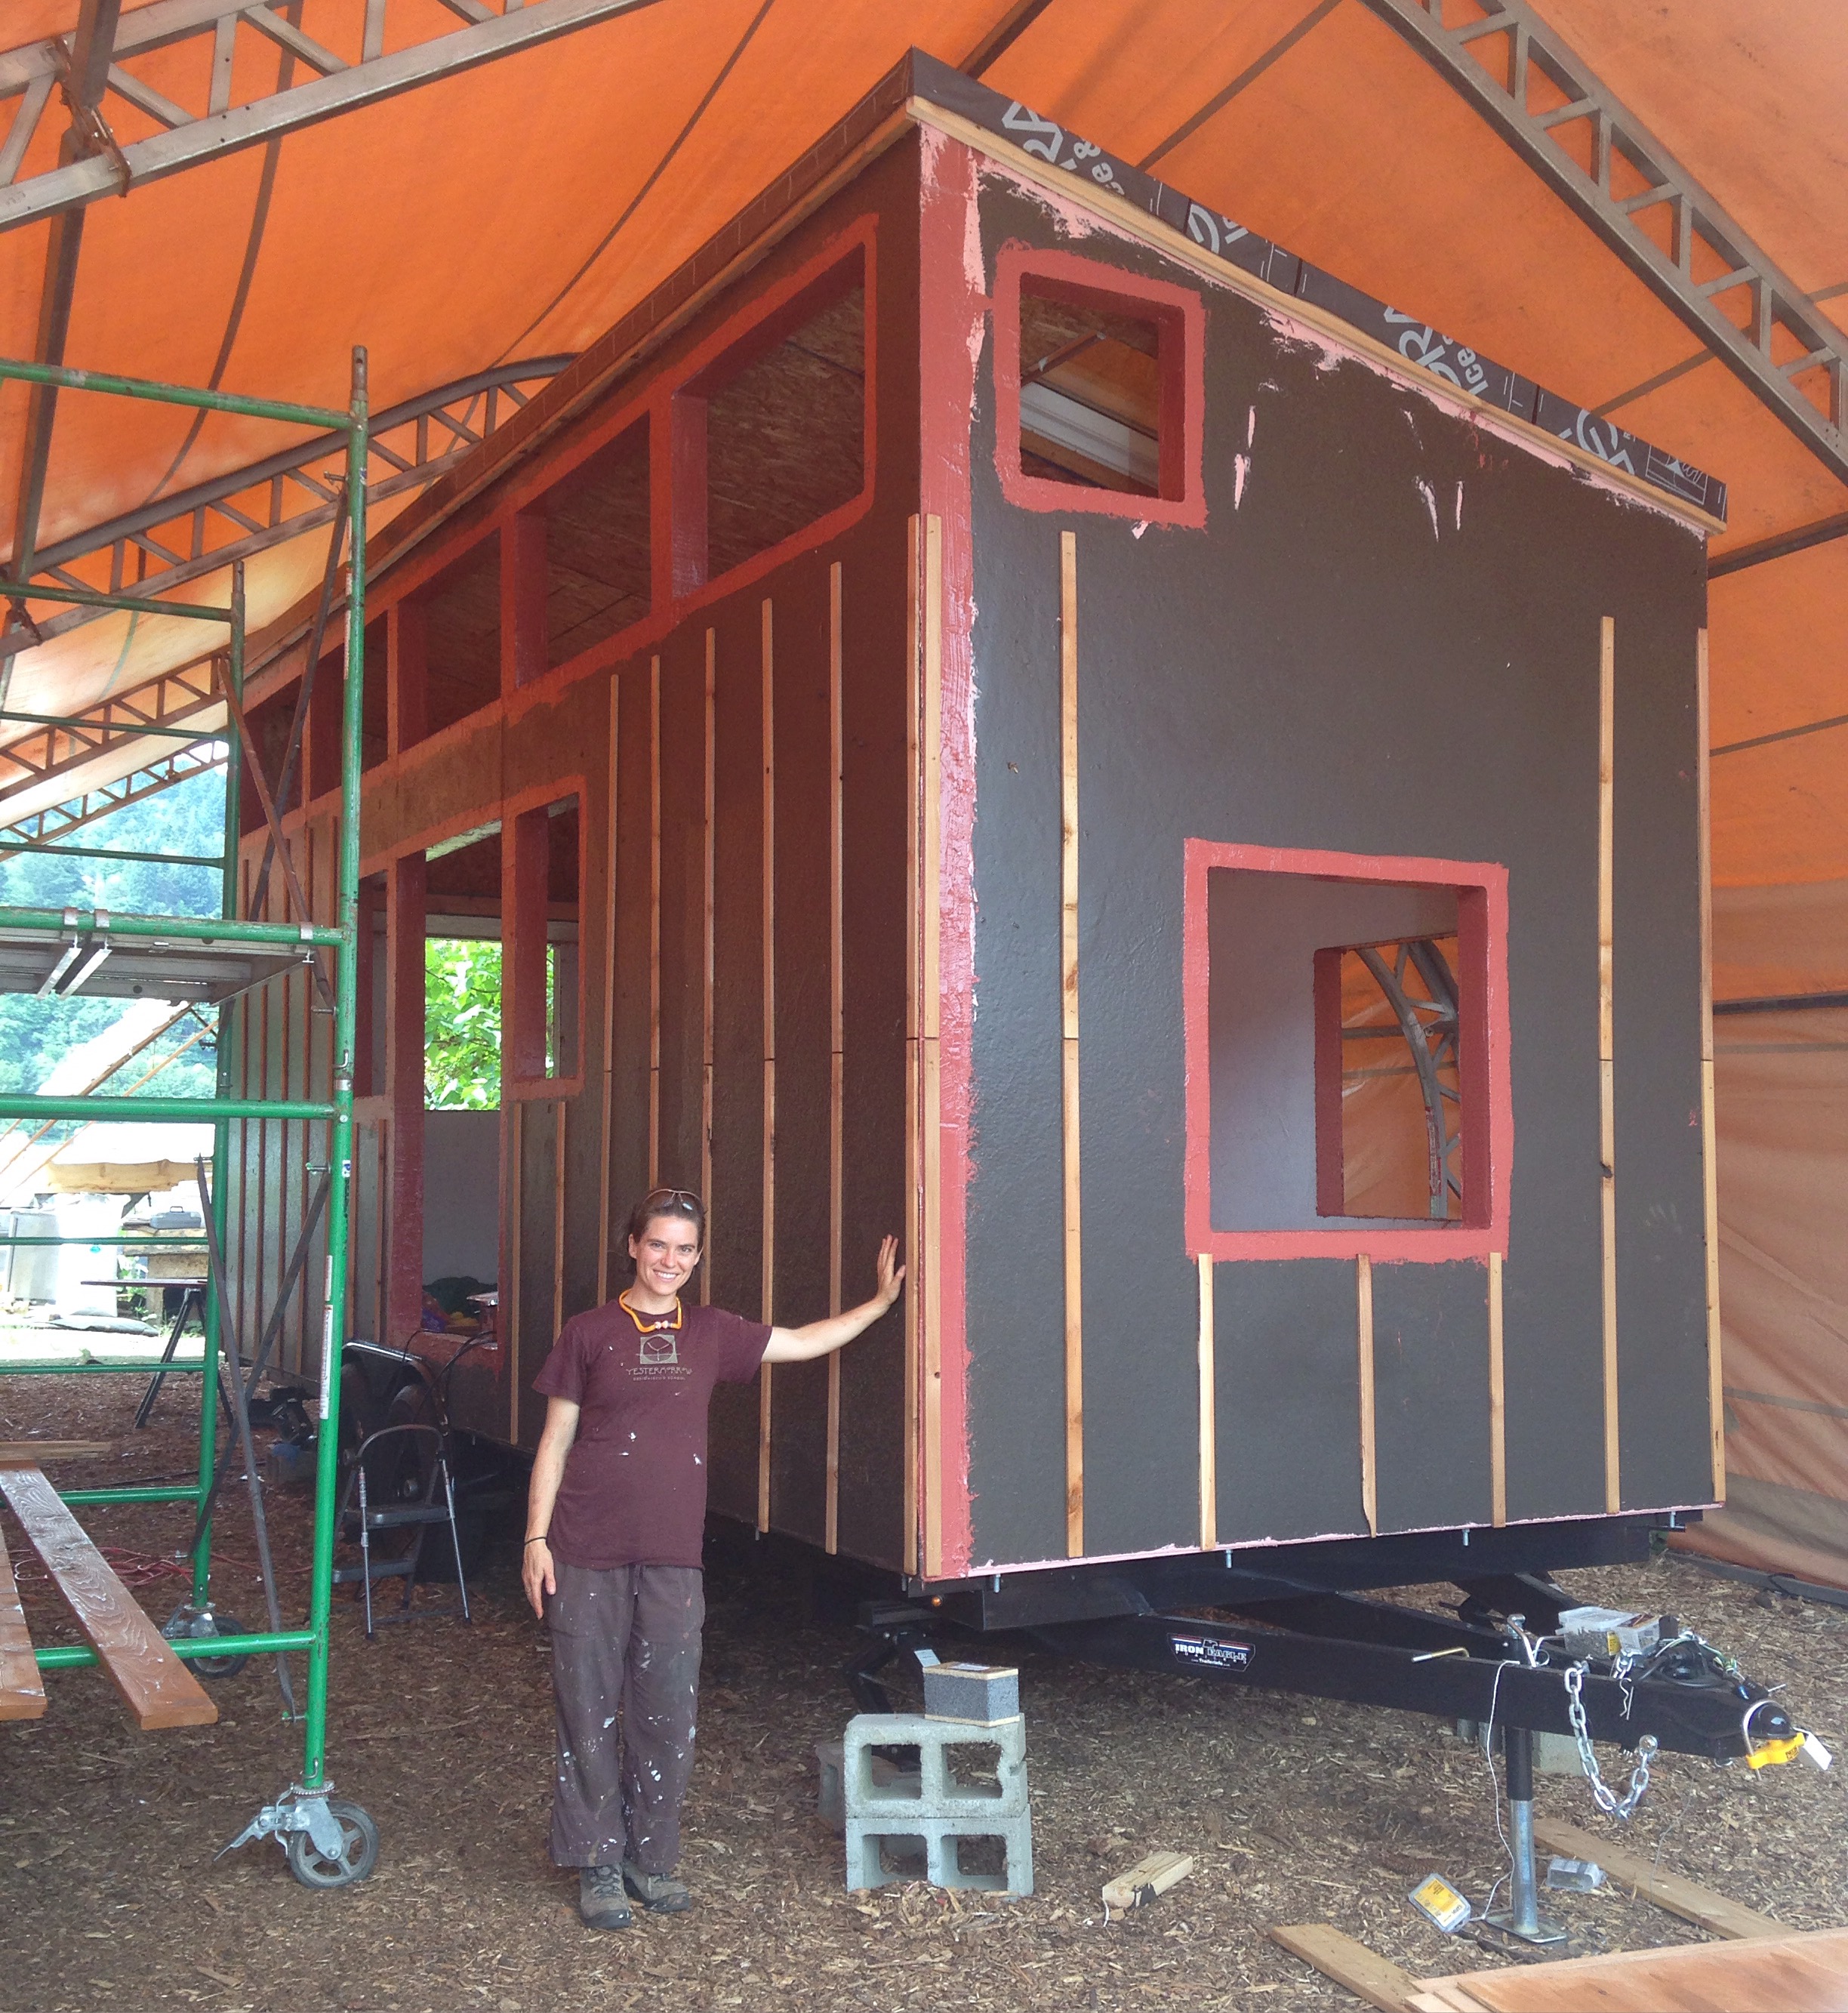
 On Wednesday, which was Build Day #14, we continued our exterior work with waterproofing quality control, instilling our rainscreen, and installing the first of our exterior trim. Our day started out with sealing up the space between the SIPs and the fenders with backerrod and a liquid-applied sealant. Air sealing is important for energy-efficiency and moisture management so it's nice to have this little step done. We also installed a few SIPs screws from the exterior through the SIPs and into the ledgers that hold up our storage loft. Now it's secured into the wall SIP from both sides. These were two little steps closer to being dried in. Once the windows and door are in we'll be able to be actually dried in and that's really exciting!
Next we started putting up our rainscreen system. "Rainscreen" is a tricky term because it makes it sounds like you're adding some sort of screen to the house to protect it from rain. The reality is that a rainscreen is almost a lack of things. It's negative space. Basically, a rain screen system - which is designed to protect your house from getting waterlogged and rotting - is a gap created between the exterior siding and the water resistant covering your sheathing. Unfortunately, linguistic matters get a bit more complicated by the fact that there is often bug screen involved in a rainscreen system! I'll try to break it down. Here we go!
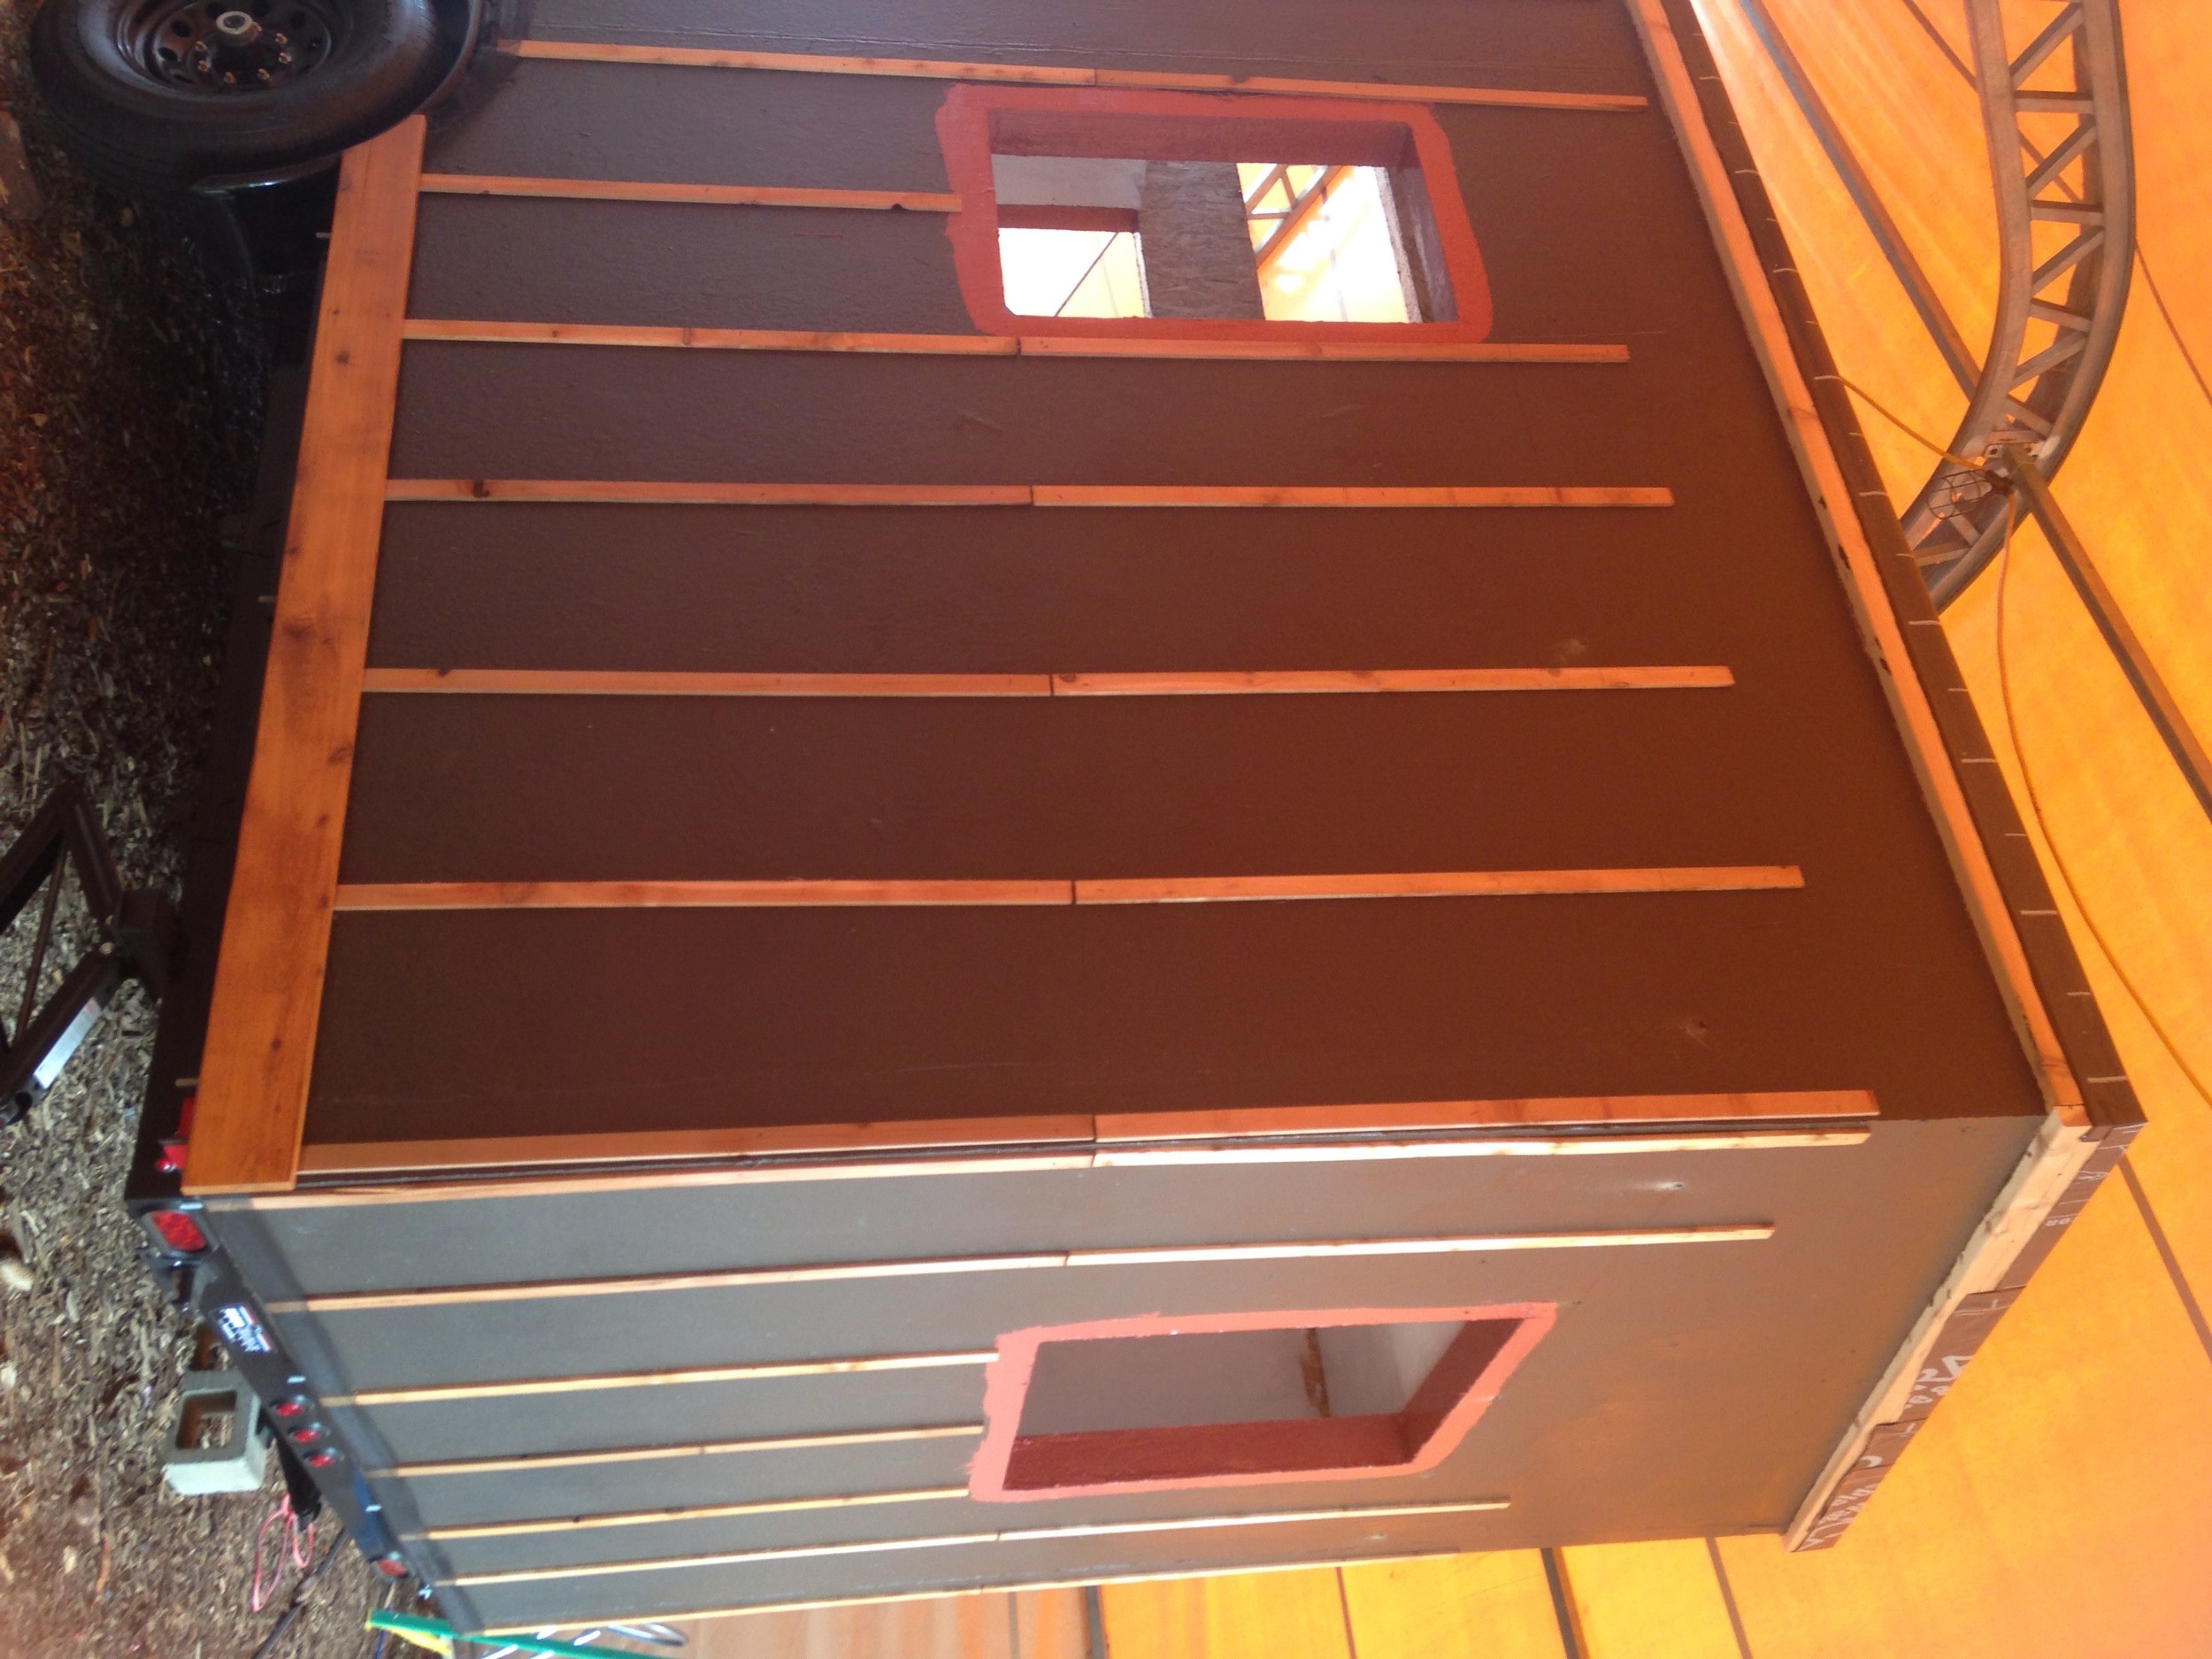
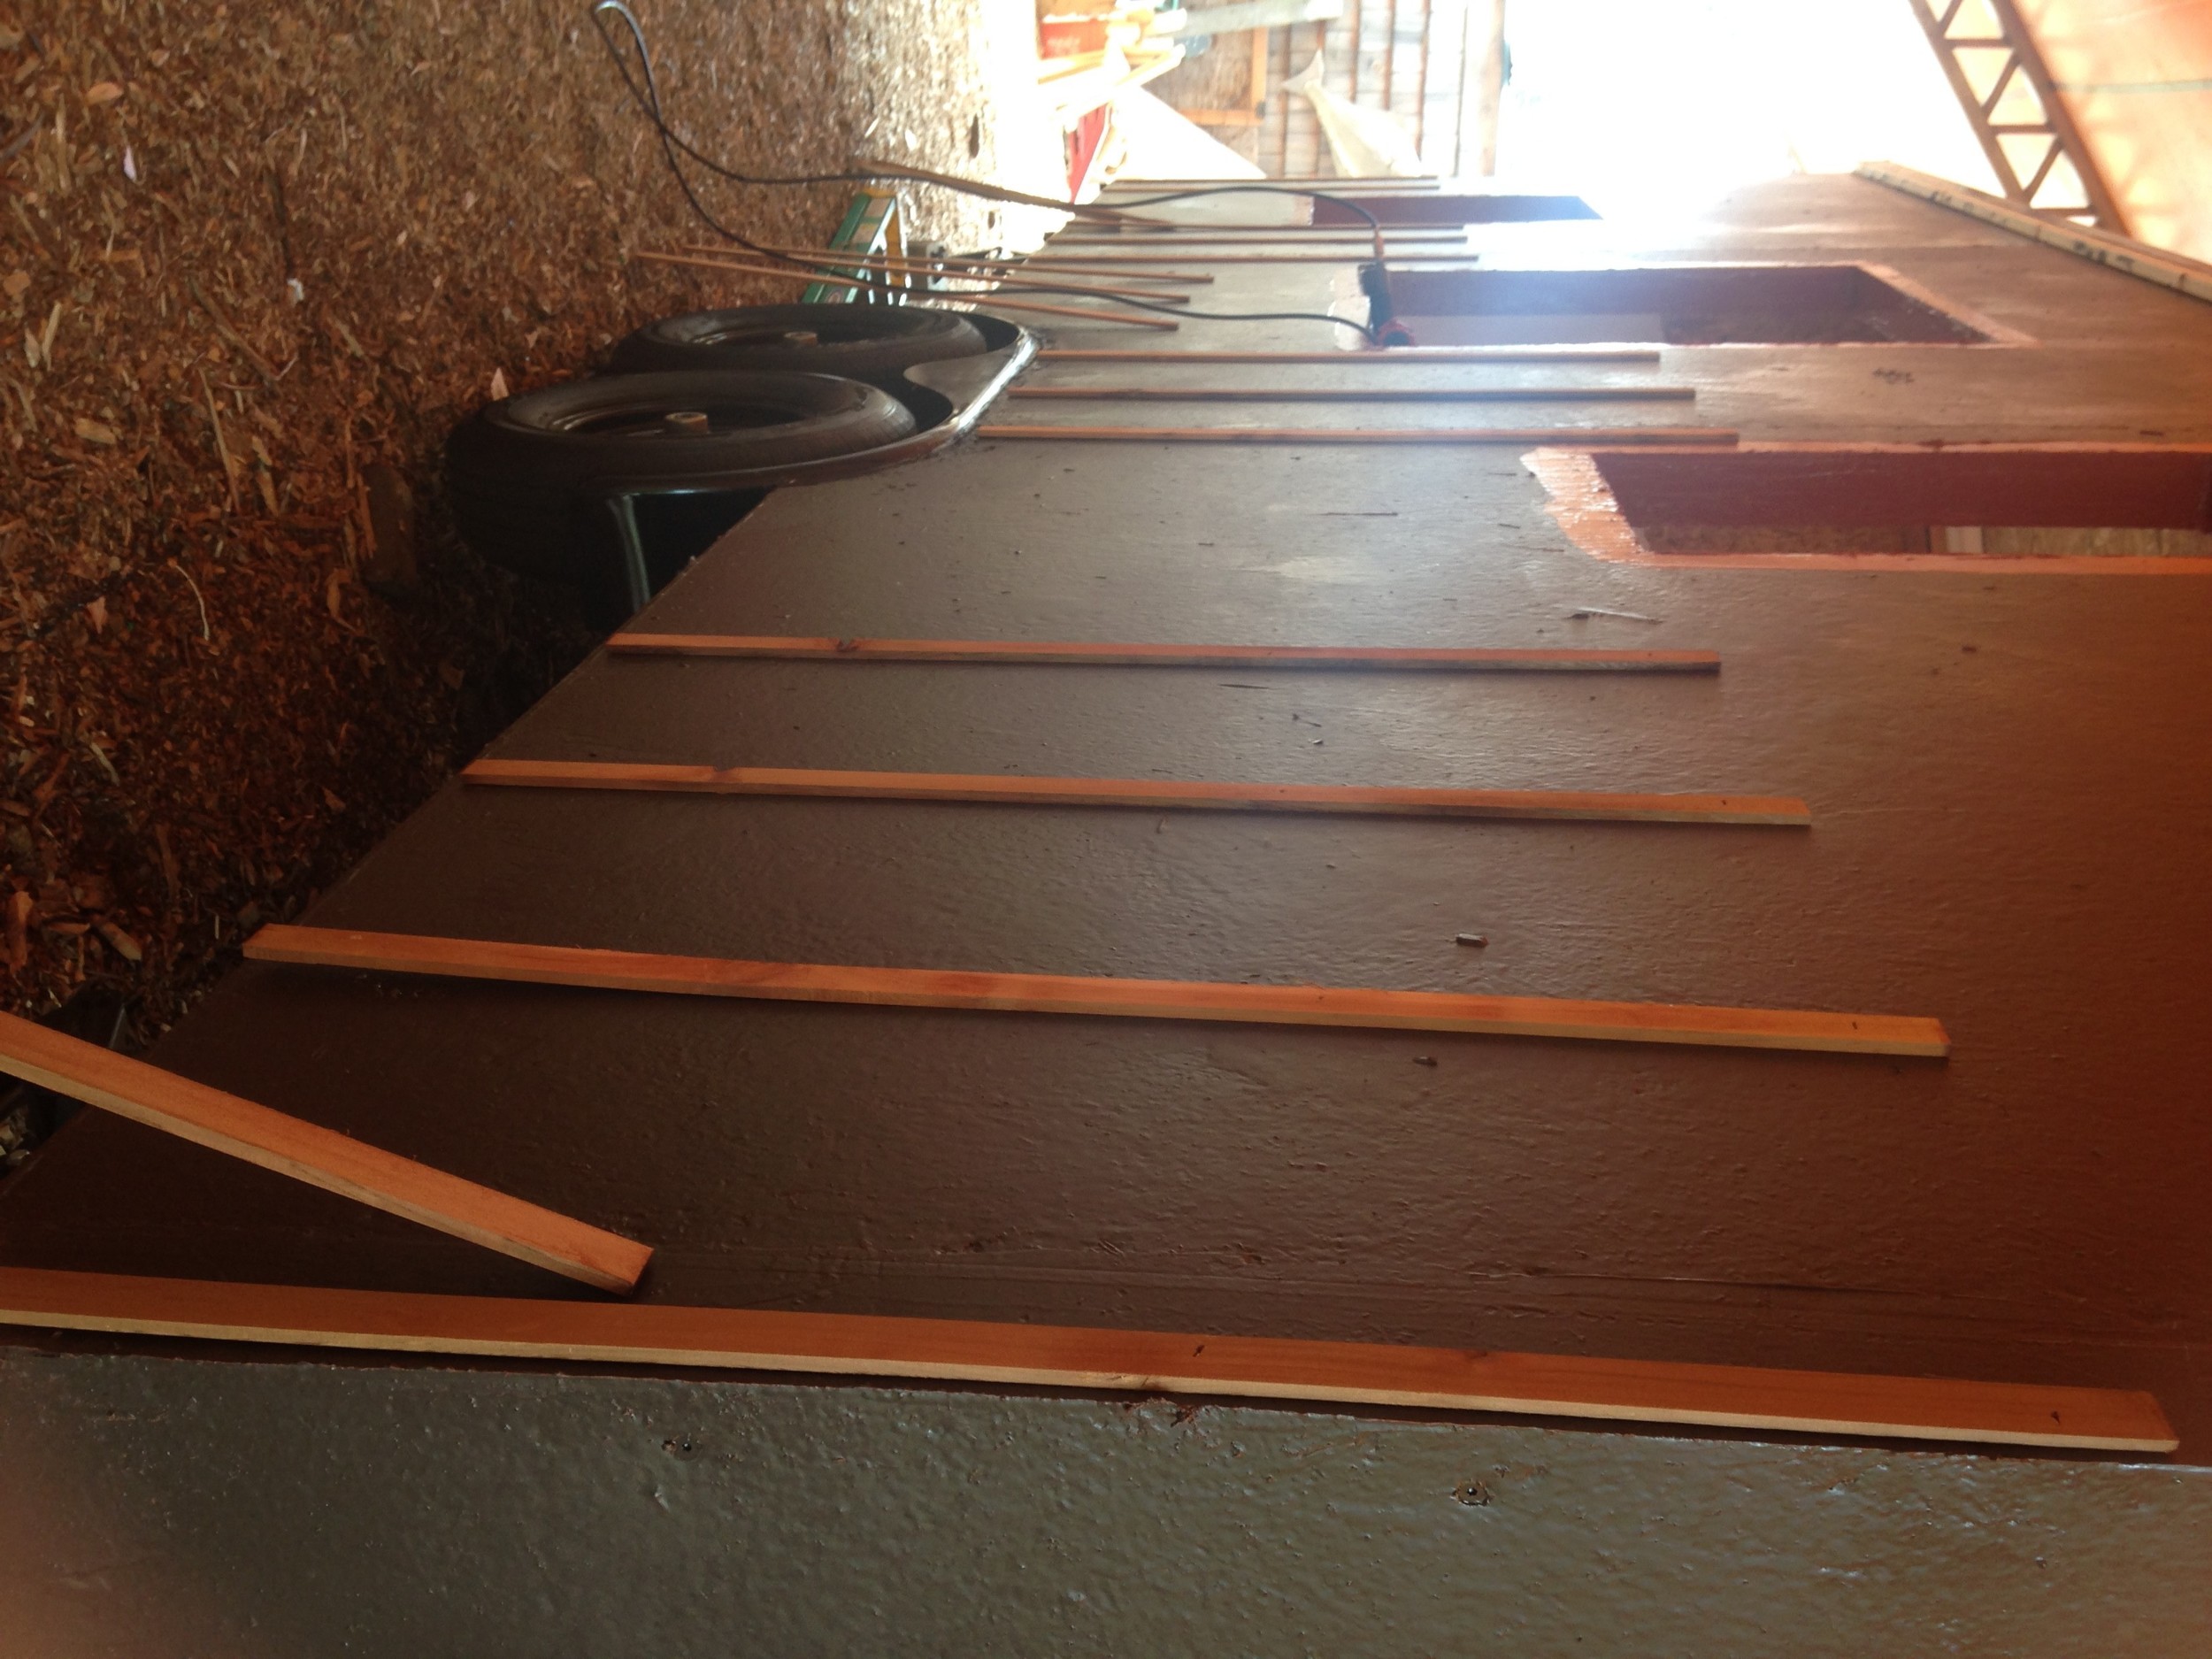
In our case the wall system is structural insulated panels (SIPs) covered in a layer of R-Guard Cat 5, which is a liquid-applied water resistant barrier. We then stapled 3/8" cedar lath over the waterproofing layer, leaving the bottoms loose so we could add bug netting at the bottom. When we're ready to put the siding up we'll attach it to the lath strips and into the sheathing. (Since we're using SIPs we don't have to line up with studs, but if you're doing stick framing you do want to line up with the studs!) Installing the lath gives us a gap between the siding and the water resistant barrier so that any water that might get behind the siding can drain away. This provides a little breathing and airing out space which makes your siding more durable and protects the structure of the house from having waterlogged siding boards sitting right against it.
After the lath was up we picked up some bug netting (the fiberglass kind you'd use to make a screen for a window or screen door) and cut it into long strips. We tucked these under the bottoms of the lath, wrapping up a few inches on both sides, and then stapled the bottoms of the lath into place to hold the netting in place, too. We now have a screen at the bottom of the house behind the bottom trim board so that water can drain out but bugs can't get in!
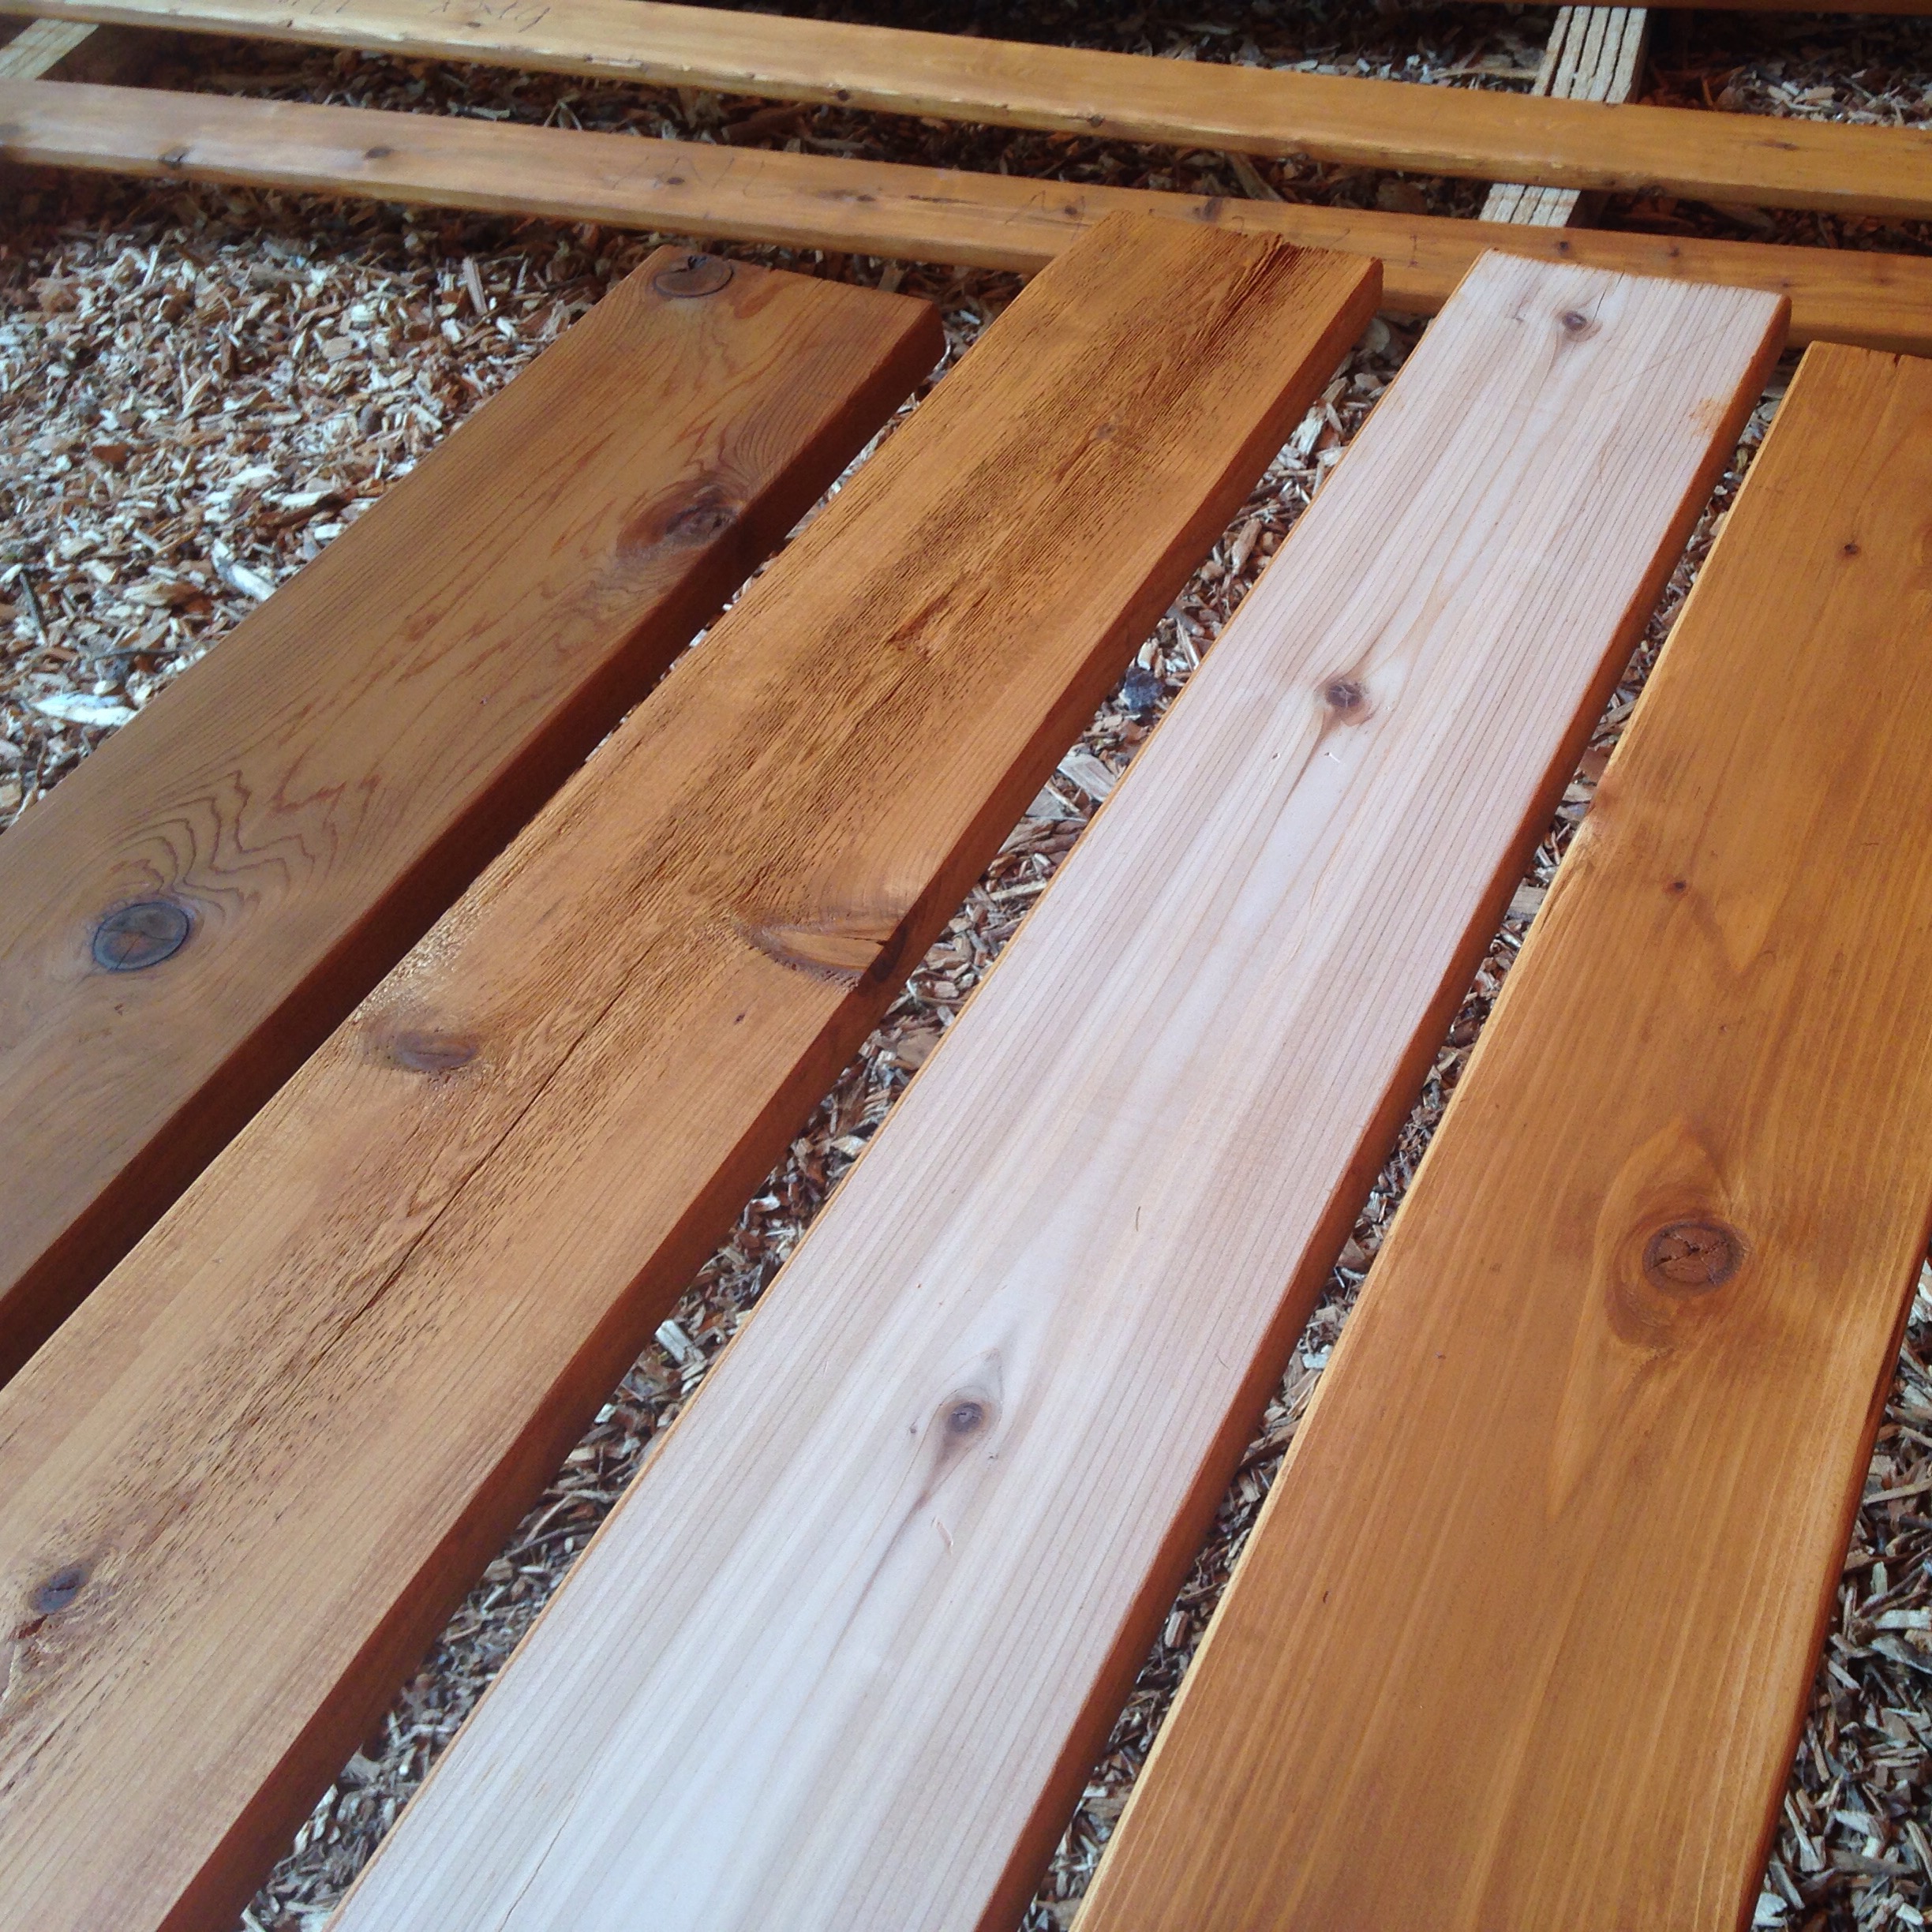
Once the rainscreen was up we could install our bottom trim boards, so we wrapped up the day by installing our first trim boards. Woohoo! It's starting to come together!
The windows didn't arrive today as anticipated and they're now a couple weeks late. Fingers crossed that they come tomorrow!


