


 Earlier this week I was Planing My Curved Rafters. Today I cut the rafter tales and sealed them.
I deliberated again this morning before I committed to my rafter width. My tiny house on wheels is only 8 feet wide (which works nicely for dimensional sheet goods!) So if I’d made the rafters overhang just 3” the house would have been within the road legal limit of 8’6” and I wouldn’t need any sort of permit to haul it. There is something alluring about being able to hitch up and go whenever I want.
However, I don’t figure I’ll move too often. Probably not more than a couple times each year. I don’t have any intention of hauling my house across the country. I’m impressed that Dee Williams will be road-tripping with her vardo in a couple weeks as part of her book tour for The Big Tiny, but I can’t see myself doing that. If I were going to hit the road and be really mobile I’d probably want to do it in an actual vehicle, like a Volkswagon or Sprinter van.

So I decided to give my vardo some decent eaves. Eaves will help protect my little house, they’ll provide some shade, and they’ll give it a more settled look. The maximum width a tiny house on wheels can be without a trip permit is 8’6.” If you get a trip permit (often about $30) you can go up to 10 feet wide. (If your house is bigger than 10 feet wide you need to go with a commercial hauler and have a lead car and a follow car and it gets a lot more complicated – not to say it can’t be done, but it’s more than I wanted to deal with!)
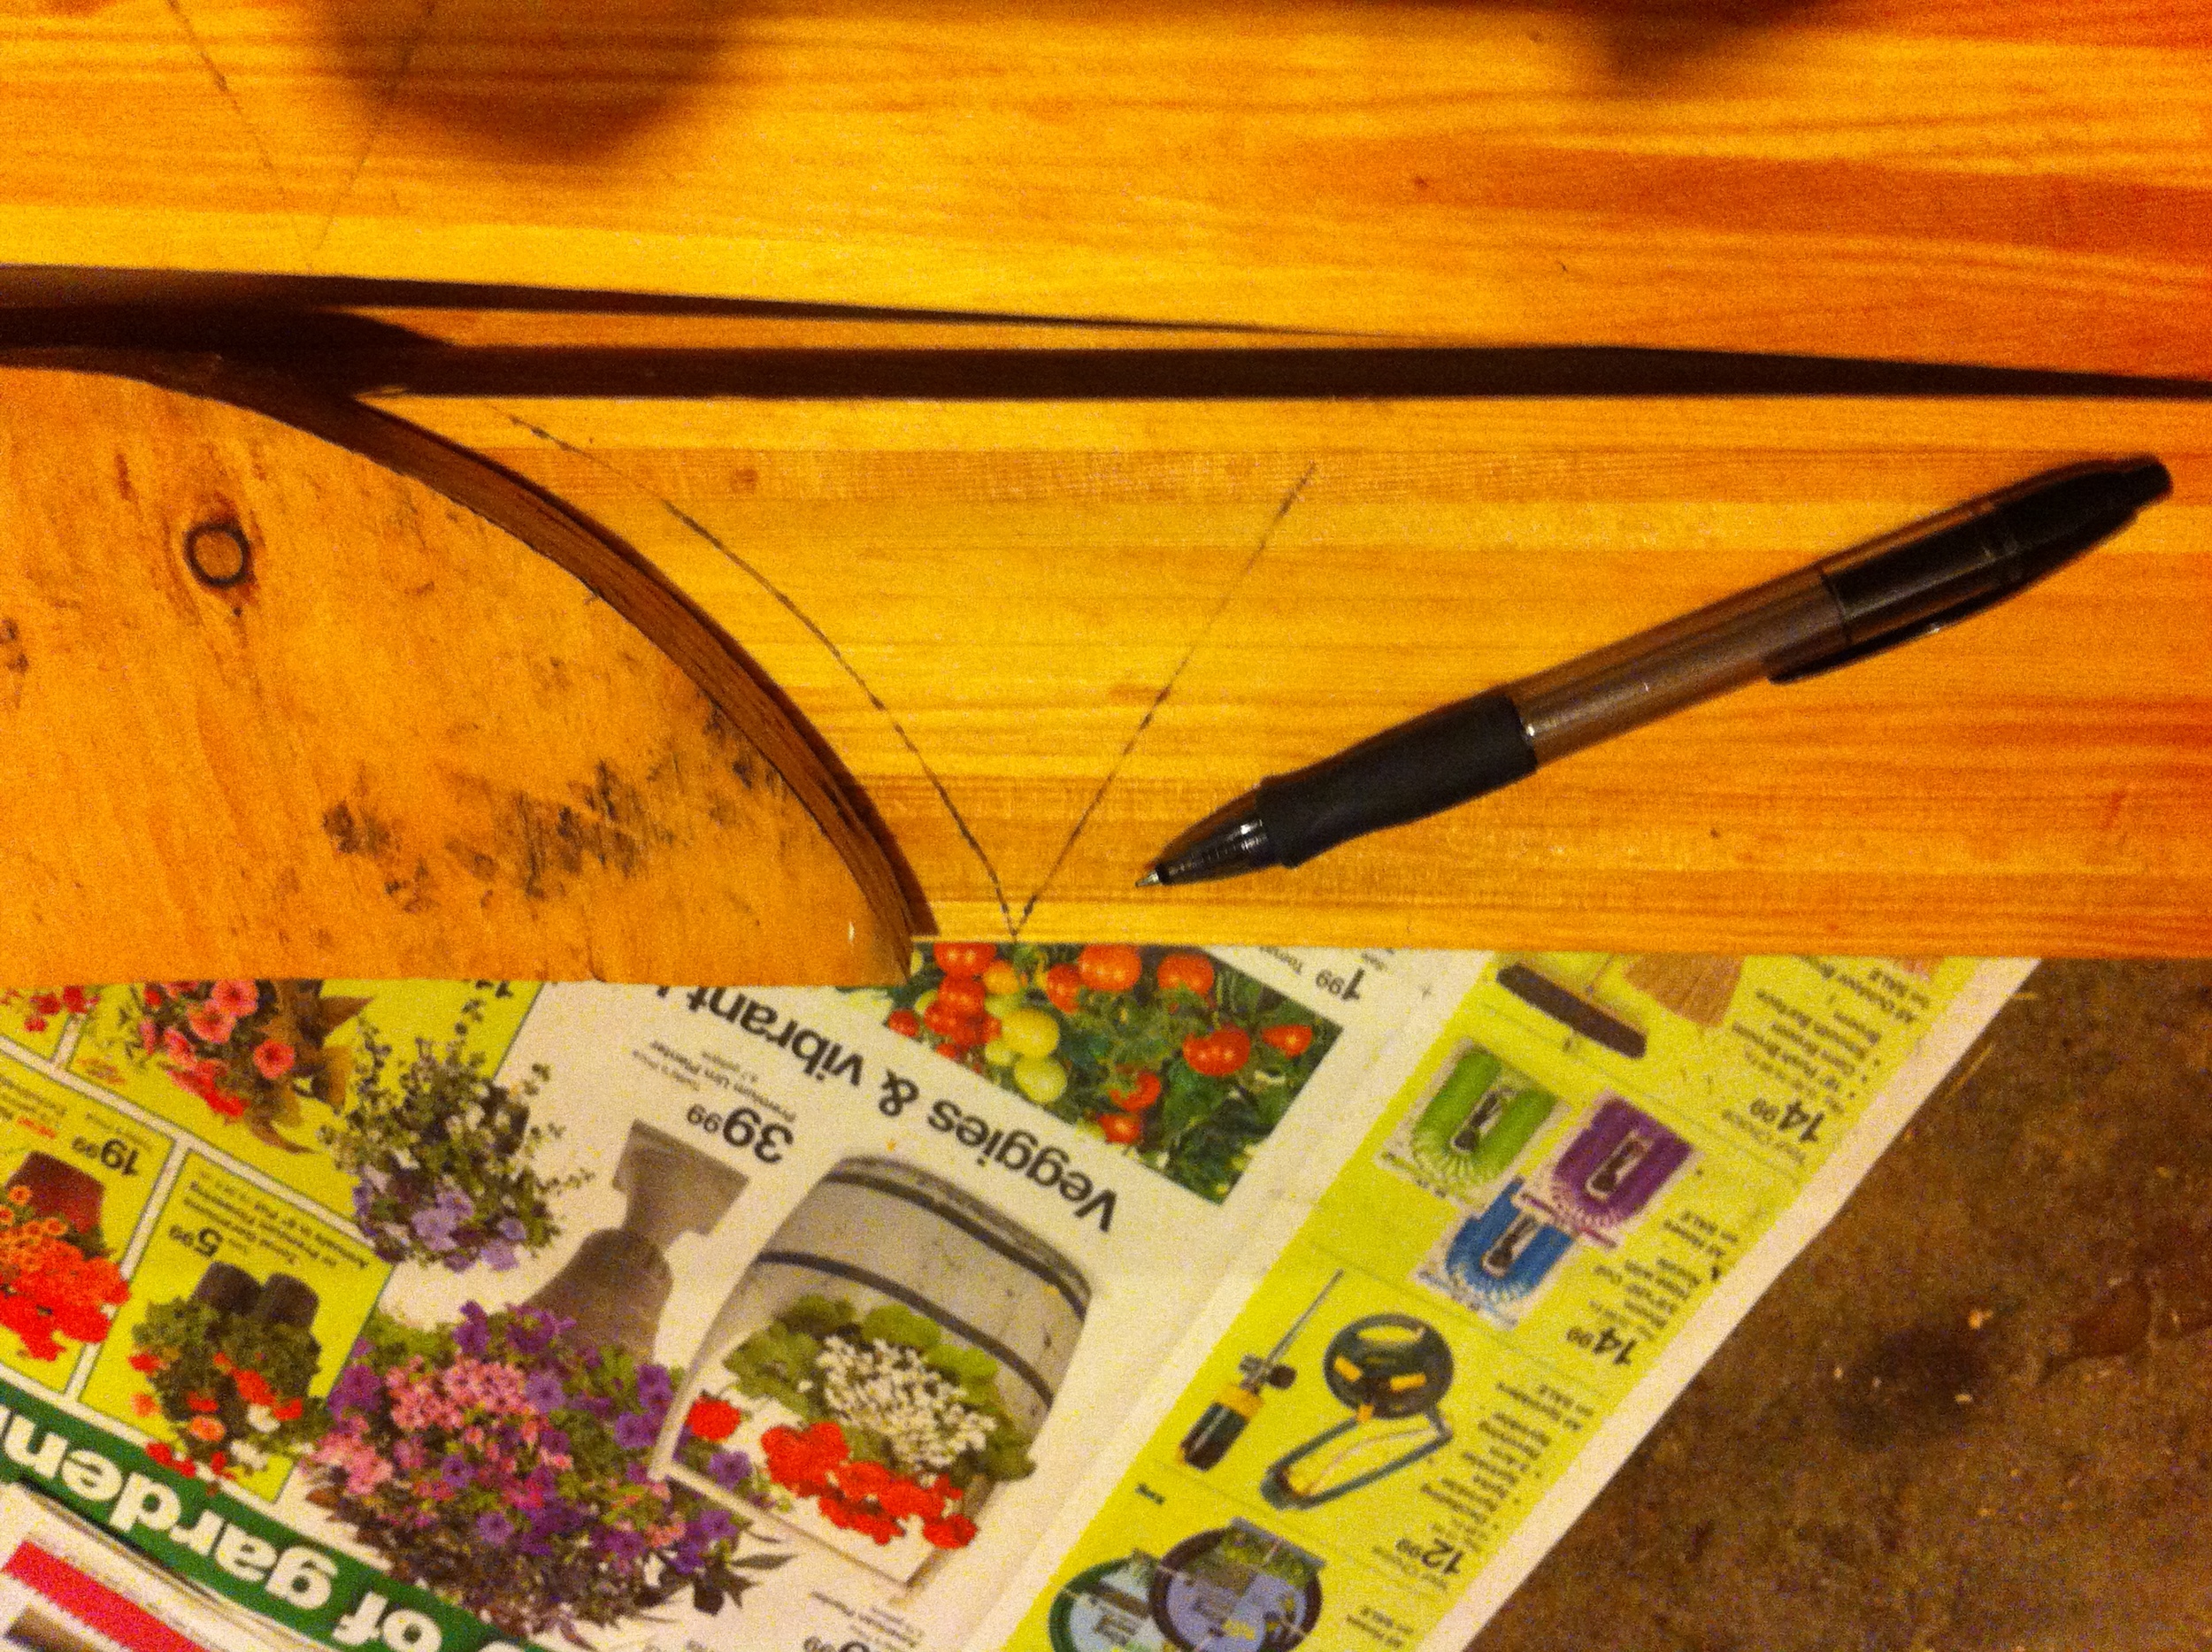
So I decided to make my rafters 9’10.” But it turns out, it’s tricky finding the 9’10” mark when your rafters are curved! So I made another little jig for myself with a board cut to 9’10,” which I could butt up against the bottom curve of my rafter so that I could mark the edges of the board.
I'd been scouting the neighborhood looking for rafter tails I liked and I ultimately decided I just wanted them to be curved (surprise, surprise, right?!) So I used the bottom of my food processor as a stencil and I picked a curve I like. I made yet another little jig so they'd all be the same and then set to work cutting my rafter tails. Jigsaws are my favorite power tool, but I hadn’t used one is so darn long I’d forgotten how helpful it is to have a little momentum going into a curve. Just don’t look too closely for the wonky rafter! I didn’t feel like building a new one!

Once I’d made my cuts I sealed the rafters up with an oil-based clear coat. (I haven’t cut the birdsmouths yet, by the way, because I want to see exactly where they’ll land when I have the walls up.) I picked a stain recommended by someone in the paint store as one of the greenest options. But I wish I’d done a little more research because it stinks like crazy! I may need to let my rafters sit out a while so that this smell doesn’t get captured inside my house. Fortunately I still have a little time before the rafters will go up so hopefully they'll air out completely!