tiny house build workshop

O'Keefe Build Blitz: Days 5 & 6

O'Keefe Build Blitz: Days 5 & 6

Friday was Day 5 of the Build Blitz for Erin Maile & Kevin O'Keefe's tiny house on wheels... By lunchtime the roof panels were up and we spent Friday afternoon working on a number of touch up tasks... Since the house wasn't quite yet ready for her maiden voyage, we decided we'd better do some more work on Saturday to get her prepped. 

O'Keefe Build Blitz: Days 3 & 4

O'Keefe Build Blitz: Days 3 & 4

The Green Mountain Panel crew came out en masse to help us get the first wall panel up. We tipped up one of our slanted end walls and then its adjoining panel on the corner. Once we had a corner in place we were able to work our way around the building in both directions. With a crew that big it went pretty quickly. 

O'Keefe Build Blitz: Day 2

O'Keefe Build Blitz: Day 2

Yesterday we kicked off our second build morning by finalizing the detailing of our trailer and floor system so that the two were ready to be joined. Maile sealed the edge between the pressure treated undercarriage and the trailer with a sealant and Kevin and Peter installed lifting plates and put rigid foam around the perimeter of the floor system. Then we were ready for the real excitement to begin... Harold then brought the boom truck around and picked up the floor panel with an aluminum bar and three neverending loops. He hoisted the panel over to the trailer and set it into place.

O'Keefe Build Blitz: Day 1

O'Keefe Build Blitz: Day 1

Yesterday was Day 1 of the tiny house build and despite a few setback (there are always setbacks!) we made good progress. We started out the day by leveling the trailer (so fun to do that with John's awesome laser level!) and checking the trailer for square. (Wright Trailers did a great job on this trailer!) We did some tool orientation and safety so we could ensure that we're all on the same page and ready to roll. Then we measured and cut our pressure treated plywood as the undercarriage...

T42 Undercarriage & Floor Insulation

Great progress before lunchtime! Our tiny house build has begun! On Sunday Isha and I moved our tools down to our build site at Green Anchors. It was May Day and seemed an auspicious day to start a project like this! Yesterday we kicked off our first Build Blitz and with the assistance of two great Tiny House Helpers, we made great progress on our floor system.

We started out Build Day #1 yesterday with intros, safety, and a site orientation. Then we started cutting our 1/2" pressure treated plywood to fit inside the trailer frame, spanning the cross ribs, which are dropped to the bottom so that we have the full 6" cavity to work with. We used one full sheet of ply and ripped four of them to about 47" and one to 42" wide to get them to land properly on the trailer ribs. Once they'd been dry fitted we put a bead of sealant down underneath them and sealed the plywood in place with a bead of sealant from the top, too. (If I'm feeling super ambitious I may also crawl around under the trailer and seal up the seams from the bottom, too. Then again, I may decide this is good enough...)

Andy cutting foam board insulation

Next we crosscut our 2 1/2" polyisocyanurate insulation to length so that it would fit into the trailer frame. We ripped the first sheet in half so that the insulation seams would be staggered from the sealed seams of the PT ply. Then we crosscut our 3" polyiso insulation to length, inserting them with the seams staggered from the first layer. We ripped our last piece to fit in, just so. Our 79 1/2" measurement fit really nicely without us having to shoehorn the insulation into place. I've often spray foamed the gaps, too, but we didn't have gaps big enough to spray foam so we skipped the foam! Since we're well air sealed, we should be in pretty good shape here.

We wrapped up the day by gluing our pink seam seal to the trailer frame so that the wooden bottom plates and the OSB subfloor won't be in direct contact with the metal of the trailer. Then we tarpped the trailer and packed the tools in for the day. A good day's work!

Mocking up bottom plates, subfloor, and installing seam seal

You might have noticed that our tiny house floor system doesn't have a wooden joist system inside the trailer frame. That wooden floor system is important if you're using fiberglass insulation and need supports for your subfloor. However, I've never figured out why it would be necessary if you're using rigid foam insulation since foam board insulation has decent compressive strength. So we've basically made a SIP inside the trailer frame because we used a 1/2" PT ply undercarriage as the bottom skin, 5 1/2" polyiso foam as the insulation, and then 3/4" T&G OSB subfloor as the top skin. We didn't glue the pieces to each other, so they're not structural the way they would be if they were a true SIP. However, we have gravity working with us here, so it would take a pretty major event to separate them again!

Day 1 Done!

This floor system is how I built the floor system for The Lucky Penny, too. You can read about that in Floor Box Lessons Learned and My Floor Box Continued. Back in 2014, I'd never heard of anyone else doing it this way, but I figured building a SIP inside the trailer frame would save weight, time, materials, and cost over doing a wooden floor system. Additionally, it would reduce thermal bridging and provide more insulation which means better energy efficiency. The only drawback is that since my homemade SIP isn't structural, without those supports every 16" to 24" on center, there is a little more give in the floor. I suppose we could have gone up to a thicker (and therefore more rigid) subfloor, but it would have been heavier, more expensive, and would have taken away just a little more headroom. Fortunately, I found that once I installed my flooring in The Lucky Penny, the give isn't very noticeable anymore. This floor system worked the first time, so we're doing it again.


T42 Build Blitz Kick Off

We're so excited to pick up our Tiny House trailer and get to work on the floor system! I can't believe it's just a week until we begin building another tiny house! Eeeep!

The past couple weeks, I've been working on The Lucky Penny Punch List so that I'm ready to focus my attention on my new tiny house. (See April Showers Bring May Flowers and Finishing an Owner-Built House!)

Later this week my partner Isha and I will pick up the trailer for, T42, the tiny house we're building for ourselves. On May Day, we'll begin setting up our build site at Green Anchors.

On Monday, May 2 we'll be kicking off a series of Build Blitzes for T42 and you're invited to join us! As is typical for a building project, we know that our T42 Build Timeline is subject to change, depending on weather, material sourcing, and progress made, but so far we're on track for the following timeline:

  • Monday, May 2 – Thursday, May 5: Tiny House Foundation & Build Prep
  • Monday, May 16 – Friday, May 20: SIPs Wall & Roof Raising
  • Monday, May 30 – Friday, June 3: Rainscreen, Exterior Trim, Siding
  • Monday, June 13 – Friday, June 17: Lofts, Interior Walls & Painting
  • Sunday, June 26 – Thursday, June 30: Cabinets, Built-Ins & Stairs

If you want some hands-on build experience, please join us for a week-long Build Blitz or for the day as a Tiny House Helper!

During this first Build Blitz we'll be working on the floor system for our tiny house, which will involve:

  • installing our undercarriage to protect the house from the ground - whether we're parked on on the road
  • insulating the floor system
  • installing our subfloor
  • making a cut list for our lumber package
  • measuring thrice and cutting once for our window framing, sill plates, and top plates
  • laying out and bolting down our sill plates so that the walls can be raised during our next Build Blitz
  • ensuring that our site and materials are ready for our Wall Raising Build Blitz

We hope some of you will be able to join us for the build if you're so inclined. And either way, please know that your encouragement and moral support are greatly appreciated!

Cilantro Poncho Build Blitz: Day 5

Day-5-Team-Photo.jpg

Cilantro Poncho Day 5 Team Photo If you’d like to come see what we accomplished during the Cilantro Poncho Build Blitz, please come visit us for Cilantro Poncho's First Open House at 5:30 pm on Friday, March 11 at 4674 N Kain Ave, Tucson, AZ 85705.*

Yesterday was Day 5 of a week-long build blitz for the Meyerhofer’s tiny house, Cilantro Poncho. Day 1 was a prep day, Day 2 and Day 3 we worked on wall raising, and Day 4 we got our final wall panel up and prepped for the roof. Yesterday we finished up roof prep, applied liquid flashing for the windows, and got the first two roof panels up.

Richard blowing out the candles on his bday cake!

We also had a special lunch and dessert for Richard, who was celebrating his birthday. It’s so cool that he chose to spend his birthday week helping Courtney and Kurt to get their little house started! His help has been invaluable this week and we’re so grateful for him! Richard’s birthday presents from me were enrollment in my upcoming Tiny House Considerations Course and a design consultation, so I’m glad that I’ll get to help him move his tiny house dream forward, too.


The day’s tasks included:

  • Beveling perimeter framing for roof panels
  • Leveling the trailer
  • Applying liquid flashing around the exterior of the windows
  • Cutting and attaching “outriggers” to the end roof panels
  • Hoisting the first panel into place
  • Squaring up the panel
  • Attaching the first roof panel to the top plate with SIP screws
  • Installing the first spline into the second panel
  • Installing the second panel

It was hot yesterday so we were mindful of staying hydrated and sunscreened. We also took breaks in the shade whenever we needed them, but we still made good progress. After all the head scratching related to the trailer camber on Day 3, it was exciting to see how nicely the house settled onto the trailer and leveled out once we removed the shims and lowered the stabilizing jacks. Having the top plates attached at the top of the walls really helped and we expect the additional weight of the roof panels will make the house level out completely.

Mark, Richard, and Kurt worked on ripping, beveling, and mitering the remaining framing for the perimeter of the roof panels while Courtney prepped the roof panels for the framing by removing a little excess foam with the 6” foam cutter. Meanwhile, Andrea worked on liquid flashing on the windows. All those years of cake decorating have made her our go-to liquid flasher! She’s good! Courtney and I joined Andrea for window flashing a while later and I enjoyed visiting with Courtney while we passed the sausage gun back and forth. With so many power tools going all week long, it was nice to have a little quiet time to visit!

Getting those first two roof panels up was really exciting and we were tempted to do more, but it had been a long, hot day and Andrea and Mark had a special invitation to have supper with some friends of theirs, so we decided to end on a high note. And by a high note, I mean that Kurt and Courtney climbed up onto their roof to admire the view of the Santa Catalina Mountains!

Tomorrow we’re eager to get the last of the roof panels on, do some touch ups on the water resistant barrier, and install a window so Courtney and Kurt know how that’s done.

If you’d like to come see what we accomplished during the Cilantro Poncho Build Blitz, please come visit us for Cilantro Poncho's First Open House at 5:30 pm on Friday, March 11 at 4674 N Kain Ave, Tucson, AZ 85705.*

*If you’re reading this after Cilantro Poncho's First Open House and you’d like to visit, please be sure to contact Courtney and Kurt to arrange a day and time. They can’t accept unannounced visitors because they’ve got work to do finishing their little house and they need to make sure everyone who visits can do so during a time that’s safe. Thanks!

Cilantro Poncho Build Blitz: Day 4

Day-4-Team-Photo.jpg

Cilantro Poncho Build Blitz Day 4 Team Photo

If you’d like to come see what we accomplished during the Cilantro Poncho Build Blitz, please come visit us for Cilantro Poncho's First Open House at 5:30 pm on Friday, March 11 at 4674 N Kain Ave, Tucson, AZ 85705.*

Yesterday was Day 4 of a week-long build blitz for the Meyerhofer’s tiny house, Cilantro Poncho. Day 1 was a prep day, Day 2 we began the wall raising, and Day 3 we got all but the last panel up, so we were eager to get that last wall up yesterday.

We worked in pairs to accomplish the day’s tasks, including:

  • Bolting down the last sill plate
  • Erecting another set of scaffolding
  • Beveling & installing top plates
  • Creating a plan for beveling roof perimeter framing and testing a piece with an 8” board
  • Installing framing in door & remaining windows
  • Applying liquid flashing to rough openings (ROs)

Once we got our final sill plate bolted down that final panel slipped right into its spot so nicely it felt like it was magnetized! It was awesome to have the house finally be a box!

We were on a roll when quitting time came along so we continued working for another hour in the cooler evening air. We have two more rough openings to flash with the liquid flashing and some beveling to do for the roof perimeter framing, so that we can get our first roof panel up. I found myself dreaming about that first roof panel going up last night. It will be fun to make that dream come true!

*If you’re reading this after Cilantro Poncho's First Open House and you’d like to visit, please be sure to contact Courtney and Kurt to arrange a day and time. They can’t accept unannounced visitors because they’ve got work to do finishing their little house and they need to make sure everyone who visits can do so during a time that’s safe. Thanks!

Cilantro Poncho Build Blitz: Day 3

Day-3-Team-Photo.jpg

Cilantro Poncho Build Blitz Day 3 Team Photo

If you’d like to come see what we accomplished during the Cilantro Poncho Build Blitz, please come visit us for Cilantro Poncho's First Open House at 5:30 pm on Friday, March 11 at 4674 N Kain Ave, Tucson, AZ 85705.*

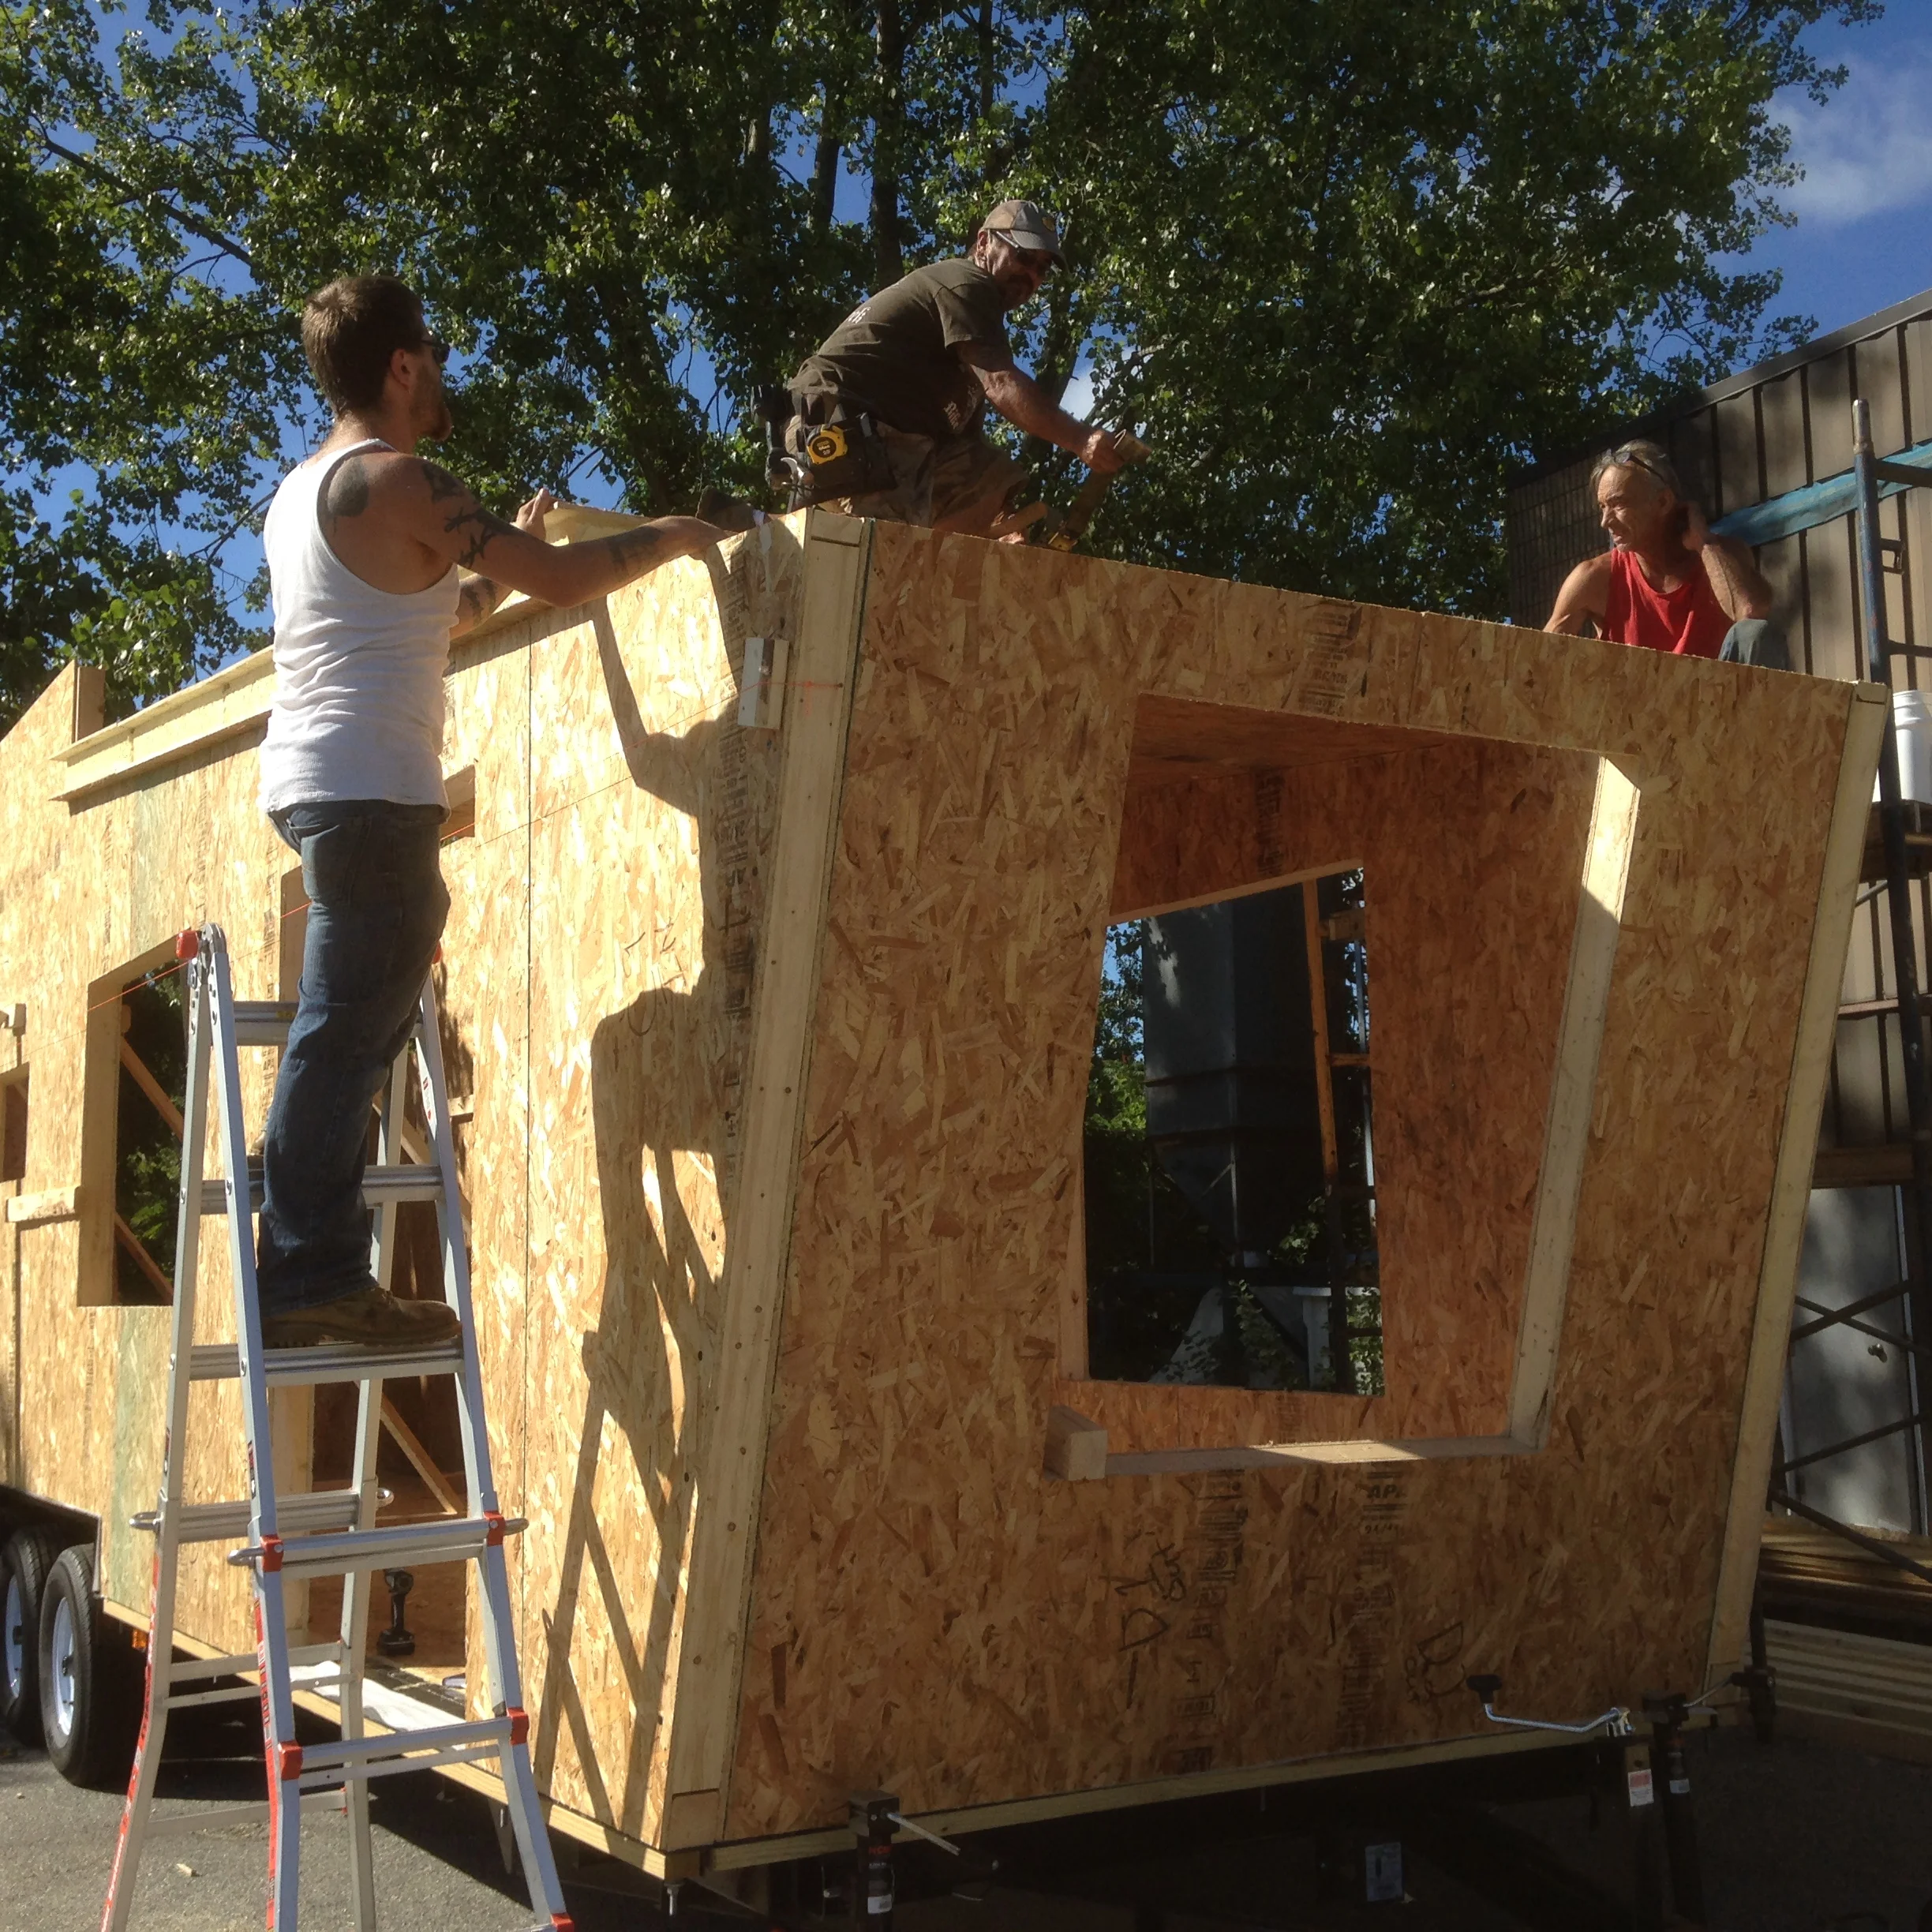
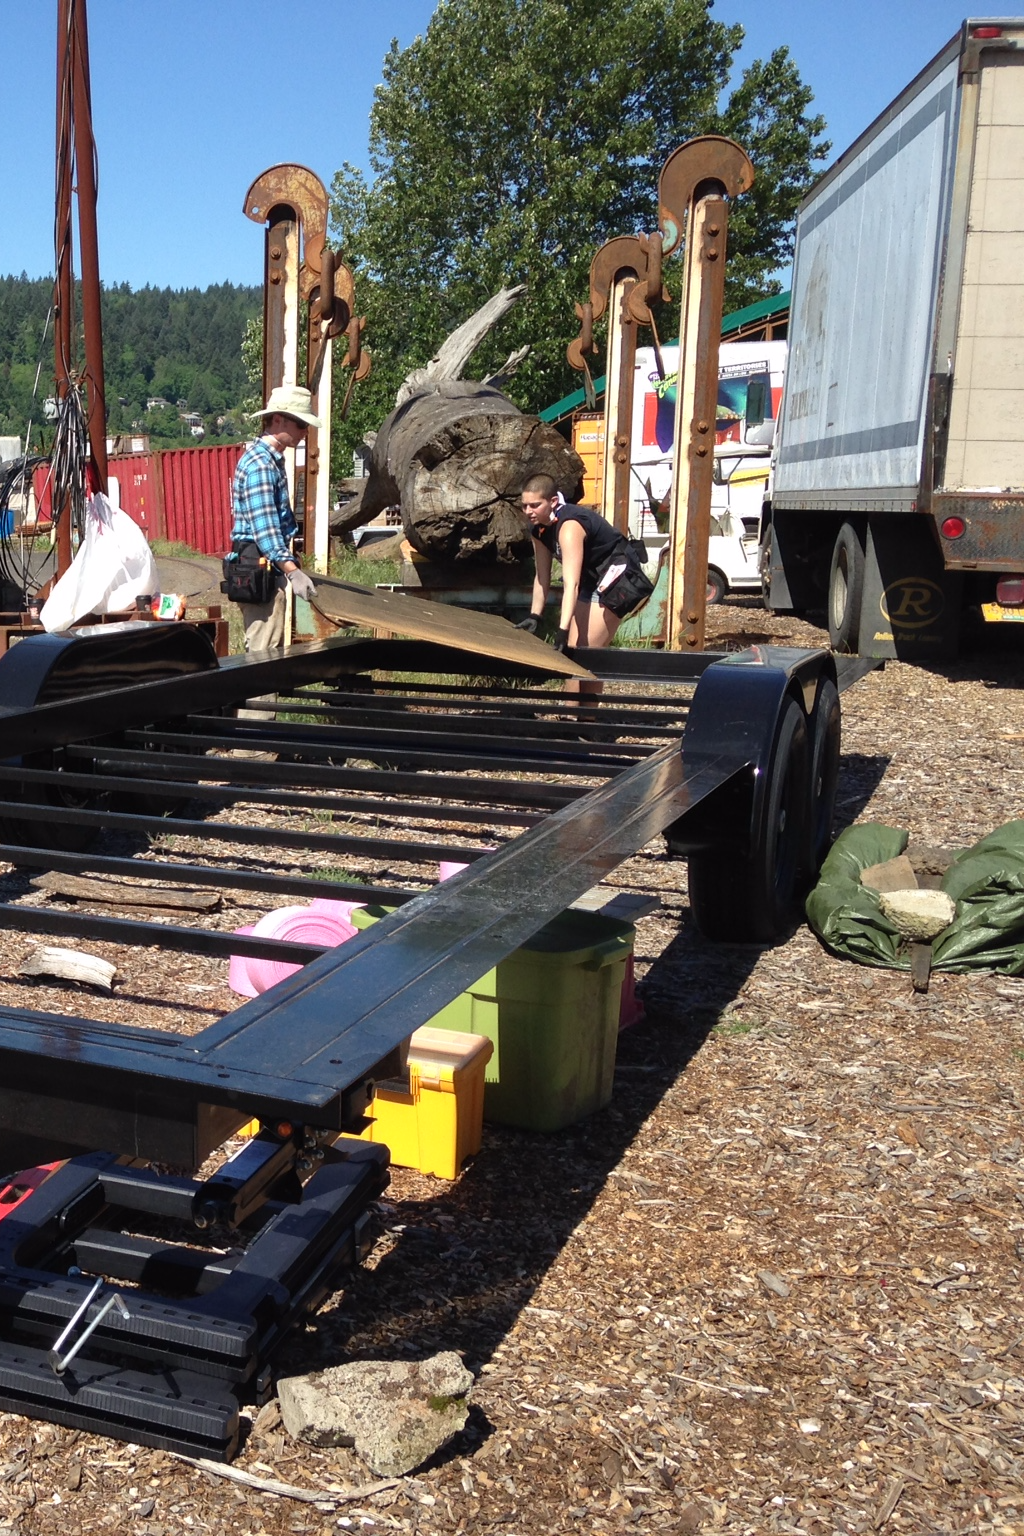
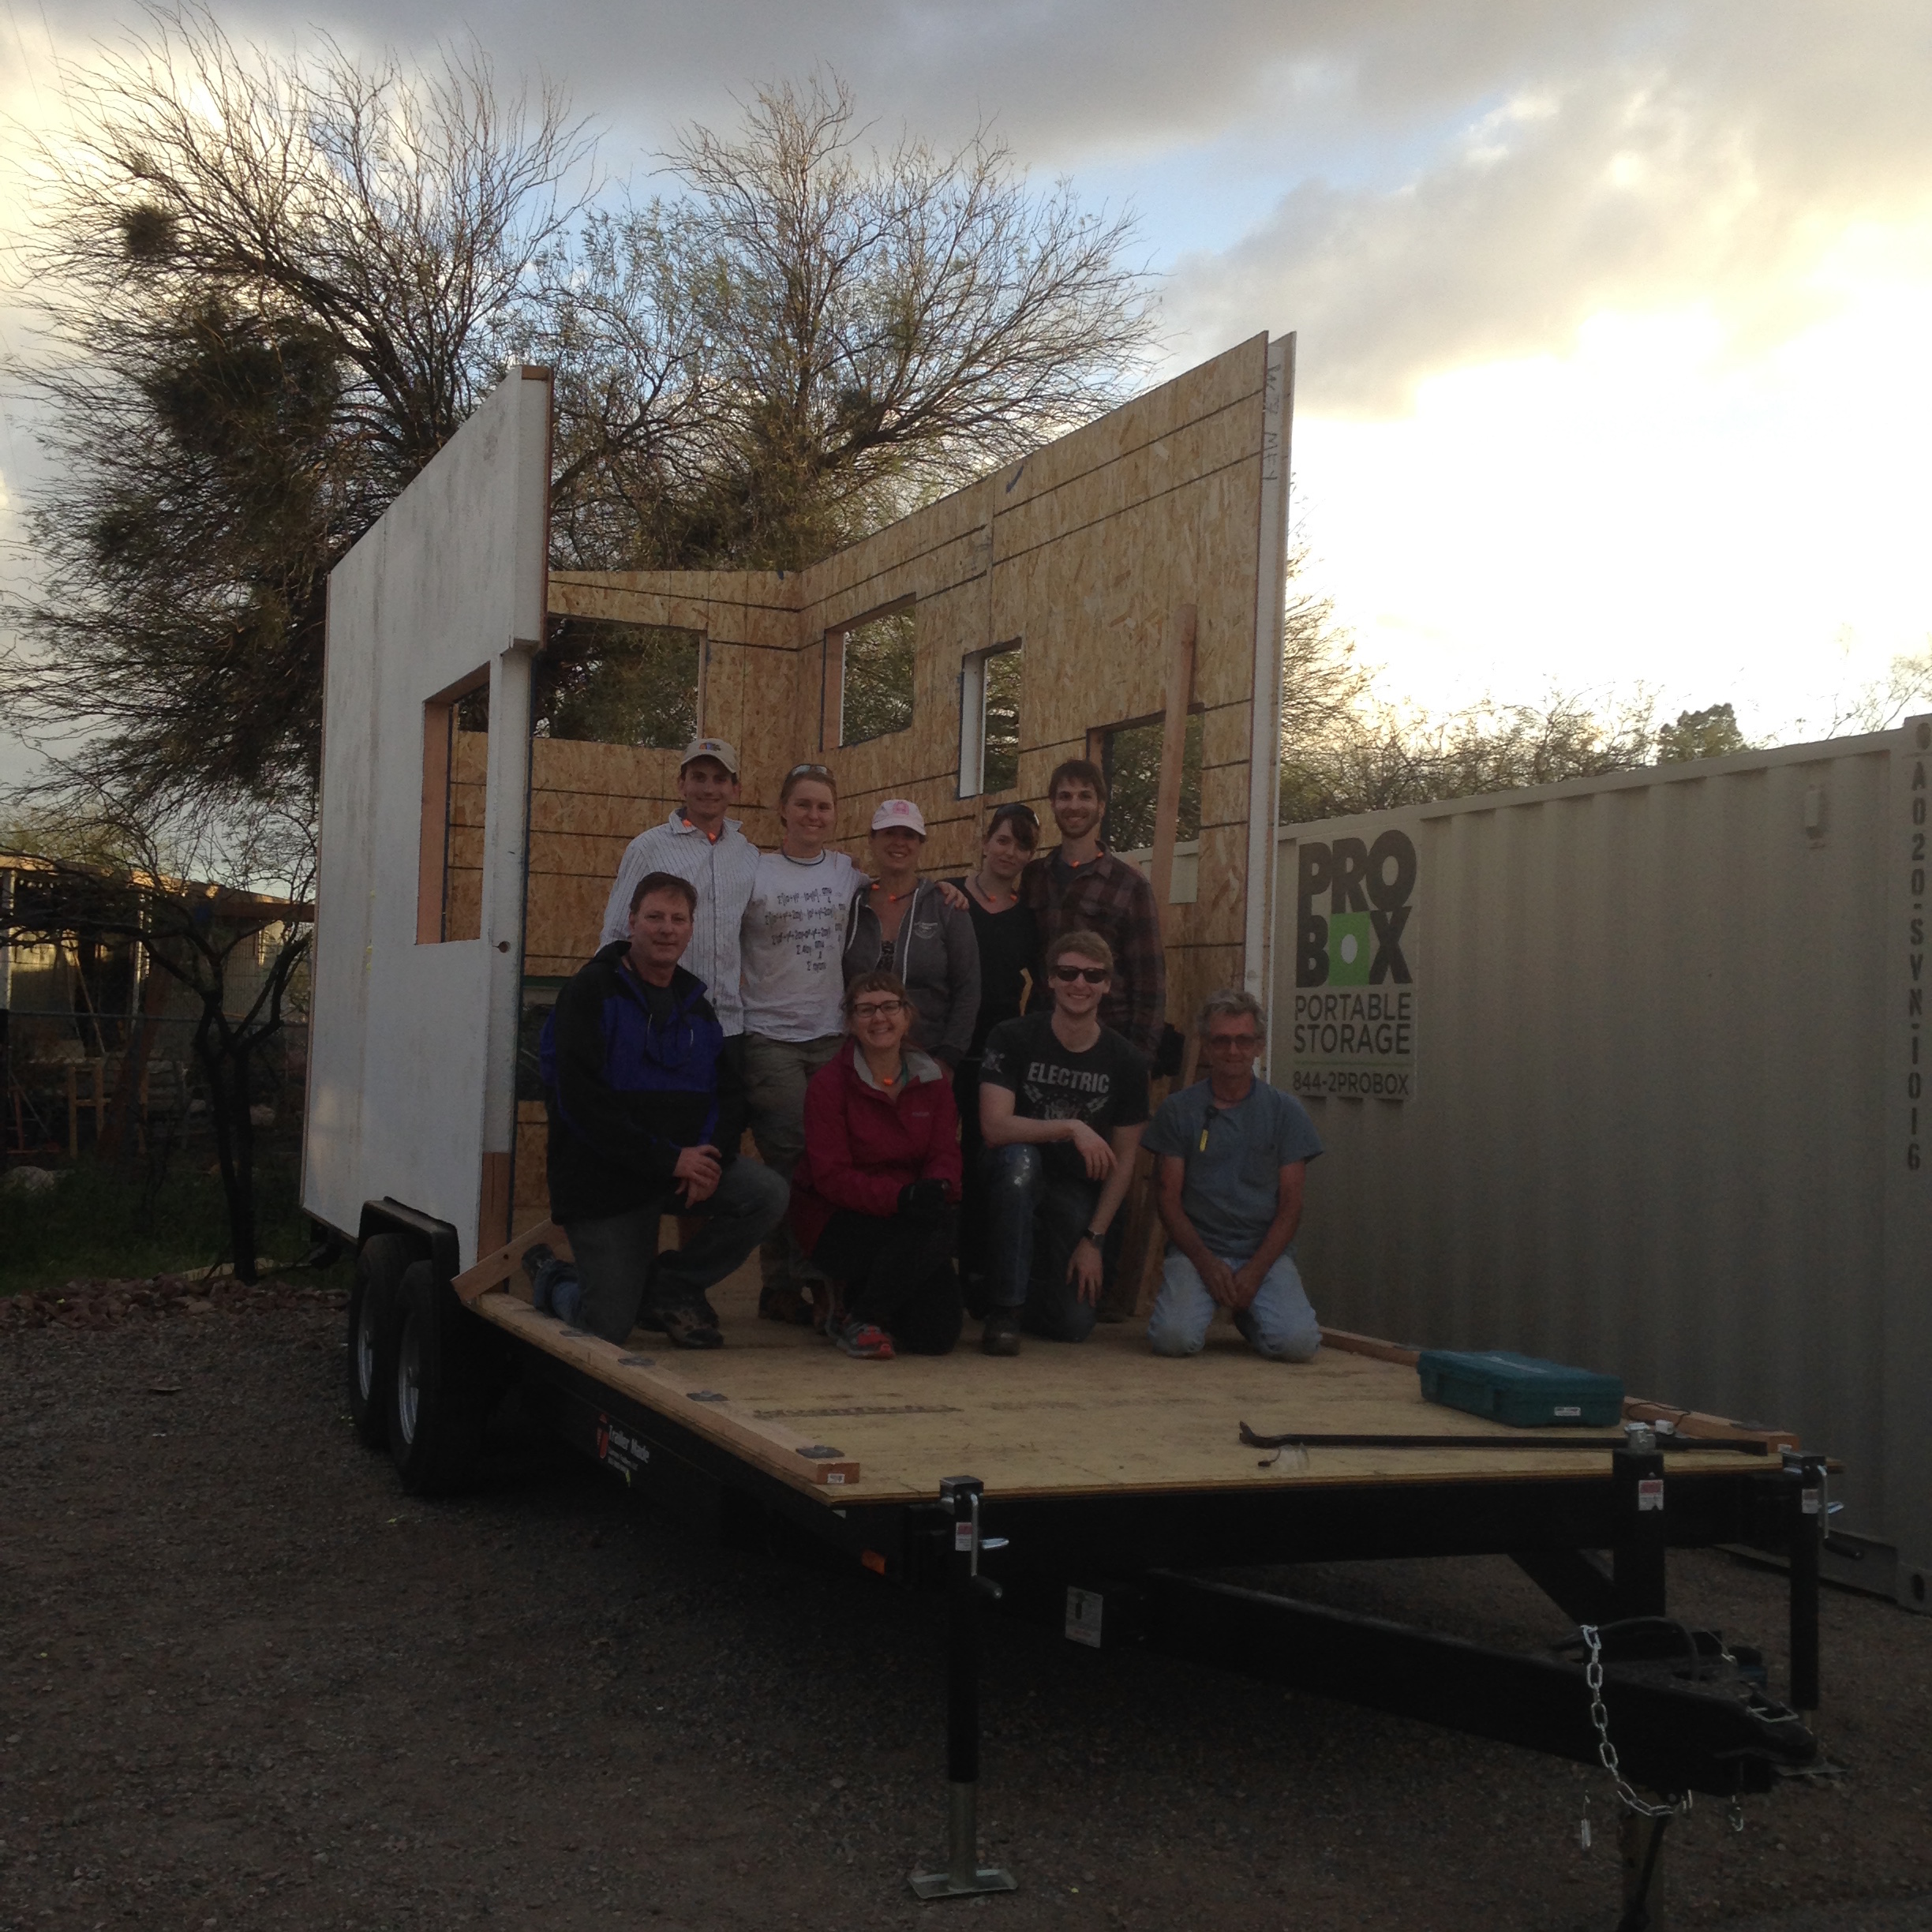
Yesterday was Day 3 of a week-long build blitz for the Meyerhofer’s tiny house, Cilantro Poncho. We got rained on most of the night so we did a 1-hour delayed start to give things time to dry out enough that the mastic would set up. Courtney arrived with a well-organized task list for the day which we checked in on first thing. The day before we raised most of the walls during Cilantro Poncho Build Blitz: Day 2. Additionally, two of the remaining sections were small, so we figured it would be easy-peasy getting the rest of the walls up in the morning.

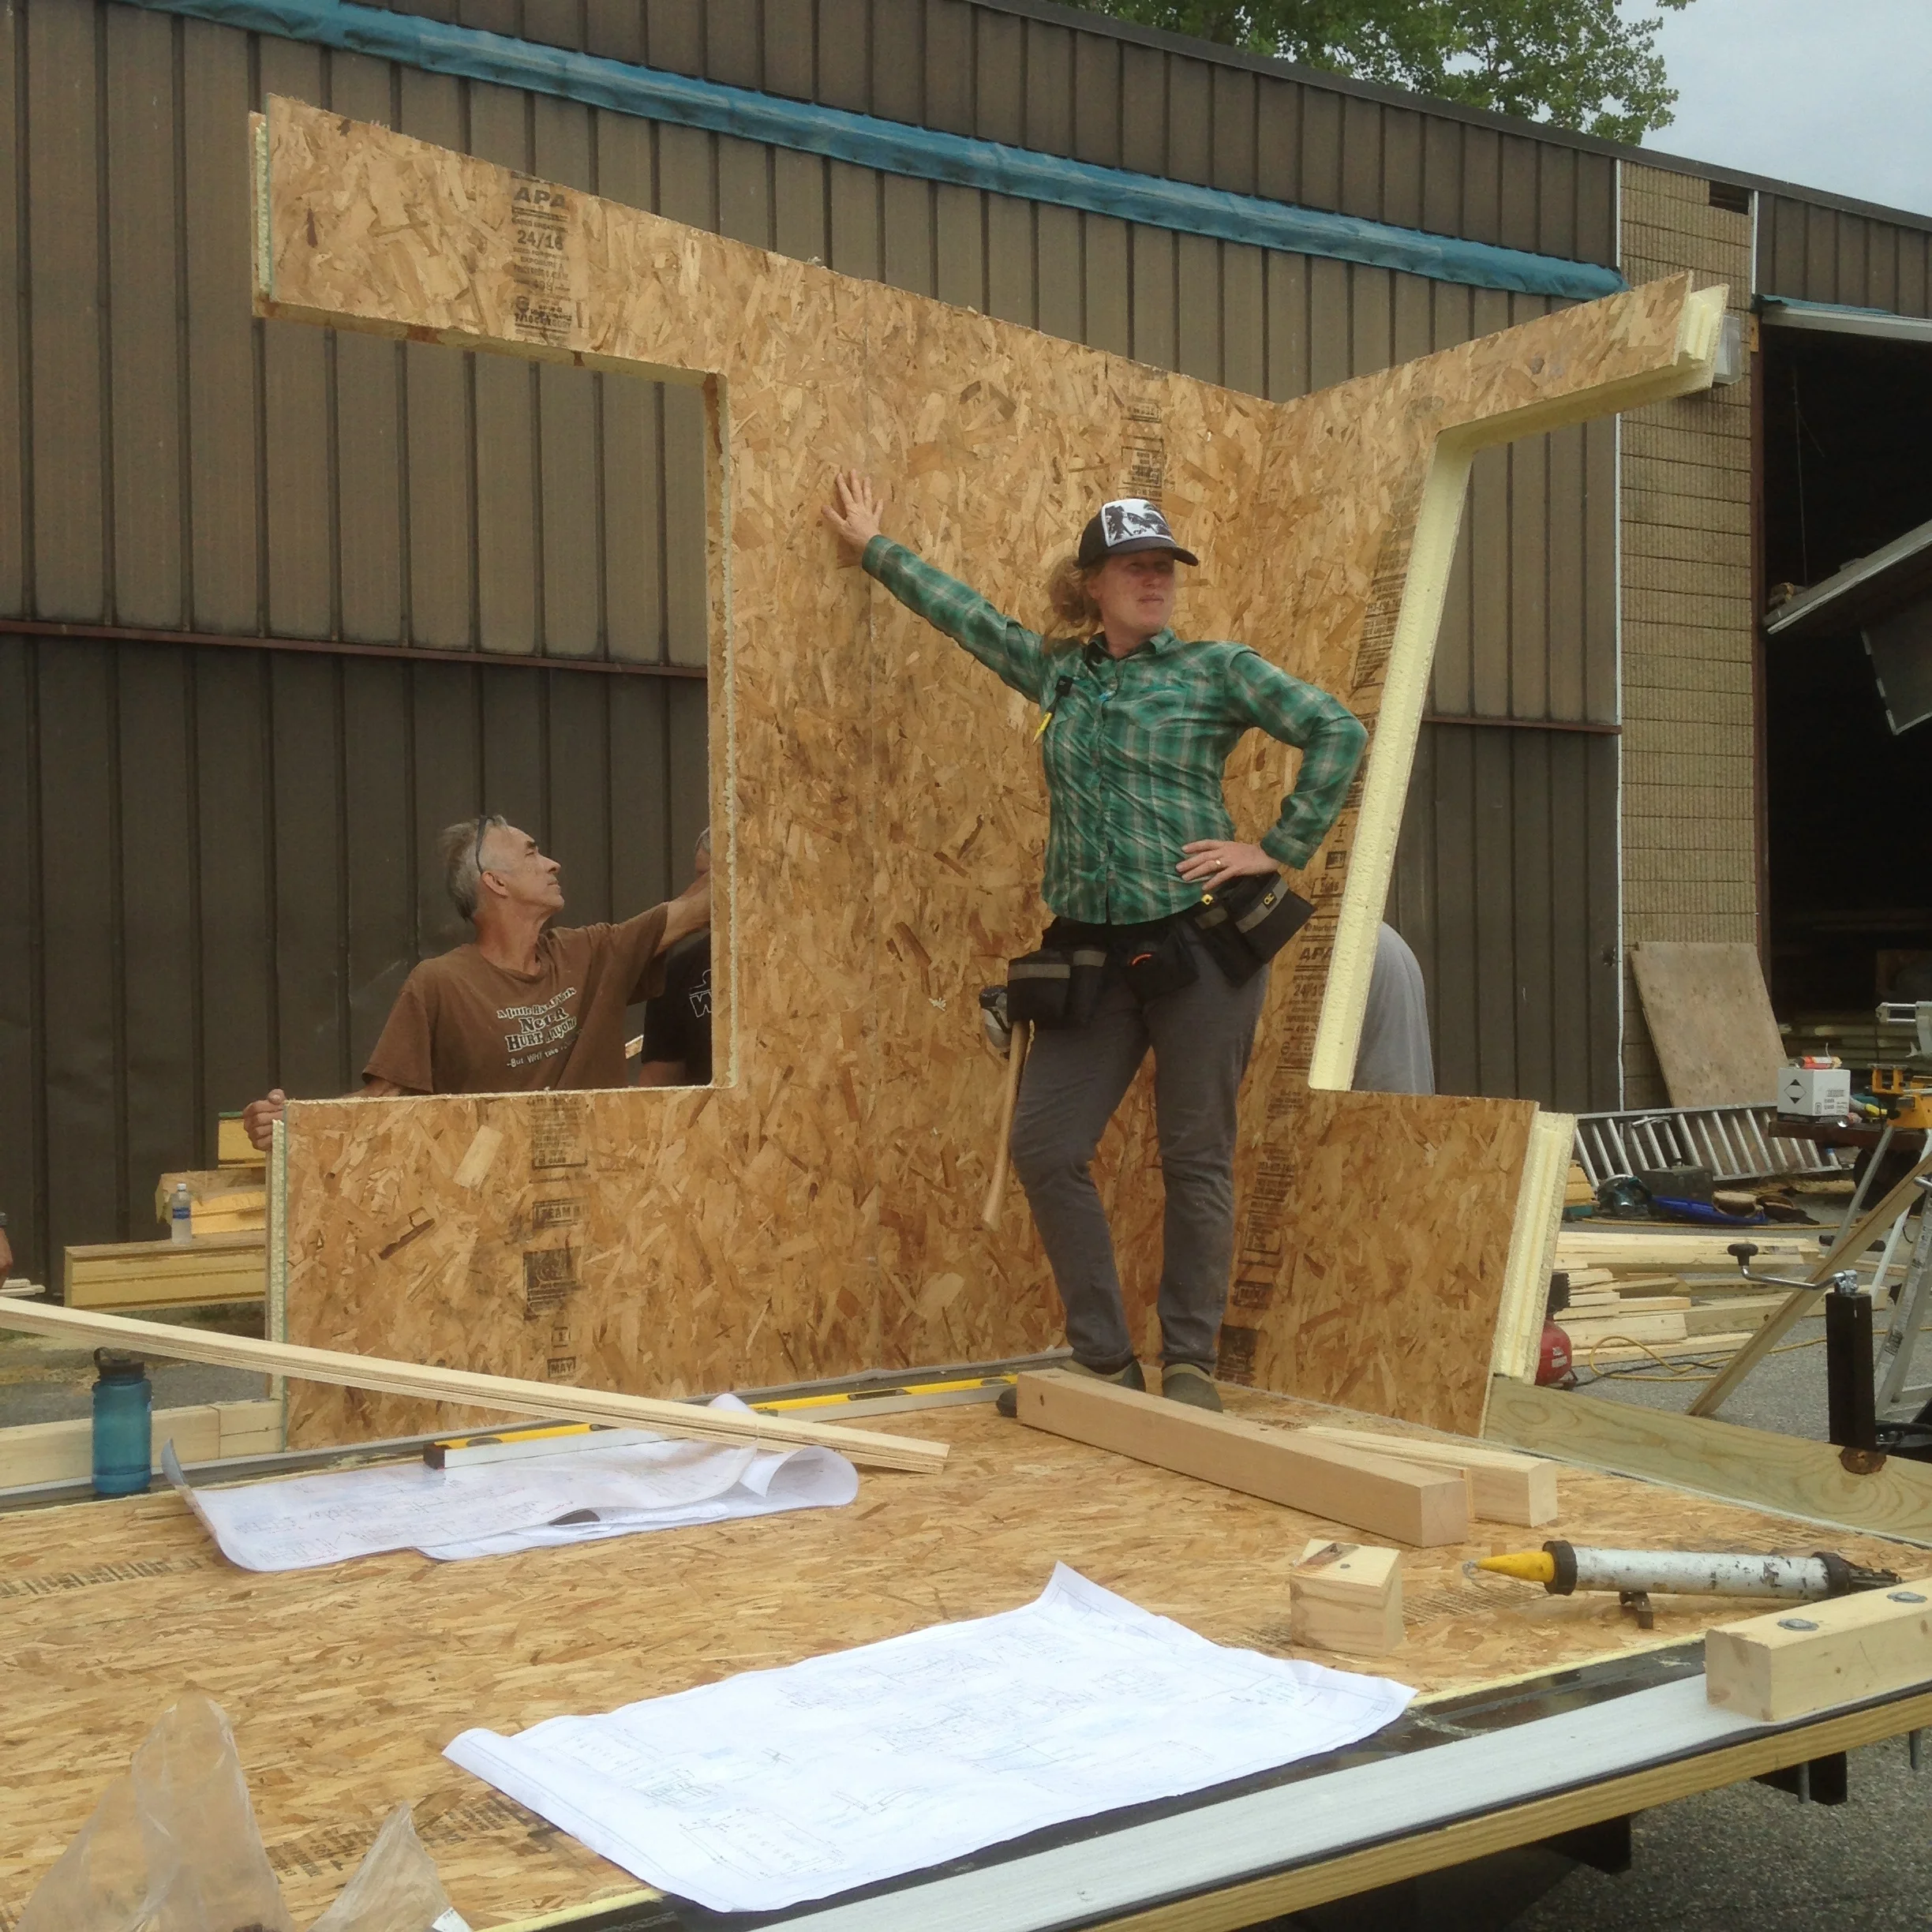
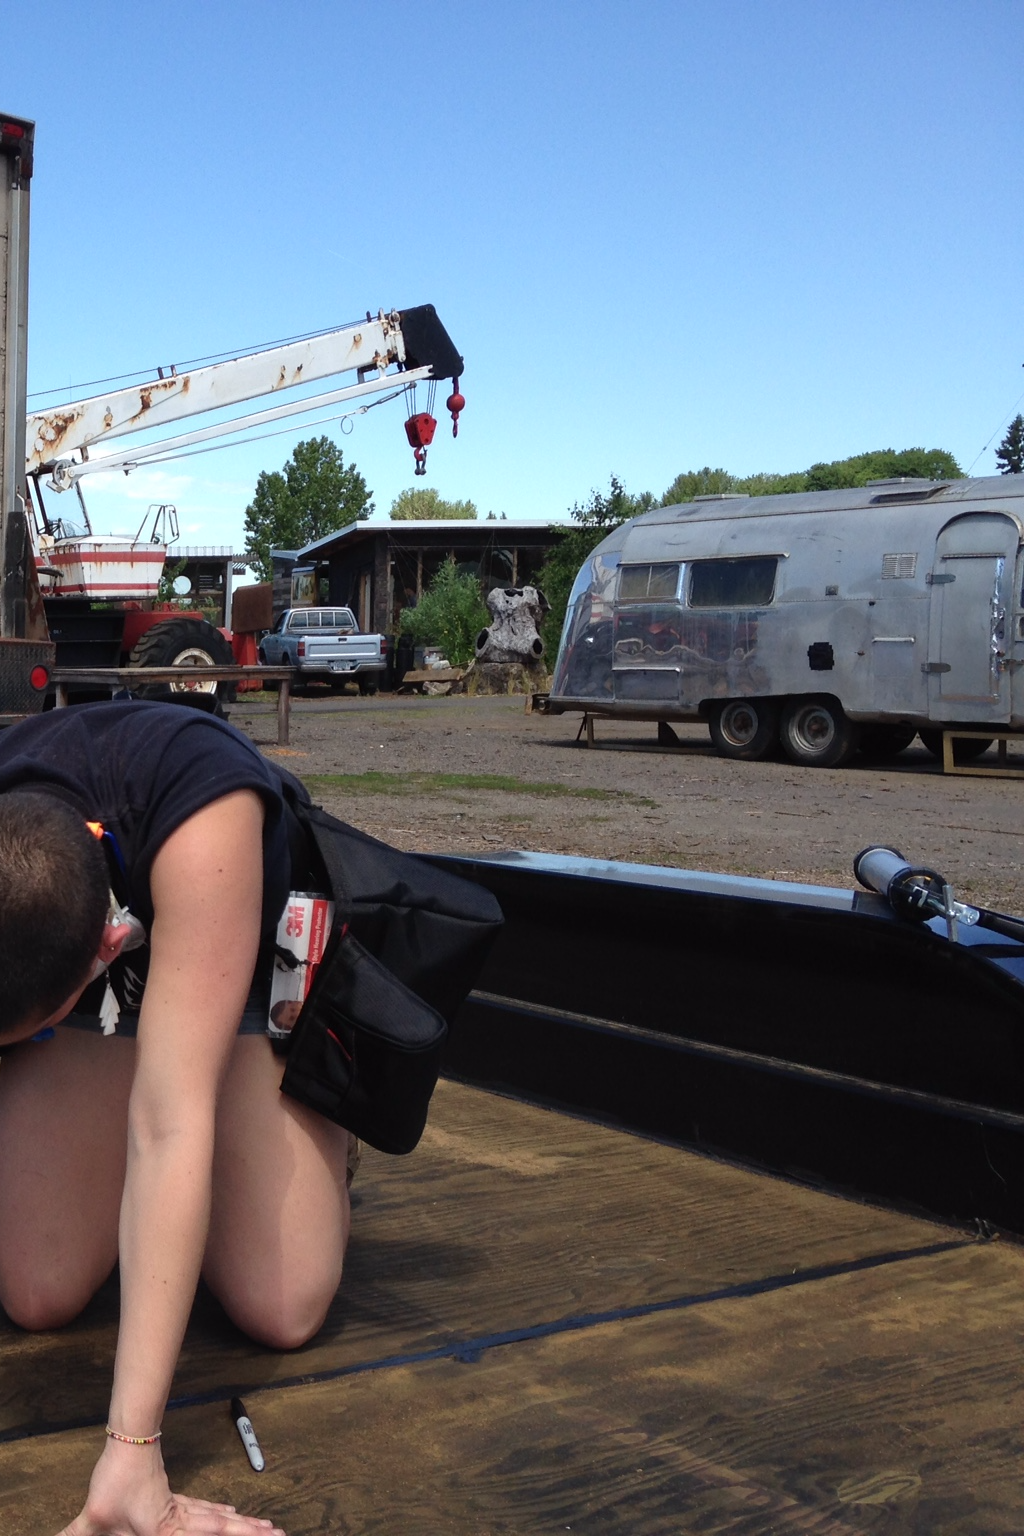
However, yesterday ended up being a head-scratching day and we all learned a bunch. As we got one full long wall up we discovered that when we lined up the tops of the panels we had to shim the bottoms a fair bit in the middle. The ideas were flying as we brainstormed possible solutions.

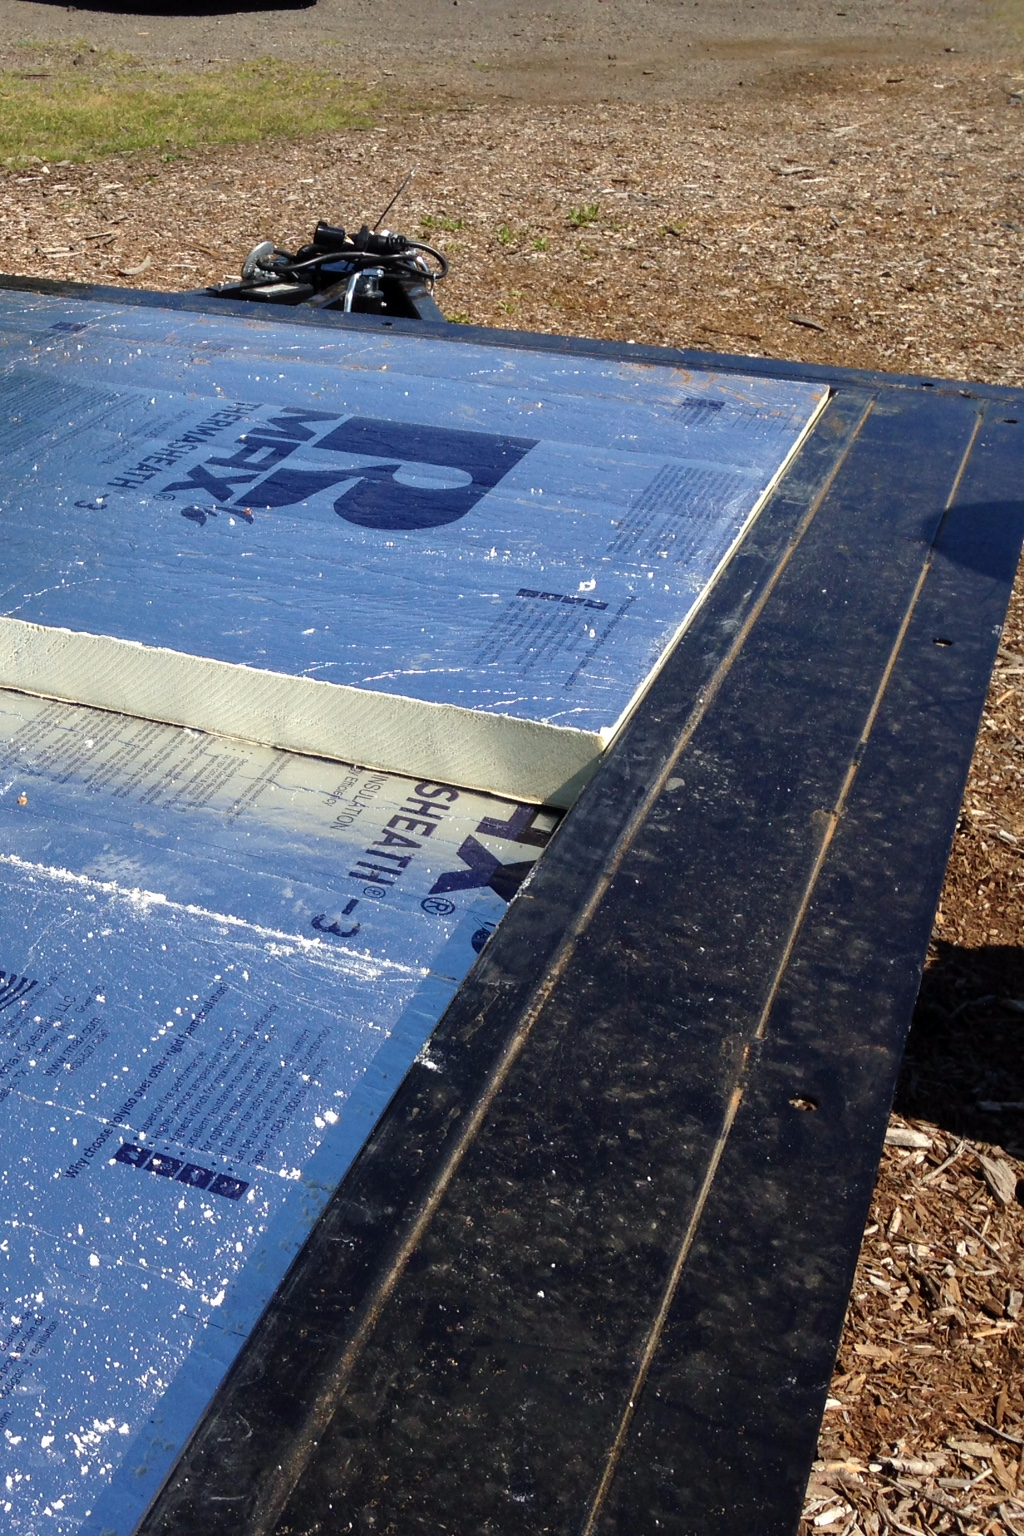
We were trying to make sense of it and we came back to the notion that the trailer was bowed. We were all pretty perplexed, so we gave Damon at Trailer Made a ring to learn more. Damon assured us that the bow (which they call a “camber”) is not only totally normal but also totally on purpose.

“You know how when you see a semi flatbed it is usually bowed the other way, like a rainbow?” he asked. “That’s because when it’s fully loaded it flattens out under the load. With a tiny house trailer we do the opposite because all the weight is around the perimeter. We give it a little camber so that as the walls are positioned the trailer flattens out.”

Damon confirmed that we were better off not adding permanent shims at the bottom because as the top plates go in and the roof goes on the house should settle into position. We’ll be able to remove the shims as the trailer flattens out. We all breathed a sigh of relief.

I felt silly for not calling Damon up and asking the question earlier. I’d heard of trailers with a bow built into them but I’d never worked with one before. However, I realized that I should have checked in about this on Friday when we first suspected it might be the case with this trailer. That day Courtney, Kurt and I had leveled the trailer as well as we could, which involved taking some weight off the axels as we raised the jacks, and we found that the trailer seemed to tip in both ways. It was slight so I didn’t think much of it. Turns out, when you have a few thousand pounds of SIPs on the trailer, it starts to matter – a lot!

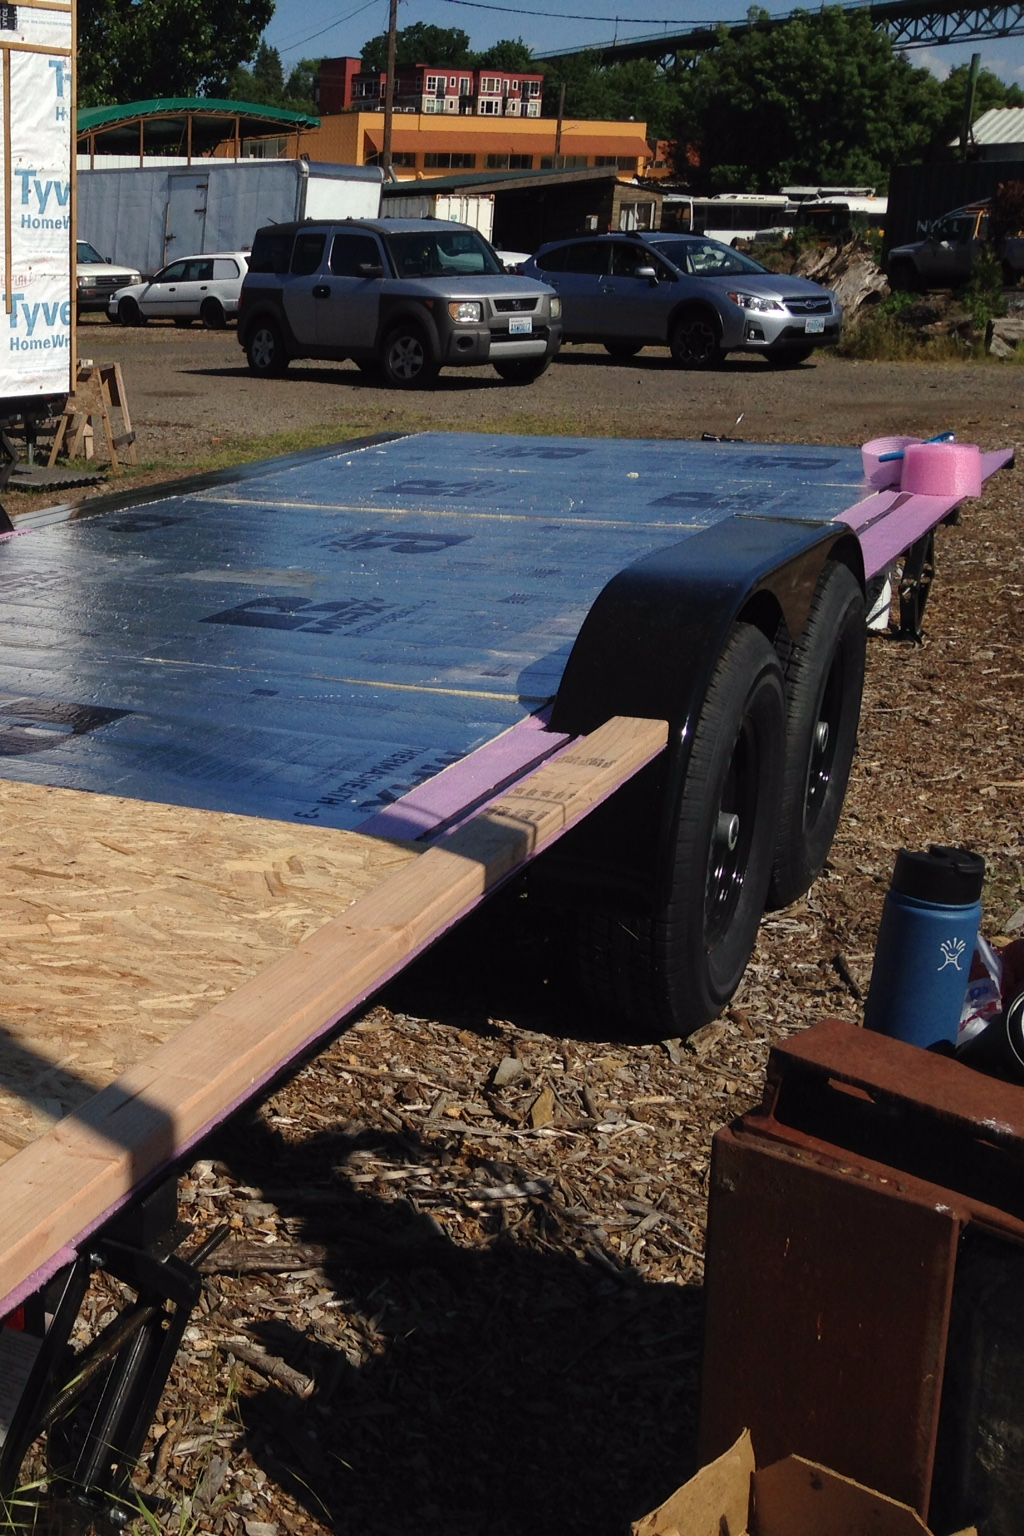
Now that we had a better sense of how to work with the trailer, we employed Andrea’s suggestion to let the trailer down onto its axels so that the ends could tip back down. That helped quite a bit, but the mastic had set up on that second panel we’d installed the day before, so it wasn’t budging, even after we removed the fasteners. We realized we’d have to live with it. Fortunately, we were able to get the rest of the long wall panels up and lined up. When we did our final measurements we found we were only off by about a ¼”. Since we know just where that came from, we’re pretty pleased.

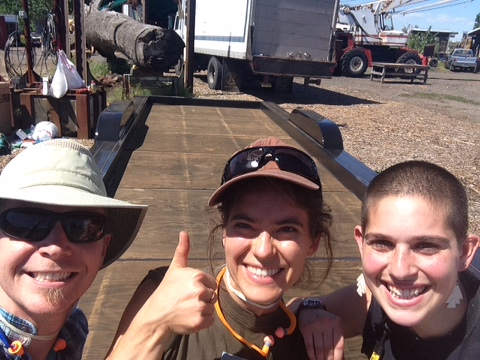
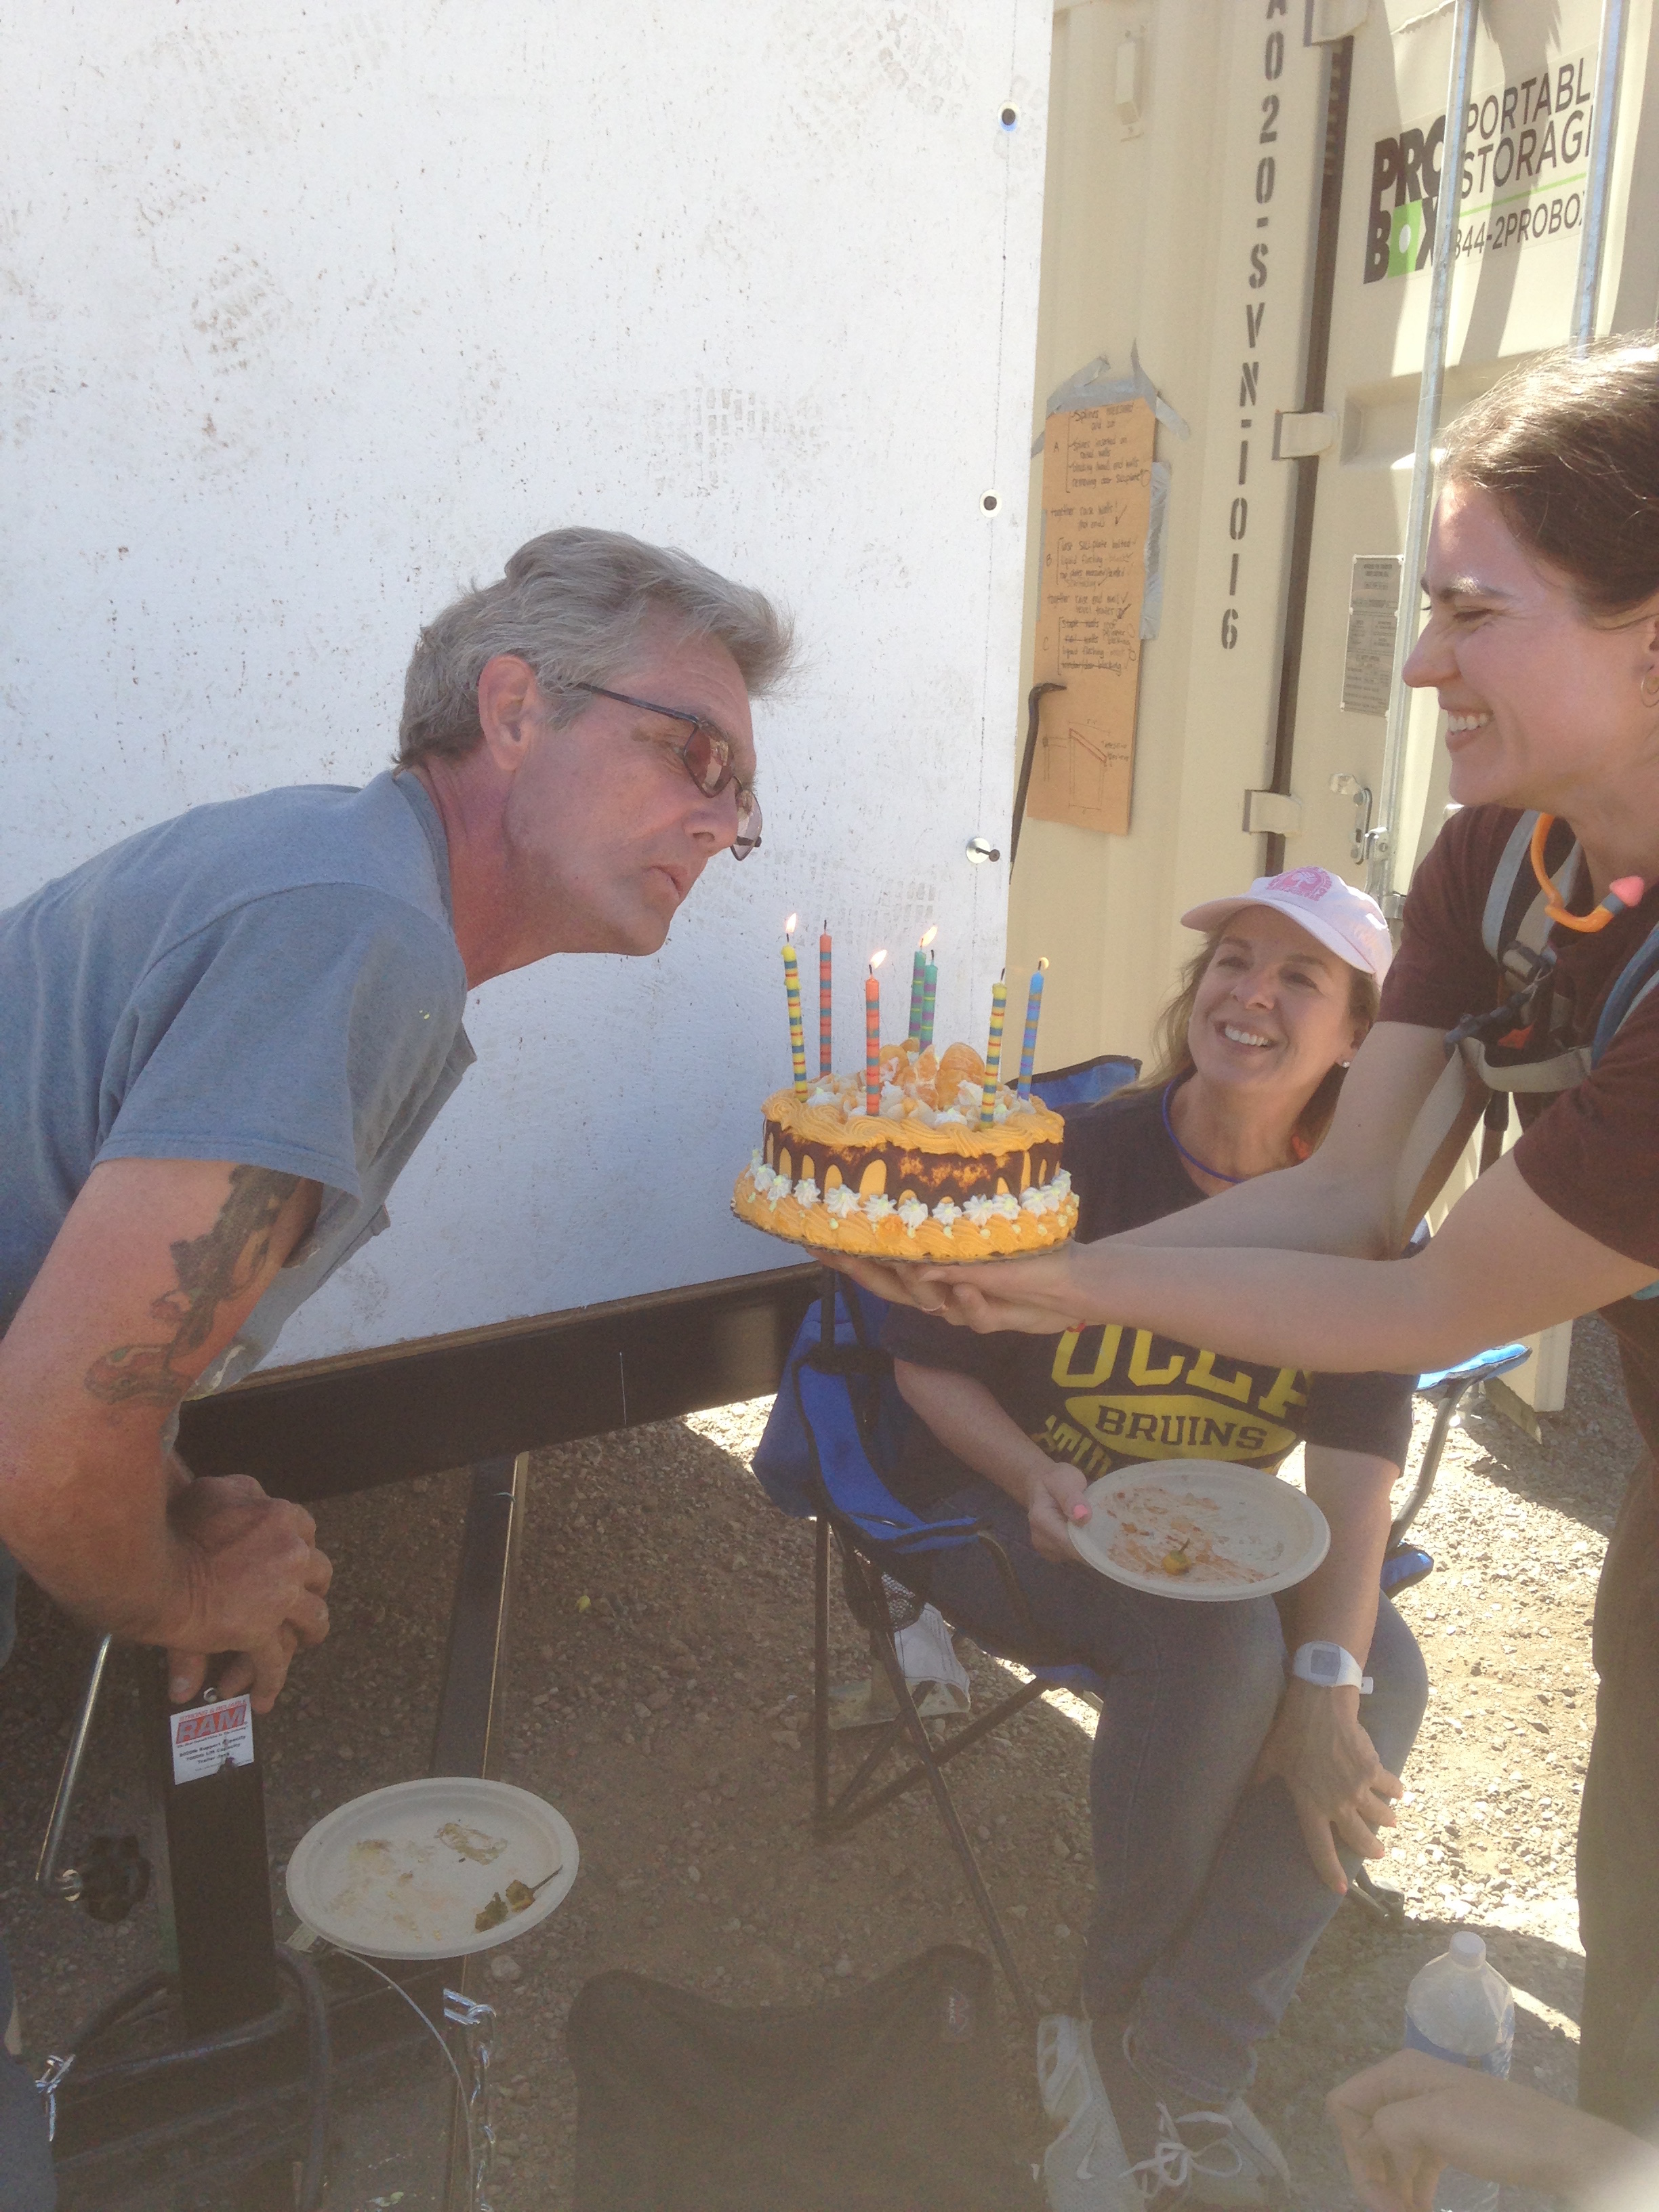
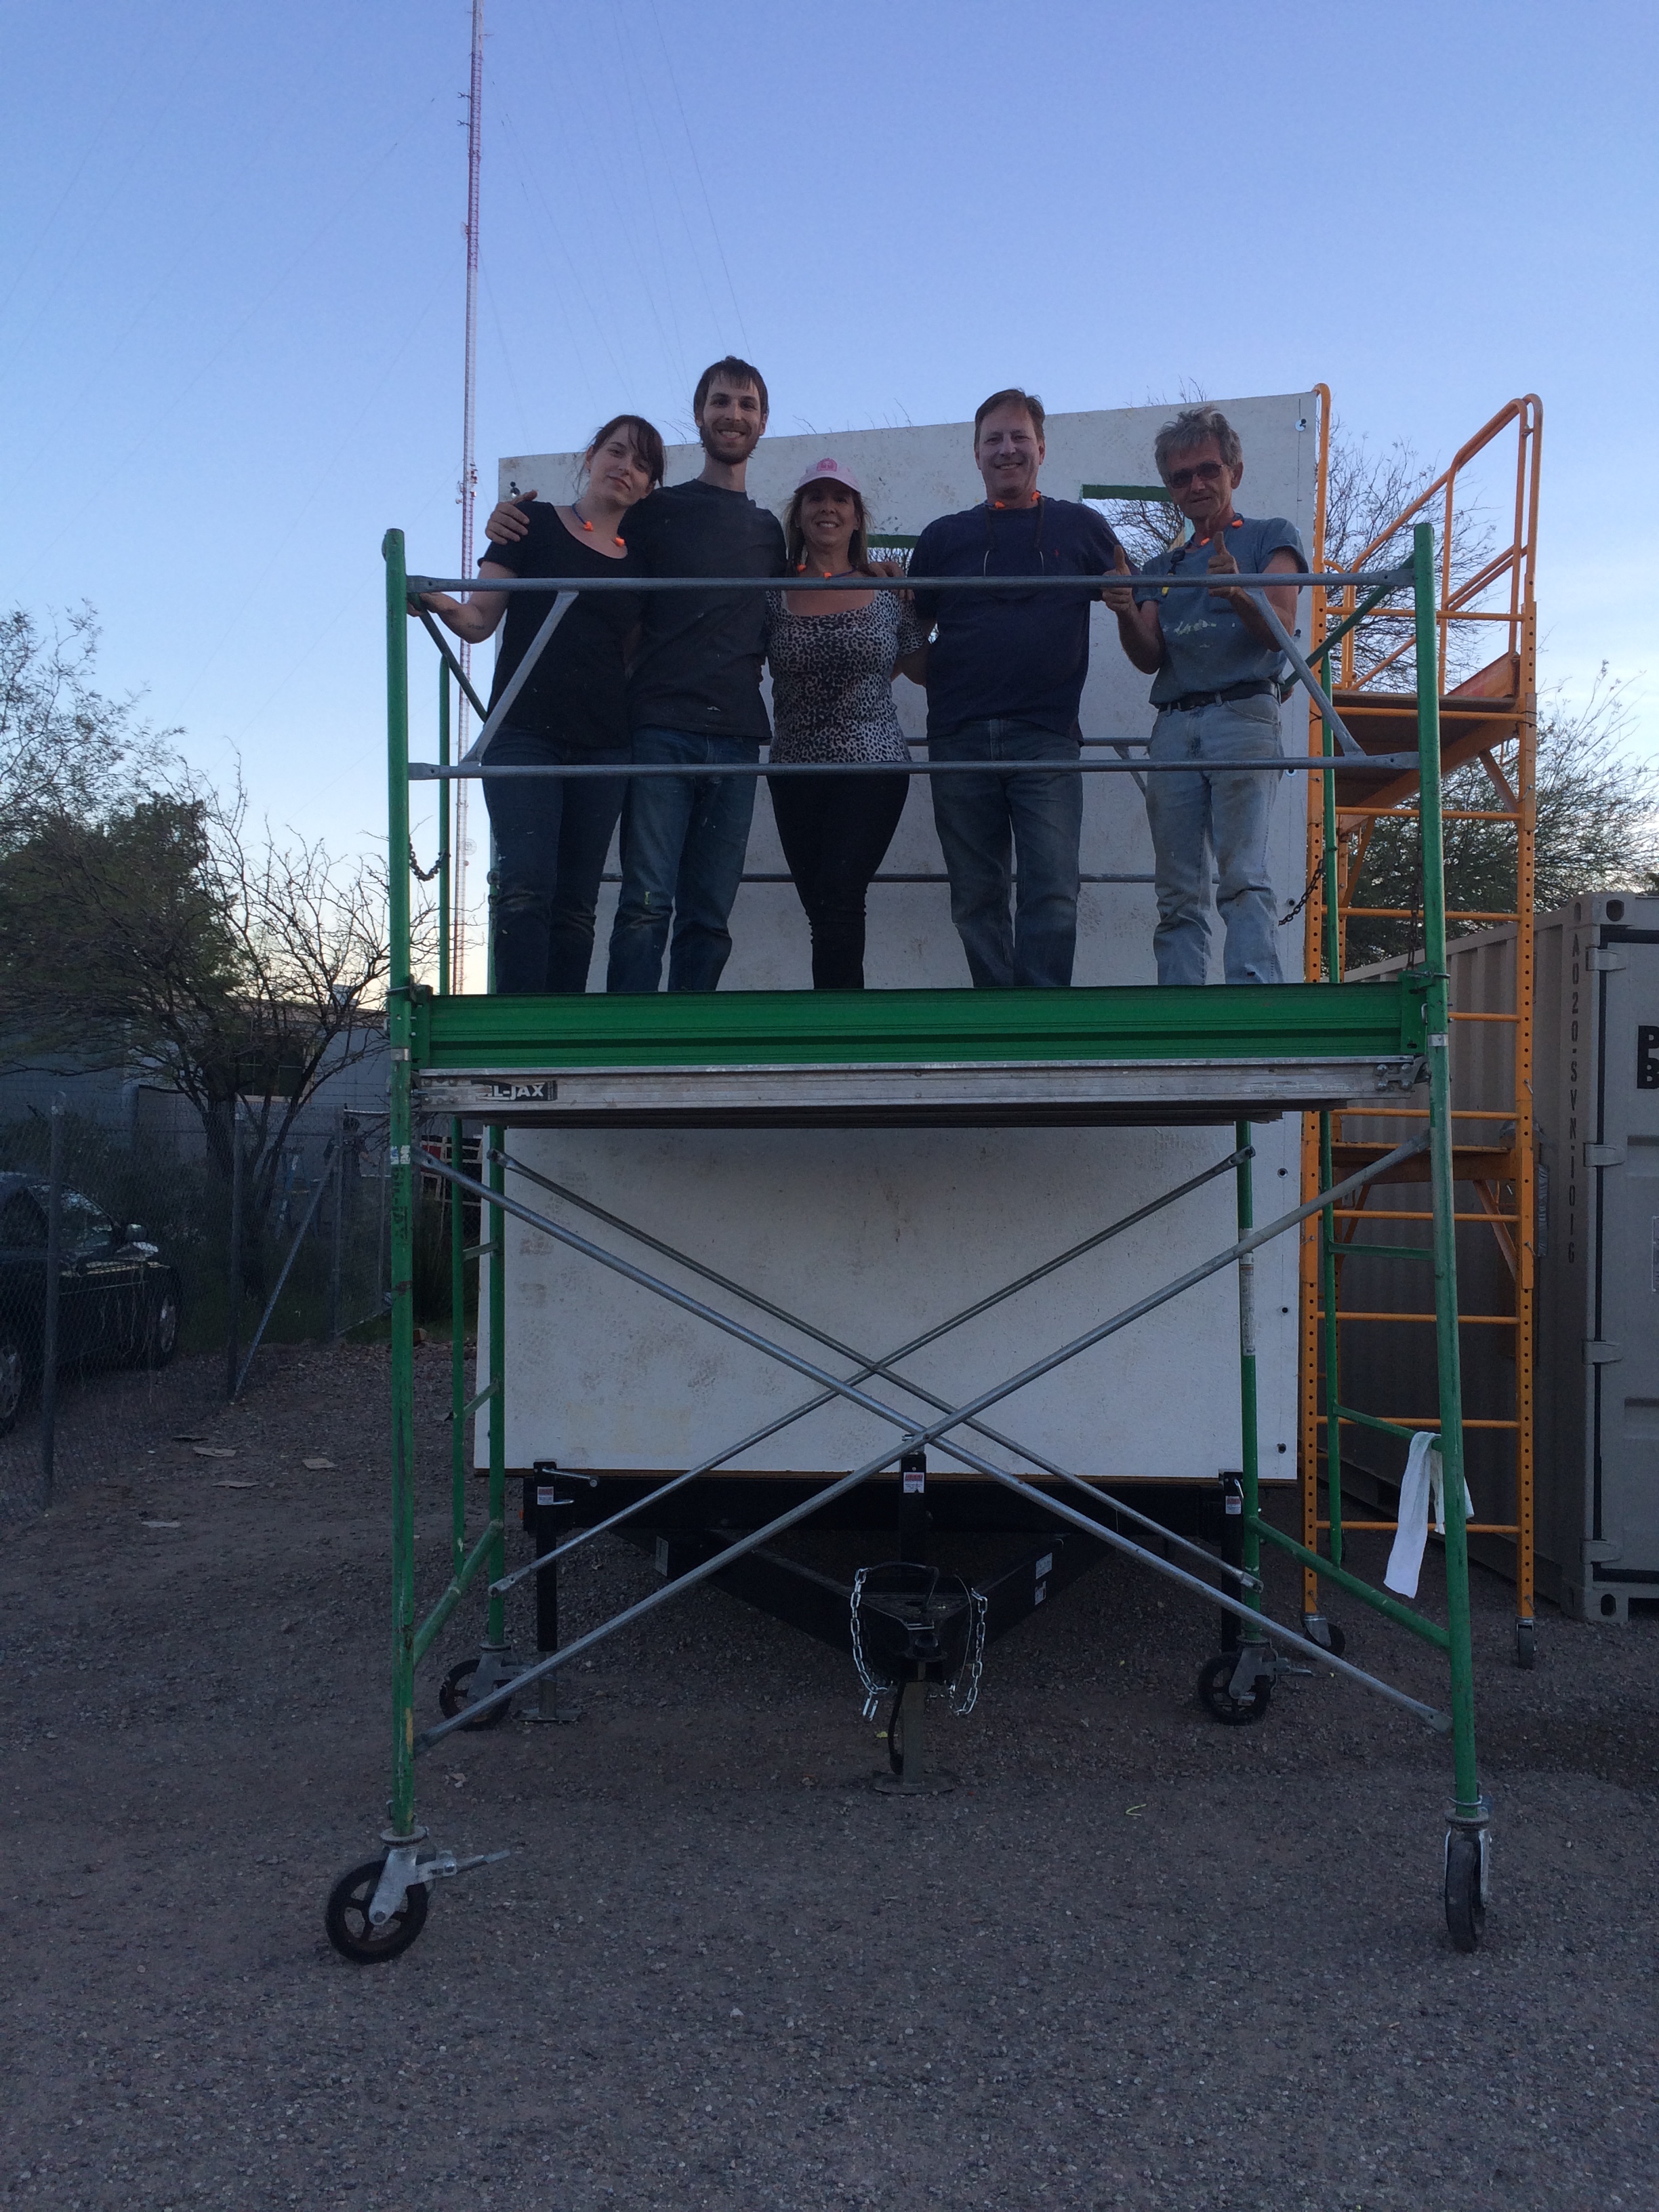
I’m thoroughly impressed with how high morale remained throughout this process. I’m grateful to the Meyerhofers for their graciousness and to Mark, Andrea, Chris, and Richard for their patience, their creativity, and their willingness to try new things. It was great having so many math lovers amongst the group because it enabled us to make great use of materials and do some clever problem solving.

I’m going to stop making predictions about how long things should take now, but I’m glad that we’re finally in good shape to get that last wall up tomorrow! We’re half way through our six-day build blitz and I’m eager to see what more we can accomplish for Courtney, Kurt, and the Cilantro Poncho! If you'd like to come visit, please join us for Cilantro Poncho's First Open House.

*If you’re reading this after Cilantro Poncho's First Open House and you’d like to visit, please be sure to contact Courtney and Kurt to arrange a day and time. They can’t accept unannounced visitors because they’ve got work to do finishing their little house and they need to make sure everyone who visits can do so during a time that’s safe. Thanks!

Cilantro Poncho Build Blitz: Day 2

Day-2-Team-Photo.jpg

Day 2 Team Photo

If you’d like to come see what we accomplished during the Cilantro Poncho Build Blitz, please come visit us for Cilantro Poncho's First Open House at 5:30 pm on Friday, March 11 at 4674 N Kain Ave, Tucson, AZ 85705.*

Yesterday was Day 2 of a week-long build blitz for the Meyerhofer’s tiny house, Cilantro Poncho. We started the Cilantro Poncho Build Blitz Prep on Friday and Cilantro Poncho Build Blitz: Day 1 included more prep for our wall raising, which we began yesterday. We had two more people come to join us for the work party: Kurt’s brother Chris and a friend of mine from college, Katie, who both came down from Phoenix.

After check ins and a review of Courtney and Kurt’s goals for the day, we split into work crews got started on the day’s project list which included the following:

  • Installing corner framing
  • Removing trailer light temporarily to provide access for bolts on tail end of trailer
  • Drilling 5/8” holes through the trailer flange
  • Bolting the sill plates to the trailer with ½” bolts, nuts, and a bevy of washers
  • Erecting scaffolding
  • Prepping and positioning the first wall
  • Spray foaming and masticing the first wall
  • Tipping up the first wall, plumbing it, bracing it, and tacking it to the bottom plate

By then it was lunch time. It was awesome to have that first wall up by lunch and so fun to see everyone working together at a team. In the afternoon we started in on our next list of tasks:

  • Tipping up the second and third wall sections and attaching the first two corner sections in place with SIP screws
  • Installing SIP splines
  • Installing the fourth panel
  • For panels with wheelwells: tracing the wheelwell pattern on the SIP (making sure it’s the right direction and measured properly from the end!), cutting the bottom of SIP, scooping out foam with the foam cutter, and installing blocking in the bottom of the SIP.

We found that when the back wall was completely plumb there was a gap at the top of both corners where the SIPs came together, but the SIP screws managed to cinch everything together nicely.

We ended up working an extra hour to take advantage of all the help we had and it was great getting the trickiest panels up. We have five of the nine wall panels up and all the ones with wheel wells are done now. Tomorrow should be smooth sailing as we get the last four panels up and then we’ll be able to start prepping for the roof!

*If you’re reading this after Cilantro Poncho's First Open House and you’d like to visit, please be sure to contact Courtney and Kurt to arrange a day and time. They can’t accept unannounced visitors because they’ve got work to do finishing their little house and they need to make sure everyone who visits can do so during a time that’s safe. Thanks!