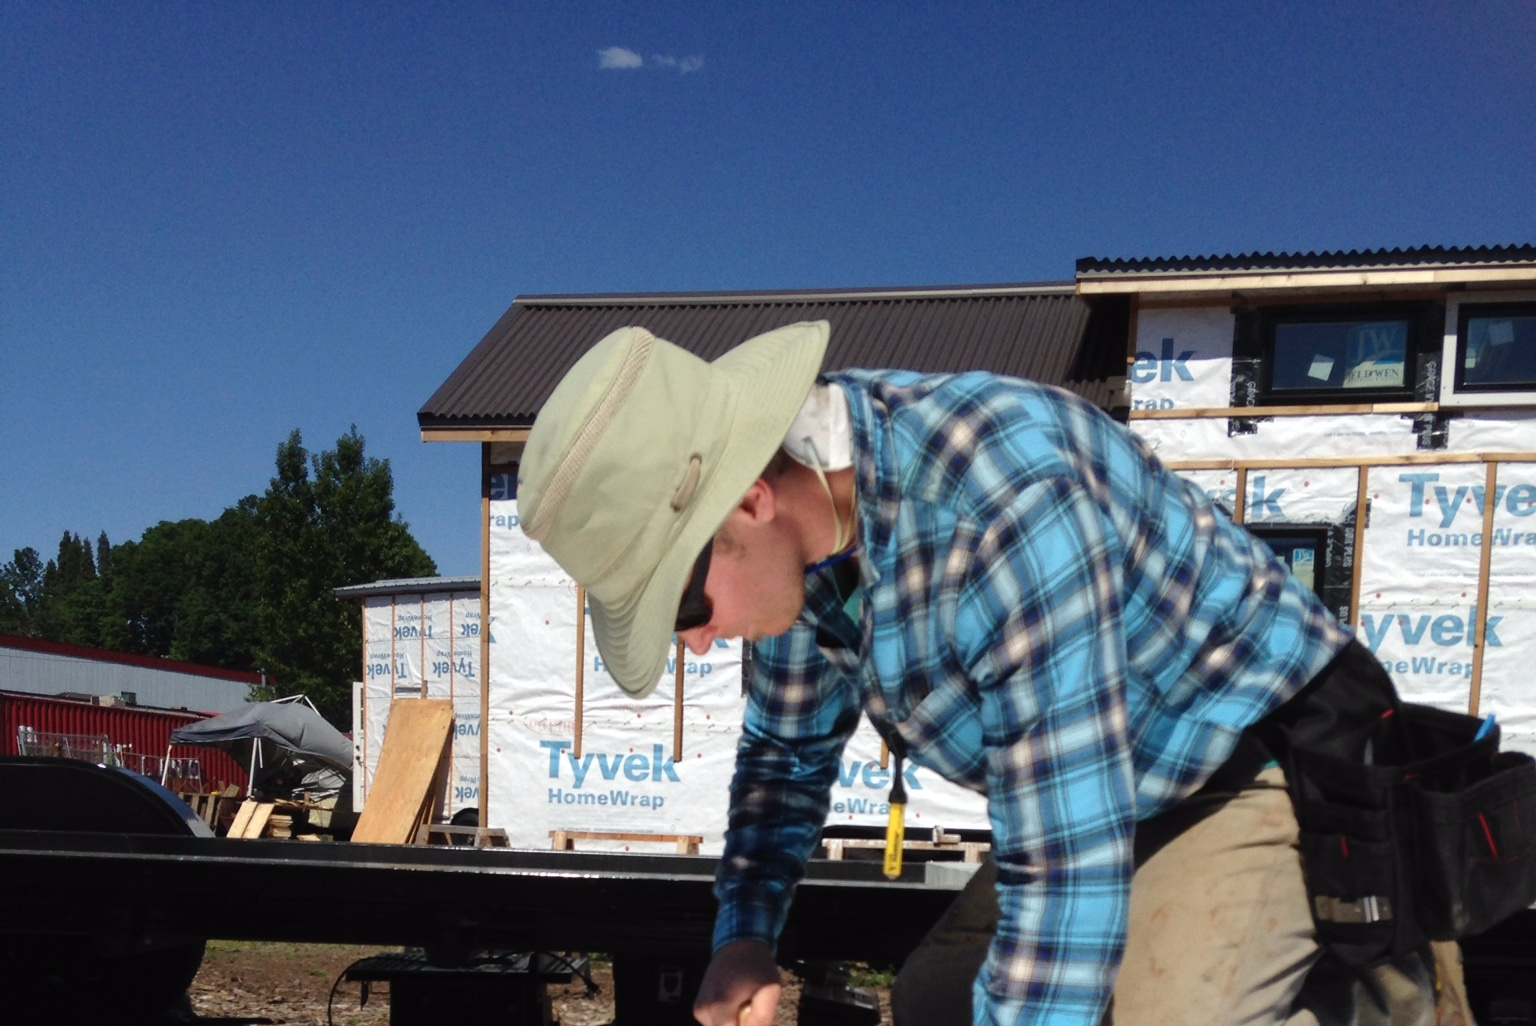
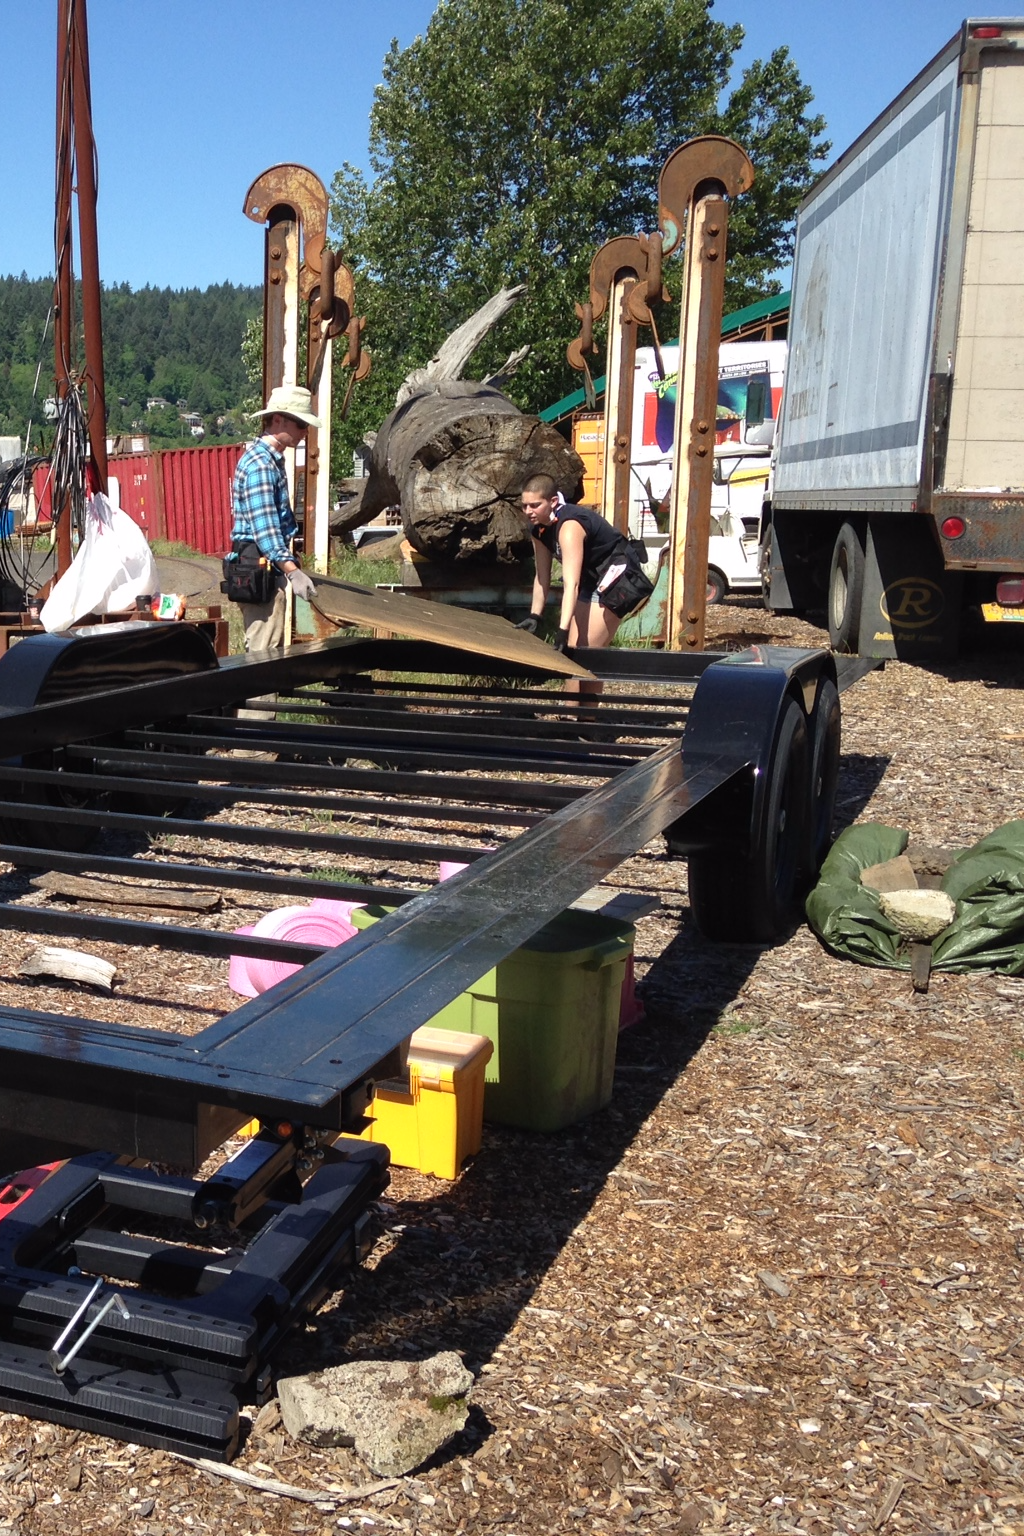
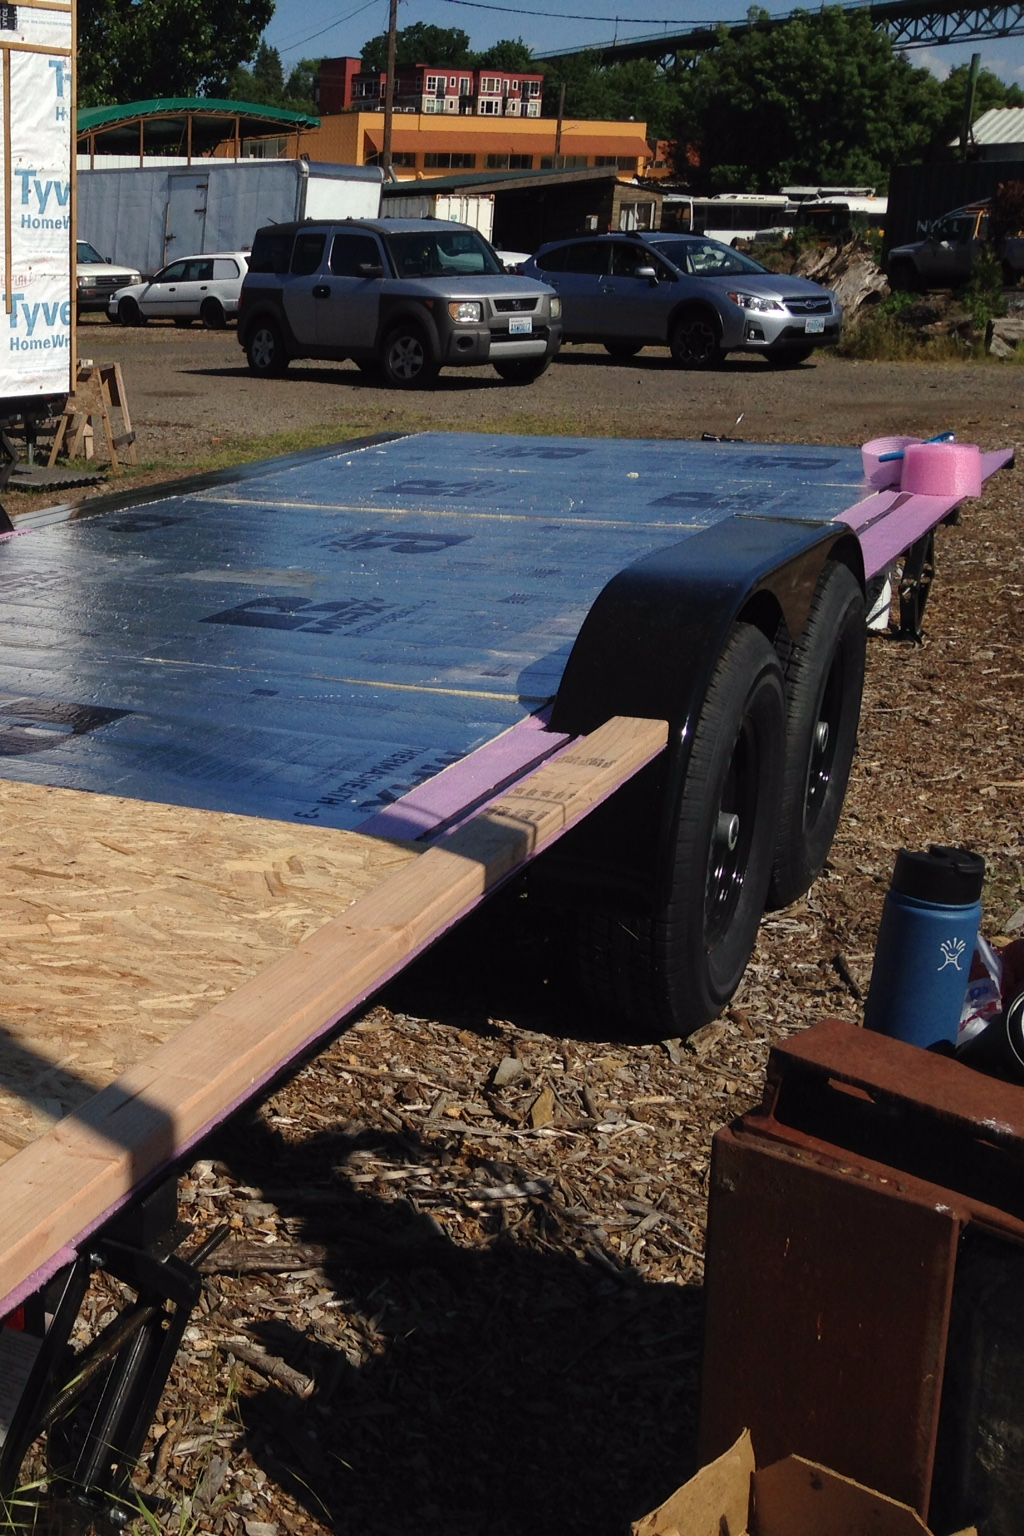
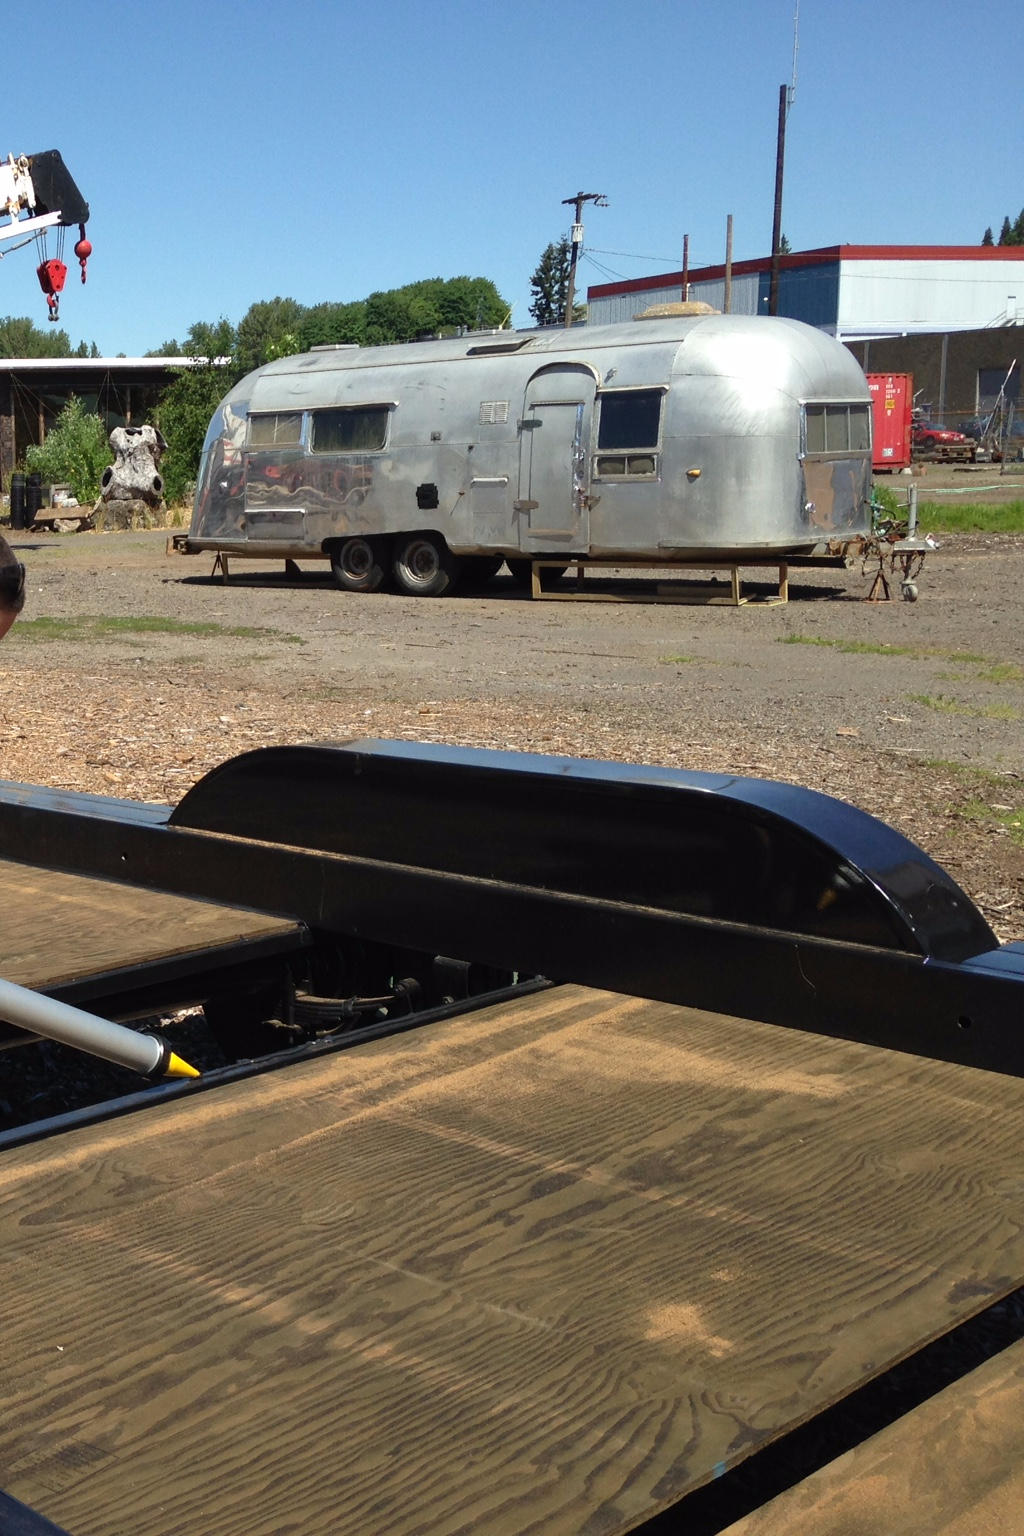
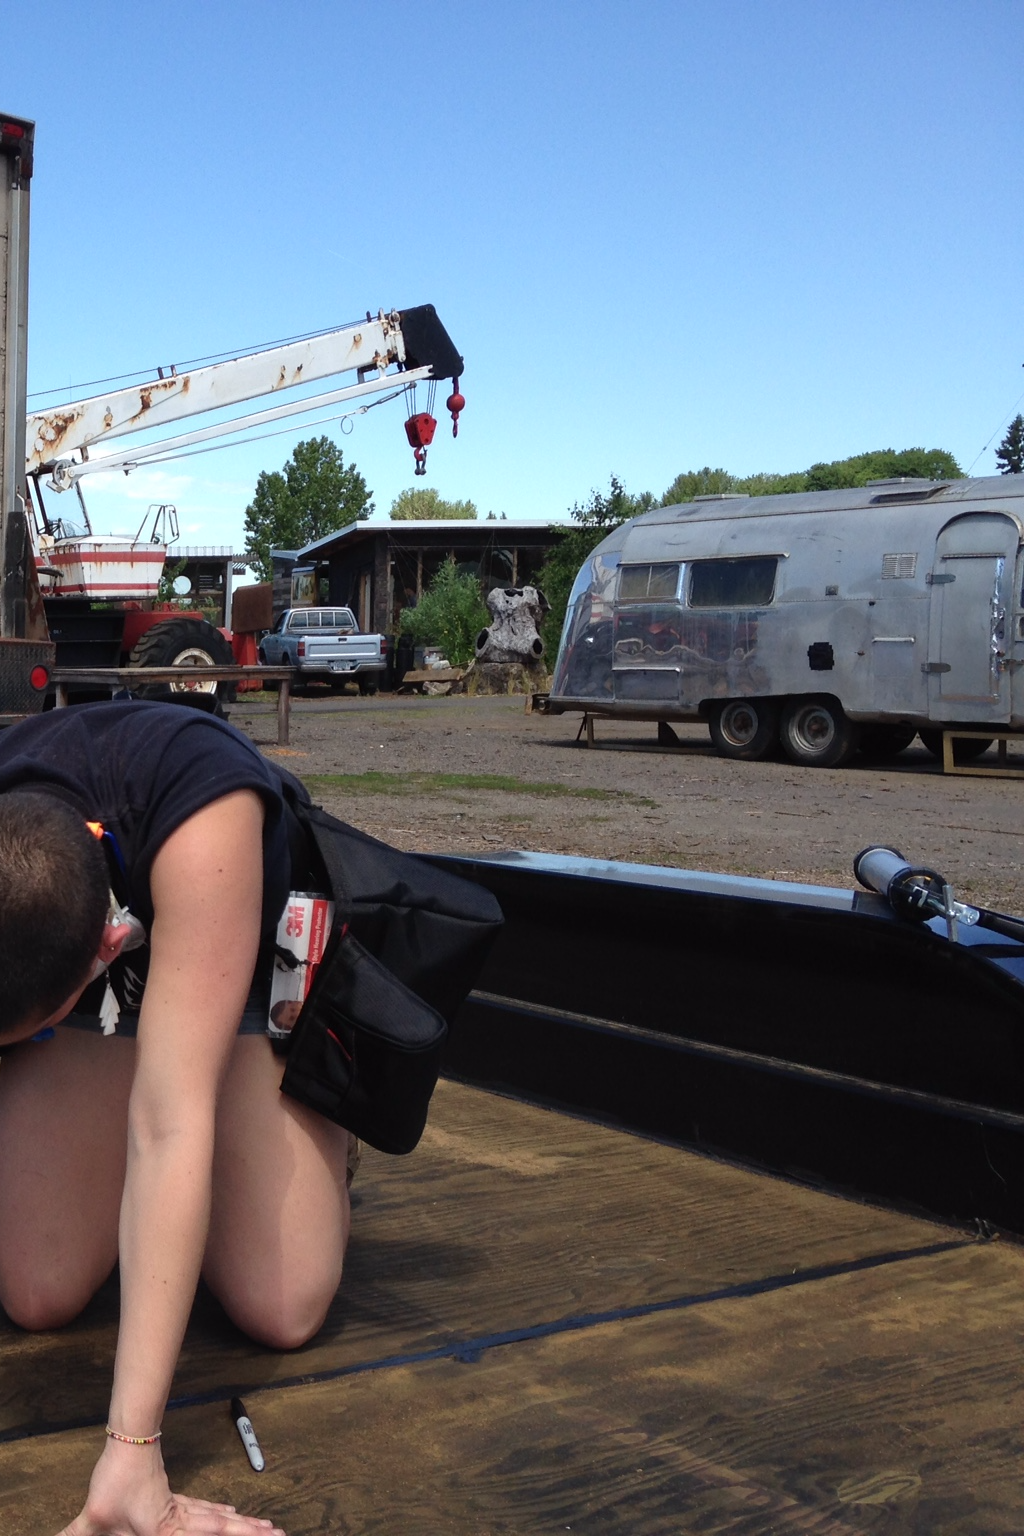
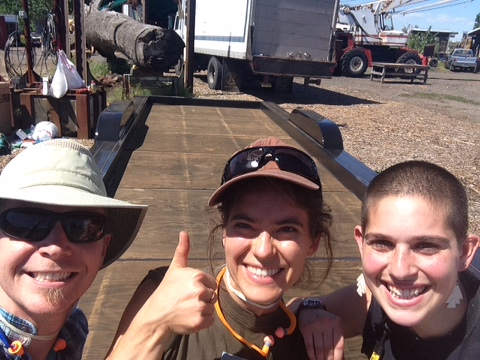
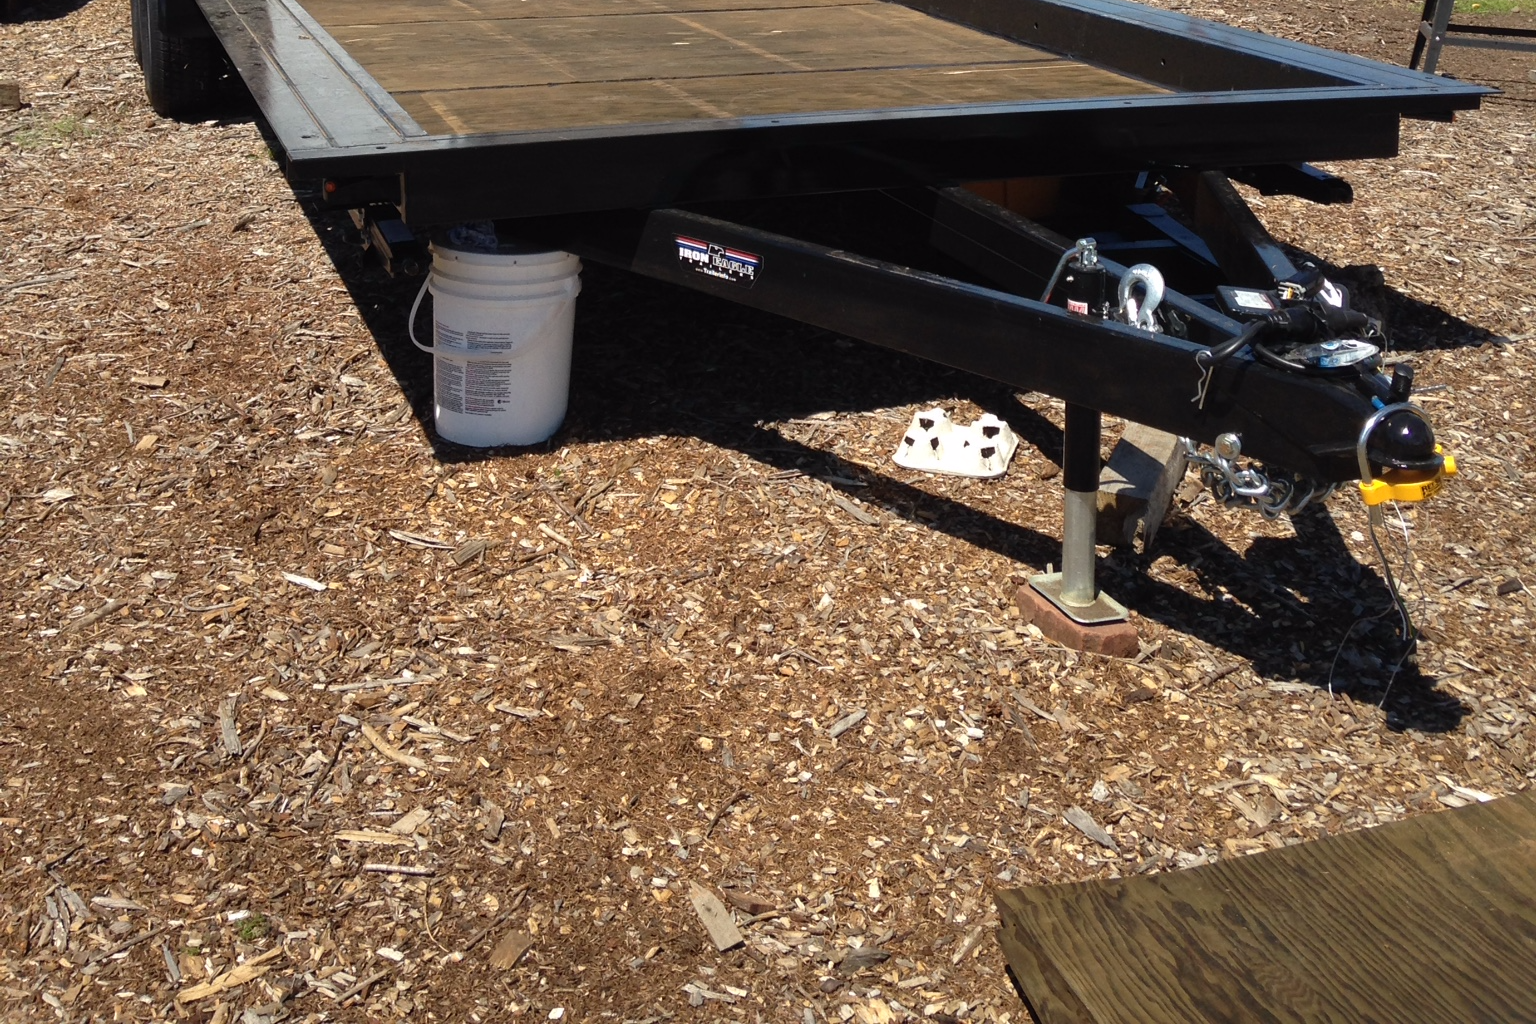
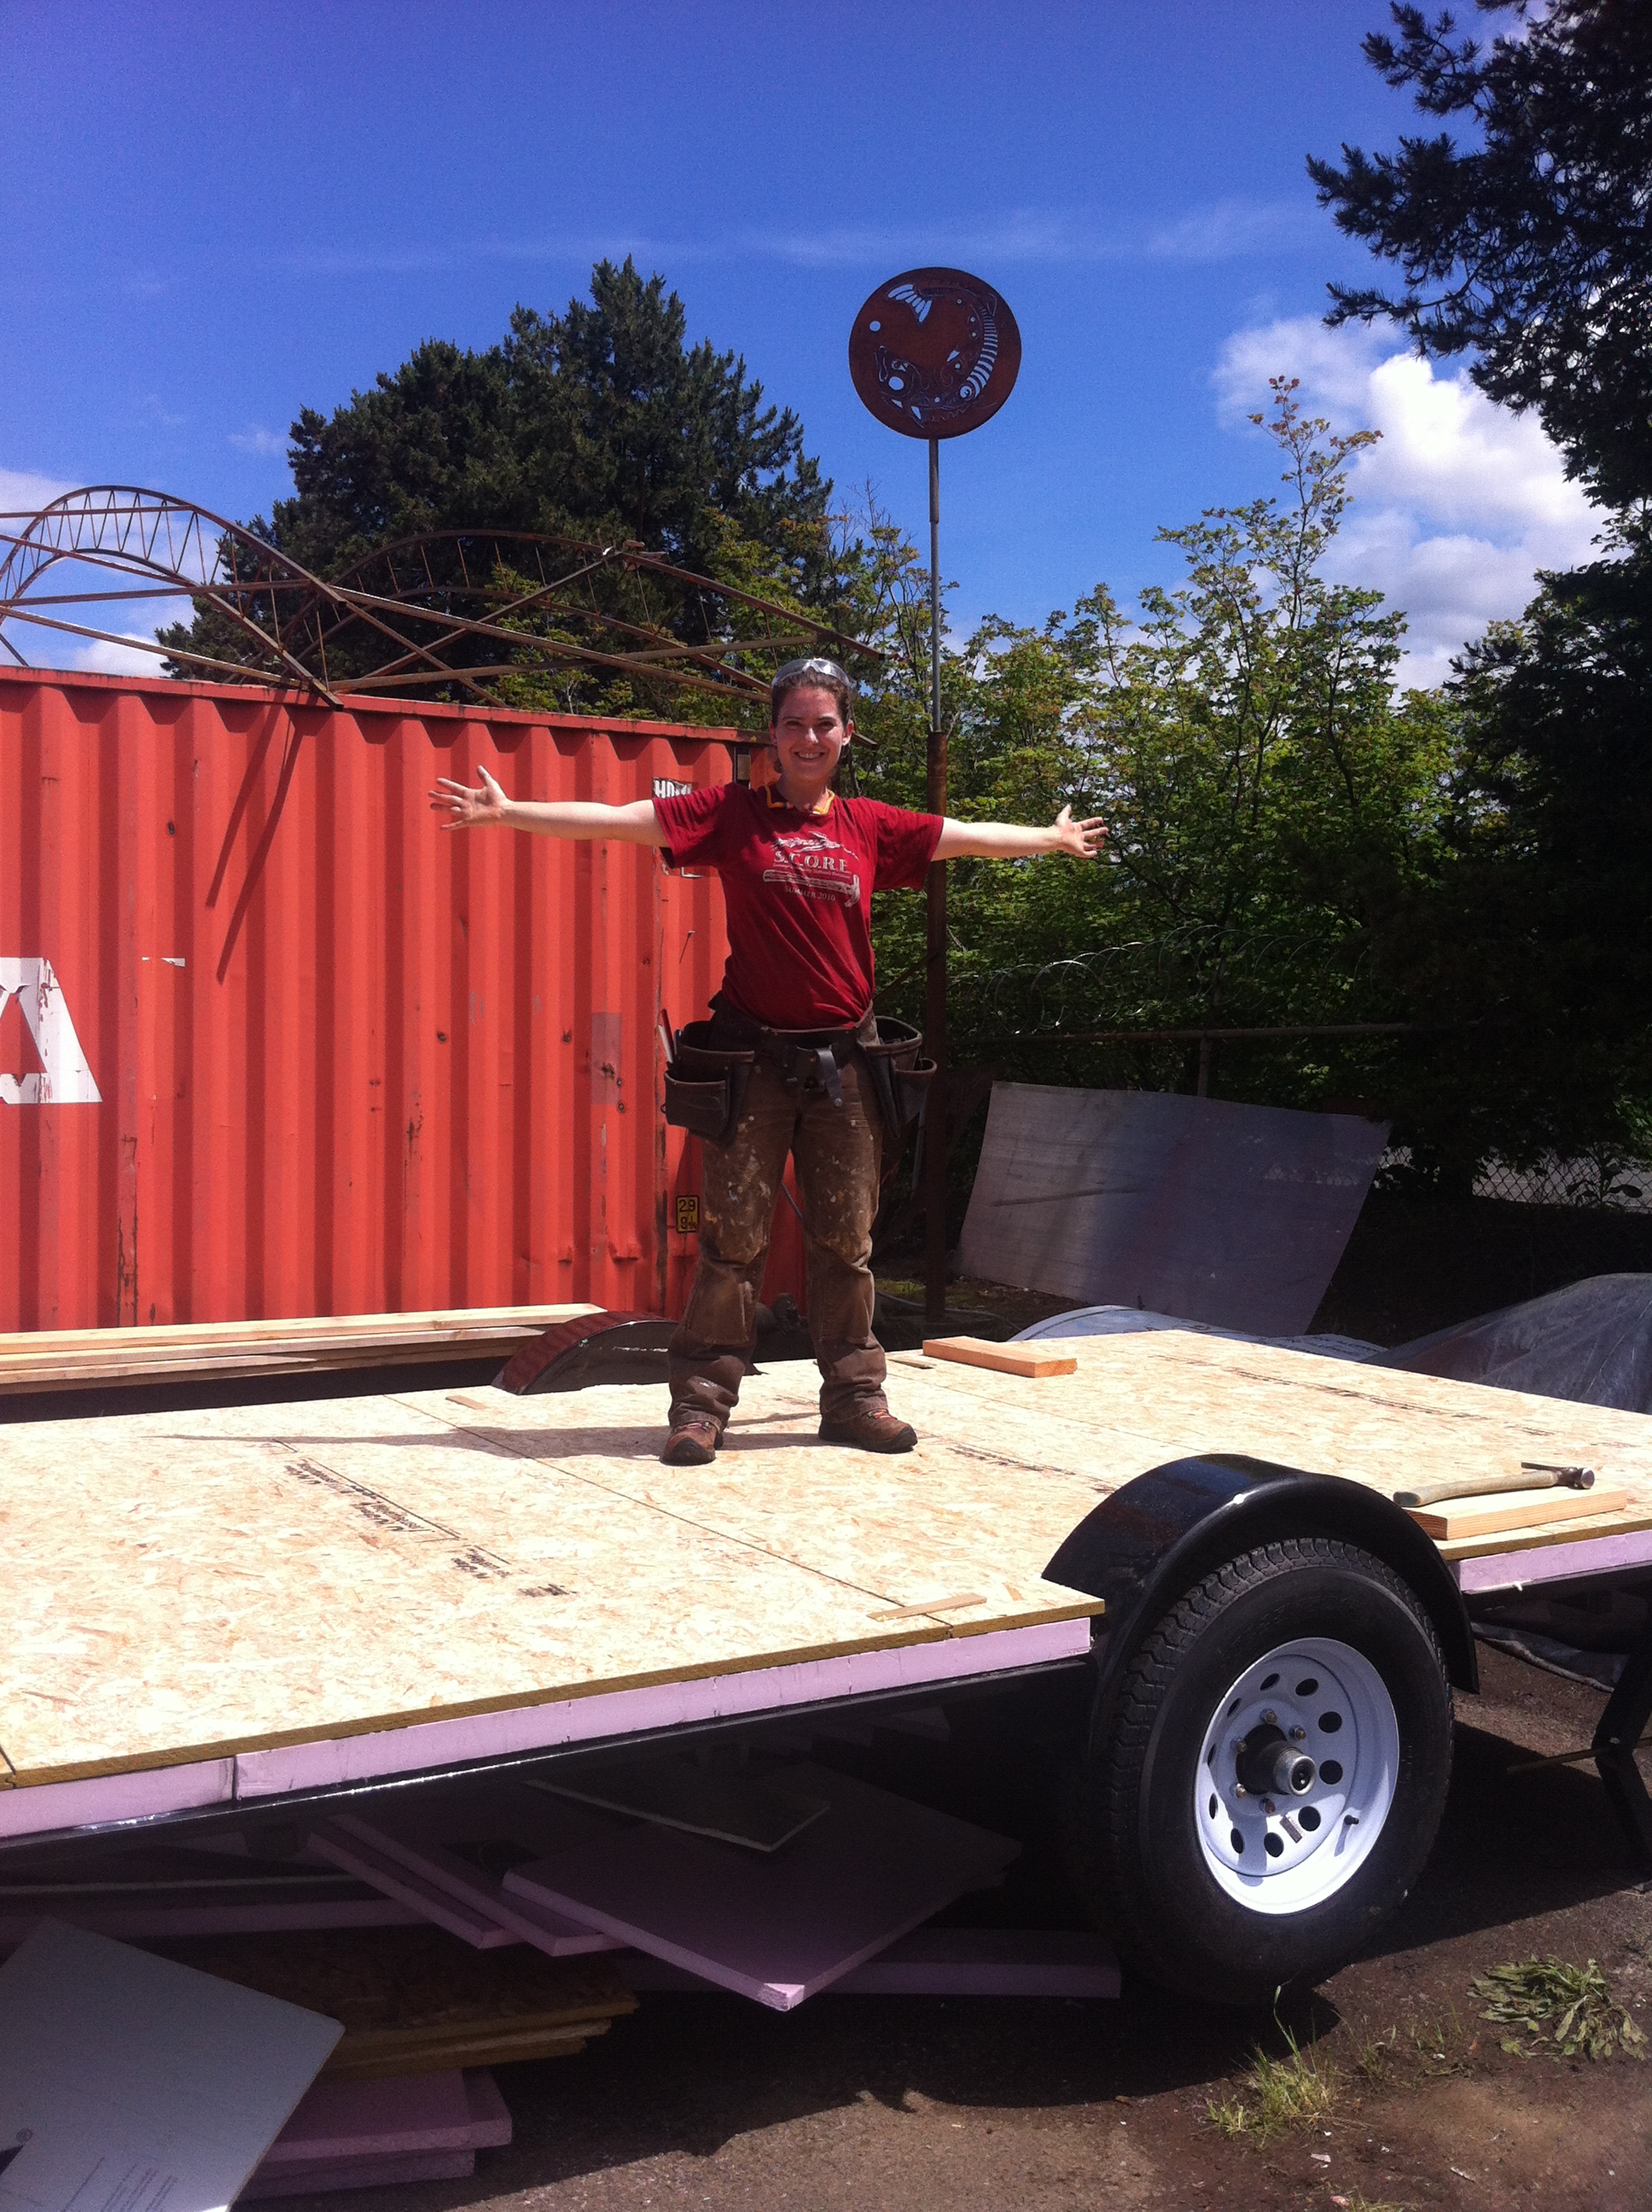
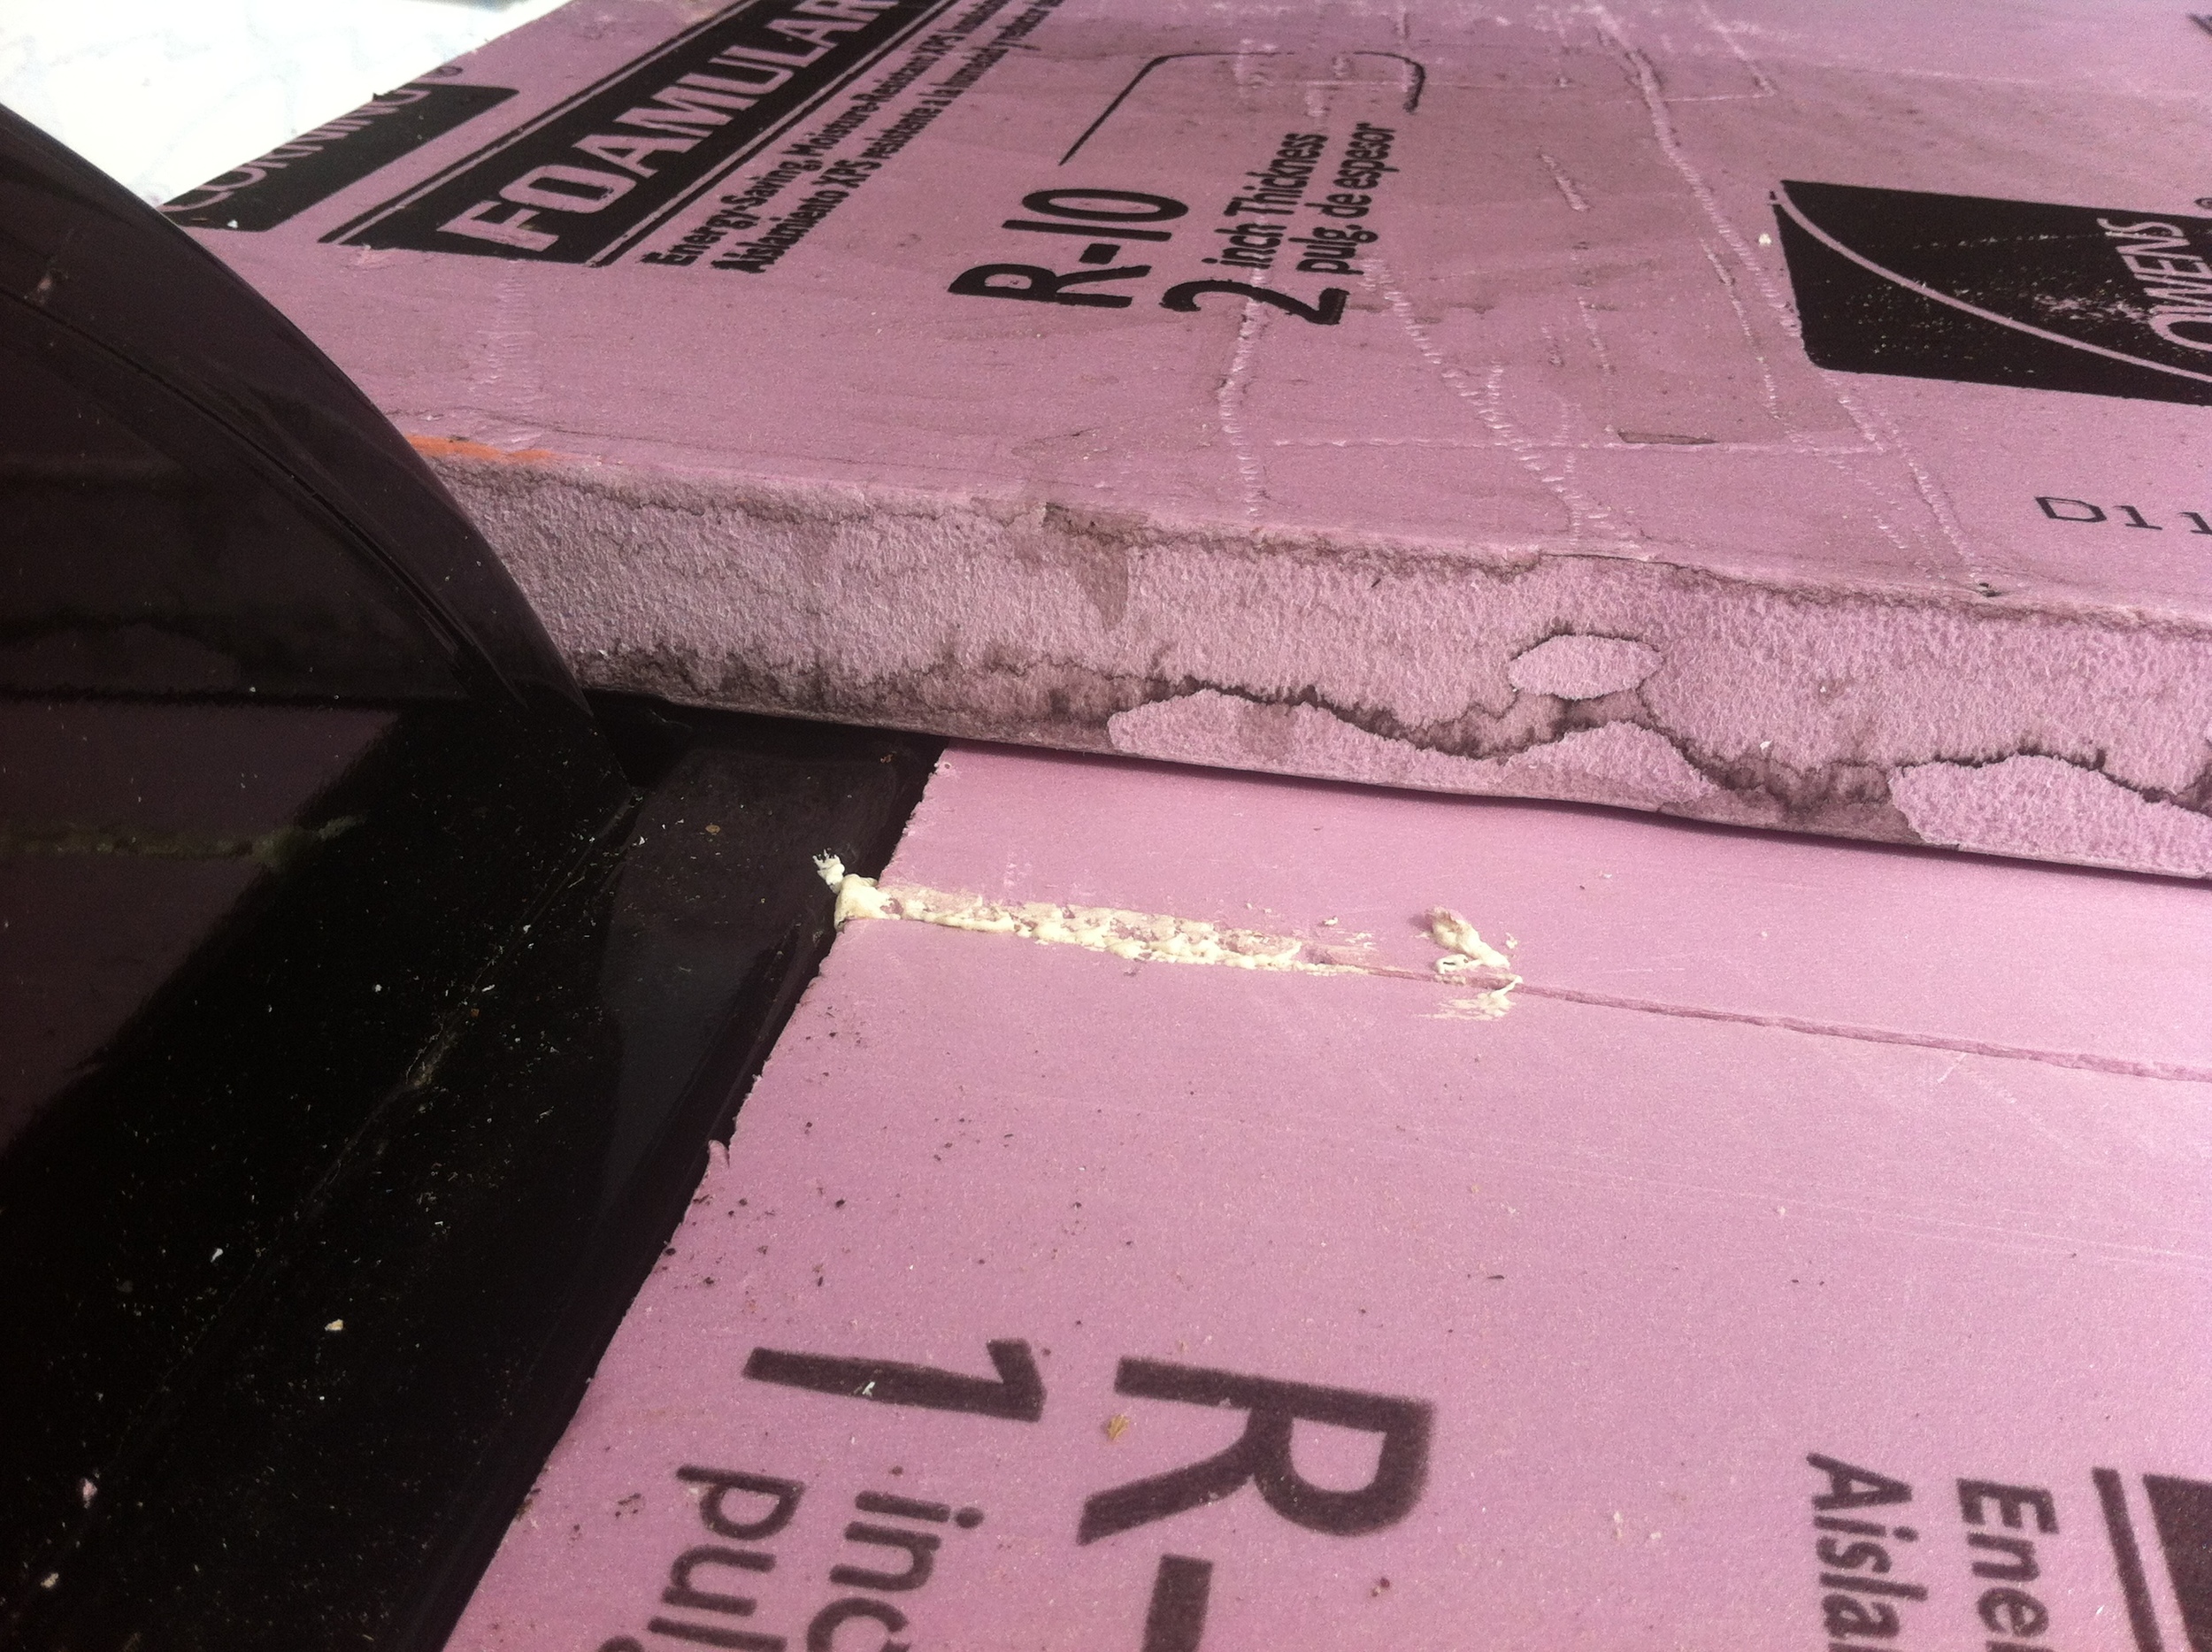
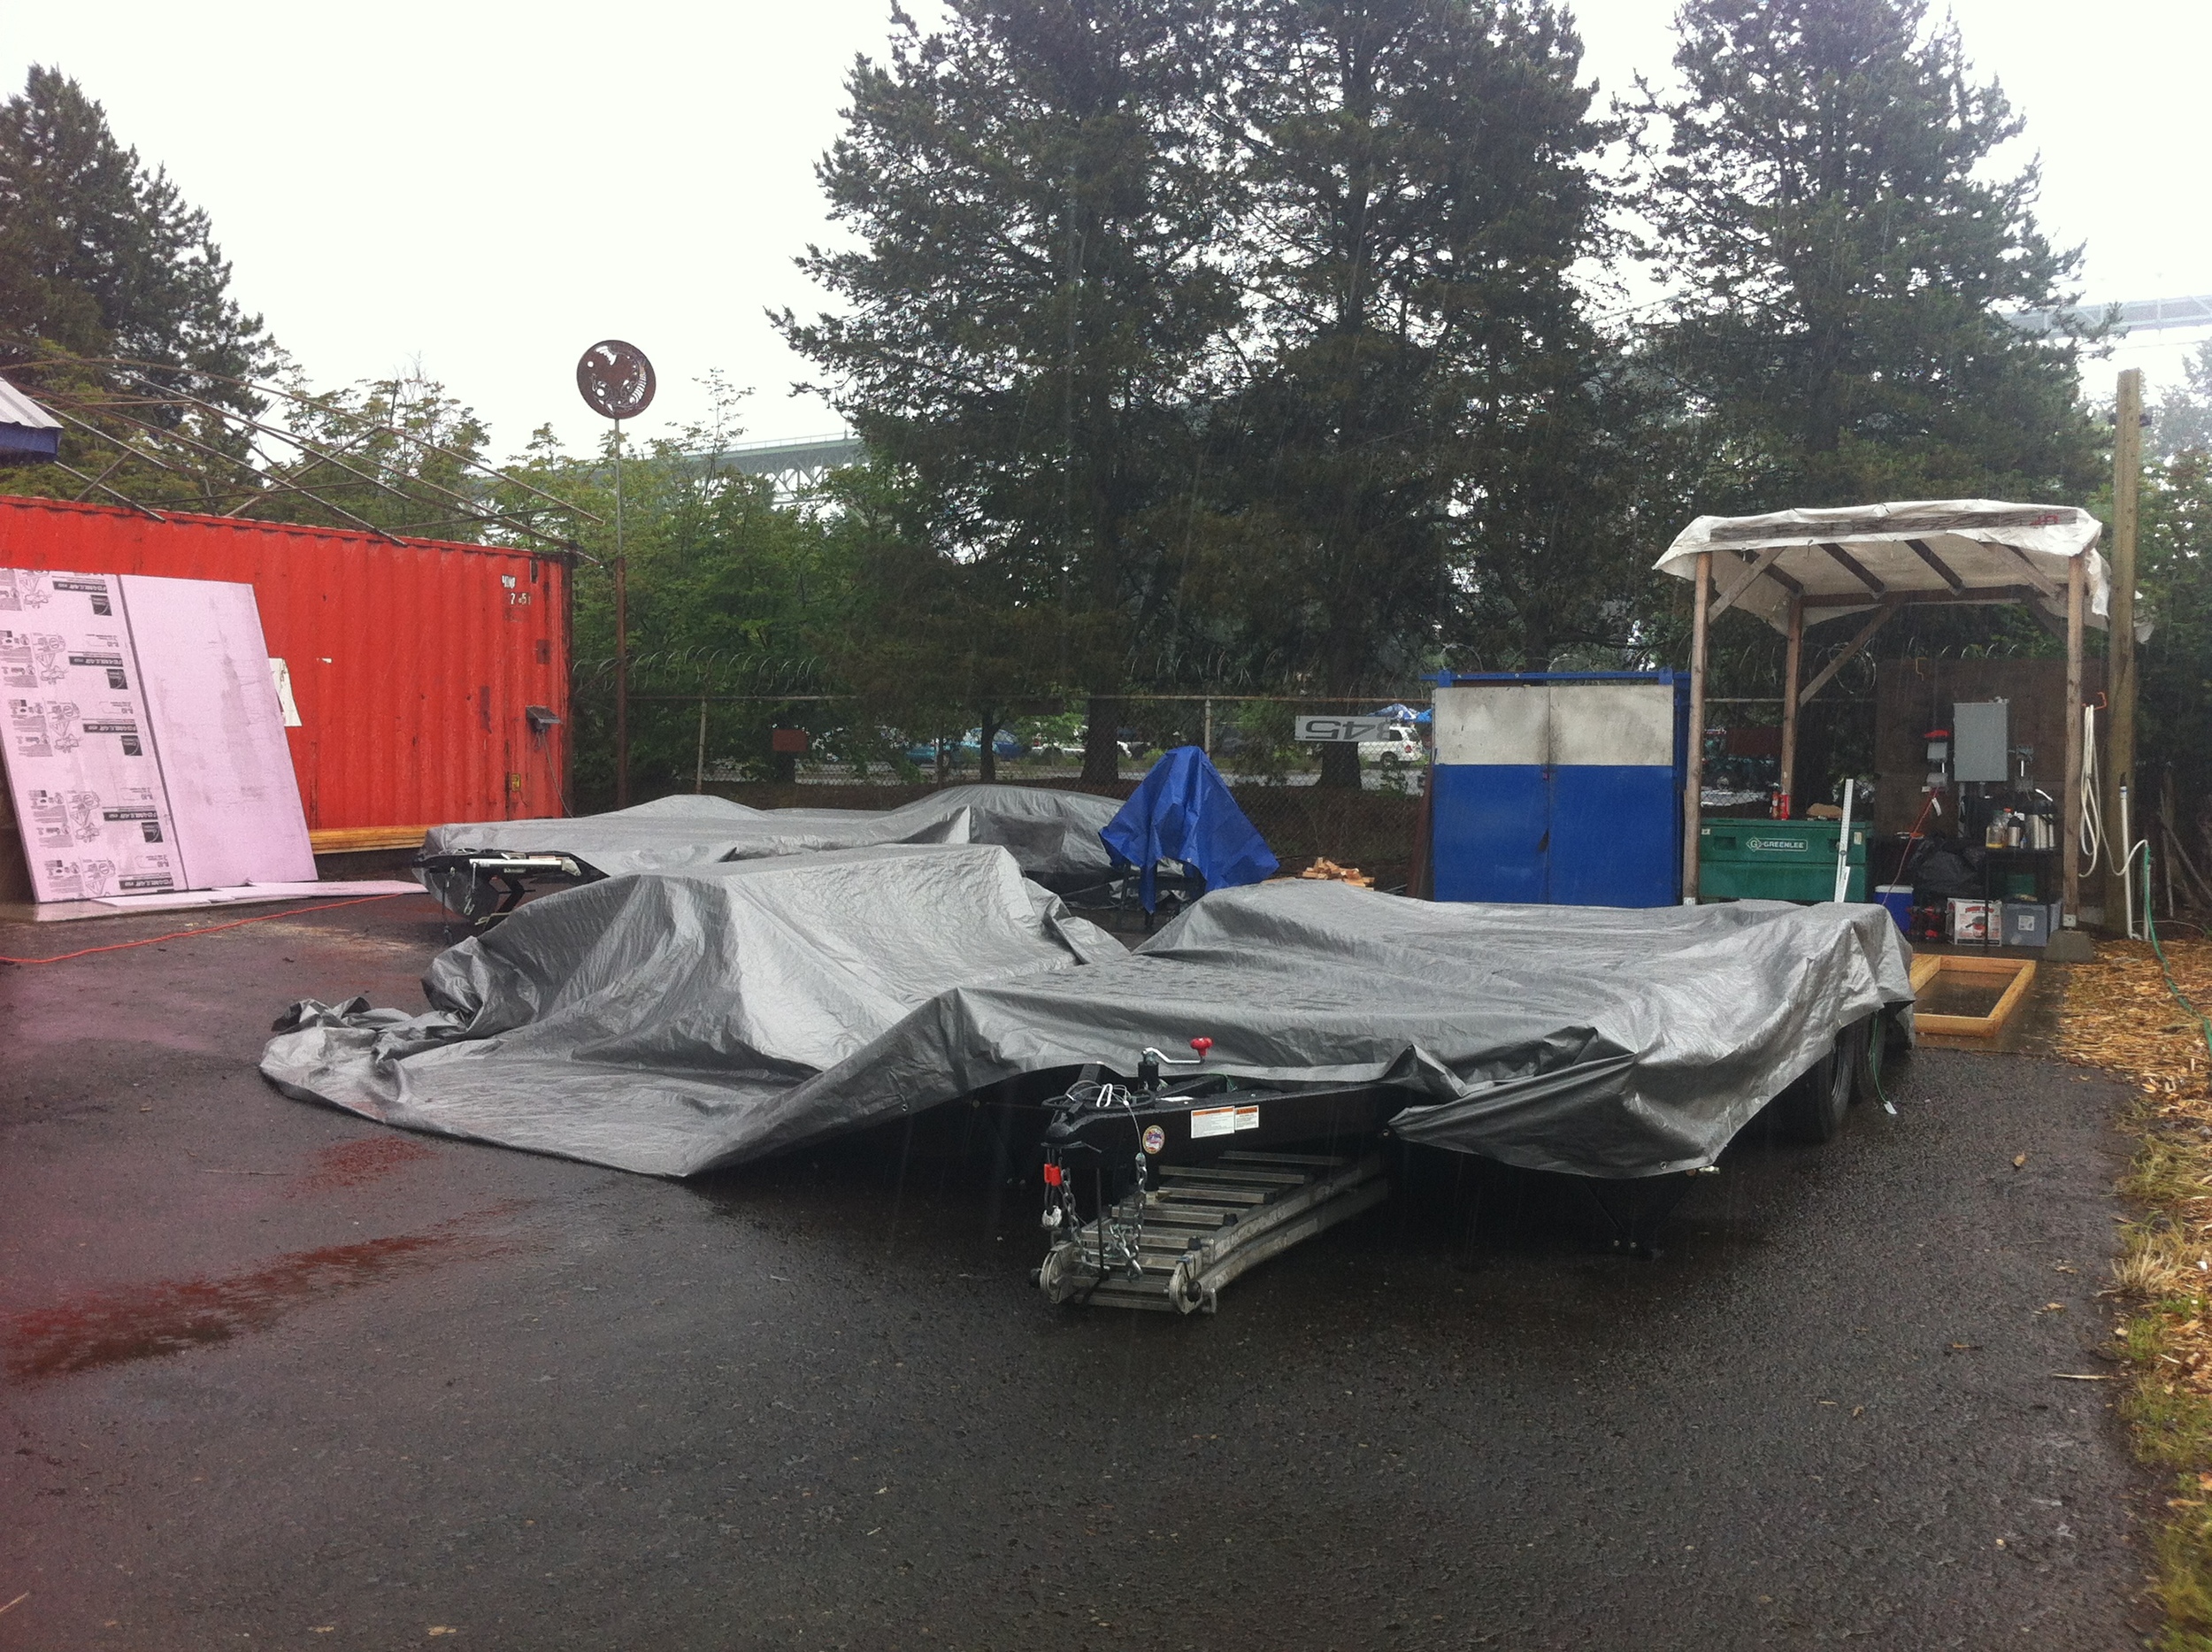
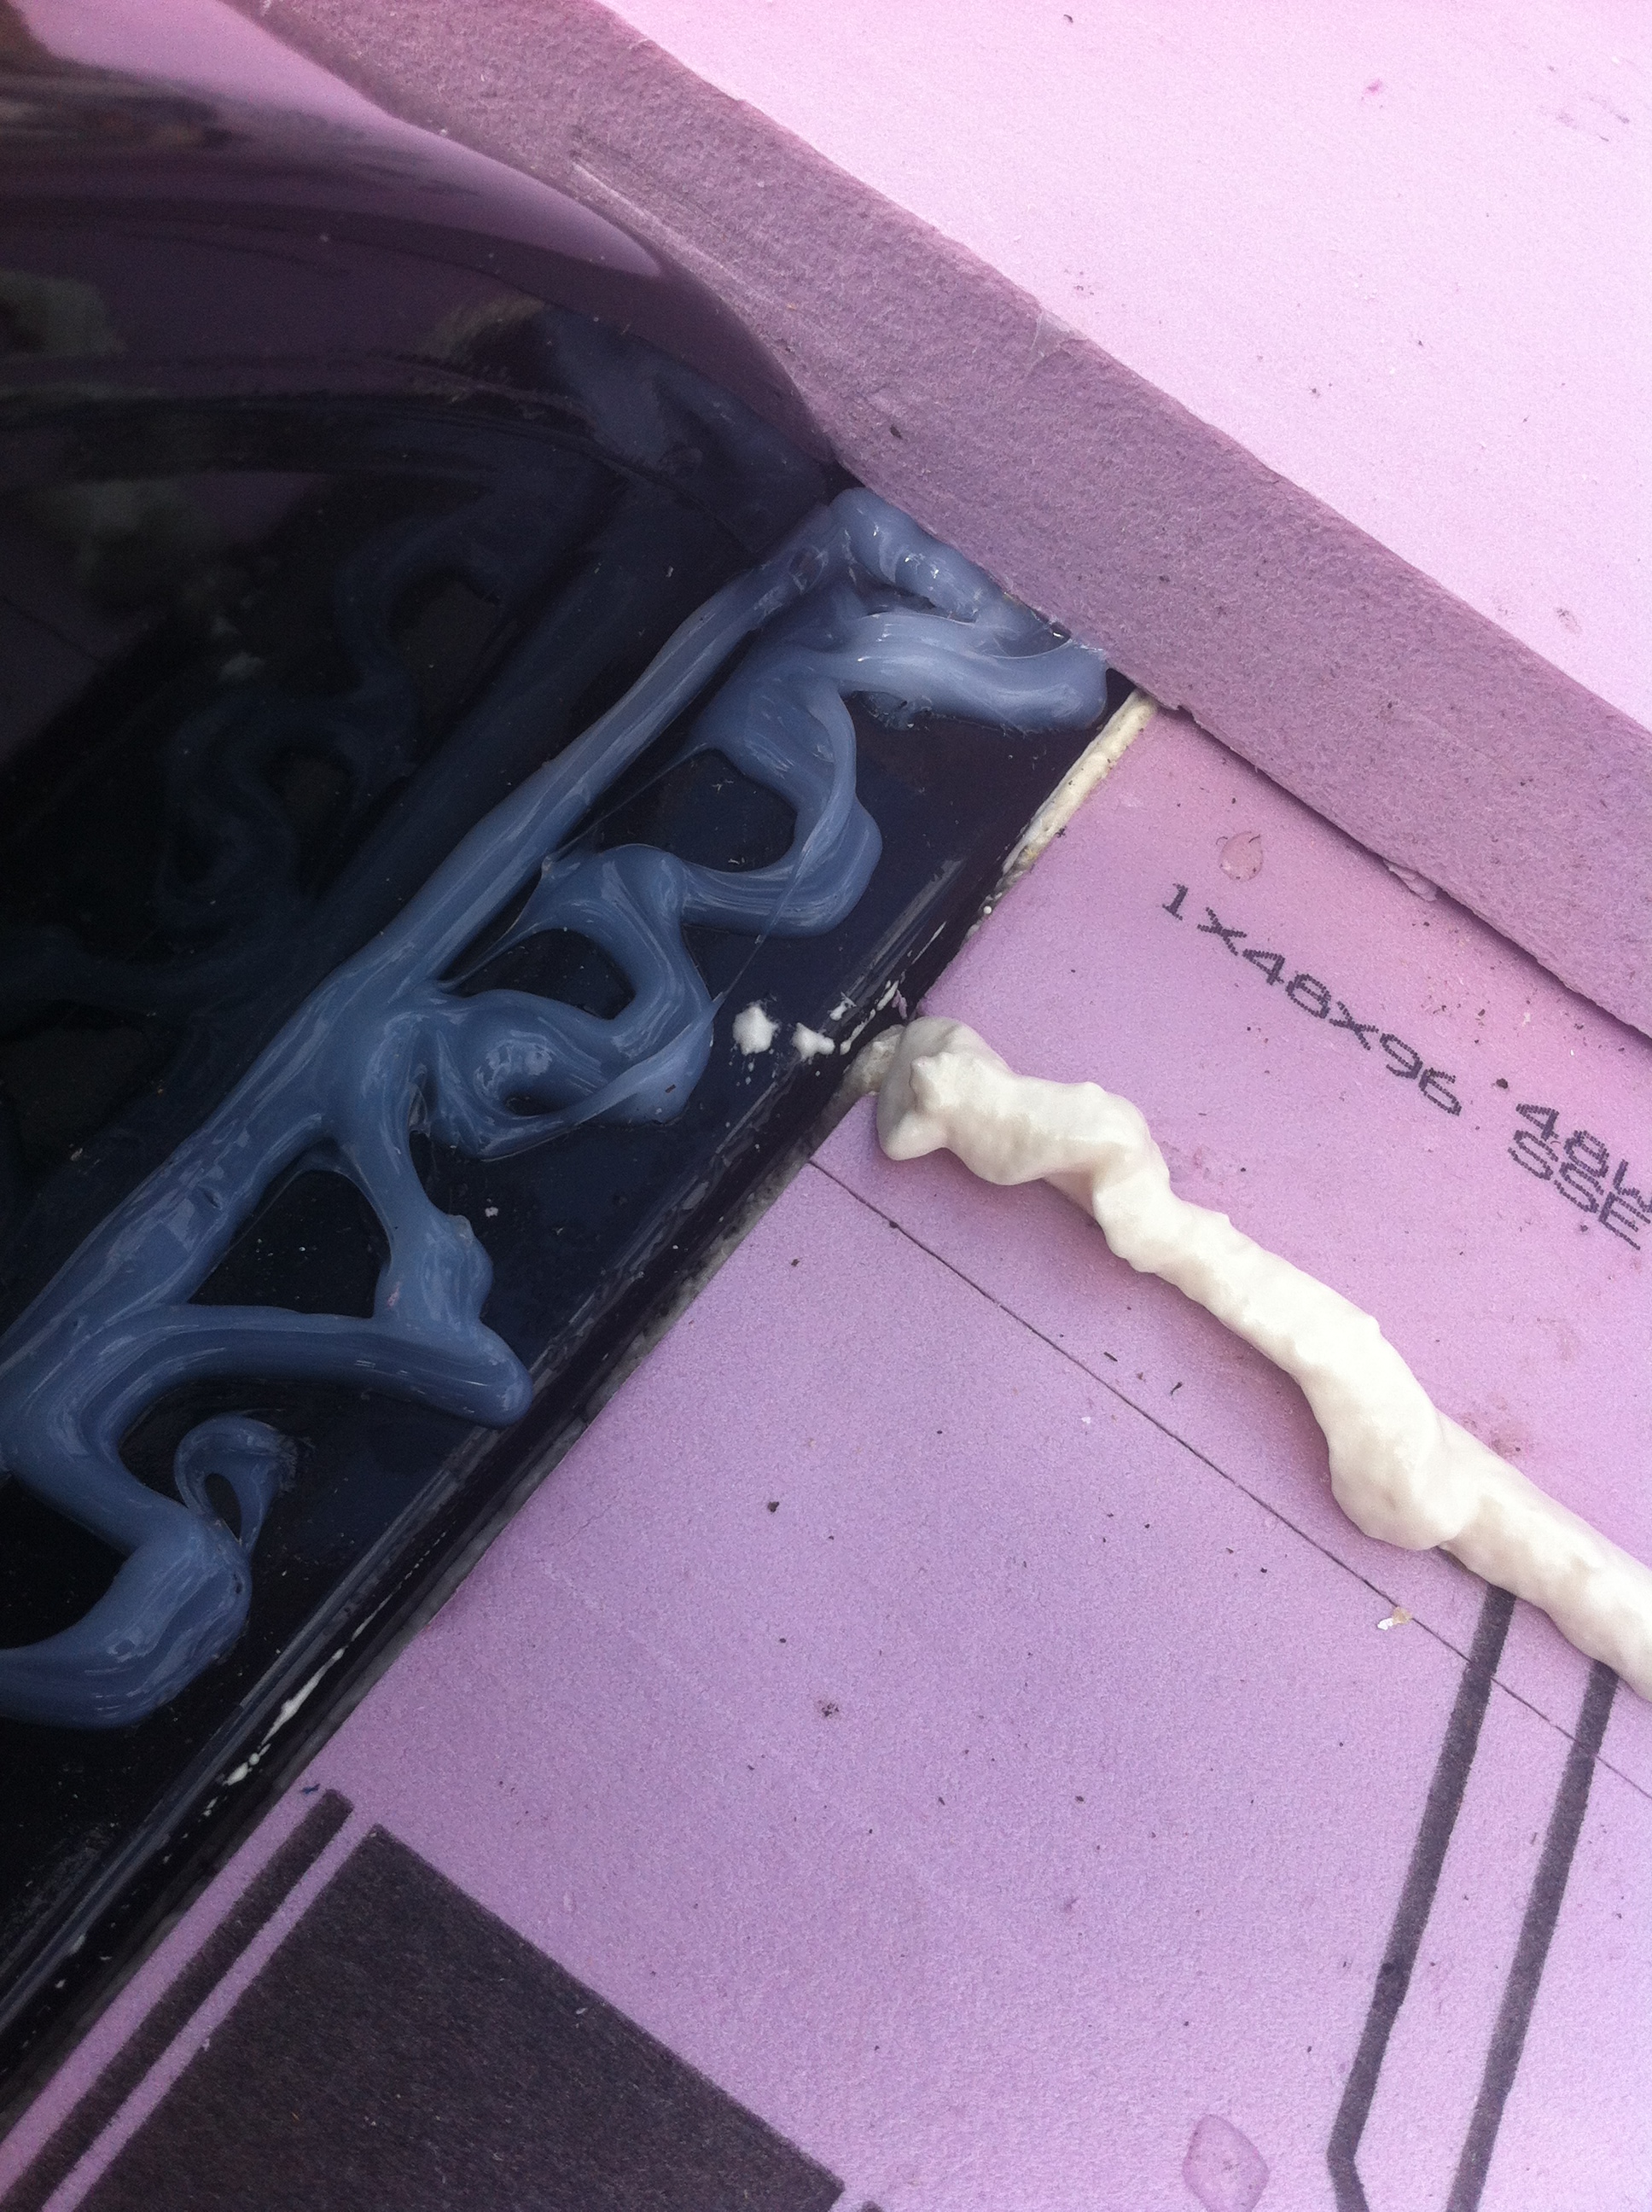
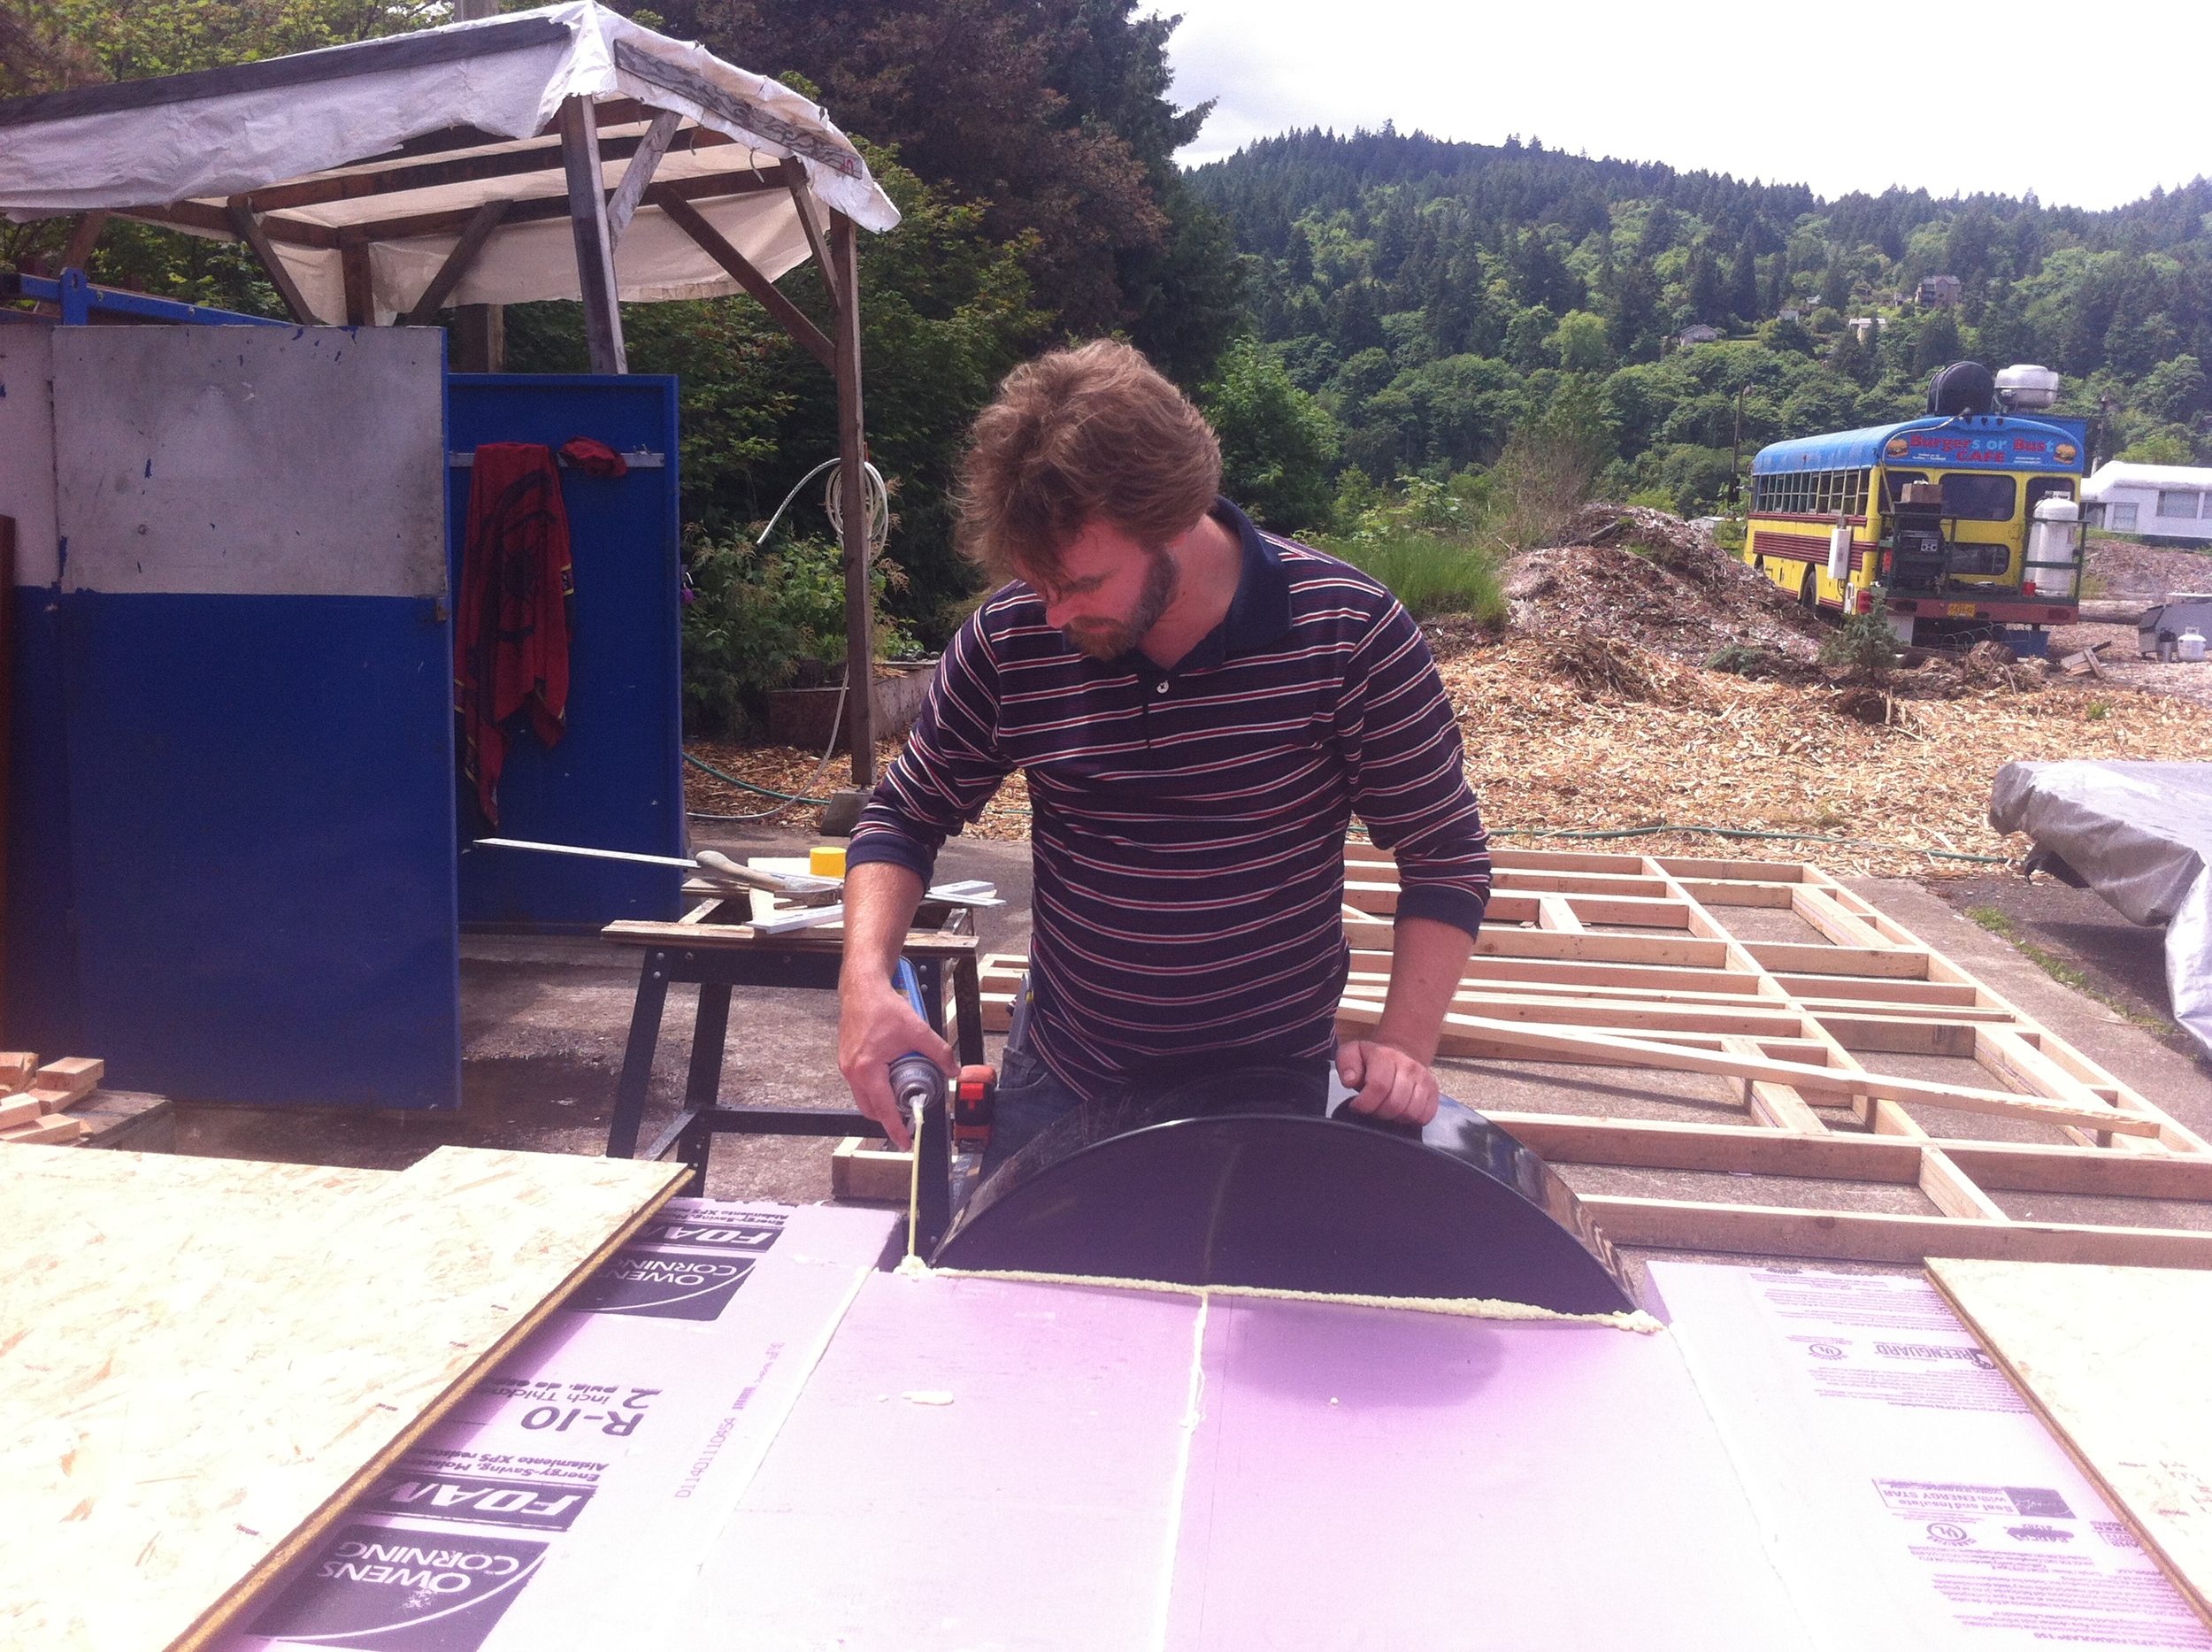
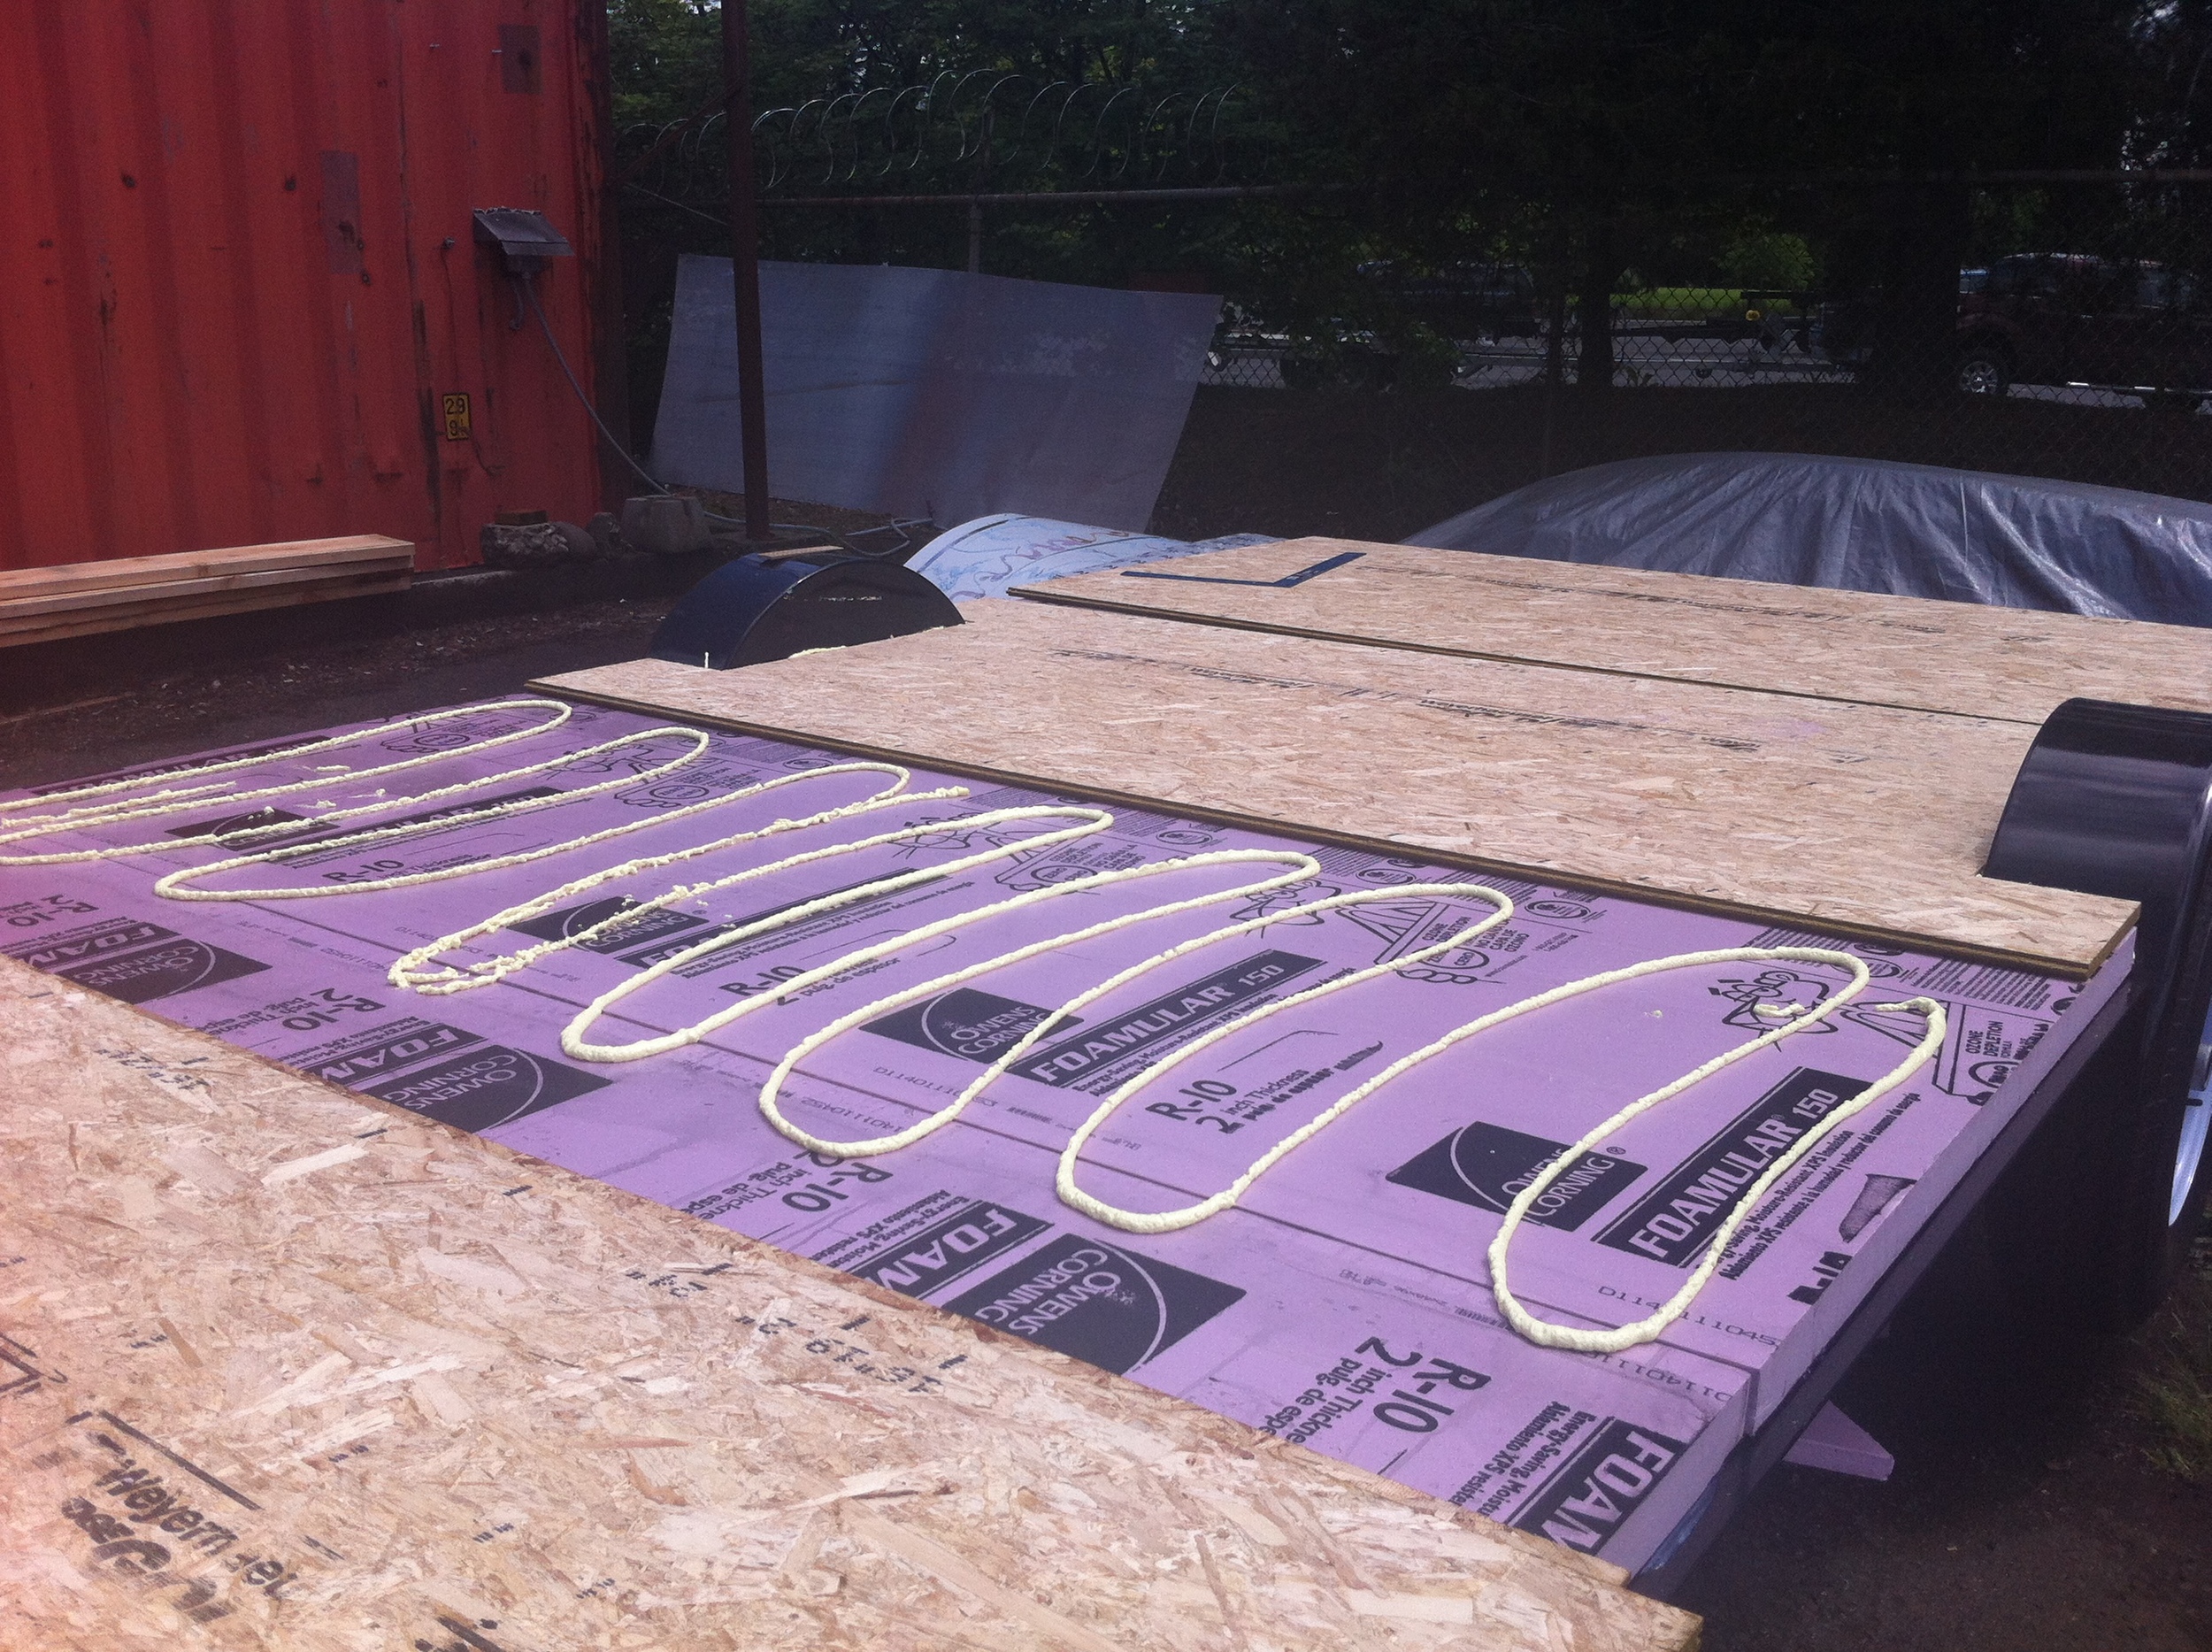
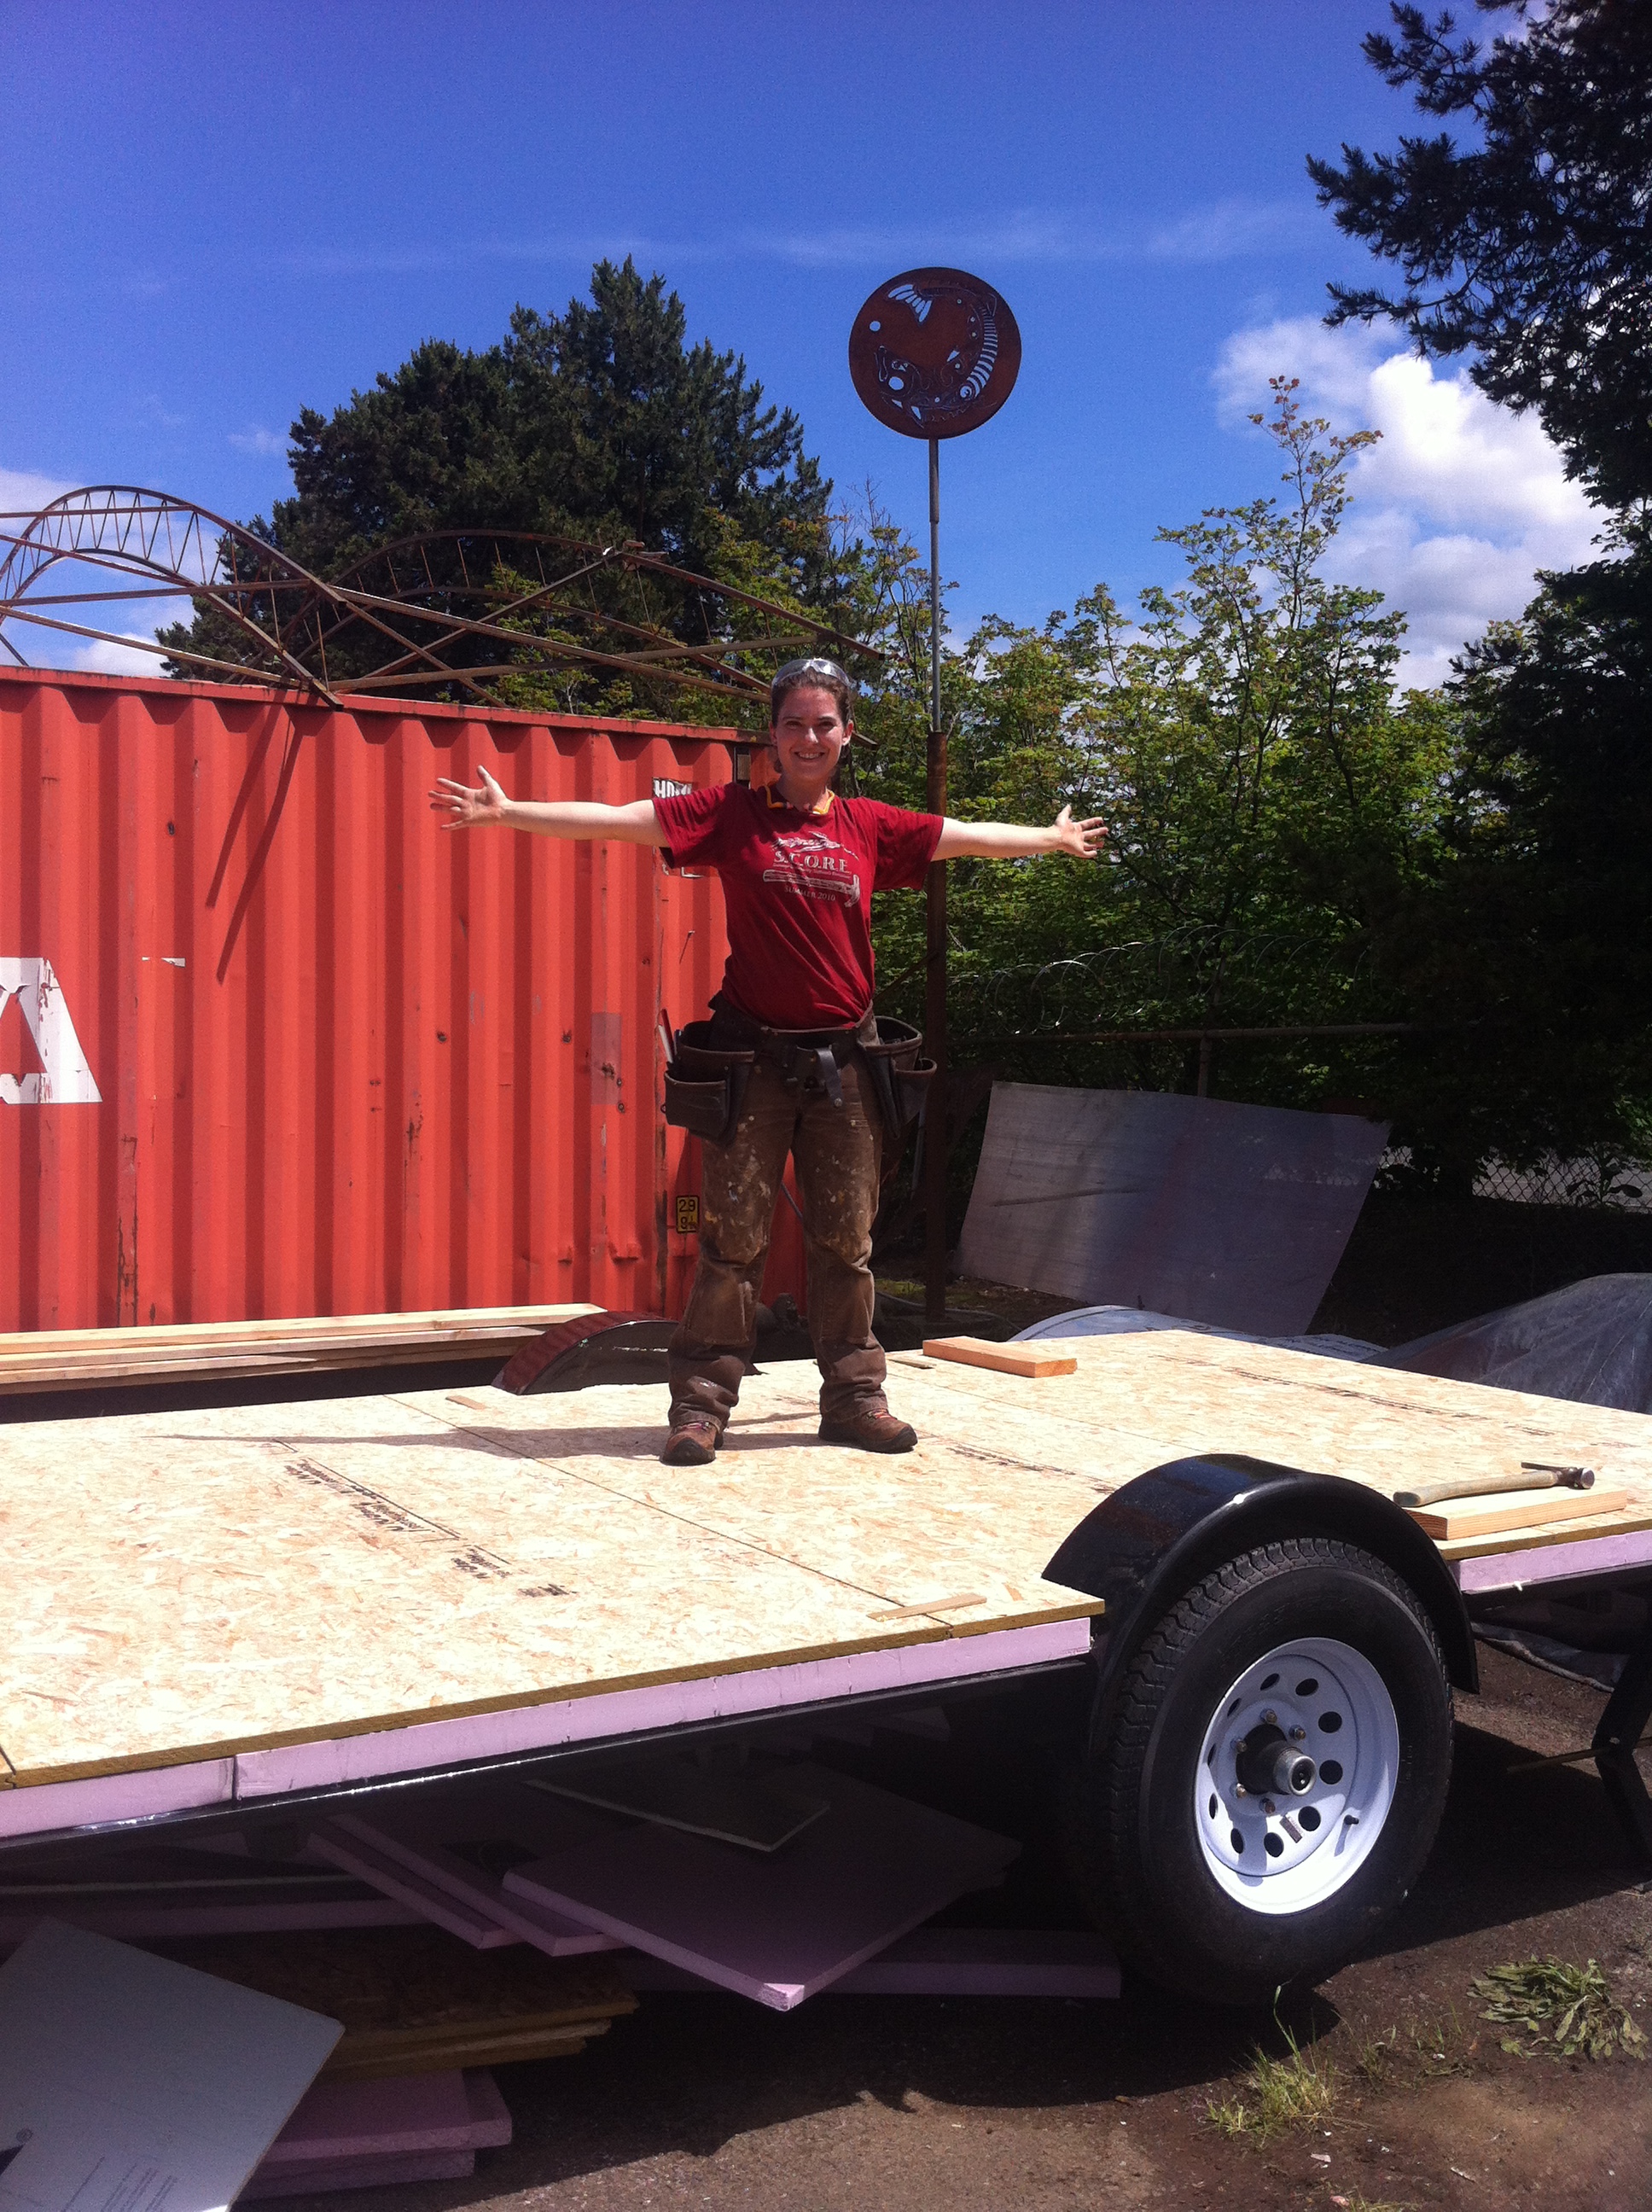
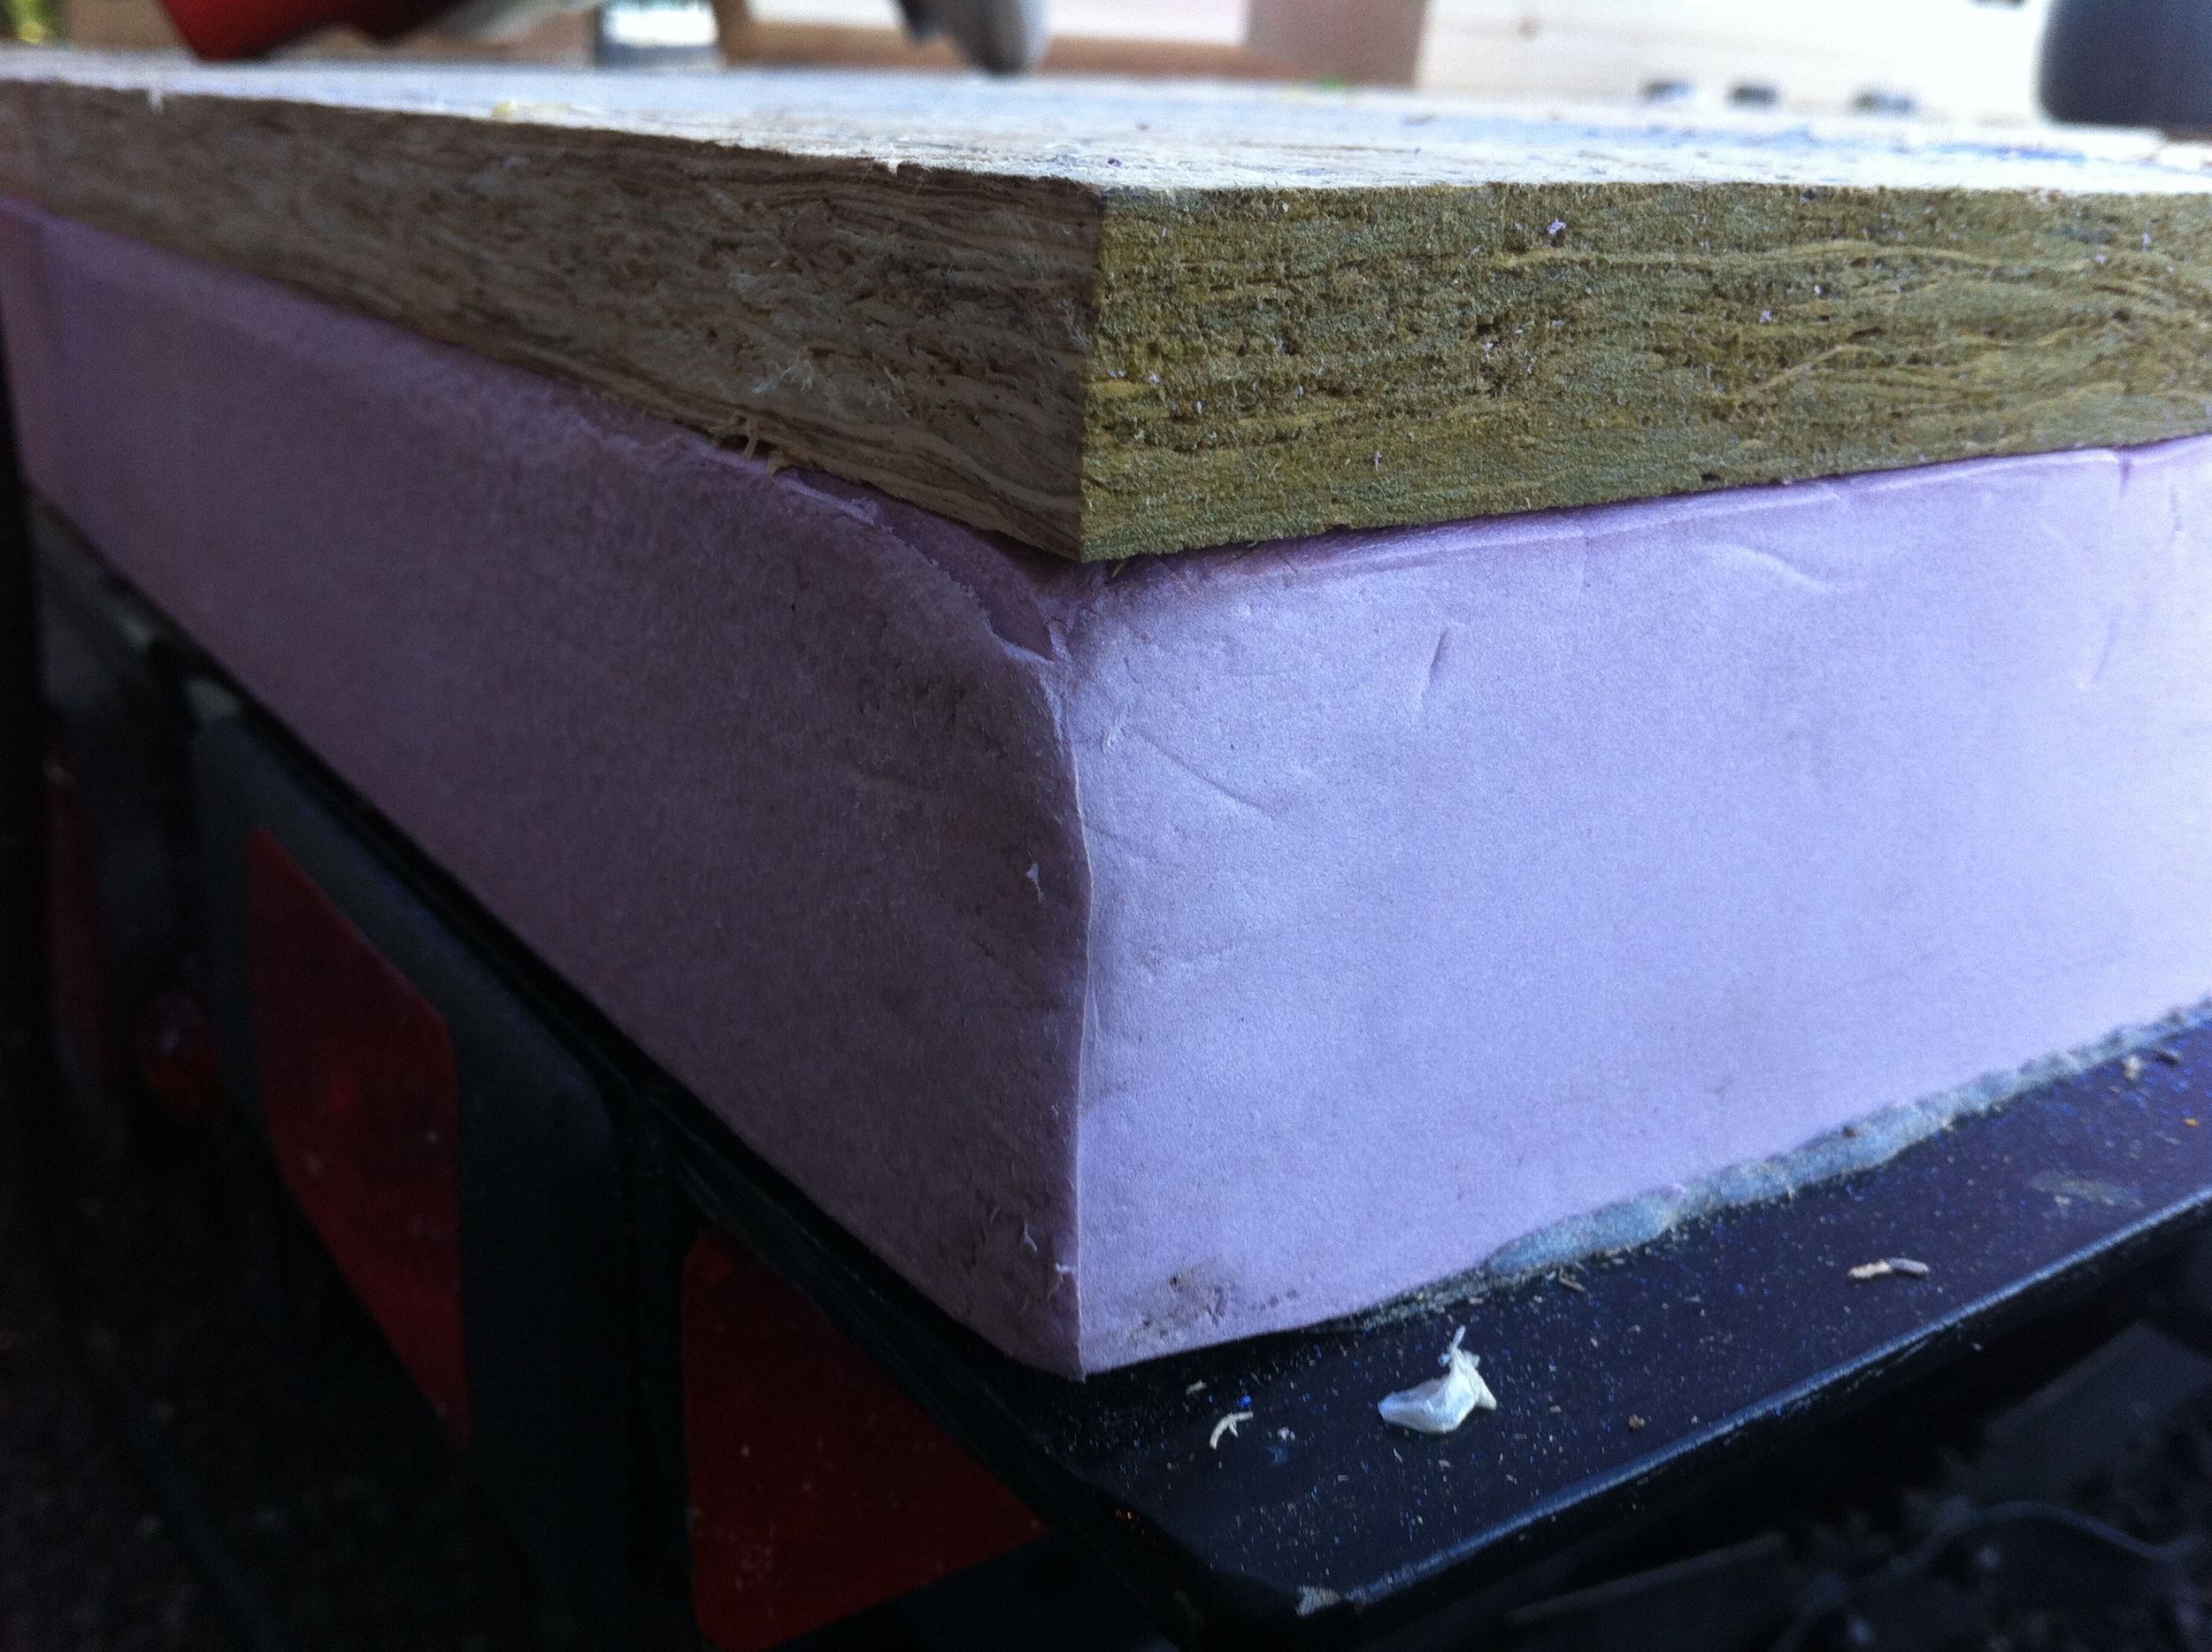
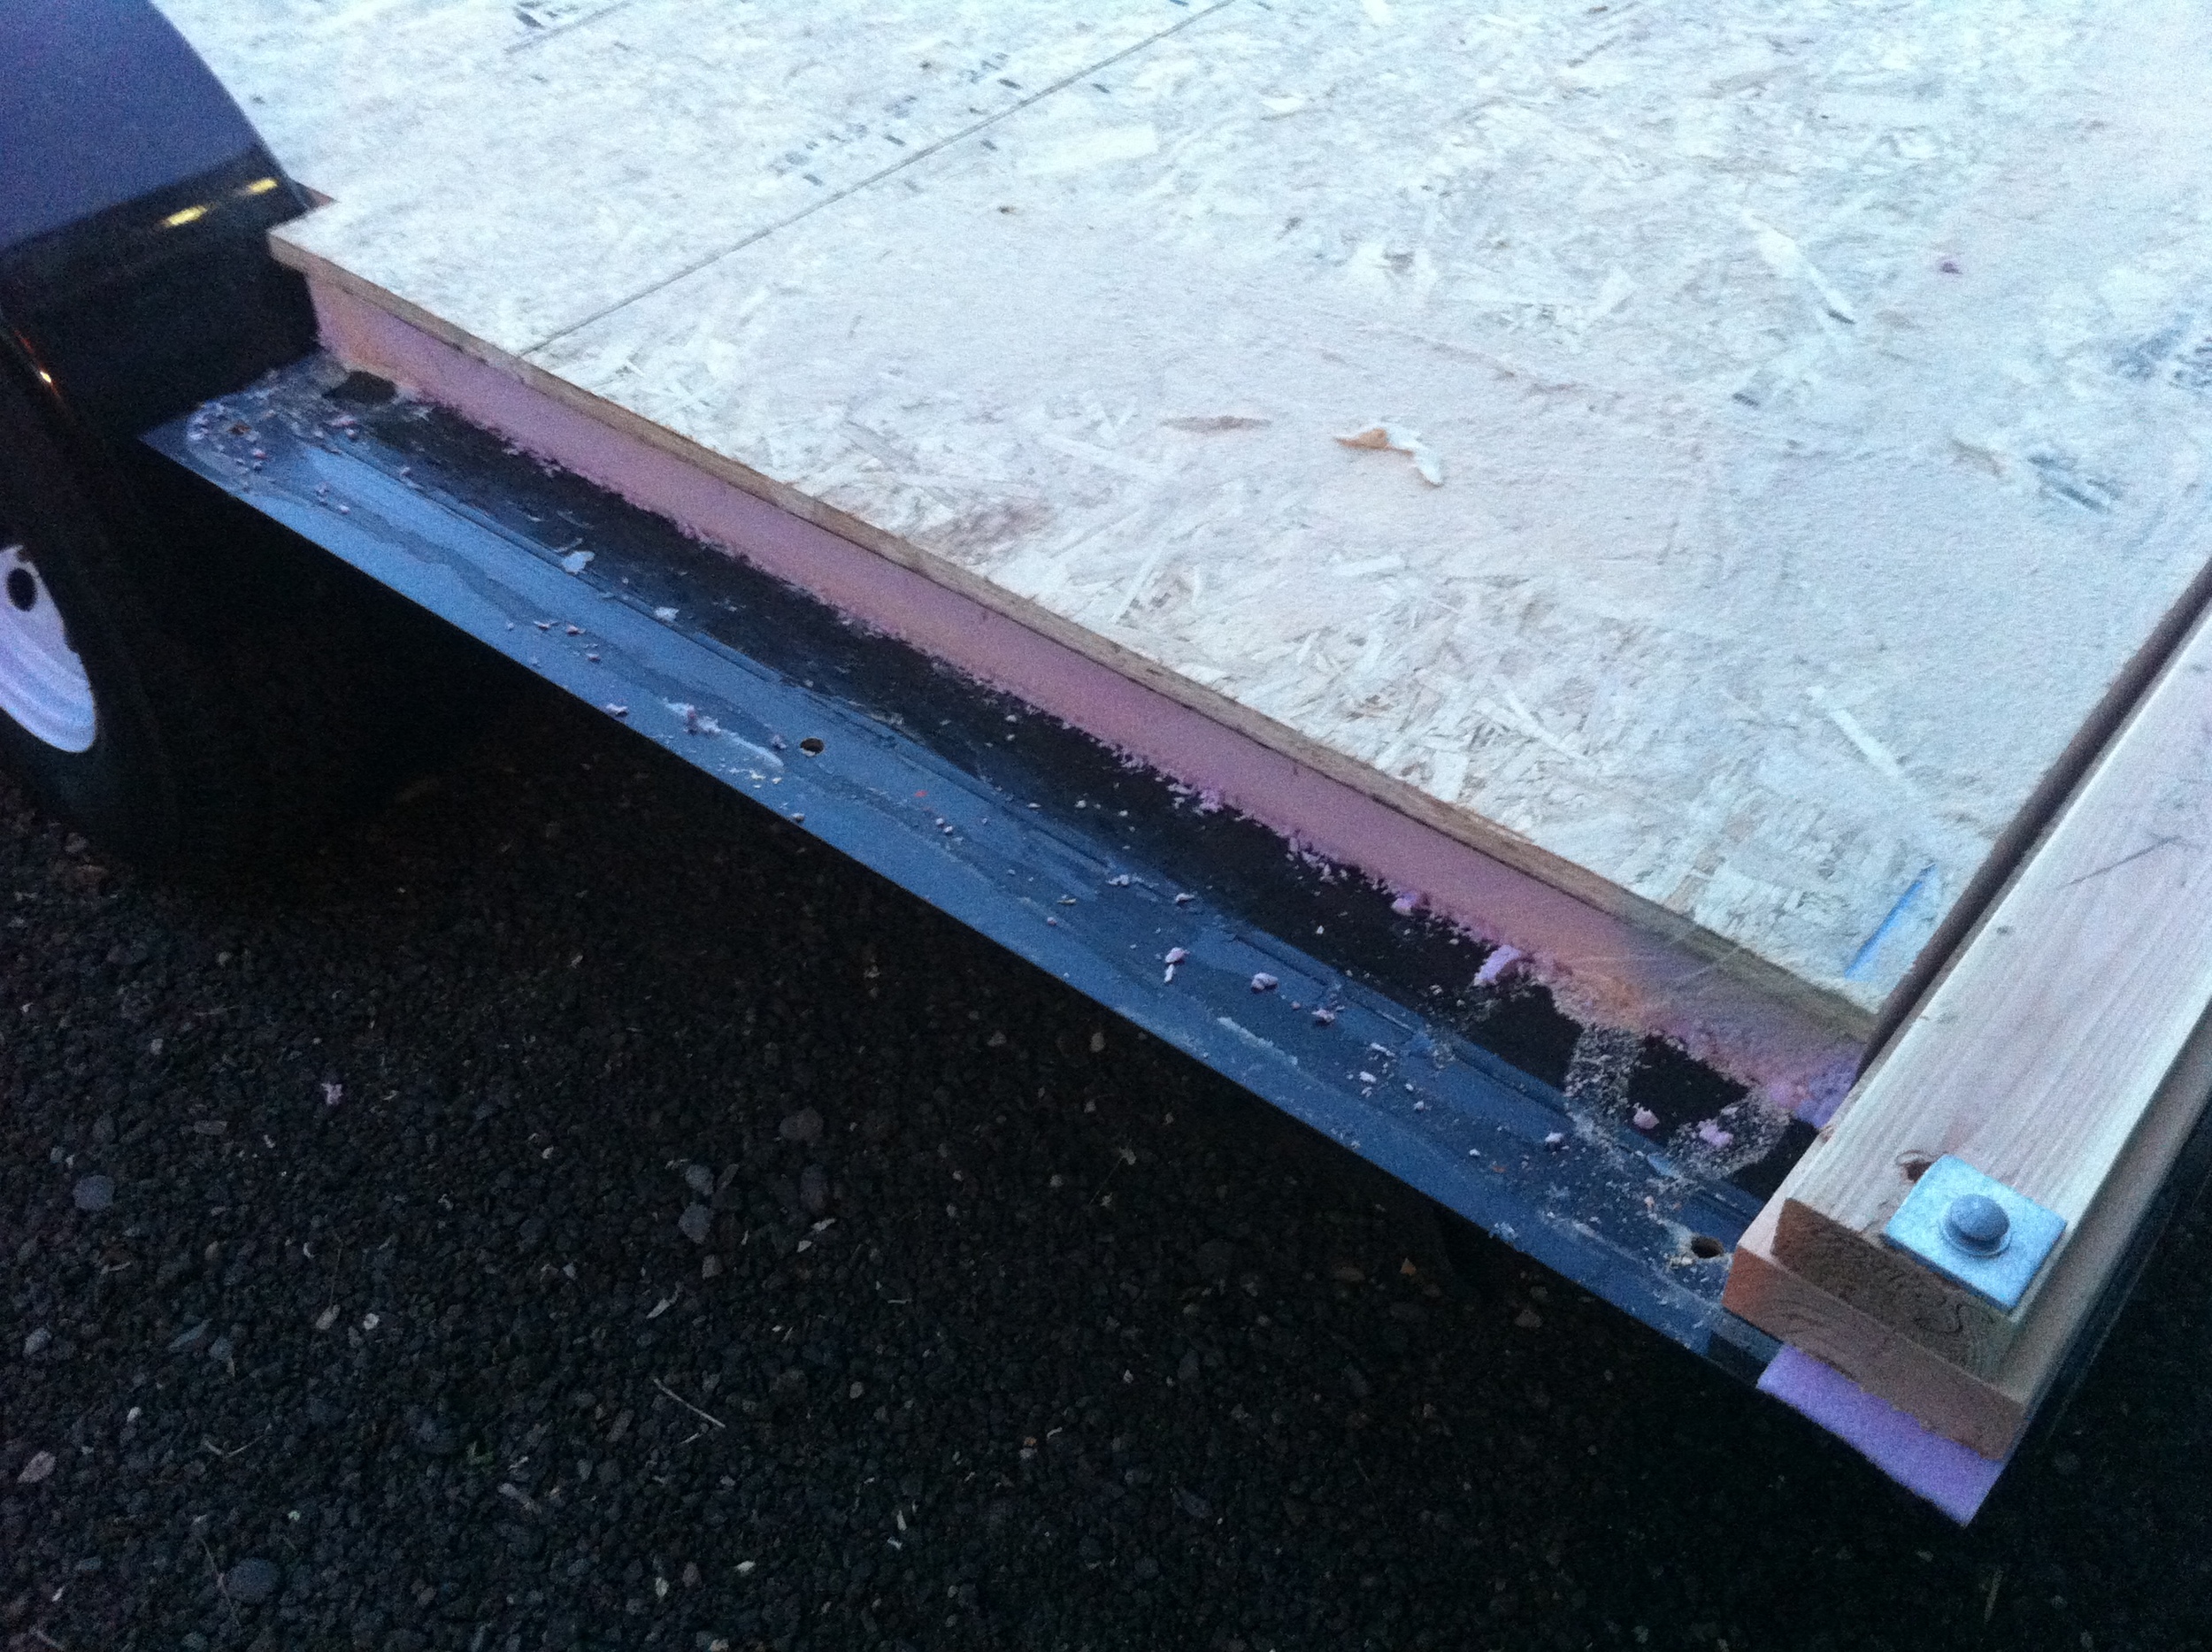
Yesterday we kicked off our second build morning by finalizing the detailing of our trailer and floor system so that the two were ready to be joined. Maile sealed the edge between the pressure treated undercarriage and the trailer with a sealant and Kevin and Peter installed lifting plates and put rigid foam around the perimeter of the floor system. Then we were ready for the real excitement to begin... Harold then brought the boom truck around and picked up the floor panel with an aluminum bar and three neverending loops. He hoisted the panel over to the trailer and set it into place.
T42 Undercarriage & Floor Insulation
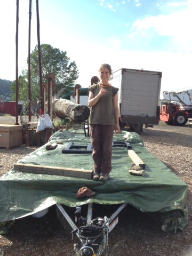
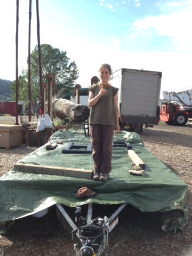
 Our tiny house build has begun! On Sunday Isha and I moved our tools down to our build site at Green Anchors. It was May Day and seemed an auspicious day to start a project like this! Yesterday we kicked off our first Build Blitz and with the assistance of two great Tiny House Helpers, we made great progress on our floor system.
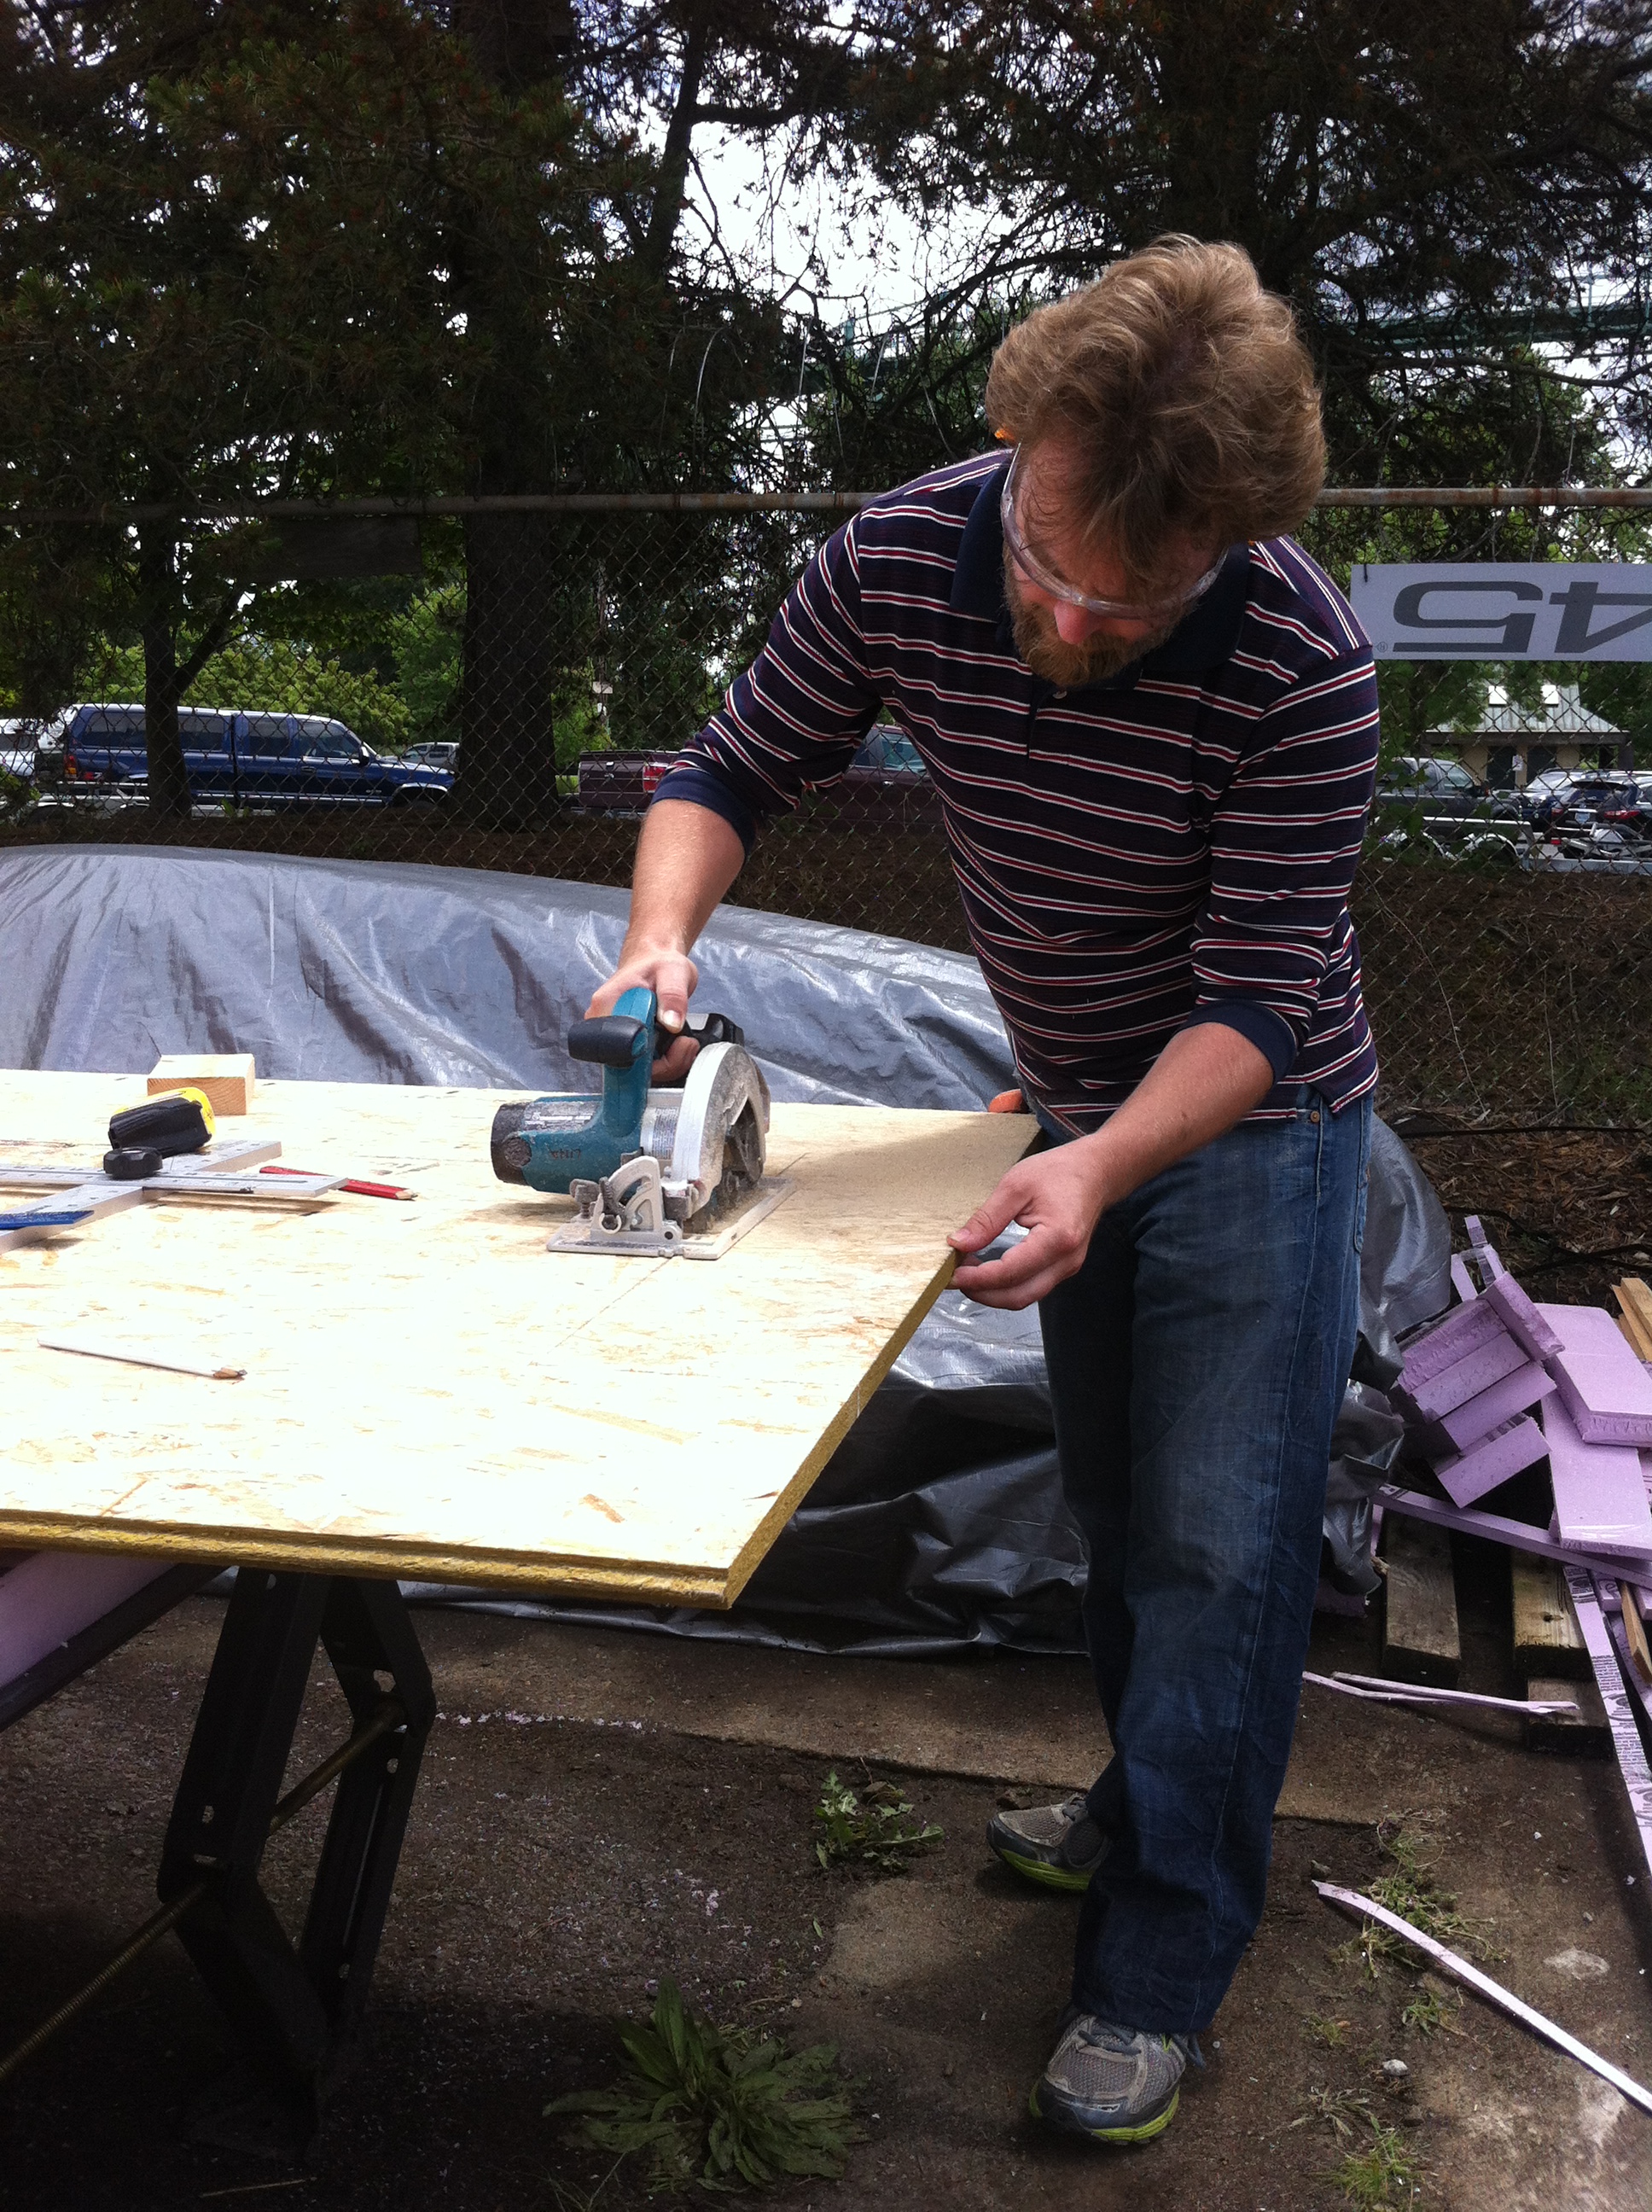
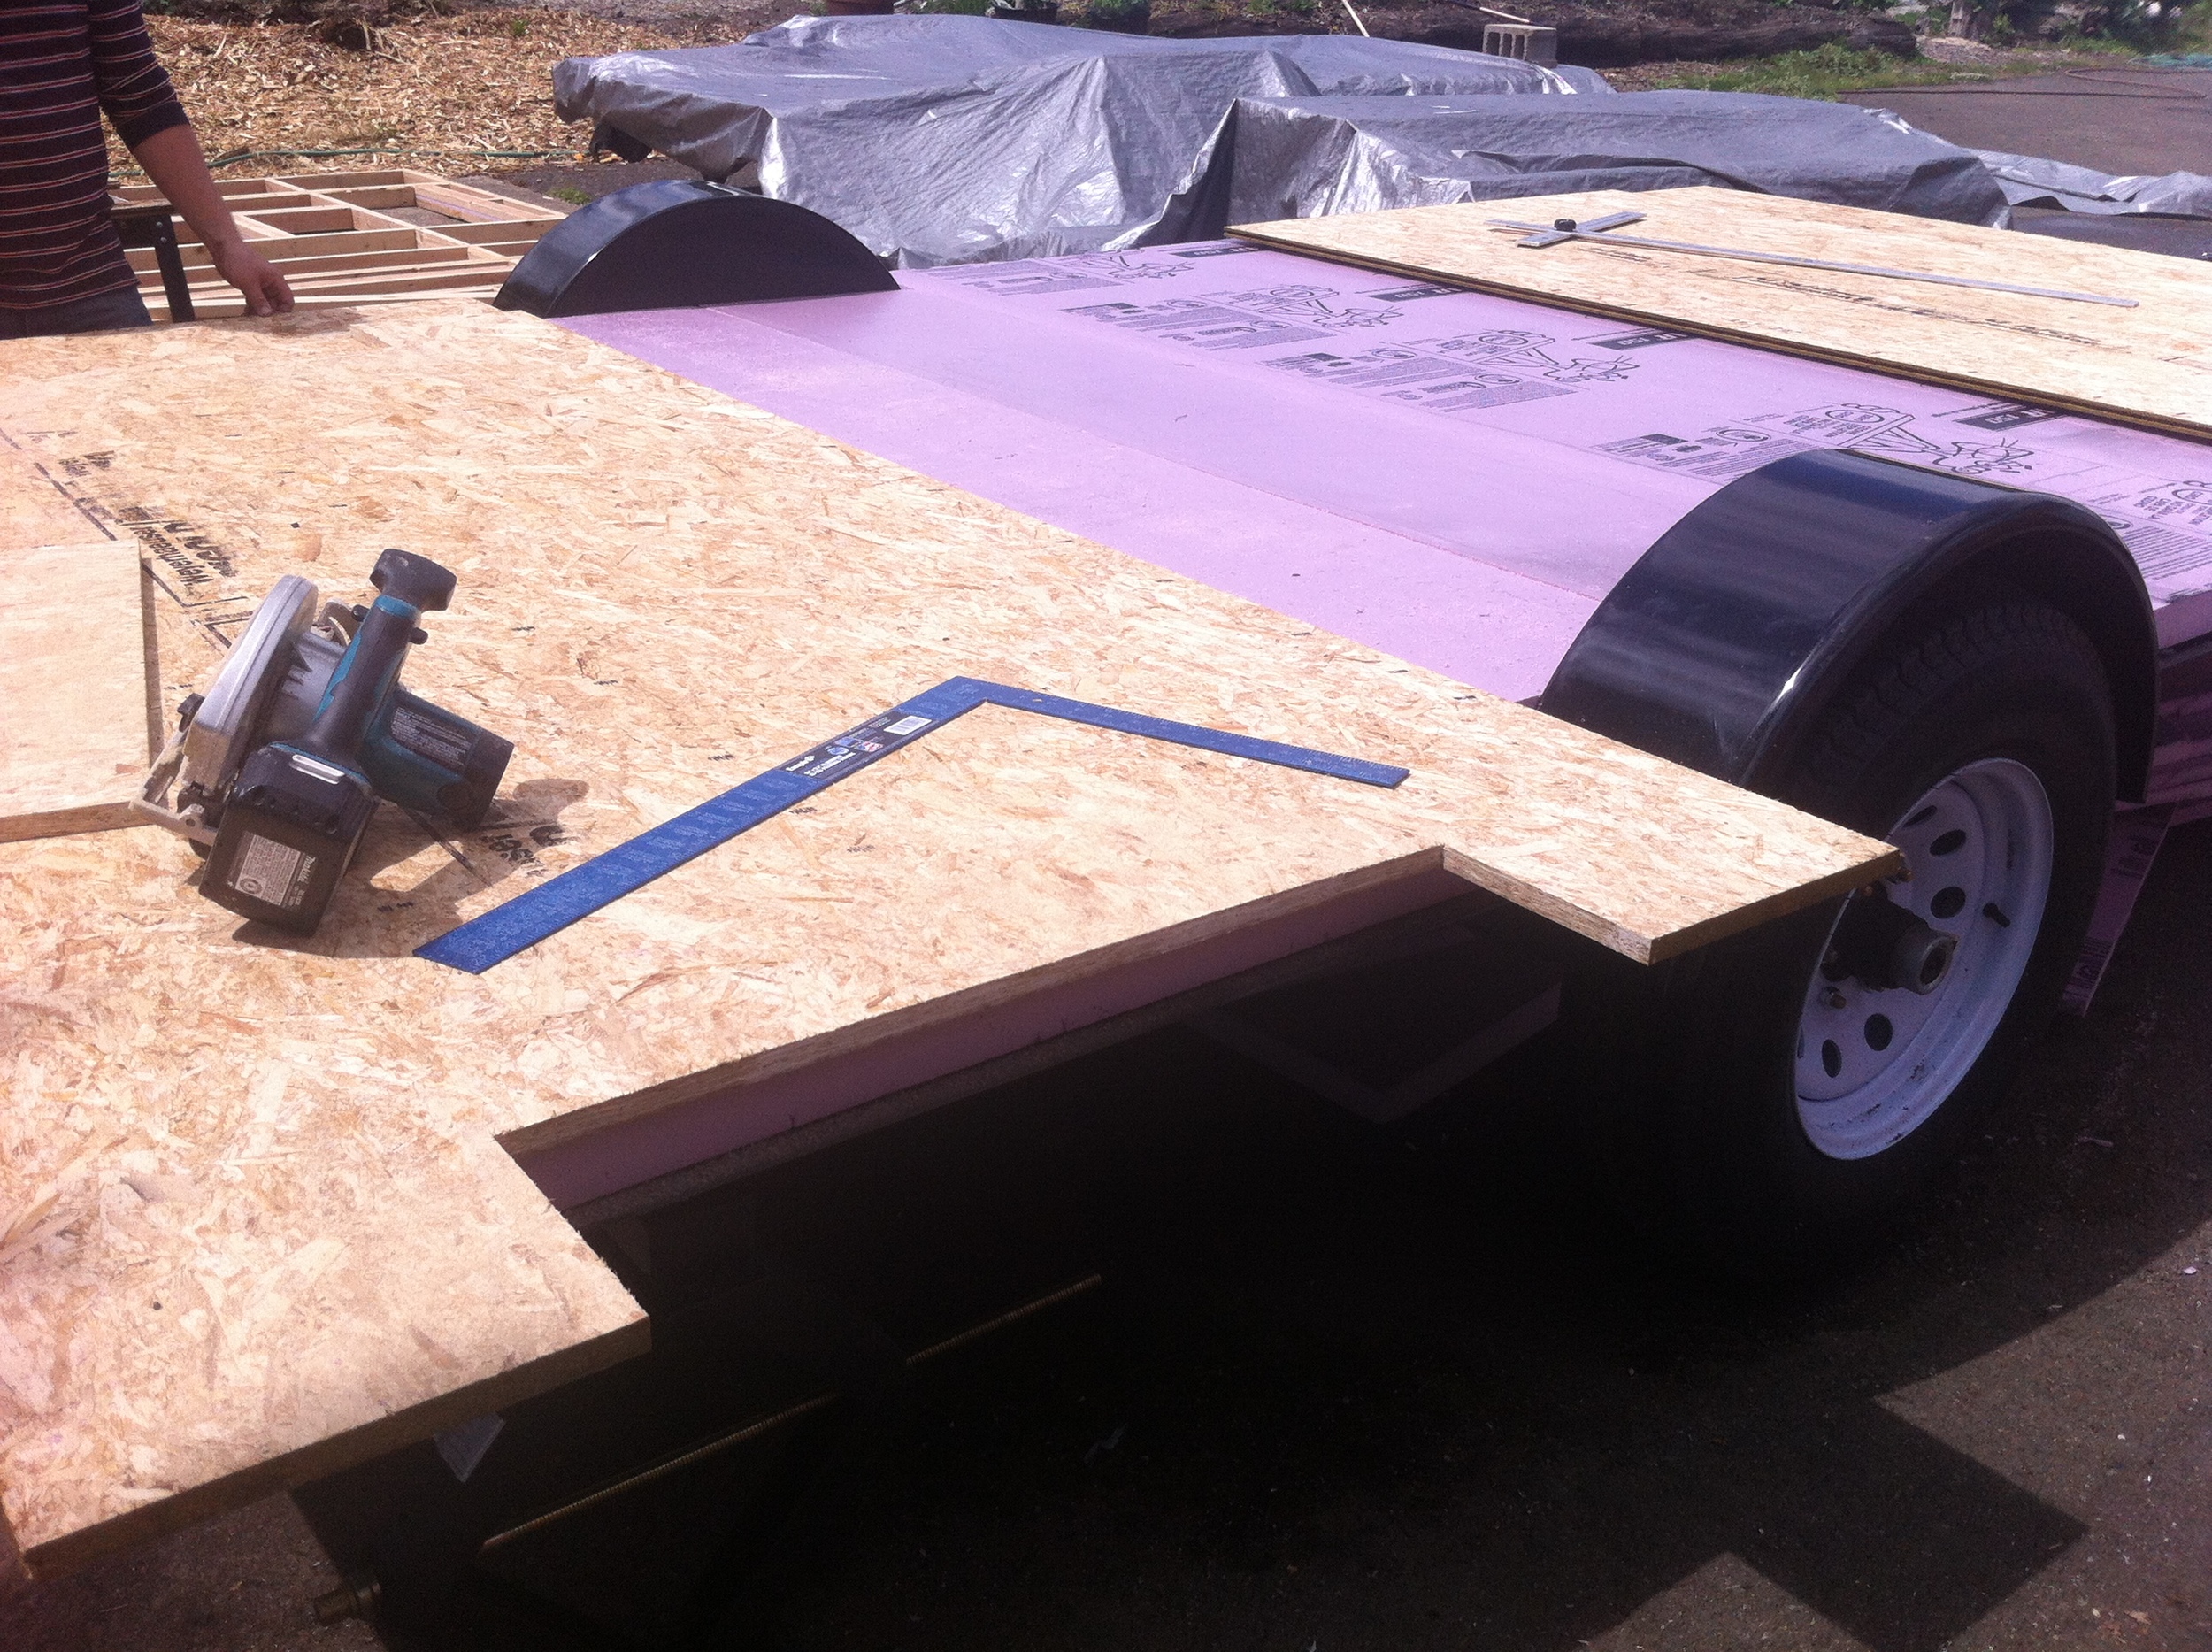
We started out Build Day #1 yesterday with intros, safety, and a site orientation. Then we started cutting our 1/2" pressure treated plywood to fit inside the trailer frame, spanning the cross ribs, which are dropped to the bottom so that we have the full 6" cavity to work with. We used one full sheet of ply and ripped four of them to about 47" and one to 42" wide to get them to land properly on the trailer ribs. Once they'd been dry fitted we put a bead of sealant down underneath them and sealed the plywood in place with a bead of sealant from the top, too. (If I'm feeling super ambitious I may also crawl around under the trailer and seal up the seams from the bottom, too. Then again, I may decide this is good enough...)
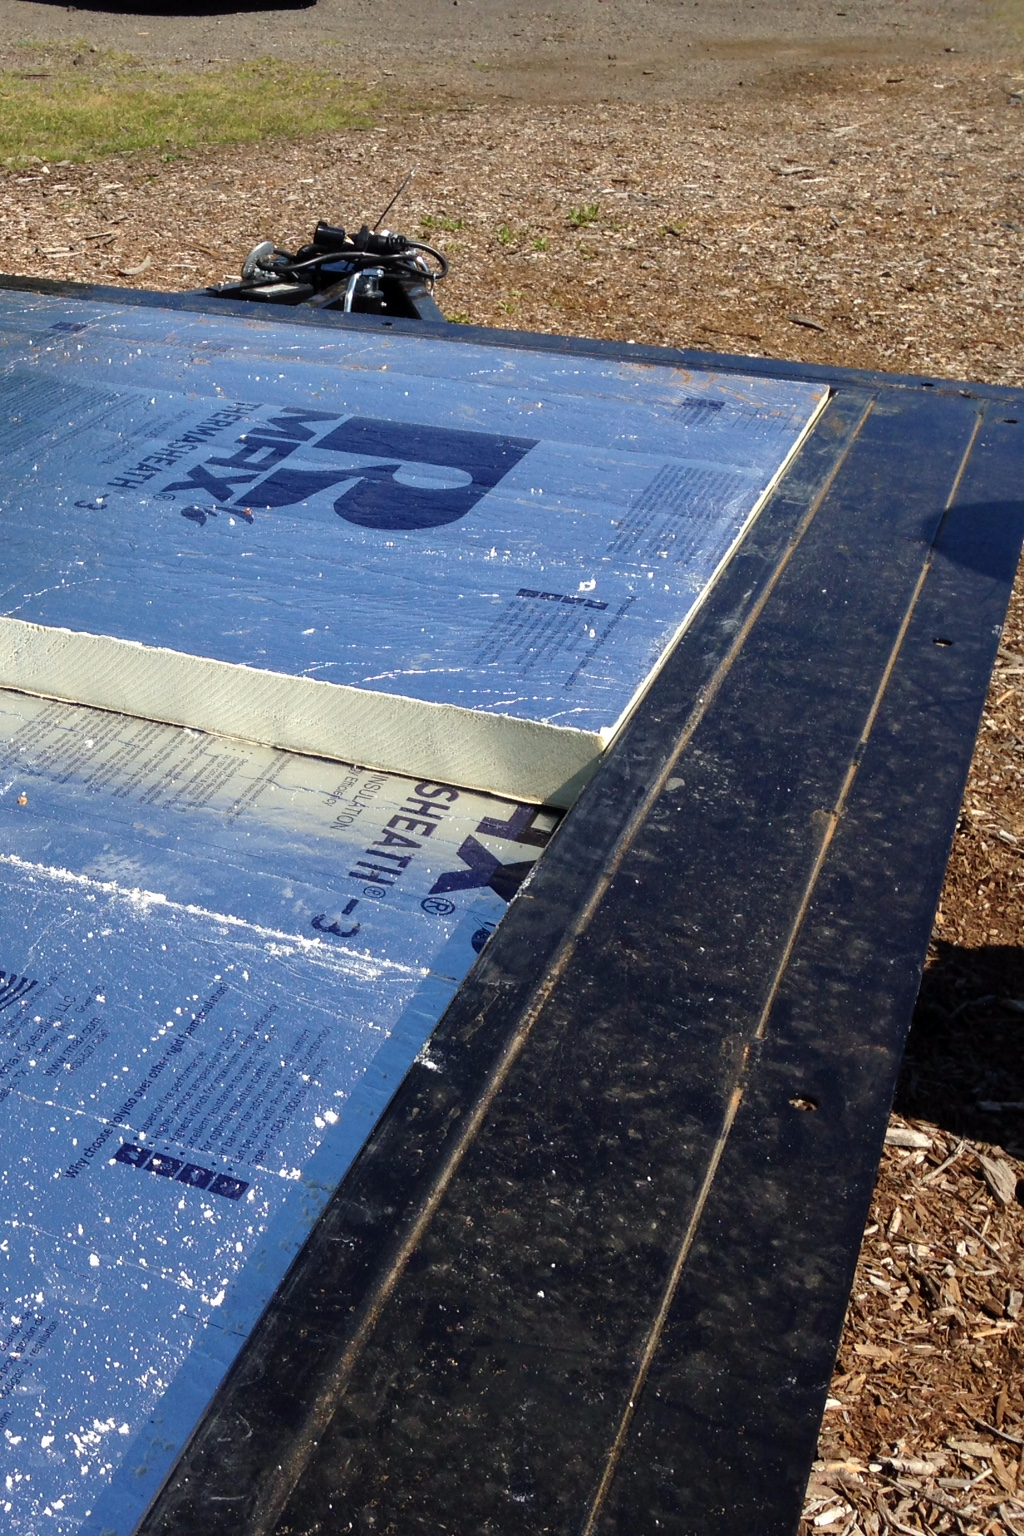
Next we crosscut our 2 1/2" polyisocyanurate insulation to length so that it would fit into the trailer frame. We ripped the first sheet in half so that the insulation seams would be staggered from the sealed seams of the PT ply. Then we crosscut our 3" polyiso insulation to length, inserting them with the seams staggered from the first layer. We ripped our last piece to fit in, just so. Our 79 1/2" measurement fit really nicely without us having to shoehorn the insulation into place. I've often spray foamed the gaps, too, but we didn't have gaps big enough to spray foam so we skipped the foam! Since we're well air sealed, we should be in pretty good shape here.
We wrapped up the day by gluing our pink seam seal to the trailer frame so that the wooden bottom plates and the OSB subfloor won't be in direct contact with the metal of the trailer. Then we tarpped the trailer and packed the tools in for the day. A good day's work!
You might have noticed that our tiny house floor system doesn't have a wooden joist system inside the trailer frame. That wooden floor system is important if you're using fiberglass insulation and need supports for your subfloor. However, I've never figured out why it would be necessary if you're using rigid foam insulation since foam board insulation has decent compressive strength. So we've basically made a SIP inside the trailer frame because we used a 1/2" PT ply undercarriage as the bottom skin, 5 1/2" polyiso foam as the insulation, and then 3/4" T&G OSB subfloor as the top skin. We didn't glue the pieces to each other, so they're not structural the way they would be if they were a true SIP. However, we have gravity working with us here, so it would take a pretty major event to separate them again!
This floor system is how I built the floor system for The Lucky Penny, too. You can read about that in Floor Box Lessons Learned and My Floor Box Continued. Back in 2014, I'd never heard of anyone else doing it this way, but I figured building a SIP inside the trailer frame would save weight, time, materials, and cost over doing a wooden floor system. Additionally, it would reduce thermal bridging and provide more insulation which means better energy efficiency. The only drawback is that since my homemade SIP isn't structural, without those supports every 16" to 24" on center, there is a little more give in the floor. I suppose we could have gone up to a thicker (and therefore more rigid) subfloor, but it would have been heavier, more expensive, and would have taken away just a little more headroom. Fortunately, I found that once I installed my flooring in The Lucky Penny, the give isn't very noticeable anymore. This floor system worked the first time, so we're doing it again.
My Floorbox Continued
My Tiny House Build Began on Friday last week when friends helped me pick up My Custom Vardo Trailer and work on my floorbox. I wasn’t able to finish the floorbox that day because I couldn’t source the ½” rigid foam I needed, but I managed to have plenty of Floorbox Lessons Learned anyhow.
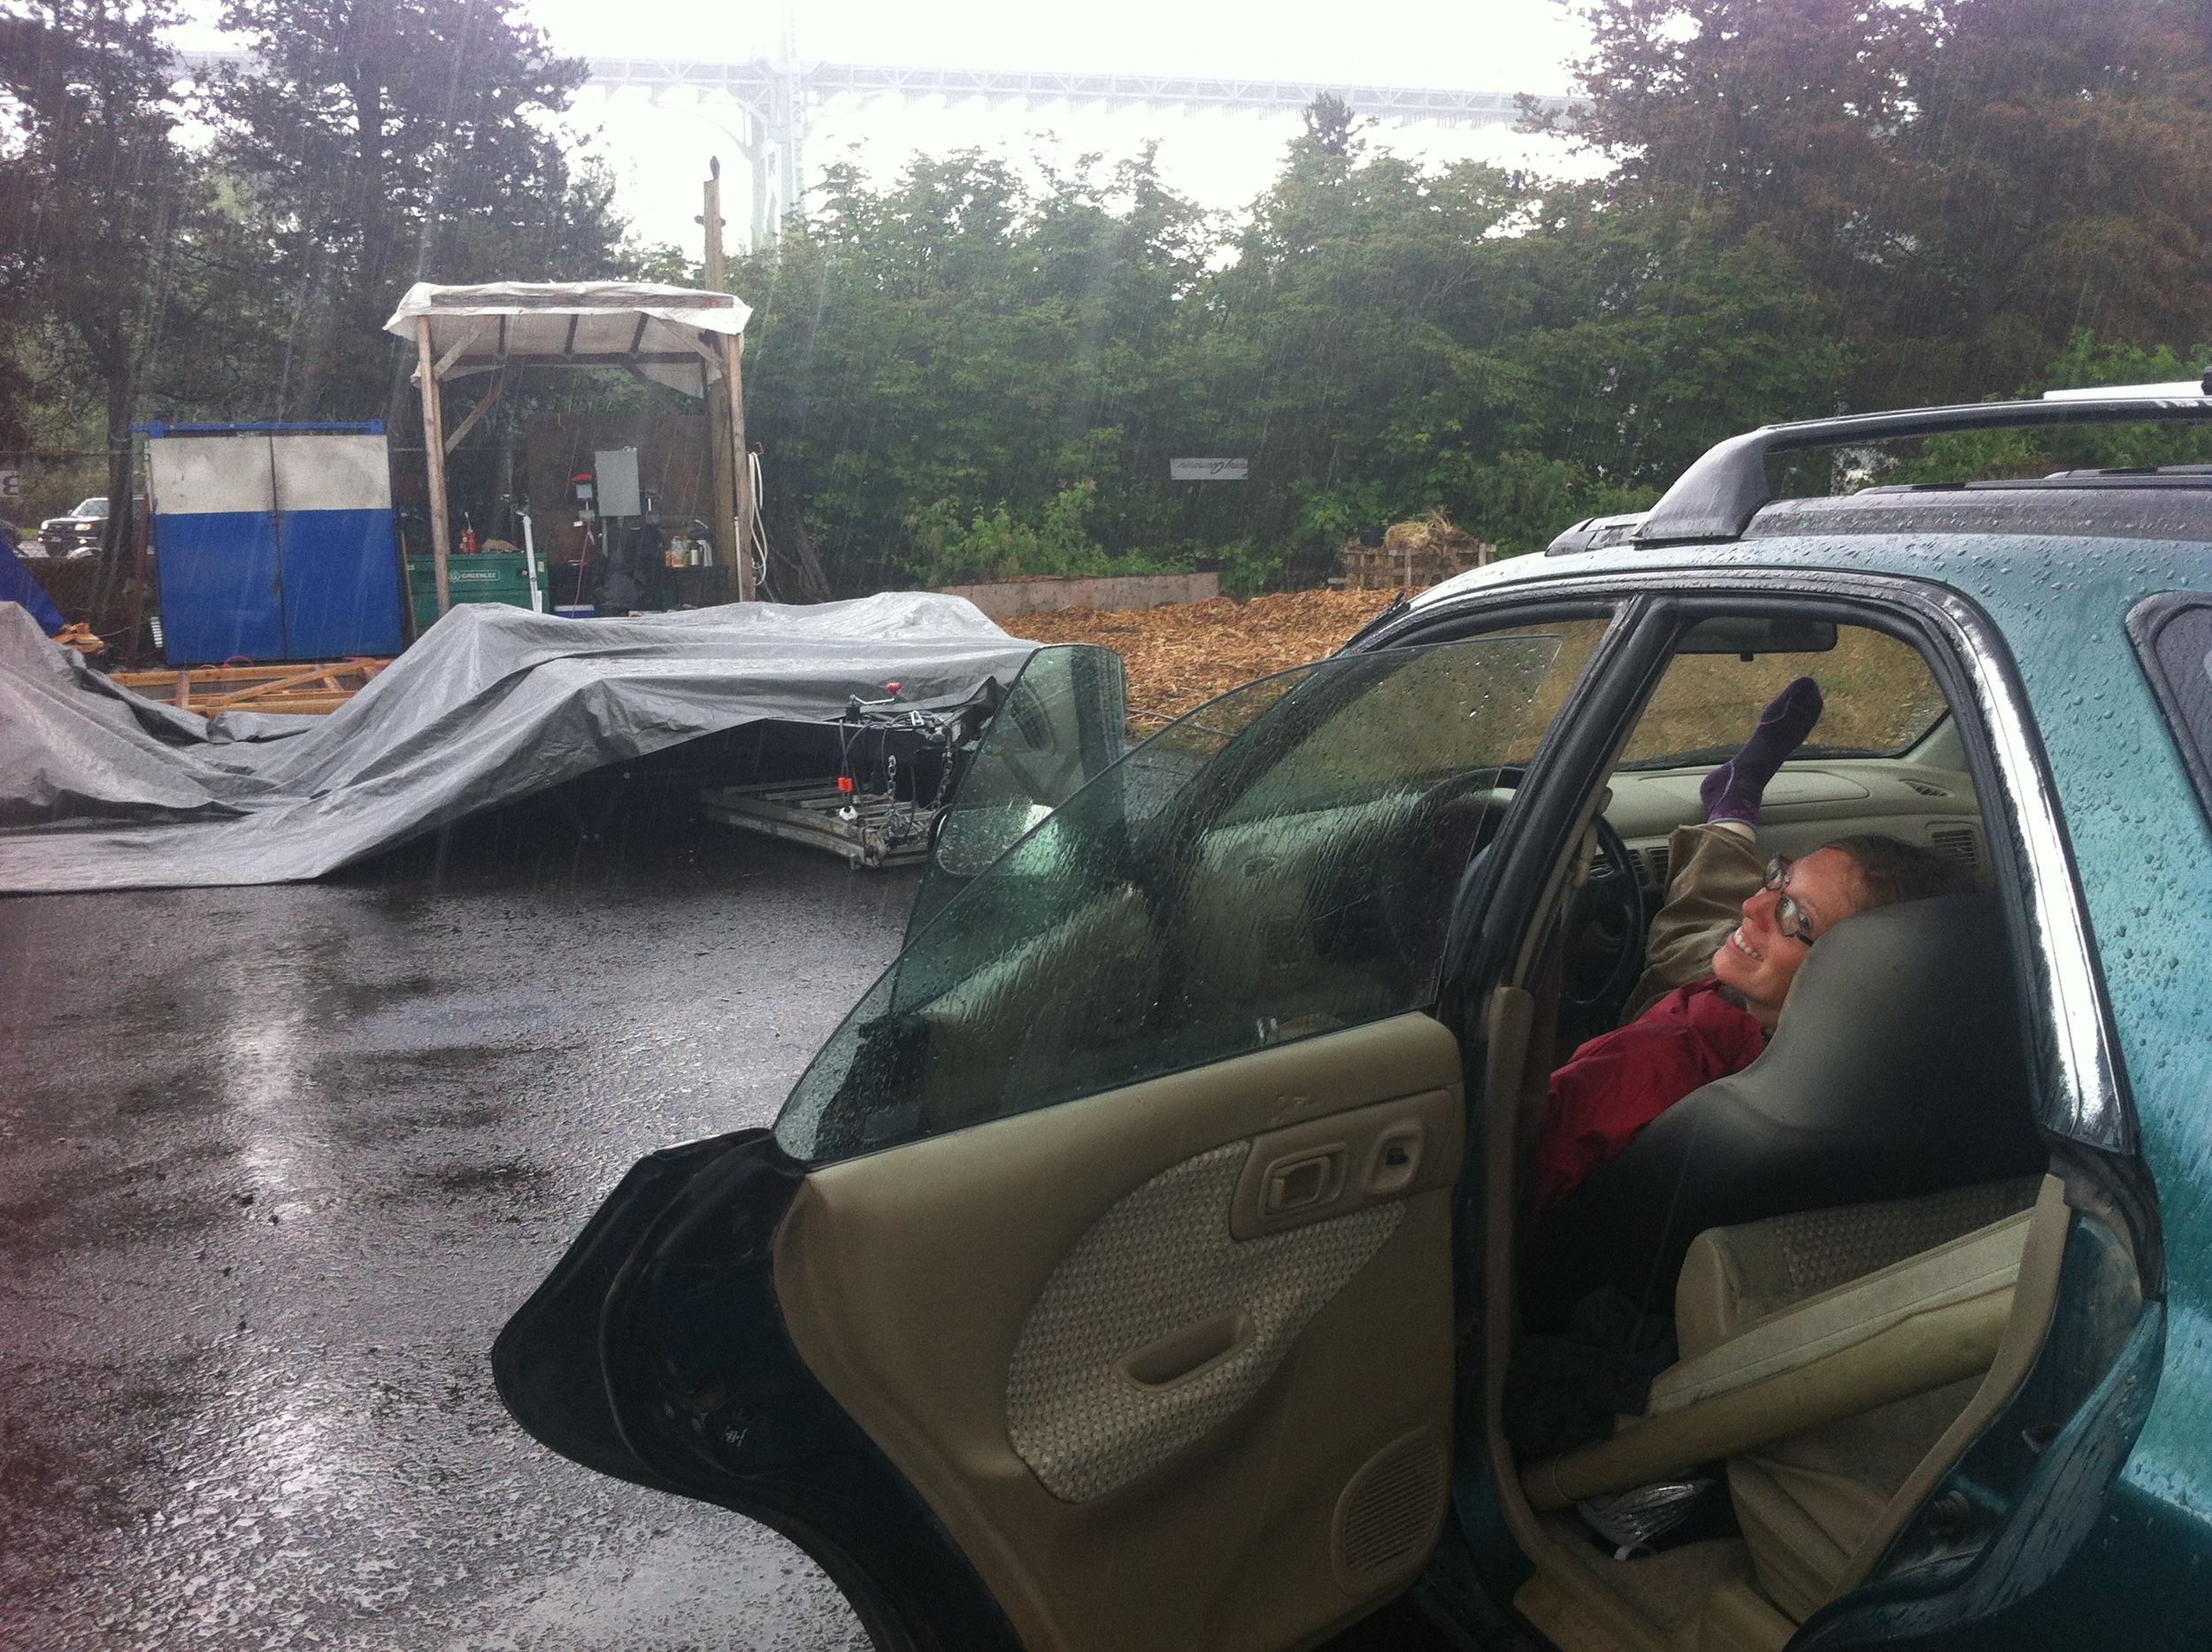
Over the weekend I helped my build buddy Laura with her floorbox and wall framing. Sunday was a crazy-rainy day so Laura, Jeff, Logan, and I snuck in moments of foam layering for my floorbox during the collective 30 minutes or so when it was dry enough. We worked on Laura’s framing during the mist, the drizzles, and the showers. We hunkered down in her car during the pure downpours.
On Monday my friend Christian helped me finish up the floorbox. We layered in the rest of the foam, lapping the seams so that none of them were directly above the ones in the previous layer. Between each course and around all the edges we sealed up the gaps with a low-expansion spray foam. The top layer of foam is 2” that spans the trailer frame and is sealed to the trailer with silicone caulk.
We then cut the ¾” Edge Gold to fit, starting with the piece we had to notch out for the wheelwells. We nestled the sheets on either end into that first sheet and cut off the excess. We didn’t have to cut the sides because the sheets of Edge Gold were 8 feet long, exactly the same length as the SIPs.
I’d originally planned to isolate my floor system from my wall system because it would provide a thermal break between them, my walls would be directly connected to my trailer frame, and it would be a better use of materials since my house was going to be 8’-6” wide. However, once my house was only 8’ wide I decided to just line them up and put my walls right on top of my subfloor. So we cut the sill plates and bolted them down through the trailer frame, securing them with carriage bolts. Ta da! Floorbox complete!
But I couldn’t sleep that night. I didn’t like the way the bolts were angled. And I didn’t like the fact that I’d put all that insulation into my floorbox only to run the subfloor out to the edge where it would get cold and make my feet cold. And I didn’t like that I didn’t have a solid nailer all the way around. And I didn’t like that the foam wasn’t well protected. I just didn’t sit right. I wished I’d used my original design of having the floor system inside the wall system rather than on top of it. I decided I’d better fix it while I still had the chance.
So this evening Patrick Sughrue of Structures NW, the supplier for my SIPS (structural insulated panels), helped me with my first remodeling project. We ripped a set of 2 x 6s to 4 ½ inches. Then we cut the foam back all the way around, put down a layer of sill seal then the 2 x 6s, followed by a layer of liquid nails and then the sill plate. We bolted these down to the trailer with the carriage bolts (which involved boring a couple new holes because some of the ones I’d requested were too close to the edge once I factored in the necessary spacing for my SIPs). We worked until dark and then called it quits. I’ll finish bolting down the rest of the bottom plates on Friday morning.
I feel so much better about this system that I’m annoyed with myself for not just doing this in the first place. My floorbox took much longer than it would have if I’d known then what I know now. However, I learned a lot in the process and I really enjoyed working with Alex, Christian, Laura, Jeff, Logan, and Patrick. I built my floor box in a way I’ve never seen done before and experiments sometimes require additional tweeking.
Most importantly, thanks to Patrick, I am now ready for My SIPs Wall Raising on Friday morning! Follow along!
Day 2: Undercarriage, A Tiny Field Trip, Wall Framing
 We started out Day 2 of Yestermorrow’s Tiny House Design-Build in the Hanger by painting the trailer and gluing and screwing the pressure treated plywood undercarriage to the floor boxes. The house is large enough that the floor joist system was constructed in 3 parts that will be connected together. (See more photos in the Day 2 Slideshow.)
Then we headed out on a field trip to see Chris’ little house, which is one of Dave Sellers’ sculptural creations on Prickly Mountain. I’d been to Chris’ home before, but I enjoyed seeing how my perspective of the space has shifted now that I live in a tiny house myself. The studio and perched sleeping loft are still as charming as they ever were, but I have a greater appreciation than ever before for the challenges of sealing and weatherizing a curved skylight.
After lunch we headed back to the Hanger to tackle a variety of projects, including:
- drilling holes through the trailer to enable us to attach the floor system,
- wrapping the pressure treated joists with a membrane to prevent a galvanic reaction with the trailer, and
- cutting studs, plates, and headers for our wall framing
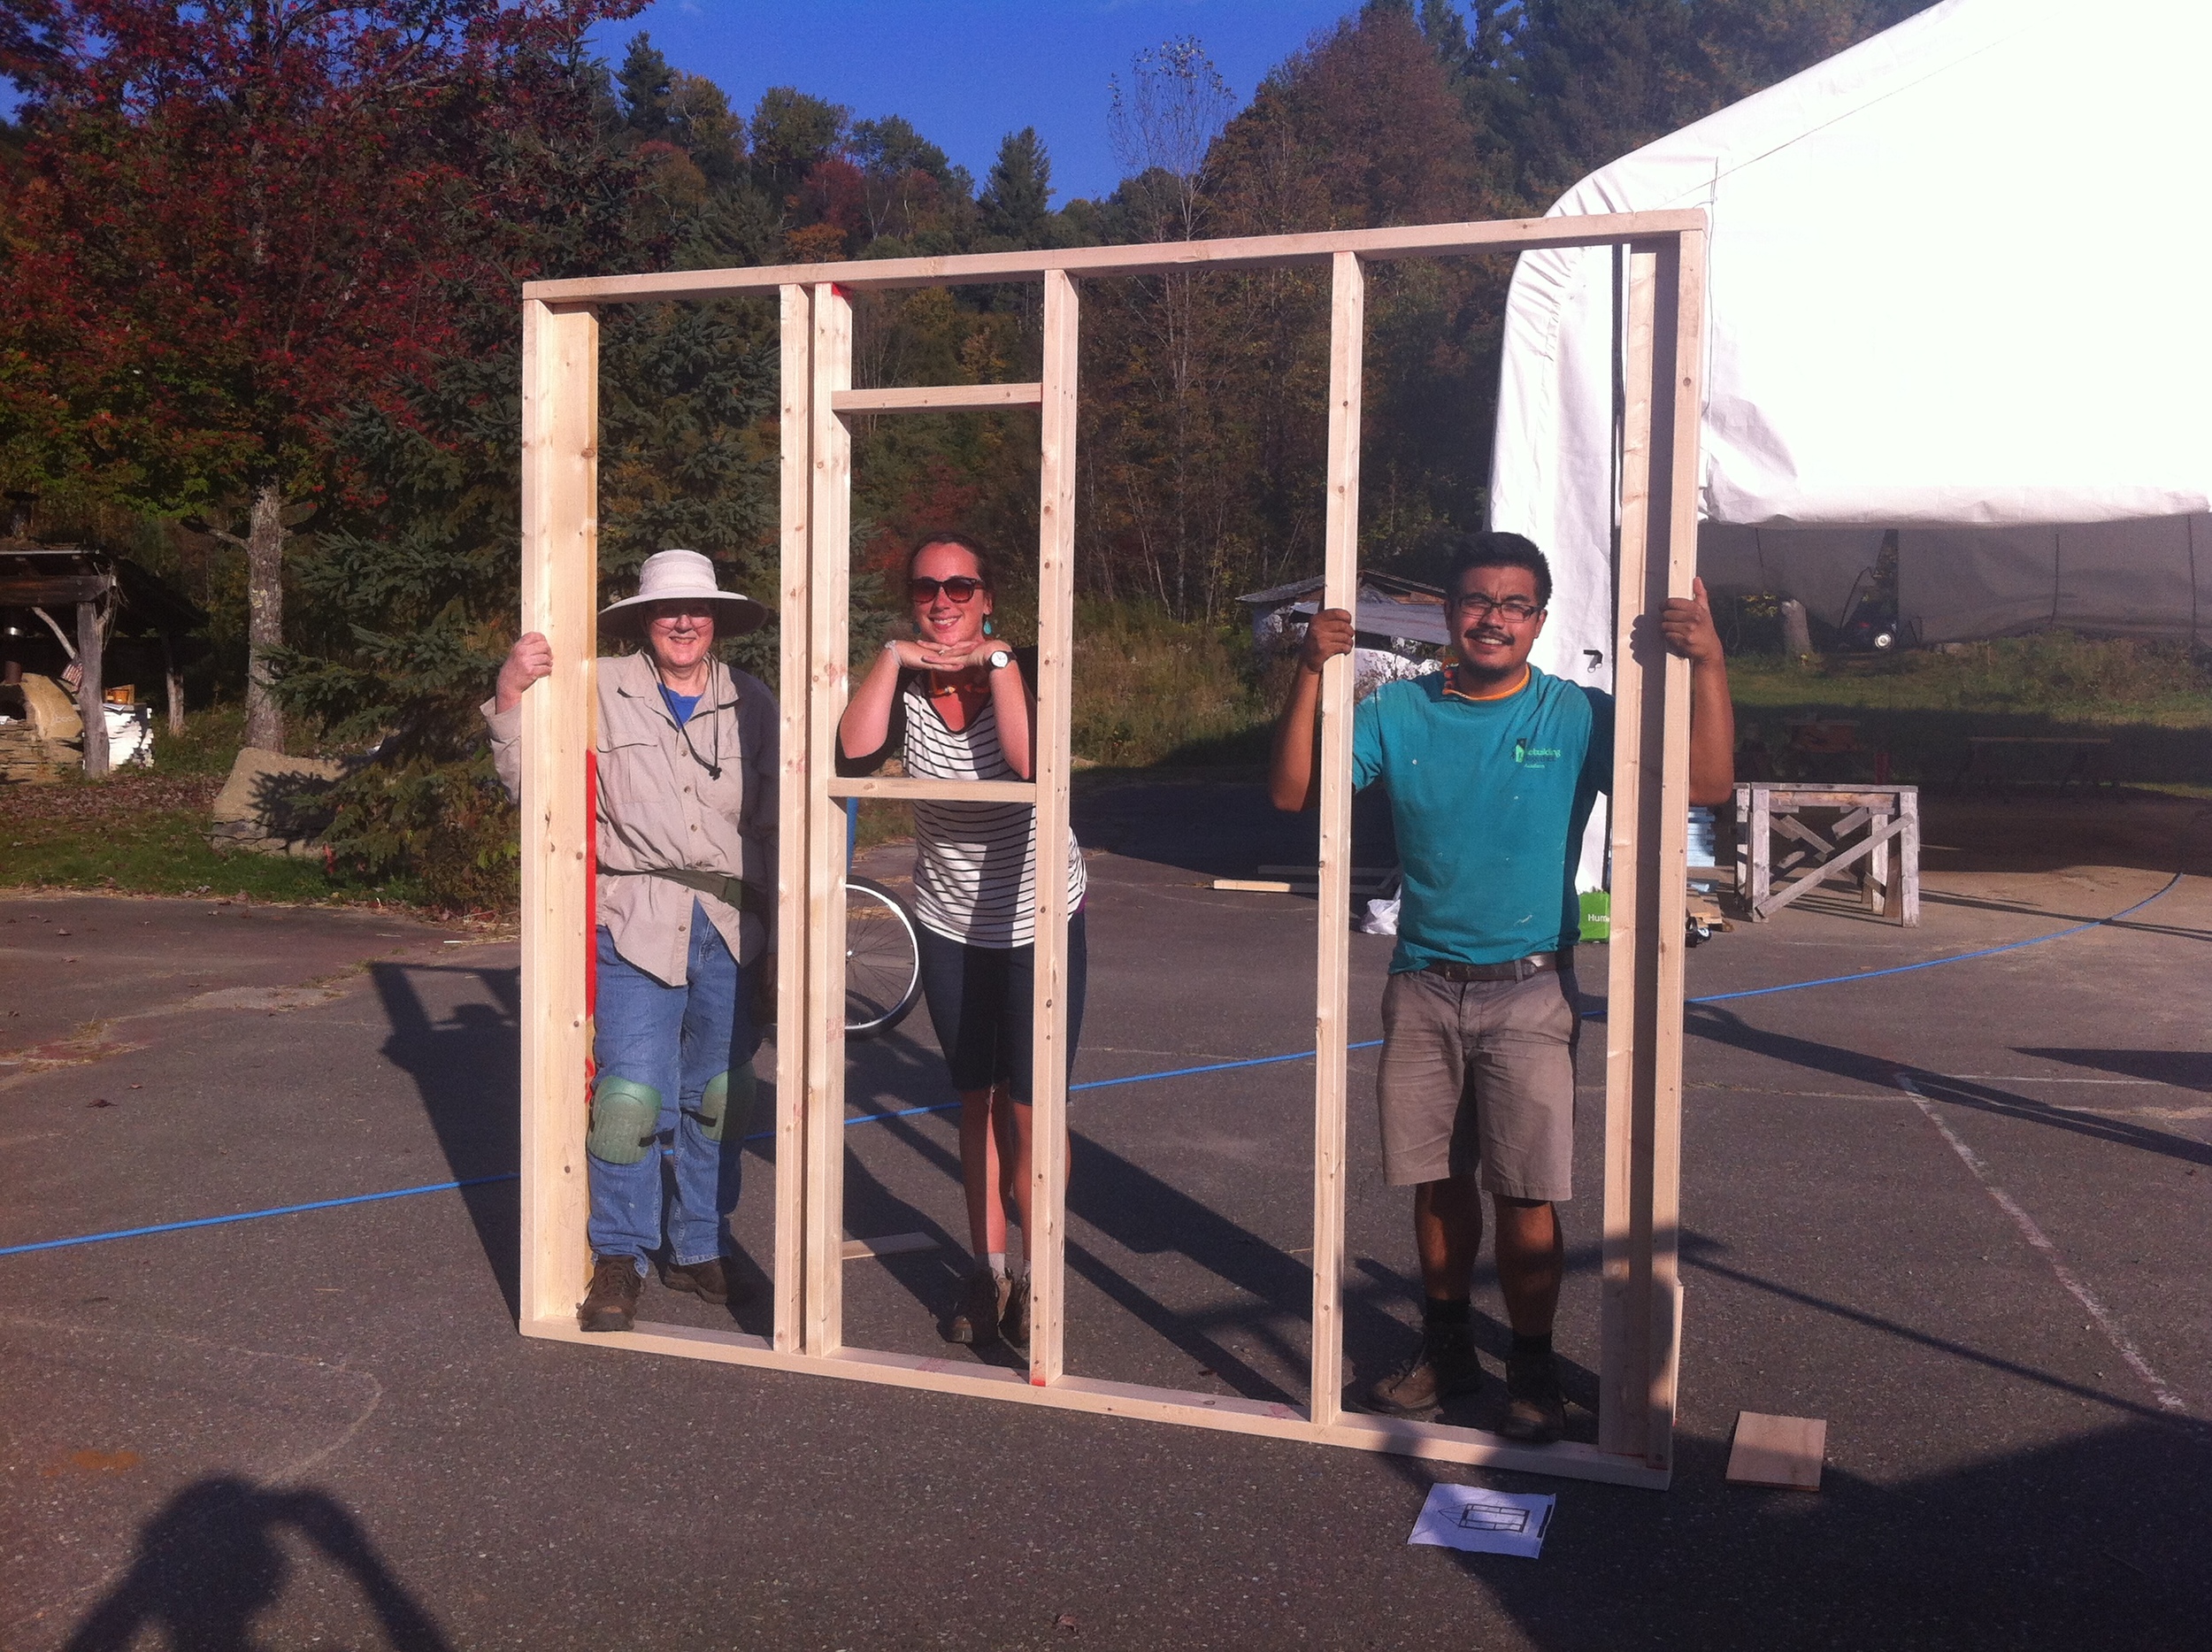
Framing always includes some head scratching, but fortunately Patti and Lizabeth have spent a great deal of time with the plans now and have determined (most of) the necessary modifications. It was, as it always is, a thrill to see the first walls framed up. And, of course, it’s a treat to see students gaining confidence so quickly as they become more familiar with impact drivers, drills, and saws. We got the two short walls framed up just as the afternoon drew to a close.
I learned a couple new framing tricks today, including kerf cutting the bottom edge of the bottom plate where the door will be so that the subfloor isn’t damaged by a sawzall when the time comes to remove that section. I also shared Dee William’s trick of building a Board Tweeker out of 2x4s to coax twisted boards into place. Thanks, Dee! Here are some of the lessons our students learned today, encapsulated in exactly 5 words, courtesy of a round of Gimme 5:
- Plates go top and bottom
- Sharp drill bits are nice
- Propane gas can heat efficiently
- Rusty trailers look better painted
- Bookcases can also be ladders
- Eccentric houses are structurally problematic
- Kerf cut the door opening
- All houses need constant maintenance
After dinner Paul presented climate and site considerations for situating a tiny house. Then I addressed the invisible structures in my presentation on code and regulations. It’s important to consider both the physical context and the invisible conditions – social, political, financial, and legal – when siting any house. But because little houses (particularly those on trailers) are alegal in many places, we want to make sure that tiny house enthusiasts consider everything from fire safety to moisture management and from space efficient storage tricks to zoning code when designing a little home. It’s certainly a lot to contemplate all at once, but the design process is iterative and context-specific – even if a little house is ready for adventure on the open road.
Day 1: Structures, Foundation, Bubble Diagrams
 We started out Day 1 of Yestermorrow's Tiny House Design-Build with information about structures and the forces that all structures are subjected to (uplift, overturning, racking, sliding, etc.) See more photos in the Day 1 Slideshow.
Approximately half of the class intends to design a ground-bound dwelling, but since our build project for the course is a tiny house on a trailer we also addressed the particular challenges of designing a mobile structure. I introduced several different trailer configurations and shared the trailer design Portland Alternative Dwellings has developed with Iron Eagle Trailers (which are built specifically to insure a solid and easy connection between the trailer and the house and to maximize the amount of insulation in the floor).
 Then we went down to the Hanger where Patti and Lizabeth introduced the class to the trailer and the plans. Our client intends for the structure to be a part-time seasonal dwelling here in New England, so we’ll be building accordingly. The trailer is a car hauler that was purchased used, so it’s presenting some unique learning opportunities. The students who arrived on campus early to do work-trade at Yestermorrow prepped it last week by removing the decking so that we could start with the bare trailer. We began that work today by removing rust and then coating the trailer with Skyco Ospho rust treatment to prevent any additional corrosion.
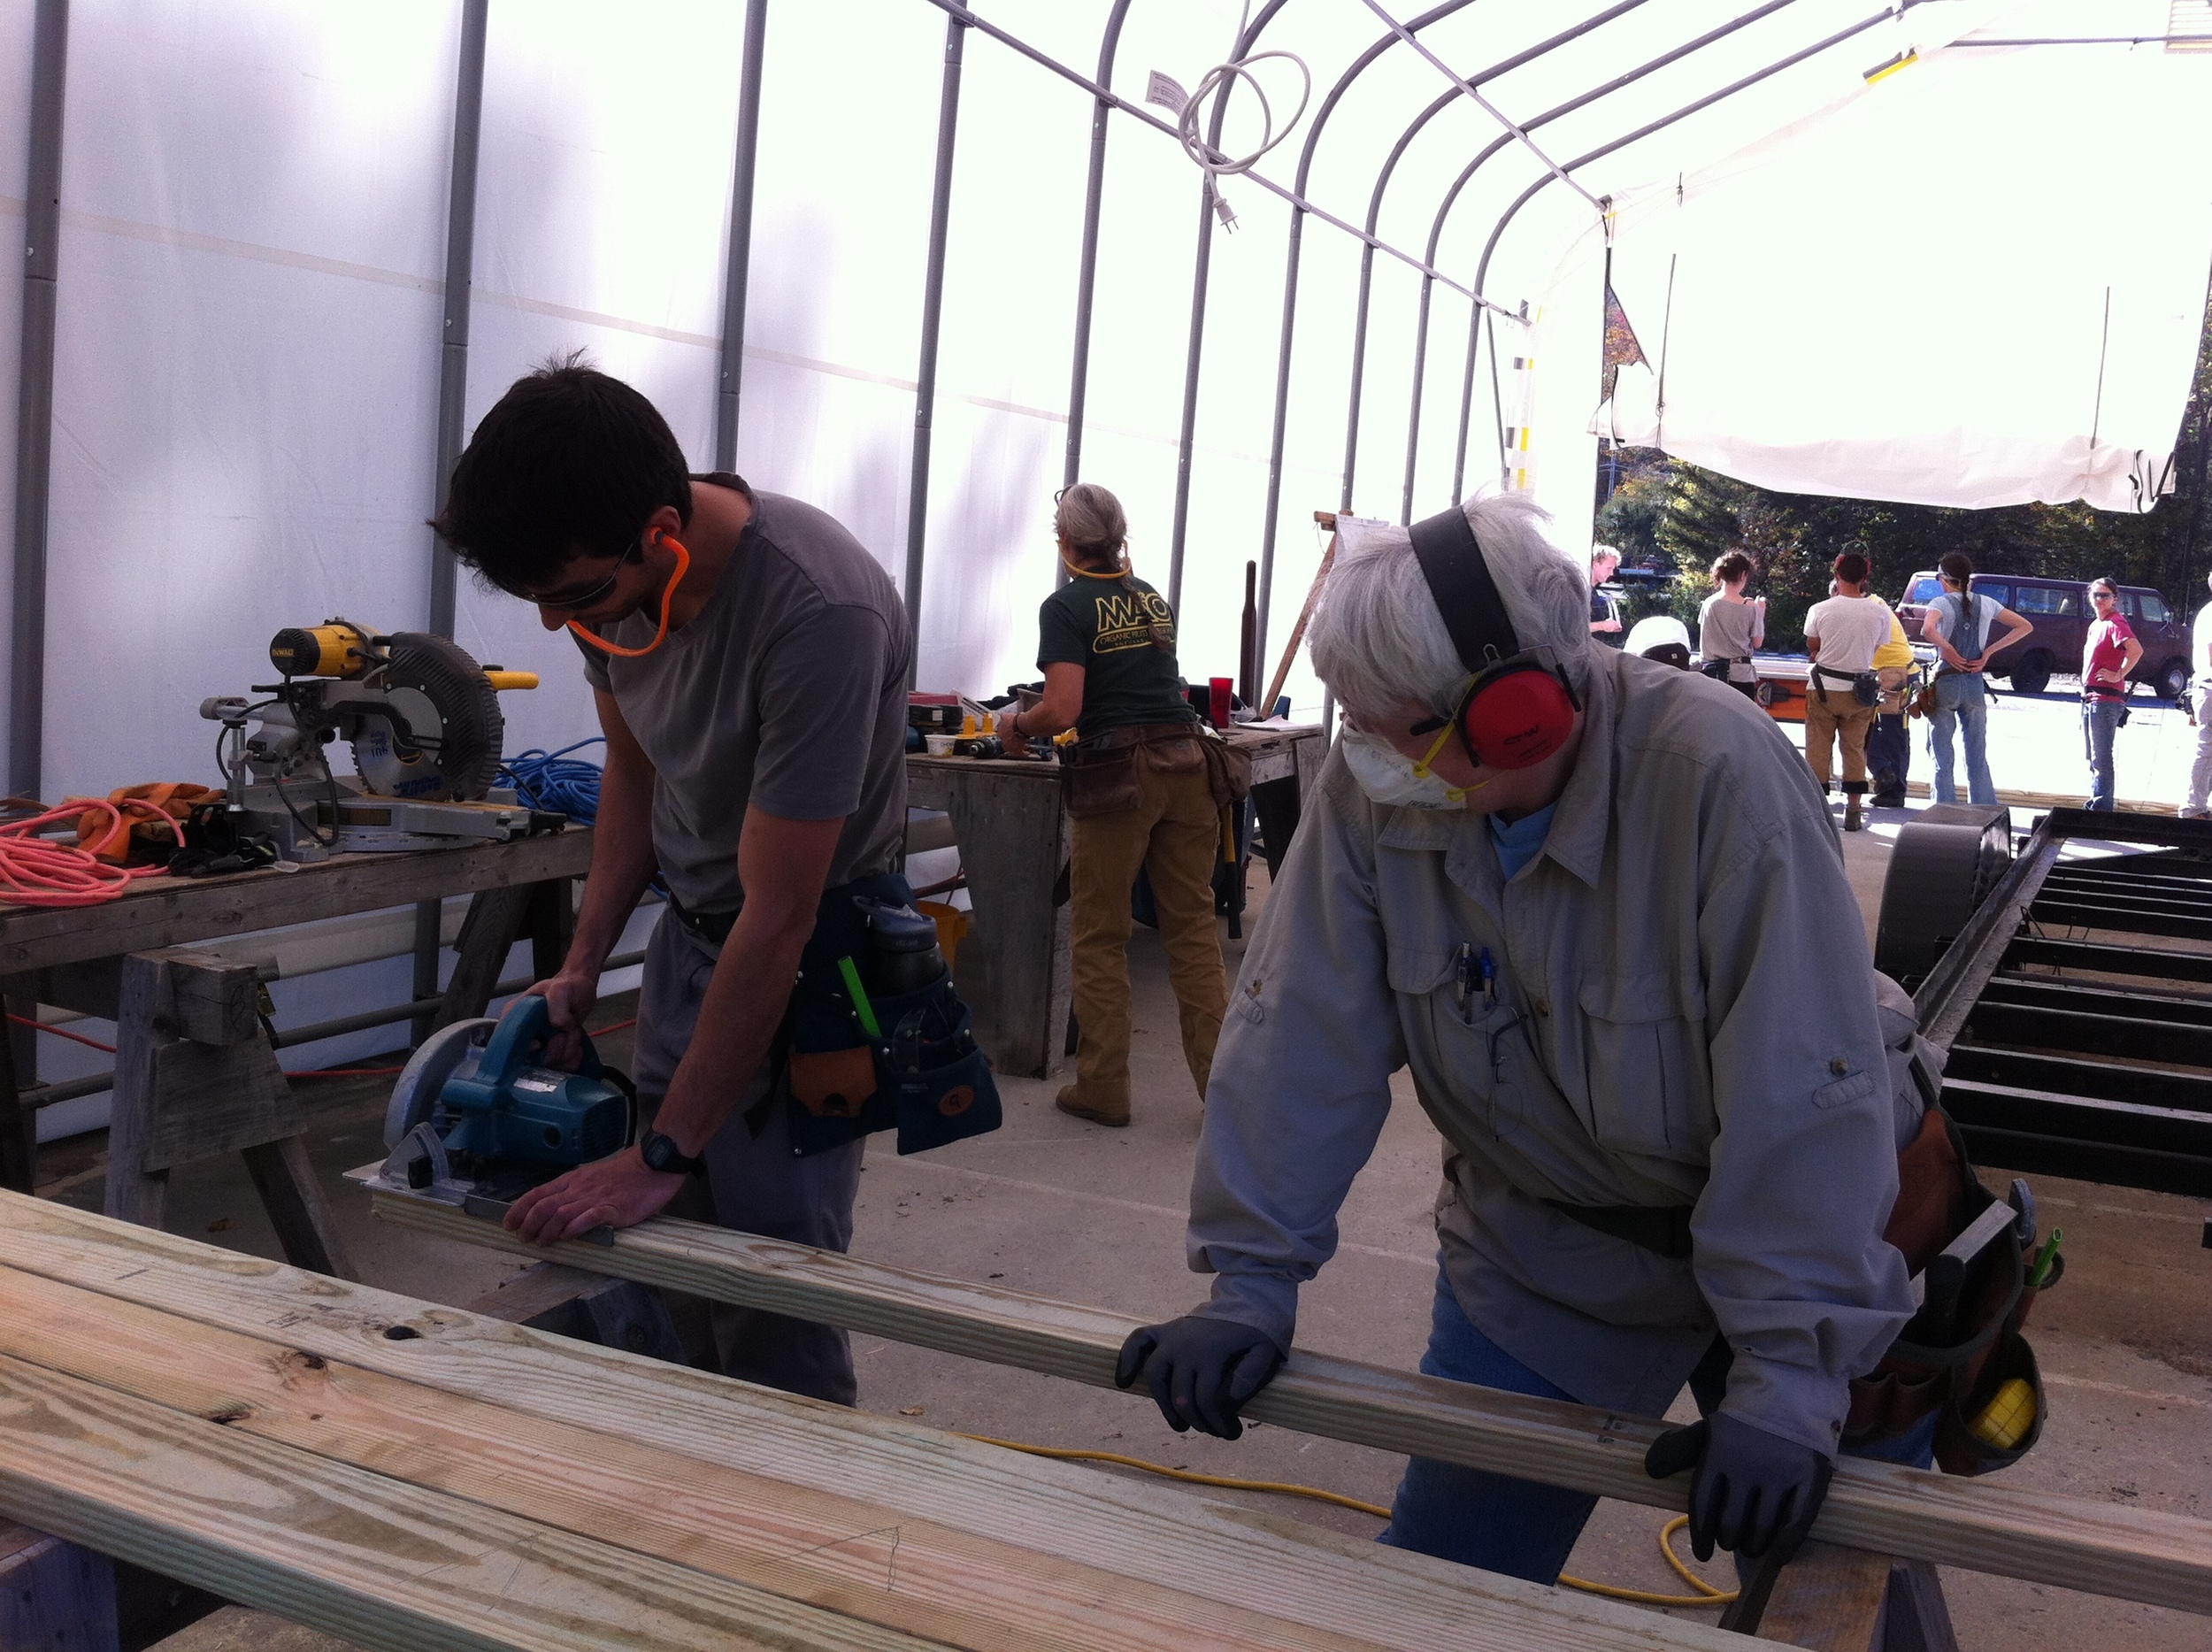
Then we were on to cutting joists and rigid foam insulation for the floor system. Lizabeth introduced the circular saw and once everyone had a turn practicing with scrap lumber we switched to cutting our floor joists, which are pressure treated 2x4s. Then Patti and Lizabeth led everyone through framing the floor system in three segments, which we’ll be attaching together tomorrow.
 (By the way, it’s amusing learning the little differences between building on the West Coast and building on the east coast. On the west coast Owens Corning has the corner on the rigid foam insulation market, so we all call it “pink stuff” while on the East Coast most of it appears to be made by Dow, so it’s known here as “blue board.” Similarly, I’m used to pressure treated lumber being dark brown and full of punctures while over here it’s mostly Southern Pine and identifed by the a green tint of the chemicals.)
This evening we had a presentation on tiny houses from around the world that has me fantasizing once again about building a house inspired by an elephant. The rest of the evening was devoted to design exploration, including bubble diagraming and showing off the inspiration folders students prepared as part of their program. The creative juices were flowing, the colored markers were used with wild abandon, and google images kept producing more inspirational imagery. How fun to be at the beginning of two weeks of tiny house design and building!


