tiny house wall raising

Tiny House SIPs Wall Raising & Exterior Workshops

20150425_163310 On June 13-14 I'll be teaching a two-day Tiny House SIPs Wall Raising Workshop in Portland, OR in conjunction with Patrick Sughrue of Artisan Tiny House. Two weekends later we'll do a Tiny House Exterior Trim & Siding Workshop to install windows, rain screen, trim, and siding. Space is limited, so if you're interested in building this summer (and especially if you're interested in building with SIPs), claim your spot today!

Lina & Karin with Drills

Additionally, there are two deals:

1) If you and a friend sign up together you'll both receive a $25 discount, bringing your cost down to just $100 each!

2) If you participate in both workshops you'll receive a $50 discount, making the total for both workshops just $200!


These build workshop prices can't be beat!

Tiny House SIPs Wall Raising Workshop (June 13-14)

$125.00
Think you might want to build your tiny house with SIPs? Ready for some practical, hands-on building experience? Want to have fun and feel empowered to build your own wee abode?

In this two day workshop we will show you how to properly construct the shell of a tiny house using a Structural Insulated Panel (SIPs) kit from Artisan Tiny House. You'll learn how to use a variety of hand tools and power tools as we install floor panels, wall panels, and roof panels for a tiny house on wheels.

What happens after the walls of a tiny house go up? It's time for Exterior Trim & Siding!

DSCN2139

Tiny House Exterior Trim & Siding Workshop (June 27-28)

$125.00

In this two-day hands-on workshop we will show you how to trim out windows, doors, and corners and install siding. You'll learn how to use a variety of hand tools and power tools as we weather-proof the exterior of a tiny house on wheels.

Tiny House SIPs Wall Raising Workshop

Lina & John with SIPsThink you might want to build your tiny house with SIPs? Ready for some practical, hands-on building experience? Want to have fun and feel empowered to build your own wee abode?  I'm teaming up with Angela Ramseyer of MightyMicroBuilt to lead a 2-day SIPs Wall Raising Workshop the weekend of April 25-26, 2015 in Vancouver, WA (near Portland, OR).

In this two day workshop we will show you how to properly construct the shell of a tiny house using a Structural Insulated Panel (SIPs) kit from Artisan Tiny House. You'll learn how to use a variety of hand tools and power tools as we install floor panels, wall panels, and roof panels for a tiny house on wheels.

Space is limited, so claim your spot in the 2-day SIPs Wall Raising Workshop.

My SIPs Wall Raising

Wall Raising Crew Yesterday we put the SIPs walls up for my gypsy wagon! My Tiny House Build Began last Friday when we picked up My Custom Vardo Trailer and started on Floorbox Lessons Learned. Then the Floorbox Continued because I was thwarted by supply issues and rain on Sunday. I also changed my mind (again) about my wall and floor attachment systems, eventually going back to Iteration #37 with Patrick’s help.

So yesterday morning I figured it would be a piece of cake to put the sill plates down in their proper place, stand the walls up, and get them secured. And it would have been – if the sill plates were in their proper place. It took us nearly 3 hours yesterday (in the drizzle) to get the sill plates just where they needed to go. Fortunately, I had a great crew of Tiny House Helpers: Patrick Sughrue of Structures NW, John Labovitz of Polymecca, Laura Klement, Deirdre, and Eric.

The trailer was square but the flanges were not, so when we measured off of them we came up with ¾” variation from front to back. I had already ordered my trailer when I decided to have SIPs made for me instead of trying to make them myself. If I had it to do over, I absolutely would have taken Patrick’s advice to do a SIP floor, too! That way we would have a perfectly square and 8-foot-wide starting point. The trick was Patrick’s idea of marking the centerline and working off of it – no matter what. Once we did, things came together really quickly. Patrick was an excellent crew leader, showing us how to install his panels properly.

We put sill seal down underneath the bottom bottom plate (a 2 x 6) and then sealed the top bottom plate (a 2 x 4) on top of it with Prosoco’s Joint & Seam, nailing the plates together as necessary to make them easier to work with. We secured the bottom plates to the trailer flanges with 4” long ¾” bolts and added self-tapping metal screws along the front and back of the trailer since there were only two bolt holes in each of the flanges which we could screw into for these sills. We did have to drill a couple more holes in the flanges and with a good bit this wasn’t horrible to do, so in the future I’d probably not have them pre-drilled by Iron Eagle Trailers.

Picnic in My New House

Once the sill plates were down it only took us an hour and a half to get the walls up! We lifted the panels, rotated them as necessary, and set the edge down on the trailer floor. Once we were lined up, we applied spray foam to the bottom plate and scooted the panel off the edge of the floor and into its proper place. Laura held the first wall in place while we got the second and third panels up, securing them together with long screws. We connected the two panels on the long walls with a spline, which we spray foamed on both sides and the bottom. The front panel was the only one that caused us any trouble and that was because we hadn’t quite gotten the two back end panels all the way to the back panel. That 1/8” matters! We used ratchet straps to pull them as tight as we could and chipped away a little bit of the sill plate at the front and then realized we were being held up by the bolts. So cut away a bit of the stud on each side of the SIP so that the front panel could nestle into its spot.

Hooray for four walls! We celebrated with a picnic lunch in the future kitchen of my tiny house!

Day 8: Walls, Windows & Models

On day 8 of Yestermorrow's Tiny House Design-Build course we spent our morning on the job site getting the rest of the walls raised. A couple people have been especially enjoying the design portion of the class so they've hunkered down in the studio to learn more about how their buildings work by building models and drawing up sections and elevations. (See more photos in the Day 8 Slideshow.)

The center sections of the wall are taller because we've done a balloon frame in the area where the dormers will be, so these wall sections are quite heavy. We've braced each of the walls up in place while we square the walls and attached them to each other. Yesterday when we were sheathing we cut out most of the window openings using the circular saw to make plunge cuts. (The trick here is to drill a hole in each corner from the inside of the wall so that you can see the starting and stopping points for your cut.) However, we didn't get all the windows cut out so Julien tackled the rest today with a reciprocating saw once the walls were up. It's messier work, but definitely satisfying to see those windows pop open!

Meanwhile, Laura figured out a plan for blocking out around the wheel wells with pressure treated 2x6s so that we would have a surface to which we can nail our sheathing. It took some head scratching, just as it did on Day 4 of the Tiny Barn building blitz.

After supper Paul gave one last slideshow about proportion, line, and color. Then everyone got back to work on their own tiny house designs in the studio. The models are shaping up nicely and many people have glued a copy of their floor plans to the models which makes them easier to understand. It's so fun to see the houses people have described start to take shape.

Naj Haus Wall Raising Work(shop) Party

This post is an excerpt from an epic post from Kate Goodnight's blog about the first two weeks of construction for Naj Haus. If you want to read the full post Blood, sweat, tears, blueberries, and the most awesome three walls ever, you can find it on Kate's informative and amusing blog. Thank you so much Kate for the opportunity to be part of your tiny house raising!

July 5: Hitting the nonexistent wall

So here I was, the day before the barn raising, and I had no walls to raise despite my best intentions. I can’t remember when I was last that tired. I started having visions of the six participants looking around the empty barn. “What?” I’d say, “can’t you see the walls? They’re right there. Look harder. They are very fine walls and we’re going to raise them up.” I still had some deluded idea of getting one or two walls built that day so went weaving down the highway back to Home Depot where I just stood staring at complicated hardware and the empty rack of sheathing before returning nearly empty-handed. I was so tired I thought I was going to throw up. Dee’s other work party had just wrapped up so we talked about how to adapt things. We (I) scaled way back on our (my) expectations and decided to focus on wall framing and if we were really lucky, get one or two walls raised. Finally letting go of what I had envisioned, I got in an hour nap before Dee and Lina Menard, the other PAD instructor, arrived, followed later by Keeva and Sam. We spent the evening marking out the stud positions on the subfloor and crashed early.

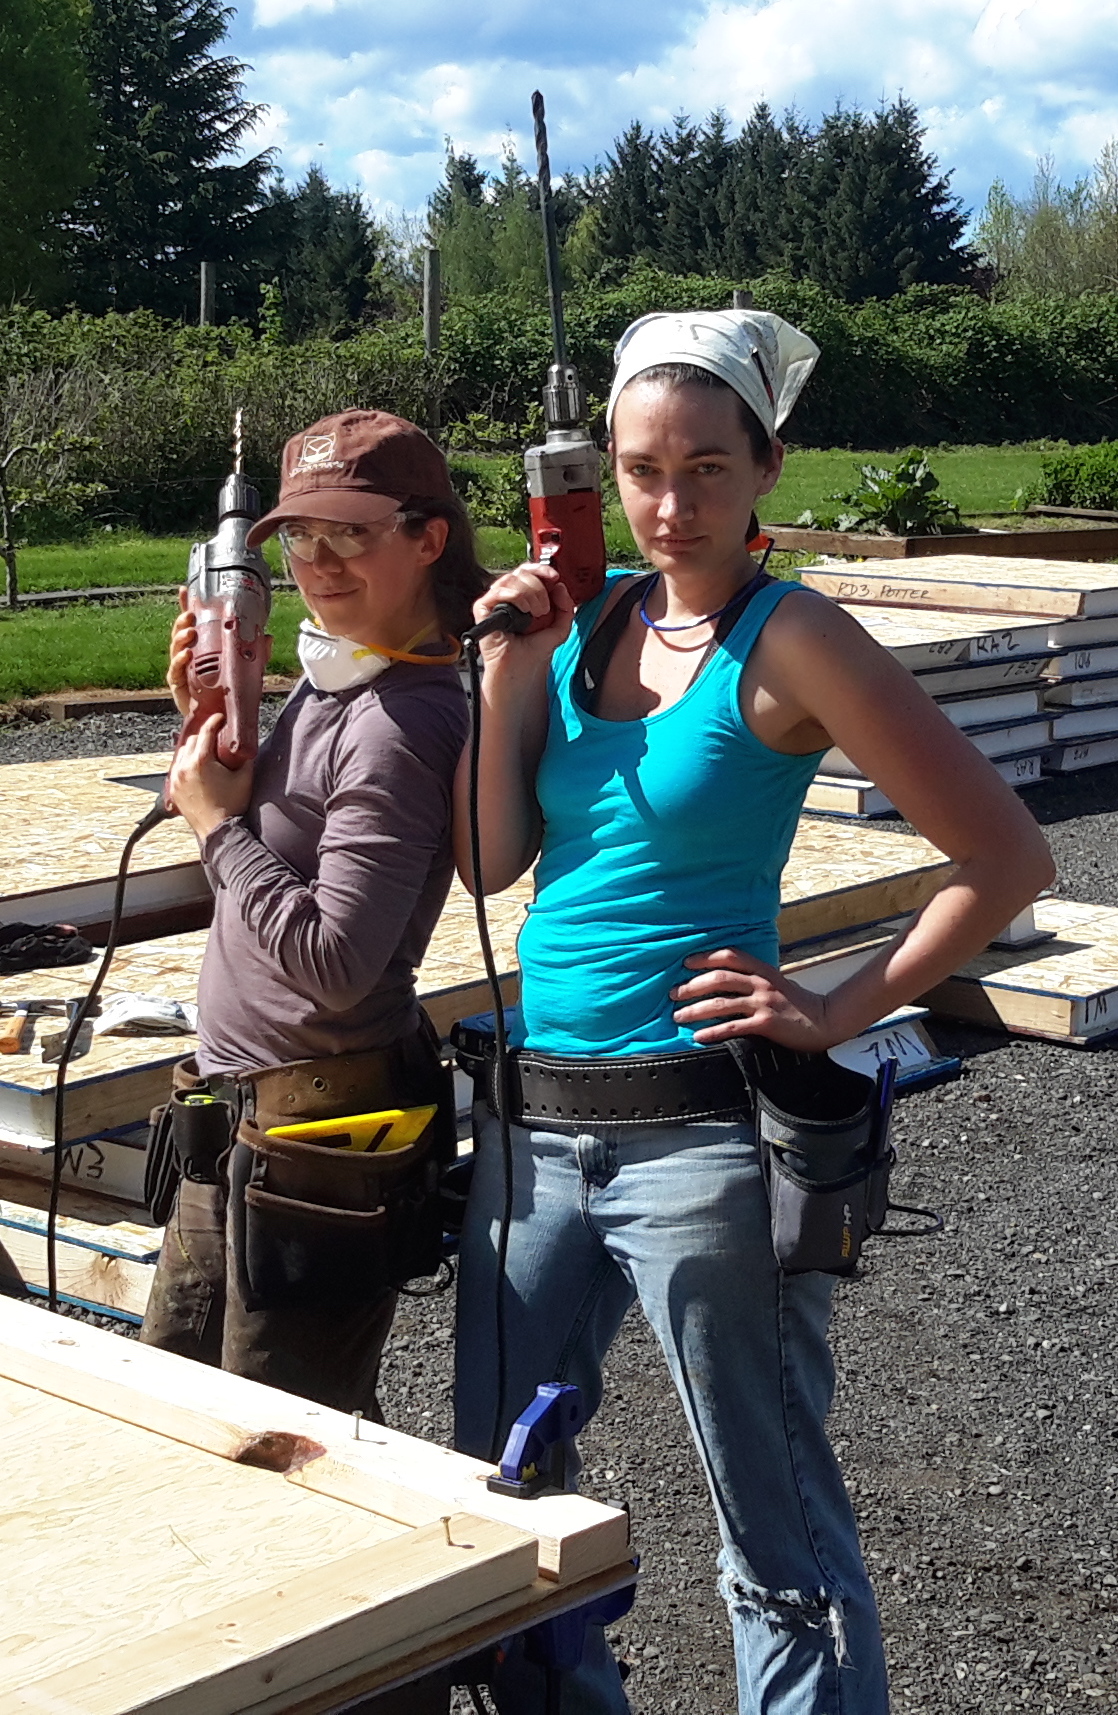
The big day finally had arrived. I had gotten some sleep so was feeling a bit better. Now I had to wrestle with my control issues. I have been all-consumed for the last many months with the design and planning of this tiny house and I was going to have to now let go. Here were six complete strangers with varying degrees of building experience about to start chopping away on my studs and hopefully framing up something resembling squared walls. As I greeted each one I was wondering how steady their hands were, how keen their eyes. Would I soon be hearing muffled cries of “whoops…oh well” and see the bubble in the level crammed up in one corner as it rested on my new Dr. Seuss walls?

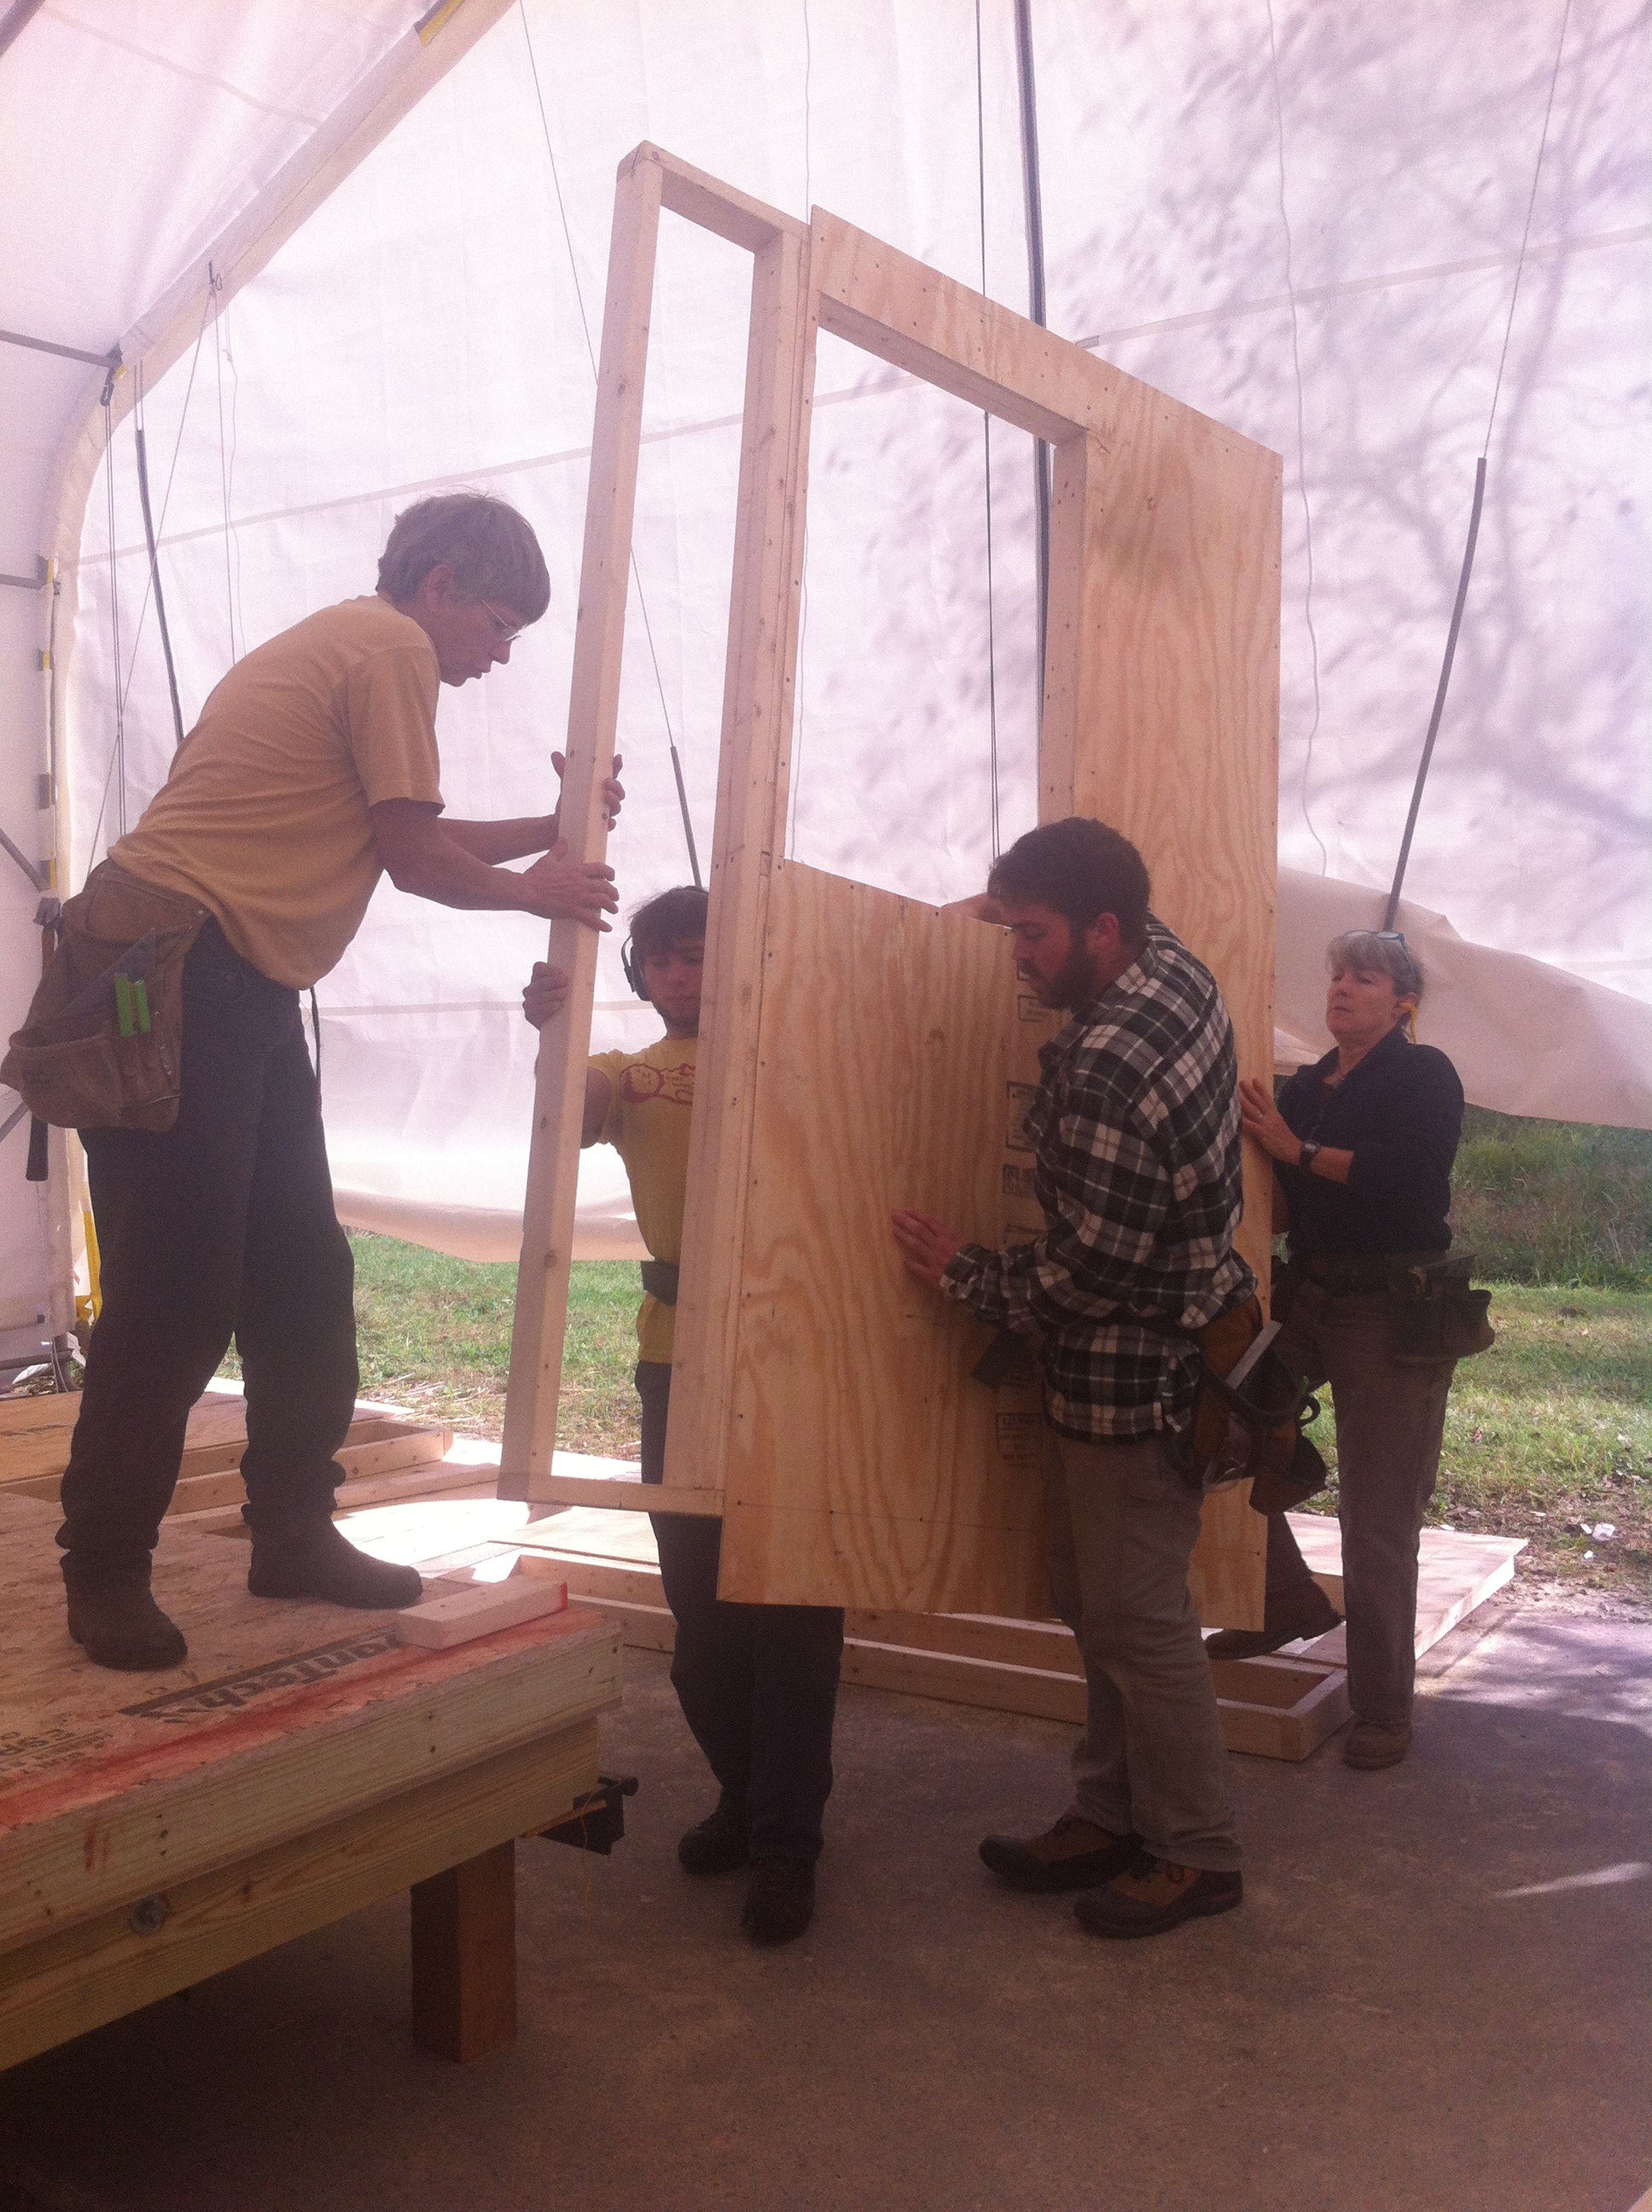
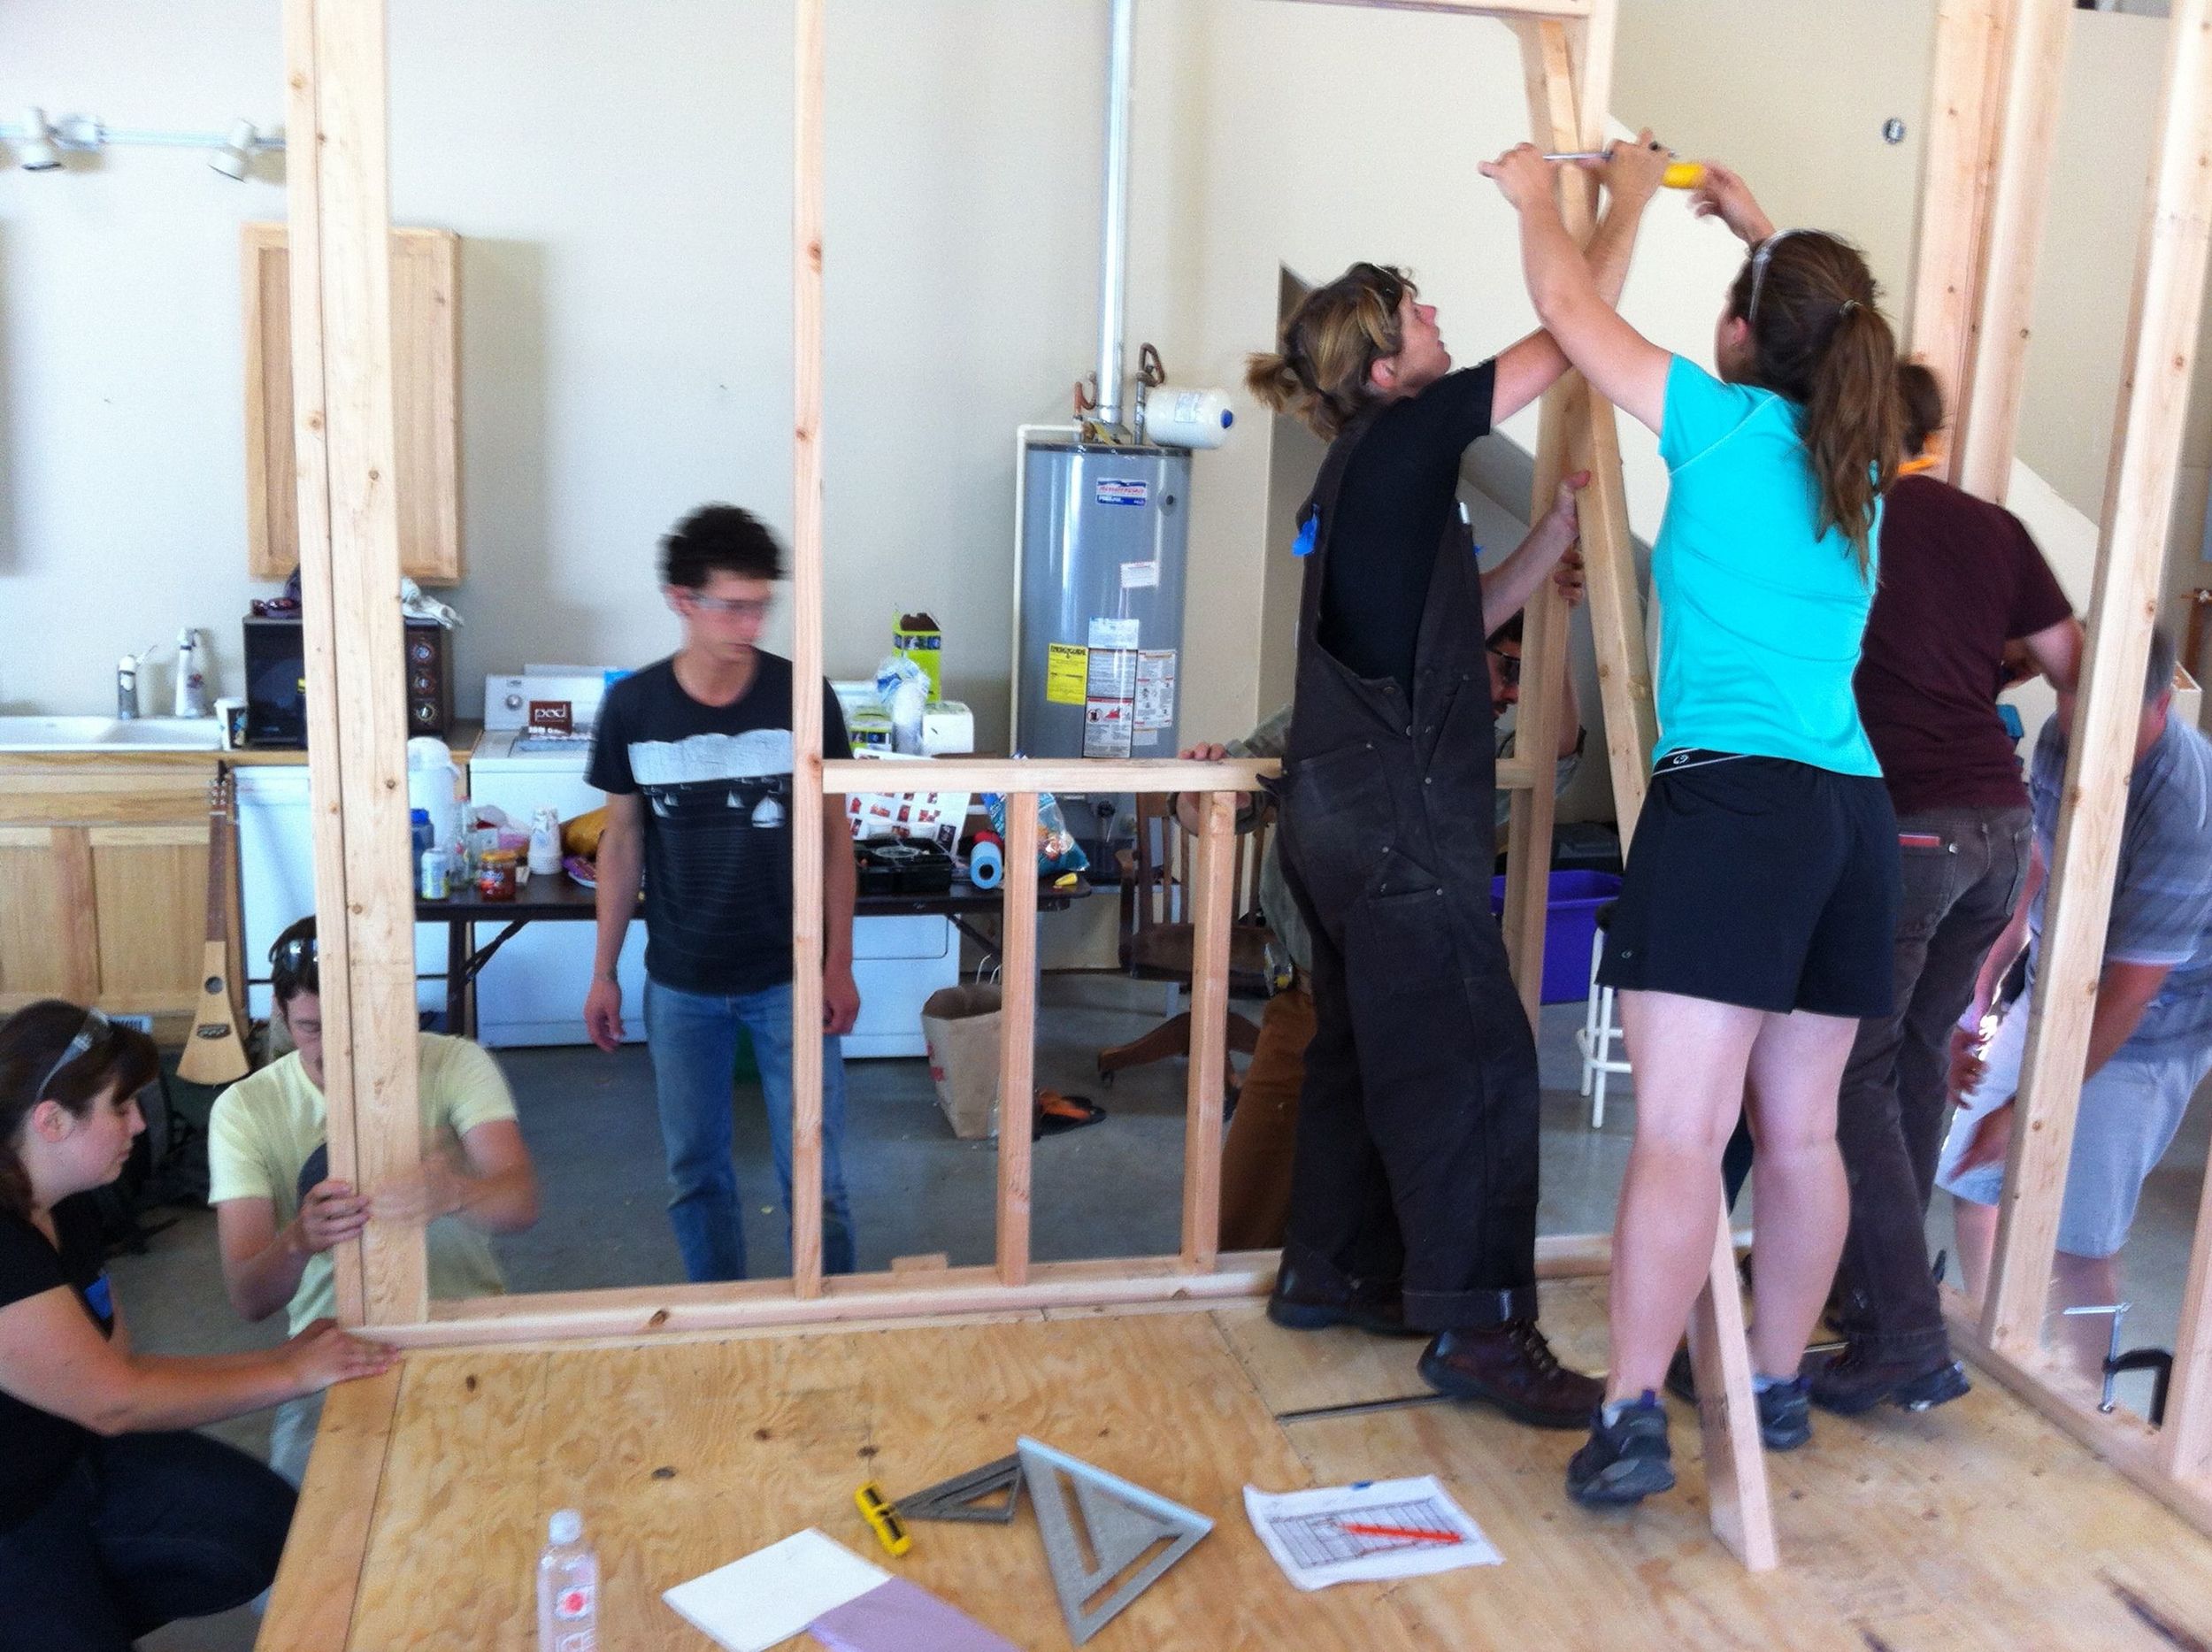
But you know what? Each and every one there took immense care as they assembled the walls, treating them as if they were their own. The more seasoned builders helped out the less experienced ones and all were carefully overseen by Dee and Lina, both amazing instructors. Within the first hour, I had ceased to worry. In fact it was a relief to turn over the reins for a while and know that it was all being done up right.

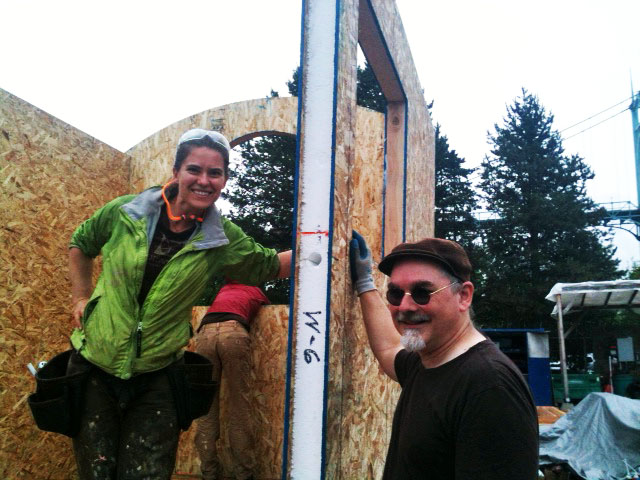
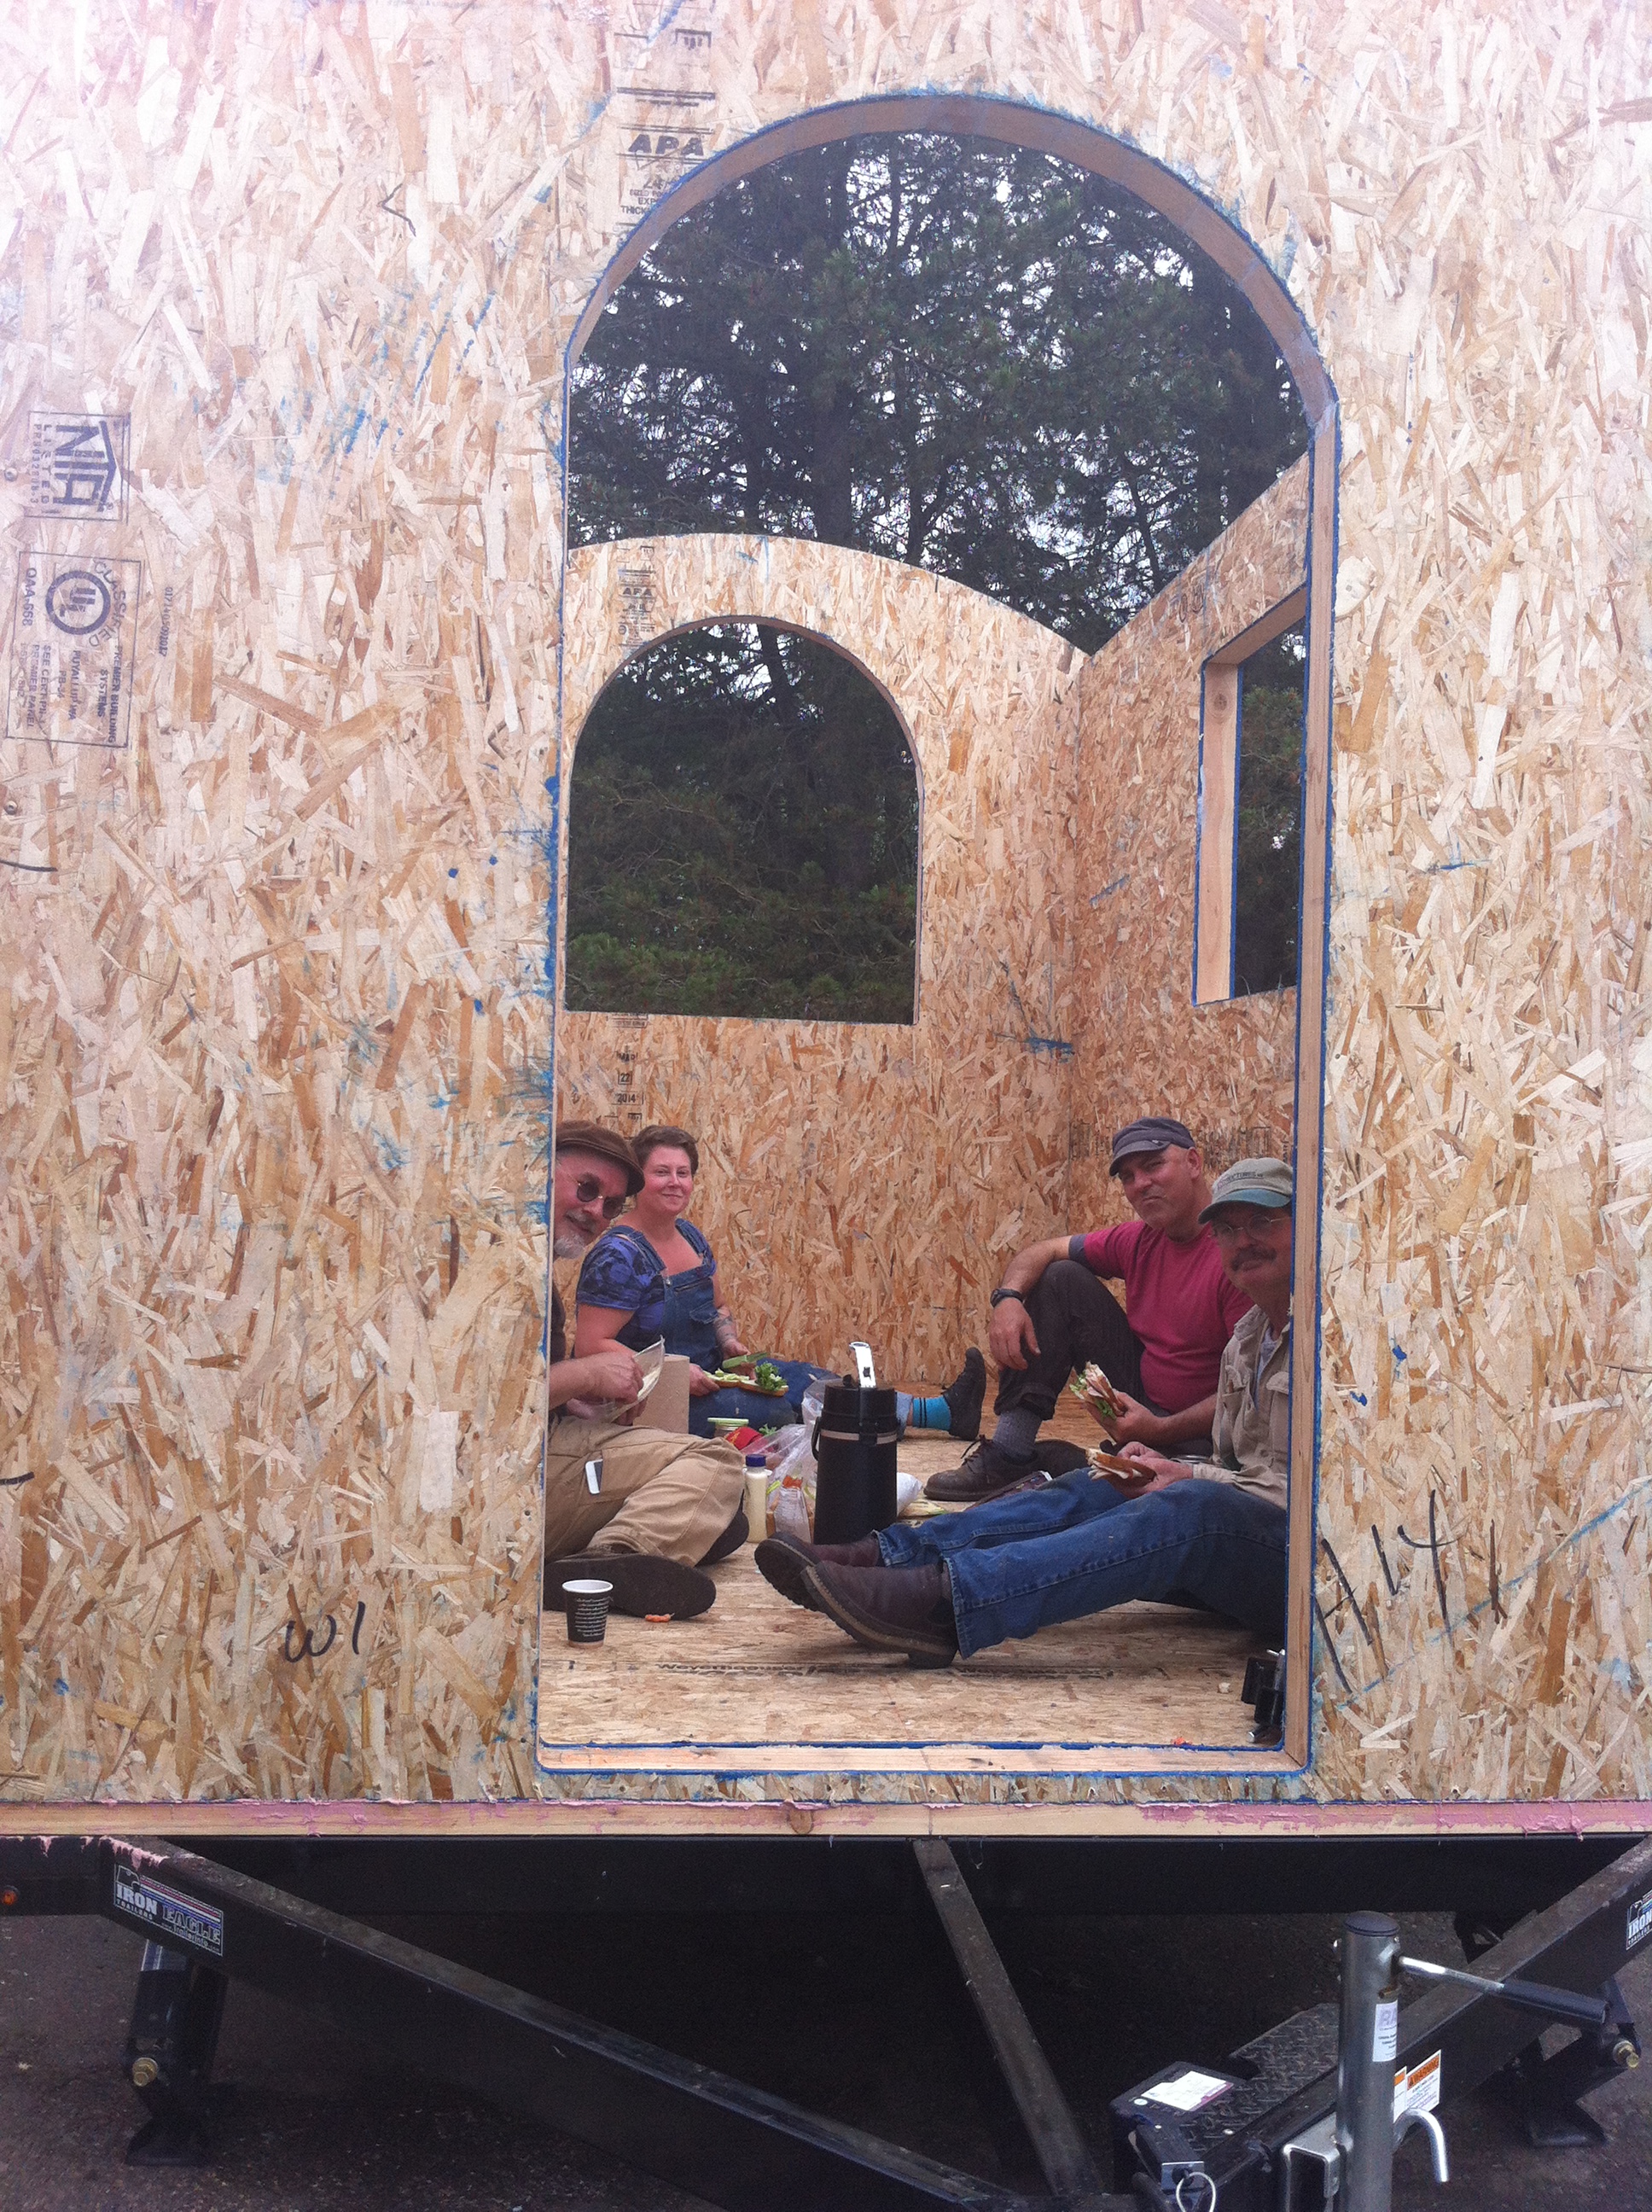
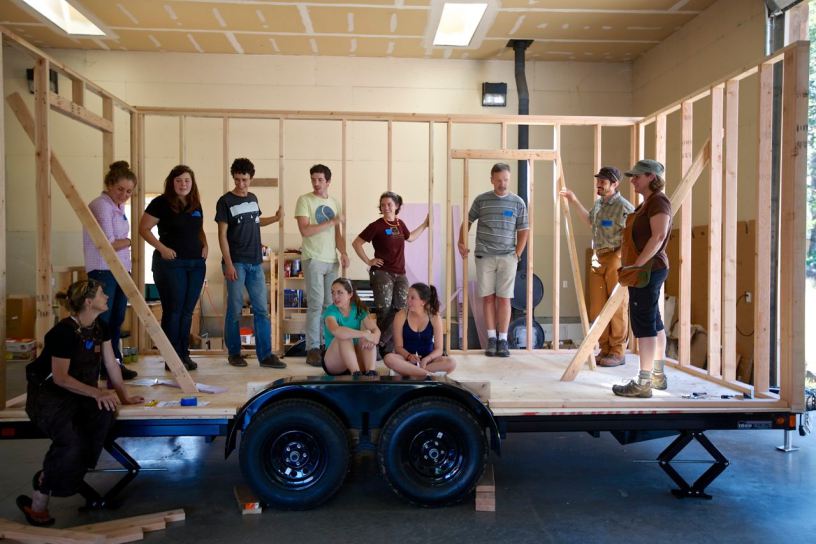
And we had fun. We did the teacup stretch and ran crazily around the tiny house, then around the outside of the barn, snagging blueberries along the way. When we went to raise the long second wall, Sam G. put on the Ride of the Valkyries and the wall was lifted in place with great operatic flourish. To my utter astonishment, the rockstar team was able to get a third wall built. When it was raised in place, it initially looked like it wouldn’t fit under the top plate of the second wall. Sam G. climbed up on a ladder and gave it a couple good thumps with a hammer and it slid into place like an arm into its socket. What’s more it was perfectly square and plumb, which almost never happens. I was now feeling pretty sheepish about having doubted this wonderful crew. They are a bunch of beautiful, good-hearted human beings, setting off on their own tiny house journeys. Several talked about how empowered they now feel. I love that their energy is part of my house and hope that I can return the favor in some way.
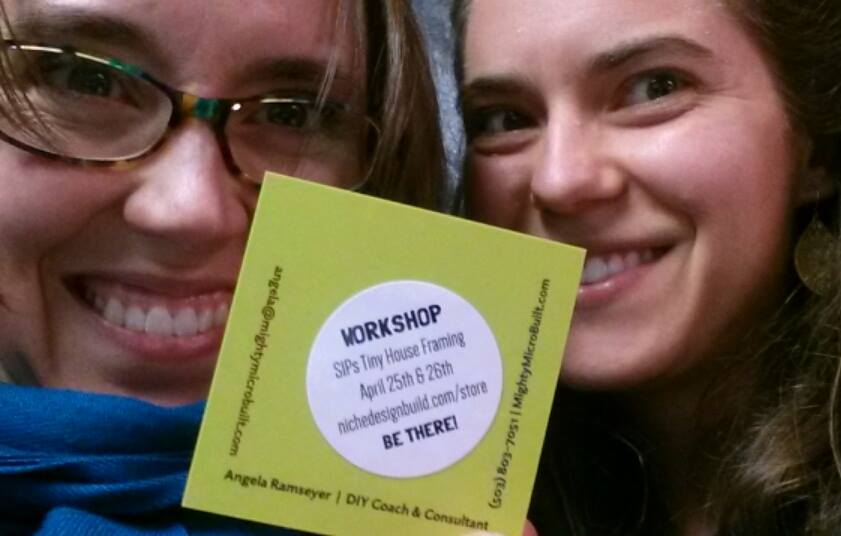