tiny house windows

Window Shopping Again

T42-Front-Elevation.jpg

Our Tiny For Two (T42) will have LOTs of windows for natural light and views! 
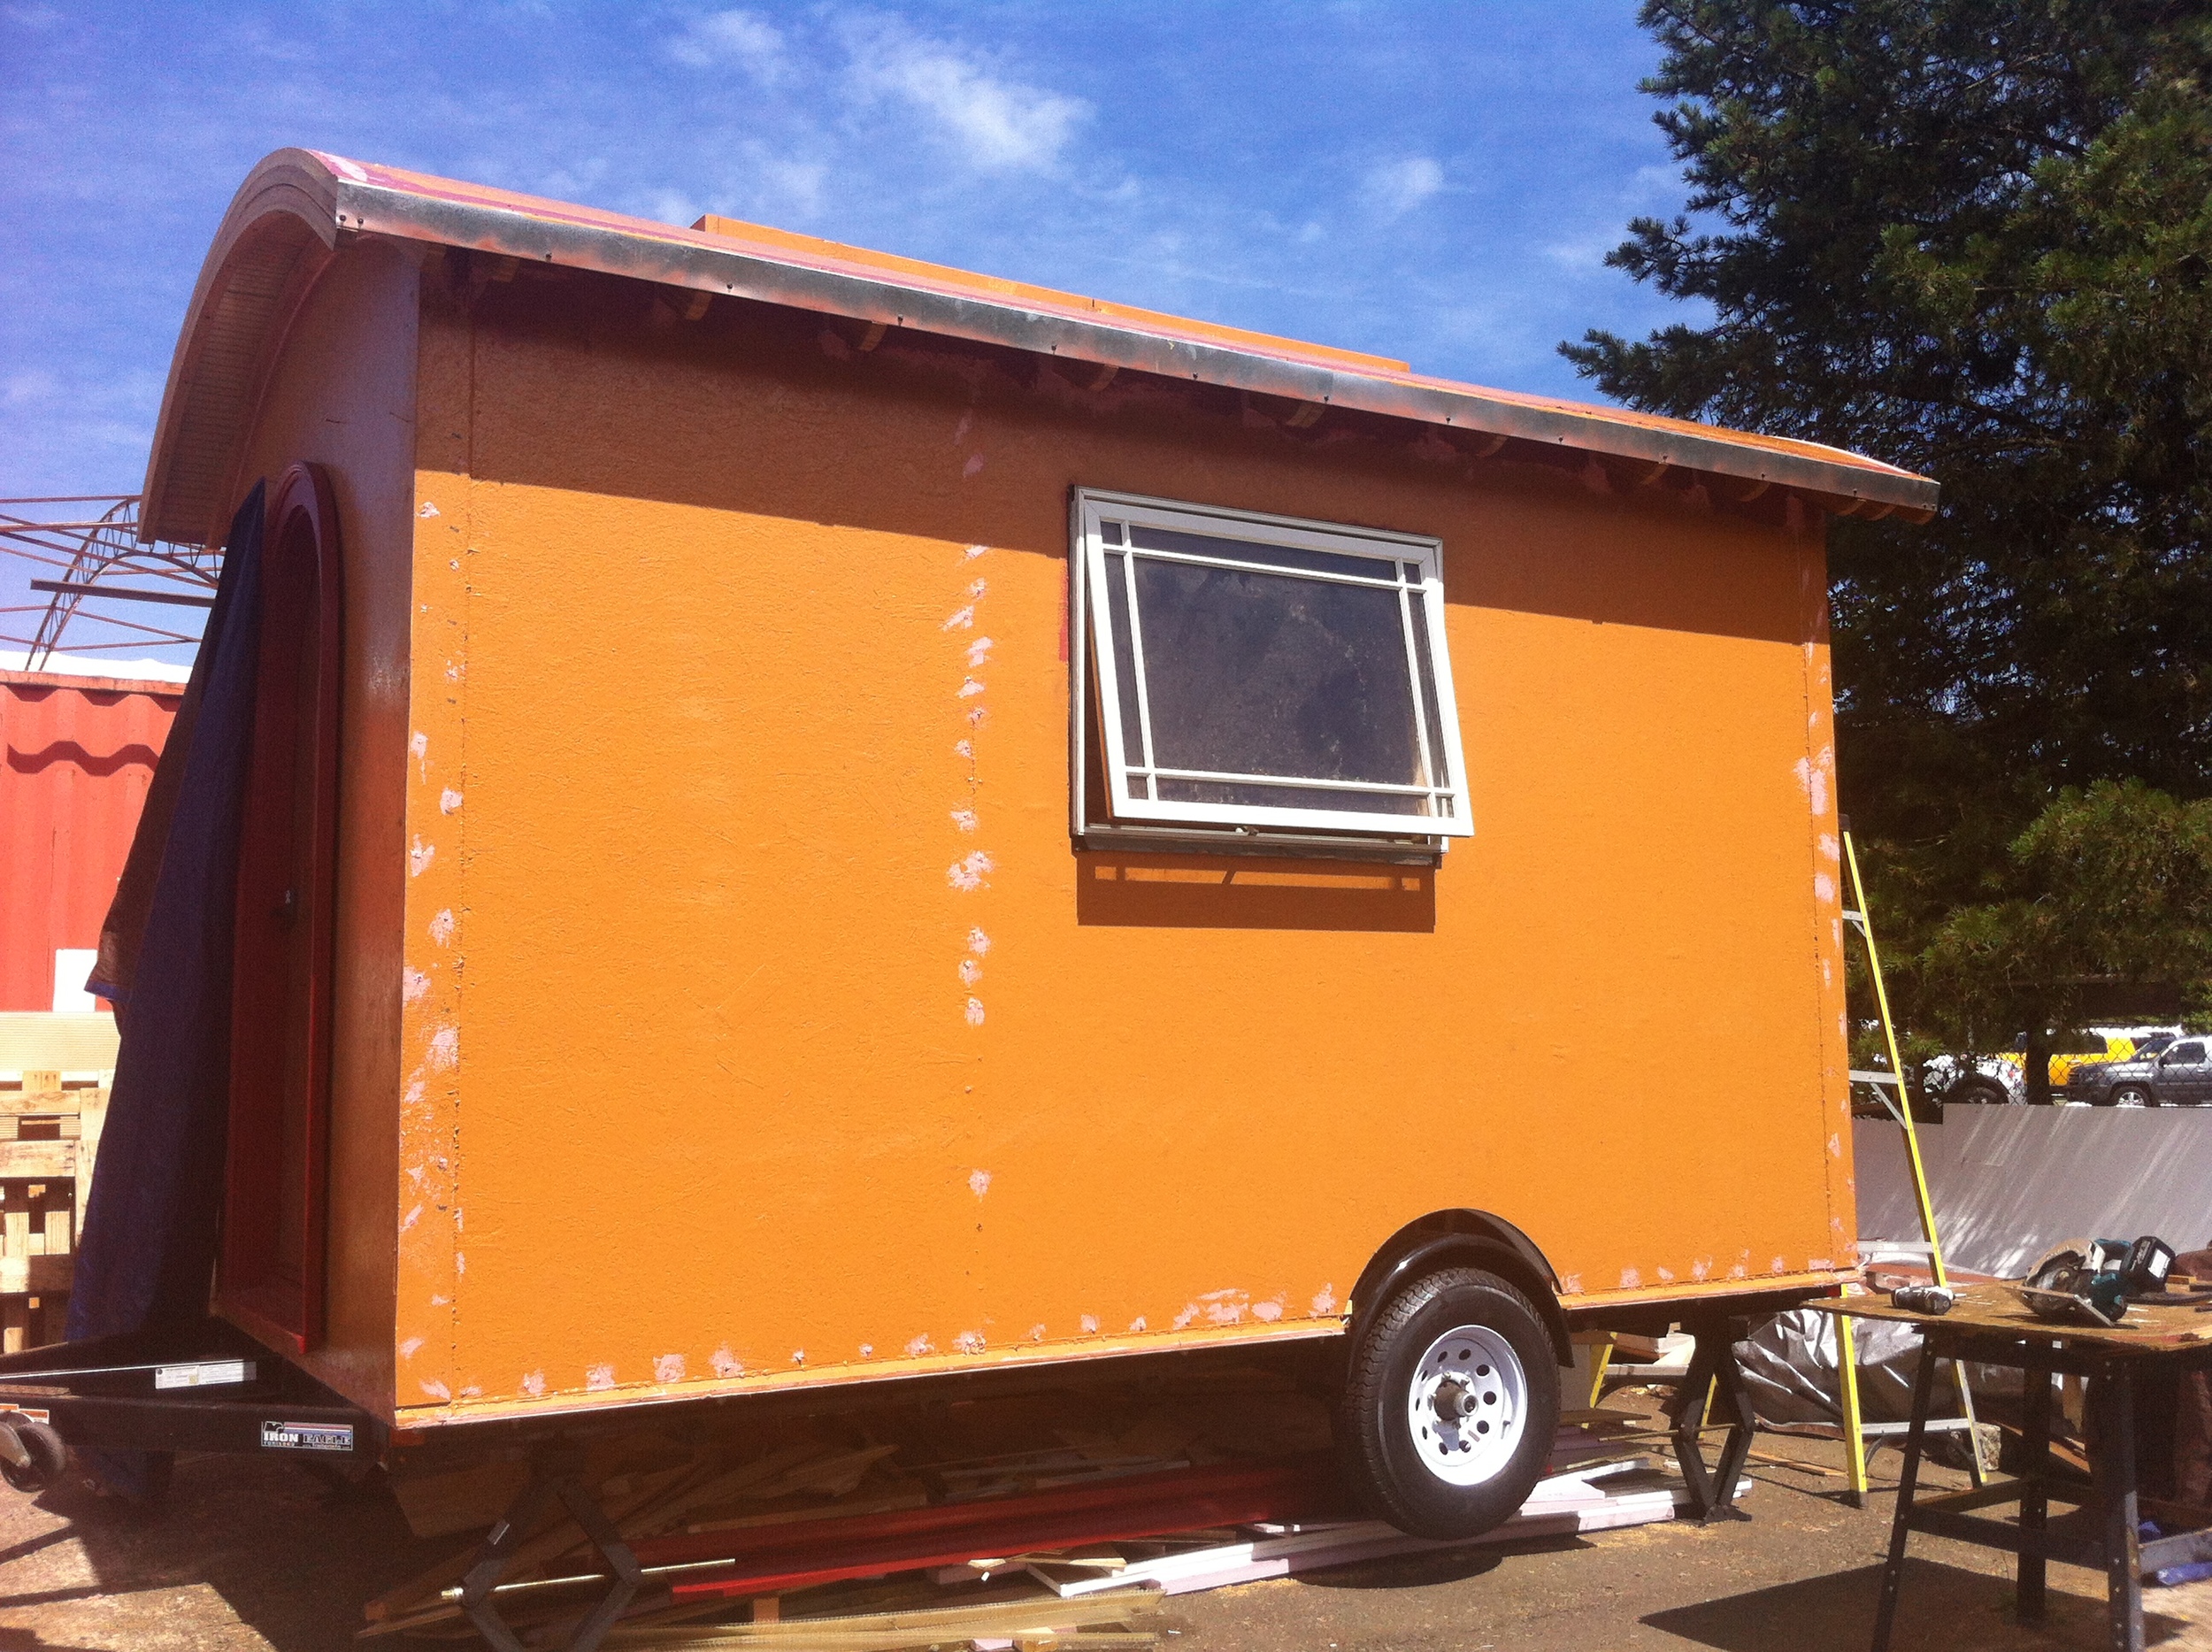
In case you missed A Tiny Announcement from Lina & Isha, The Guy Next Door and I are building ourselves a tiny house, starting this spring. We ordered our brand new PAD Series trailer from Rob at Iron Eagle Trailers a few weeks ago. So the time has come for us to do some window shopping.

Windows and doors can take up to 6 weeks to arrive (especially if any of them are custom). So it's a good idea to get moving on windows long before you're ready to start building. Although the only non-standard components of our glazing package are Our Hobbit-Sized Outswing French Doors and the transom window above them, we needed to have our windows dialed in before we could submit our design to Patrick from Artisan Tiny House, so he can turn it into a SIPs kit. As you might imagine, our timeline nudged us to make our windows the top priority this week since I returned from the Cilantro Poncho Build Blitz in Tucson, AZ.

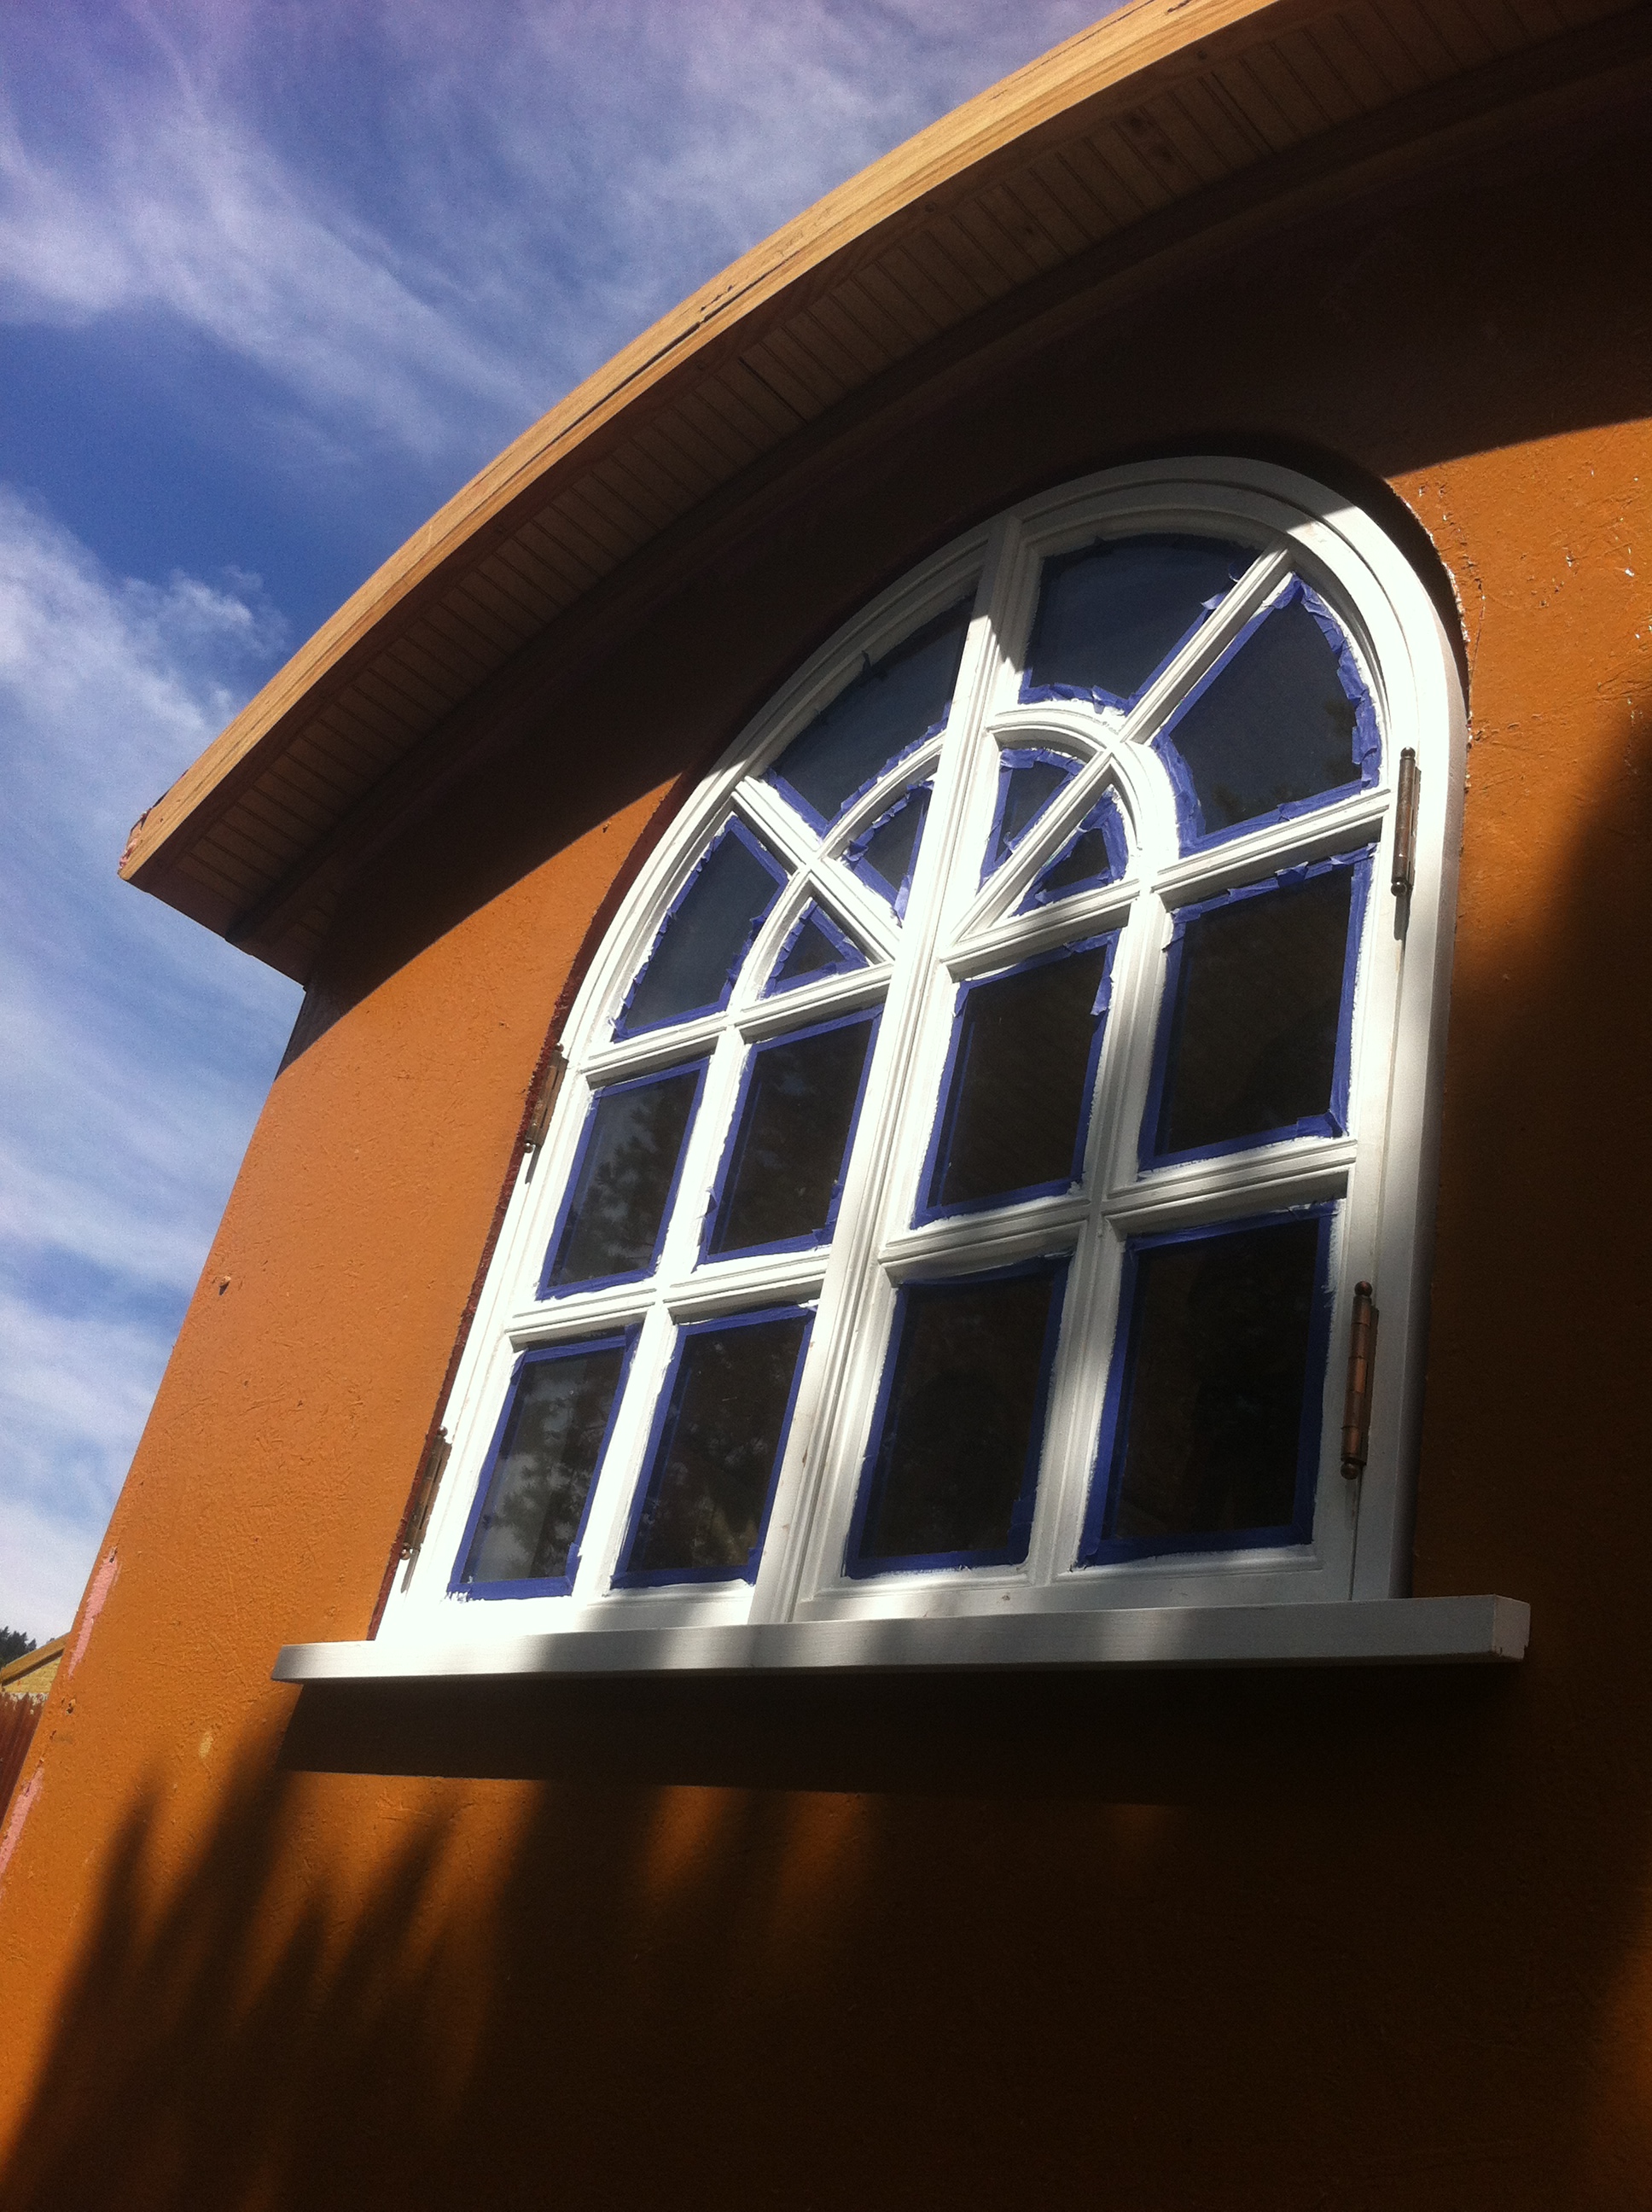
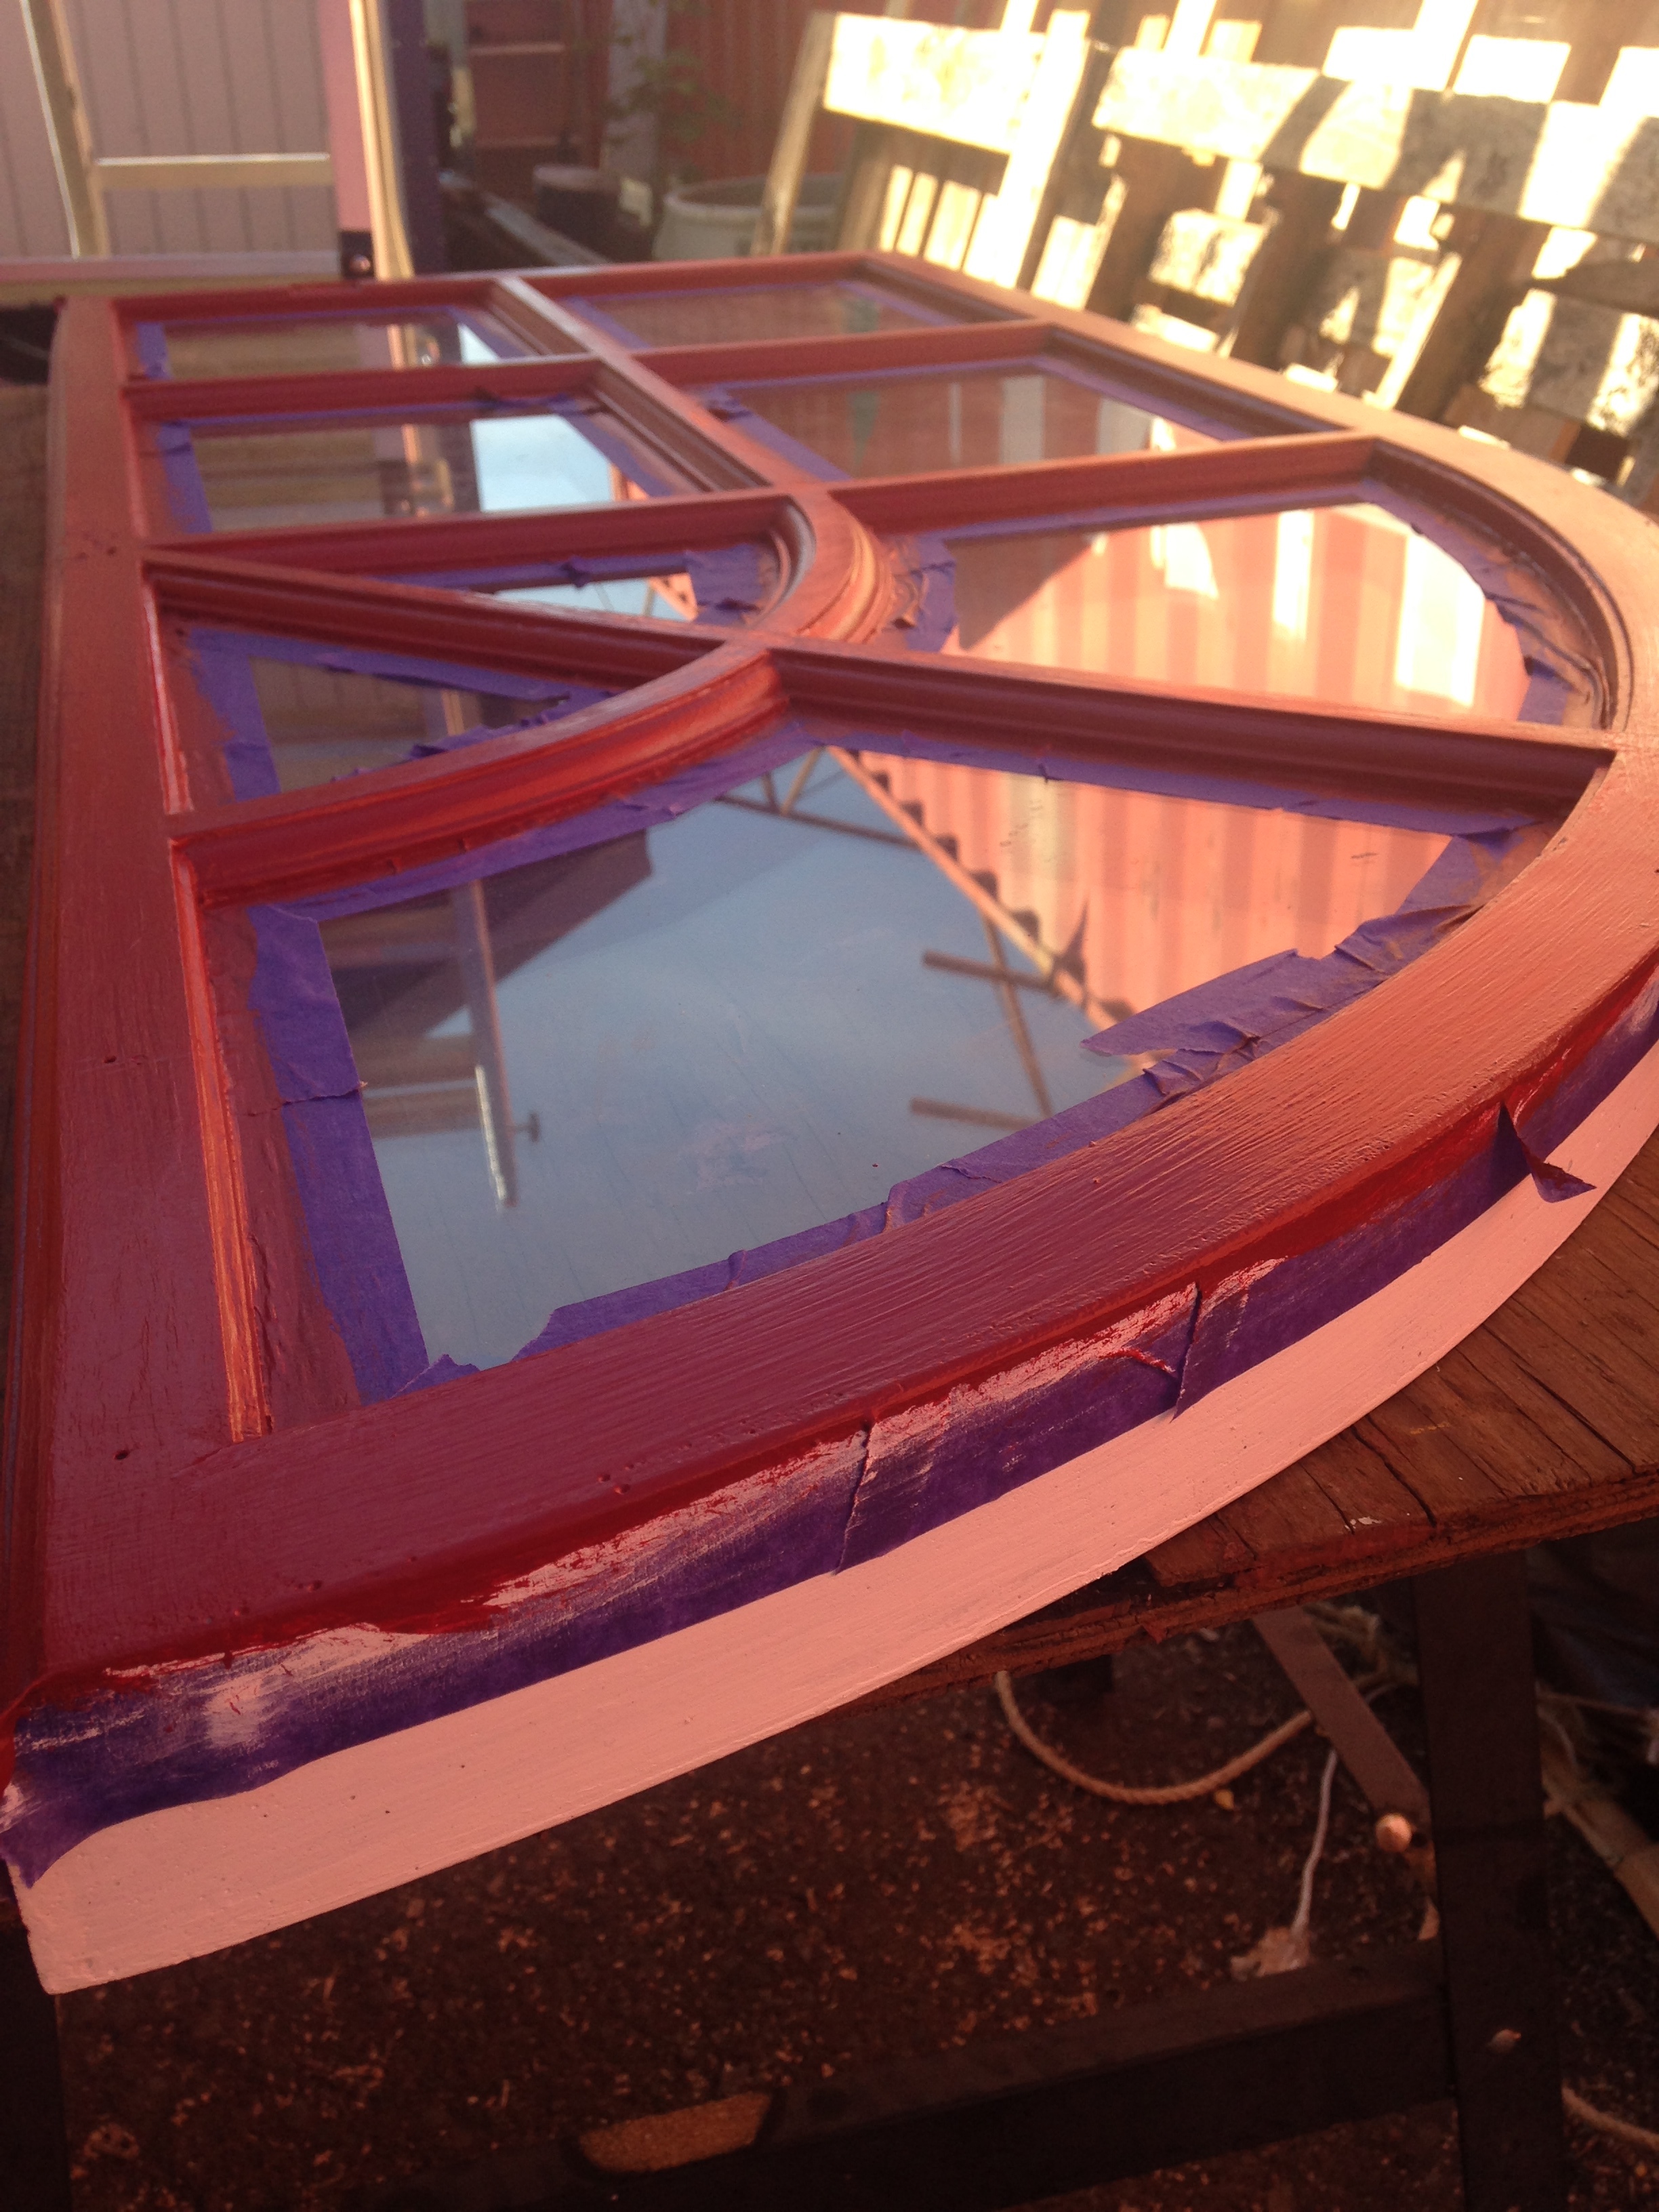
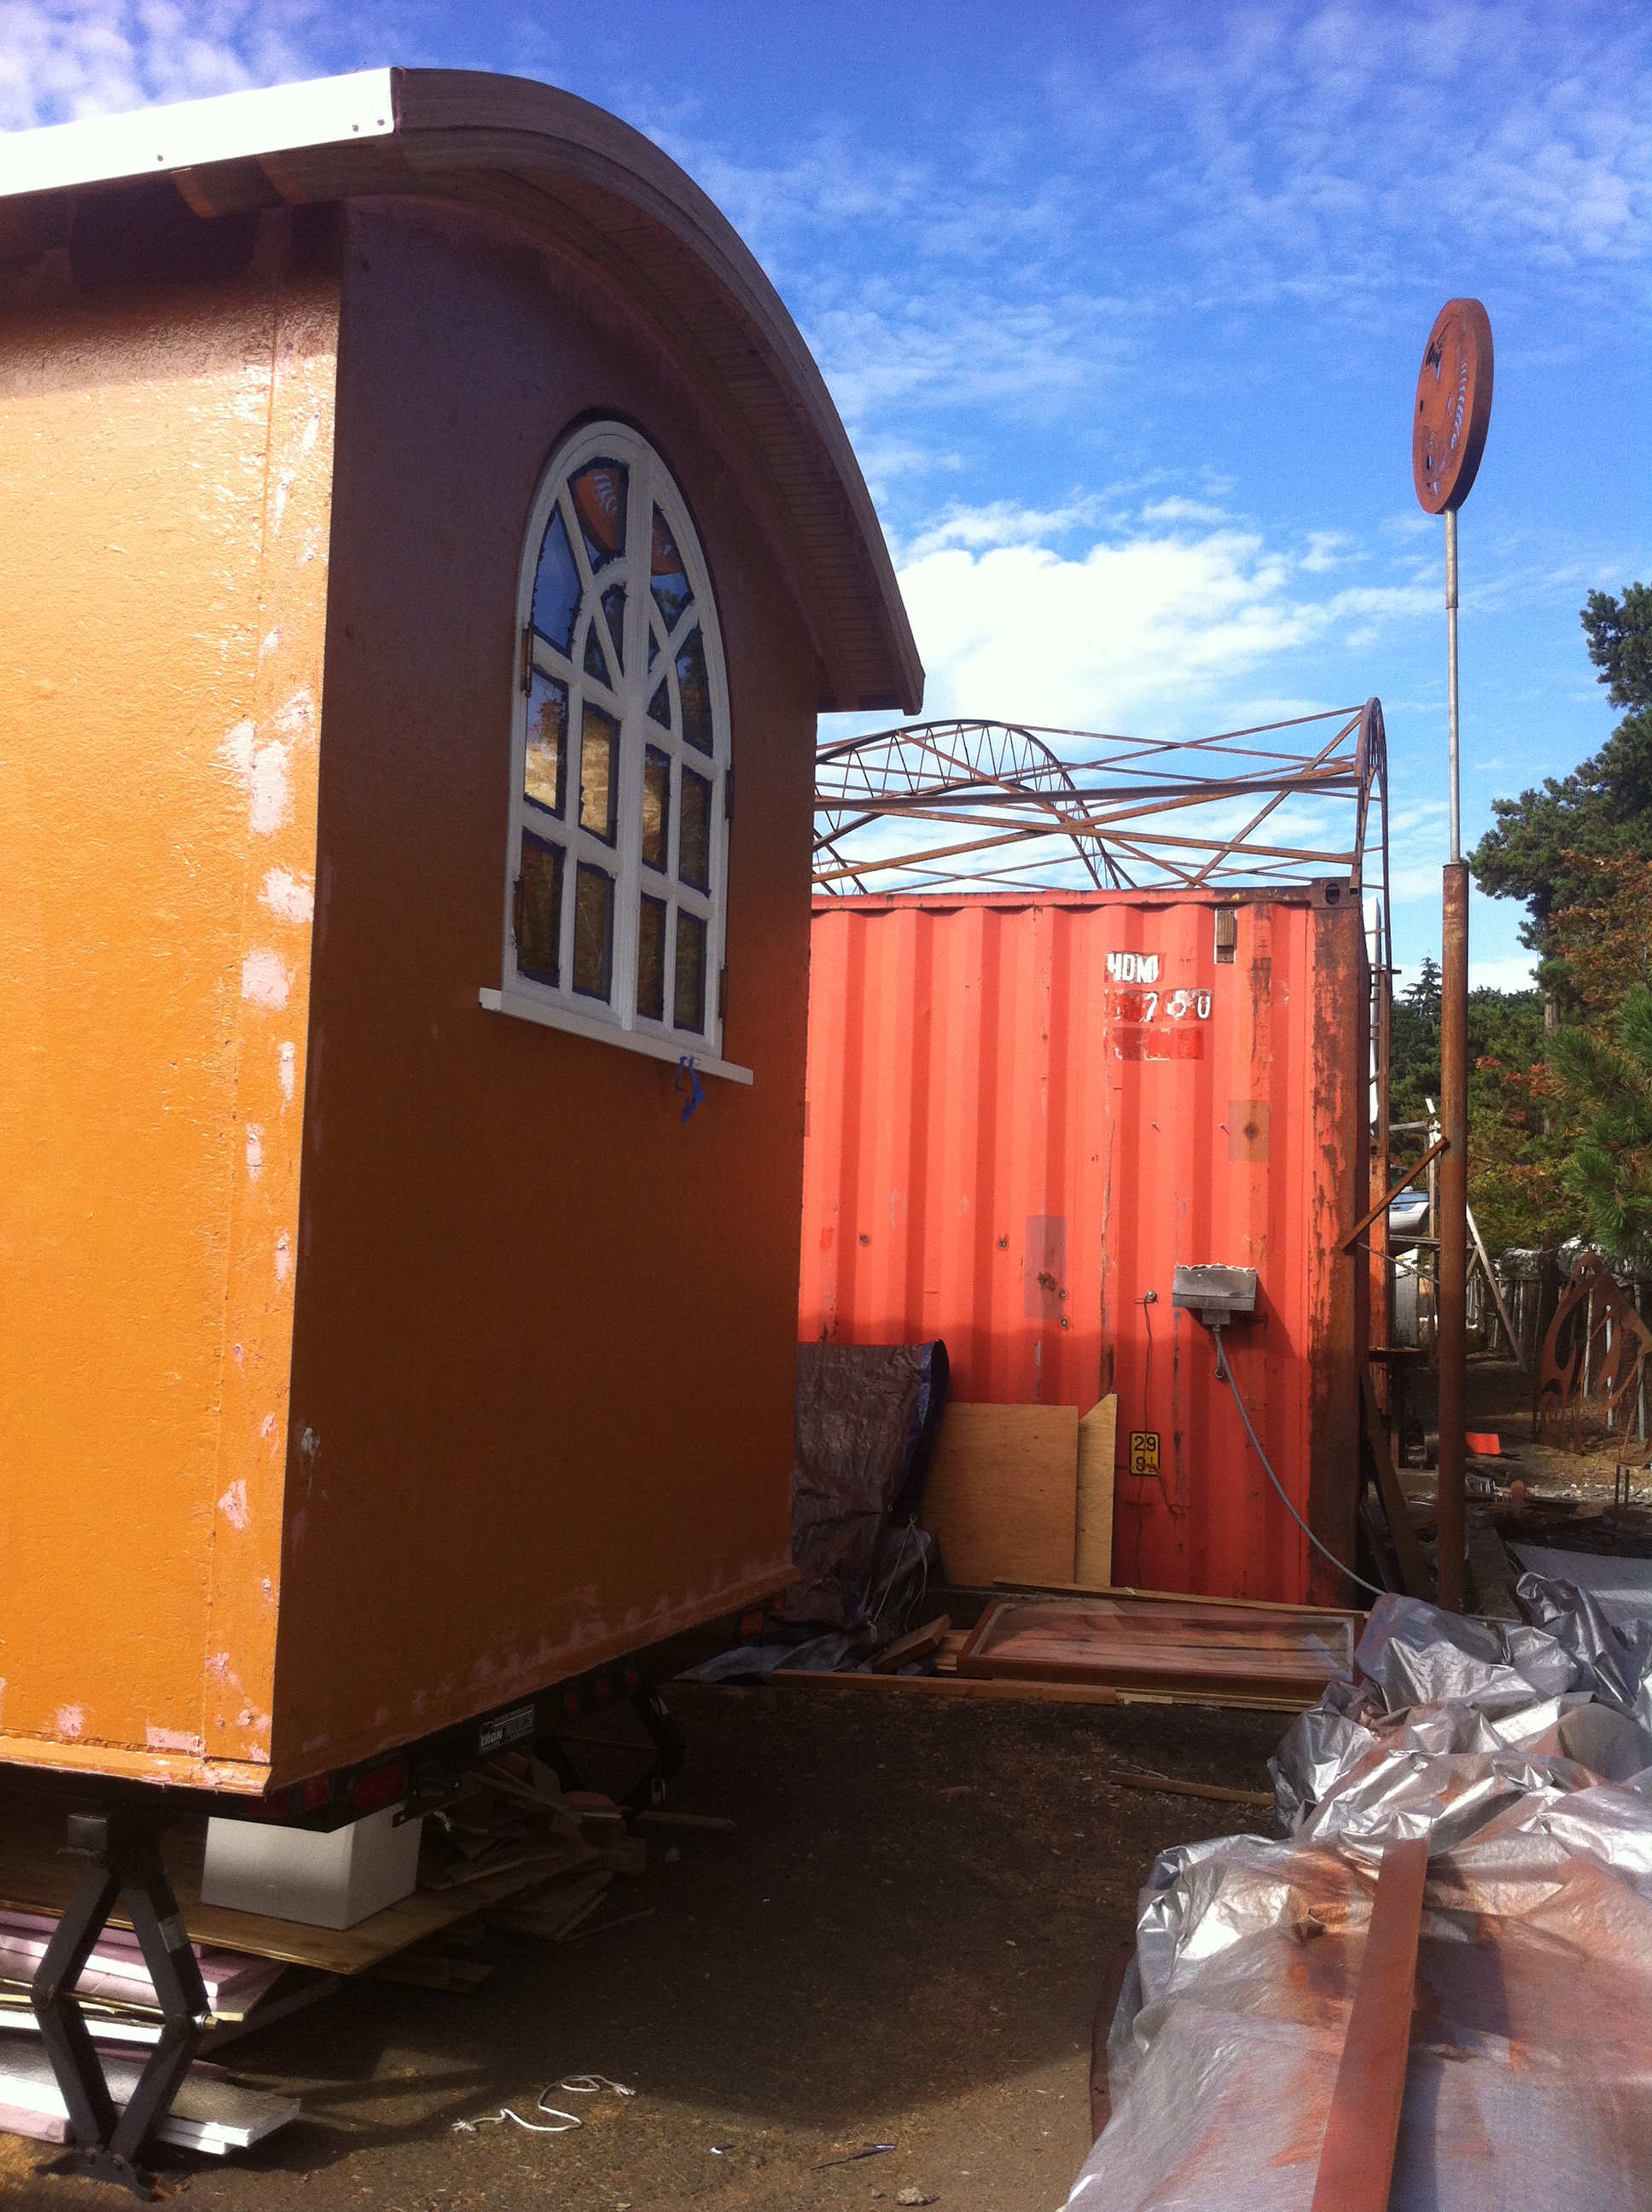
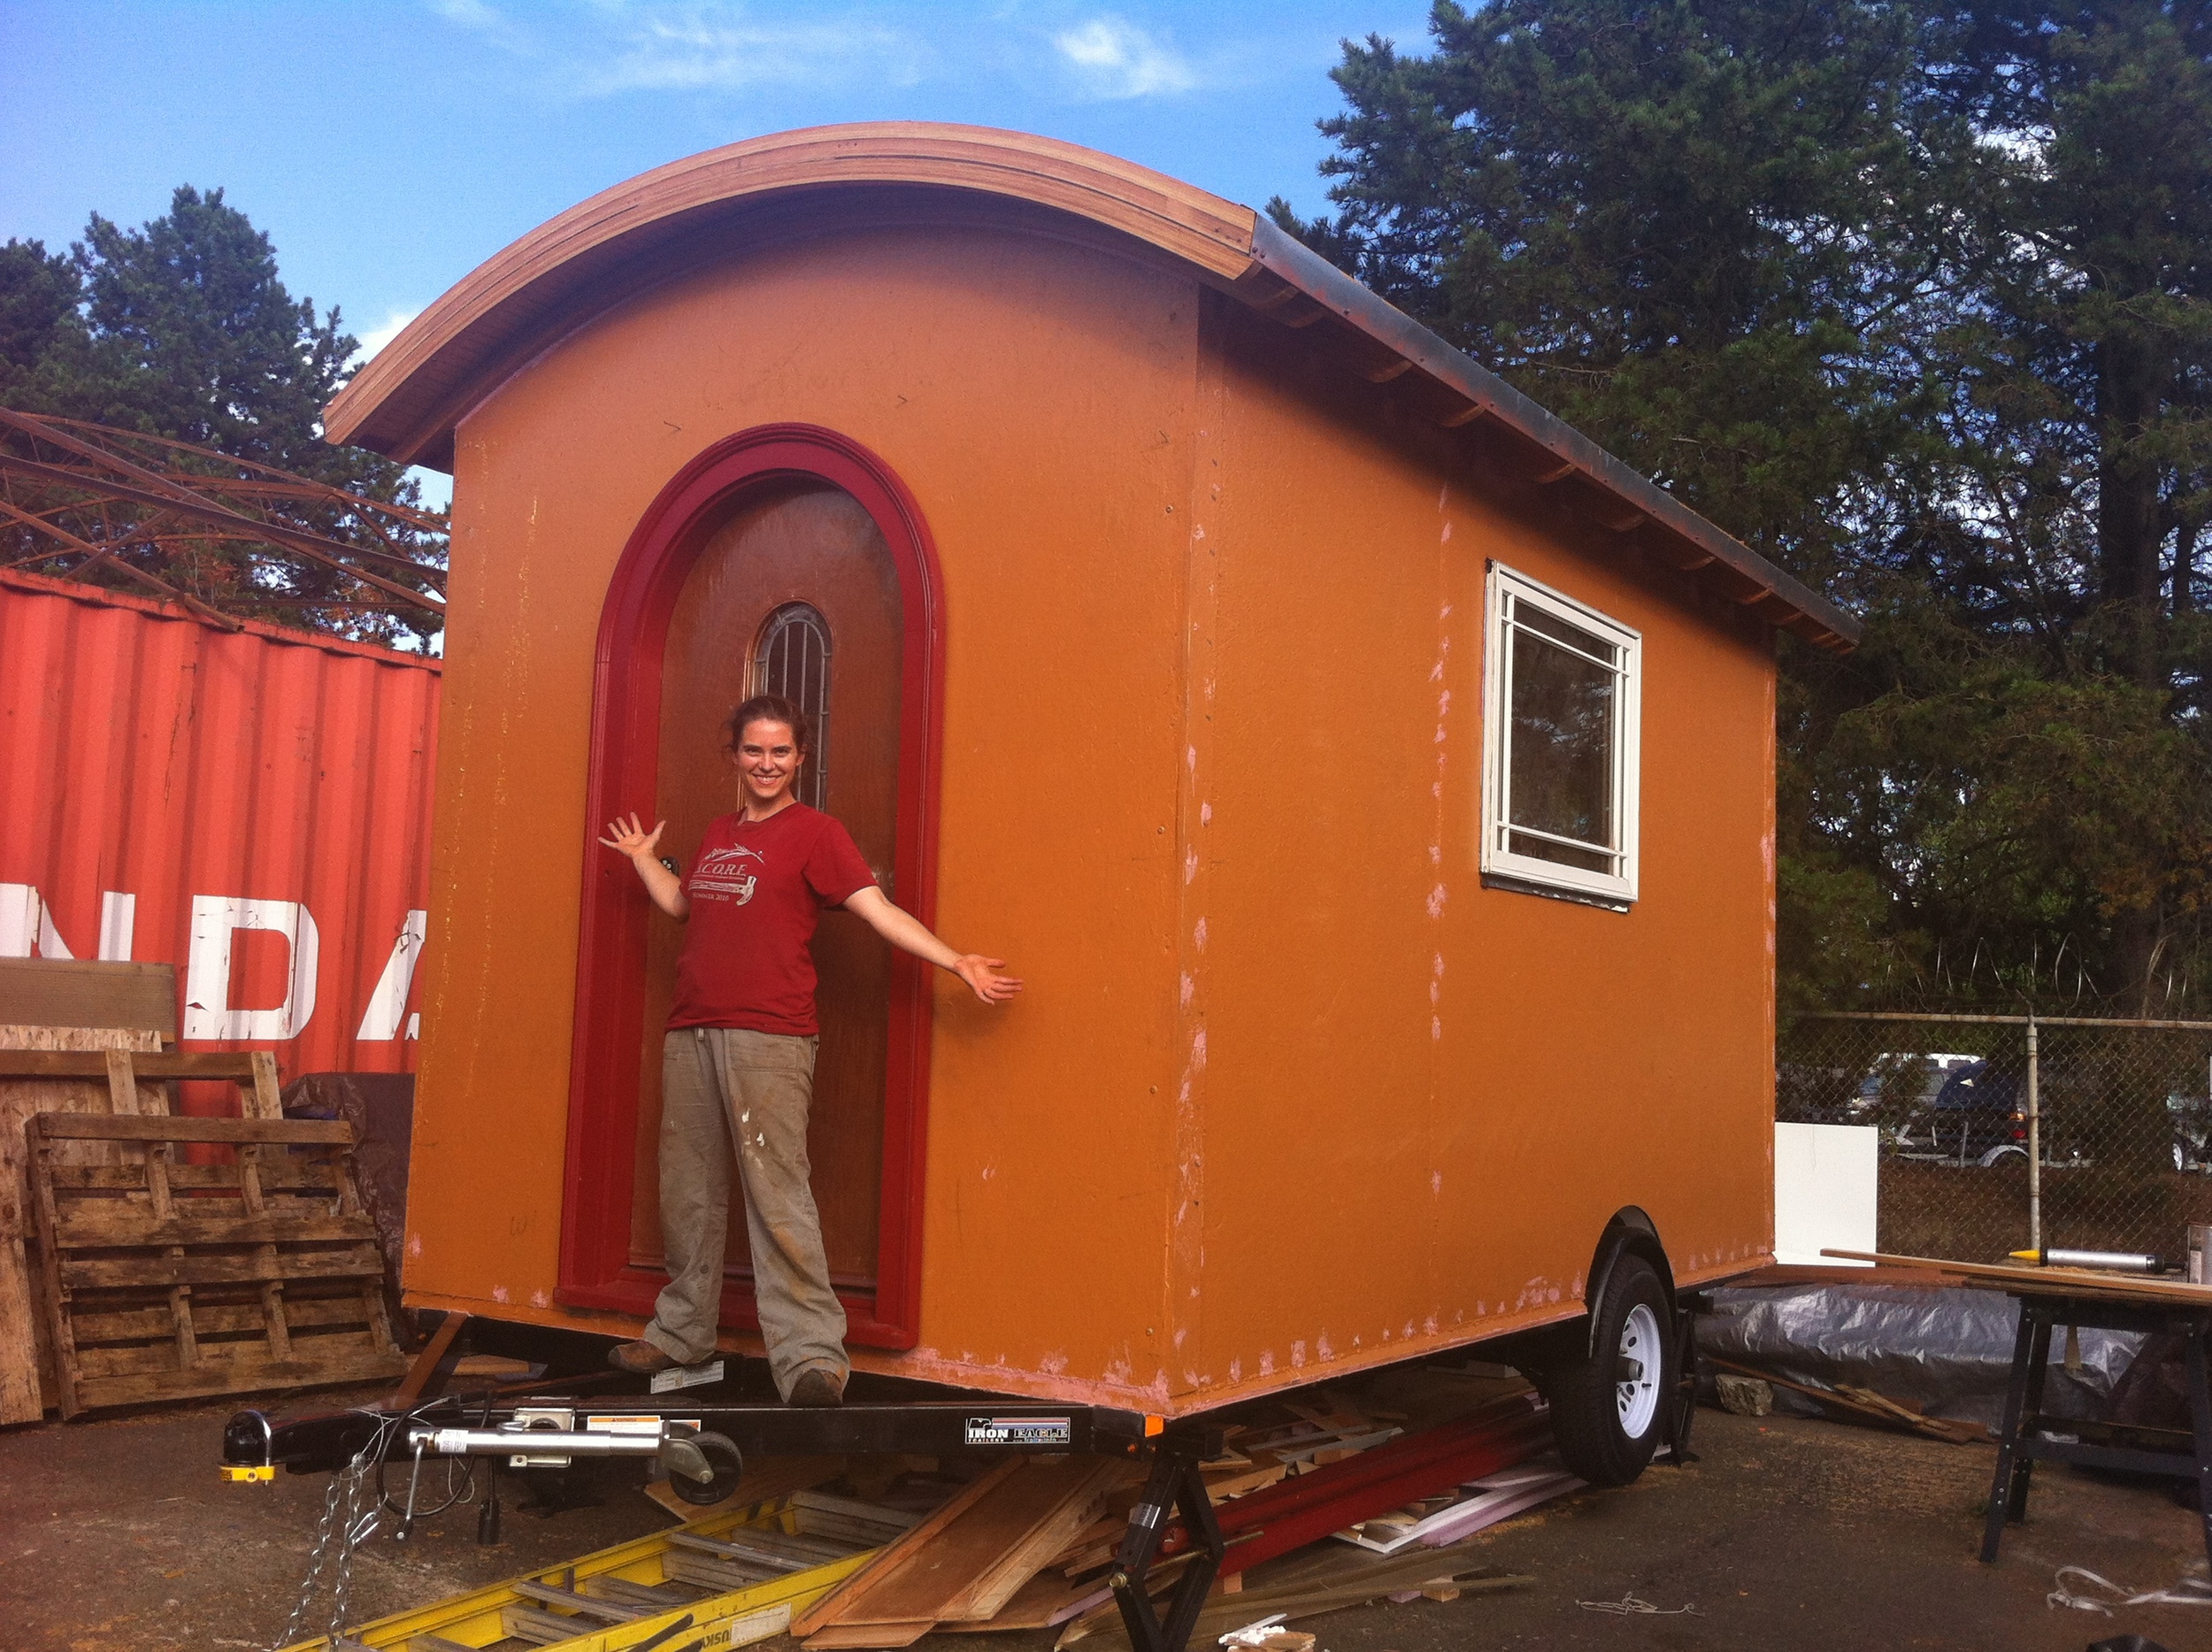
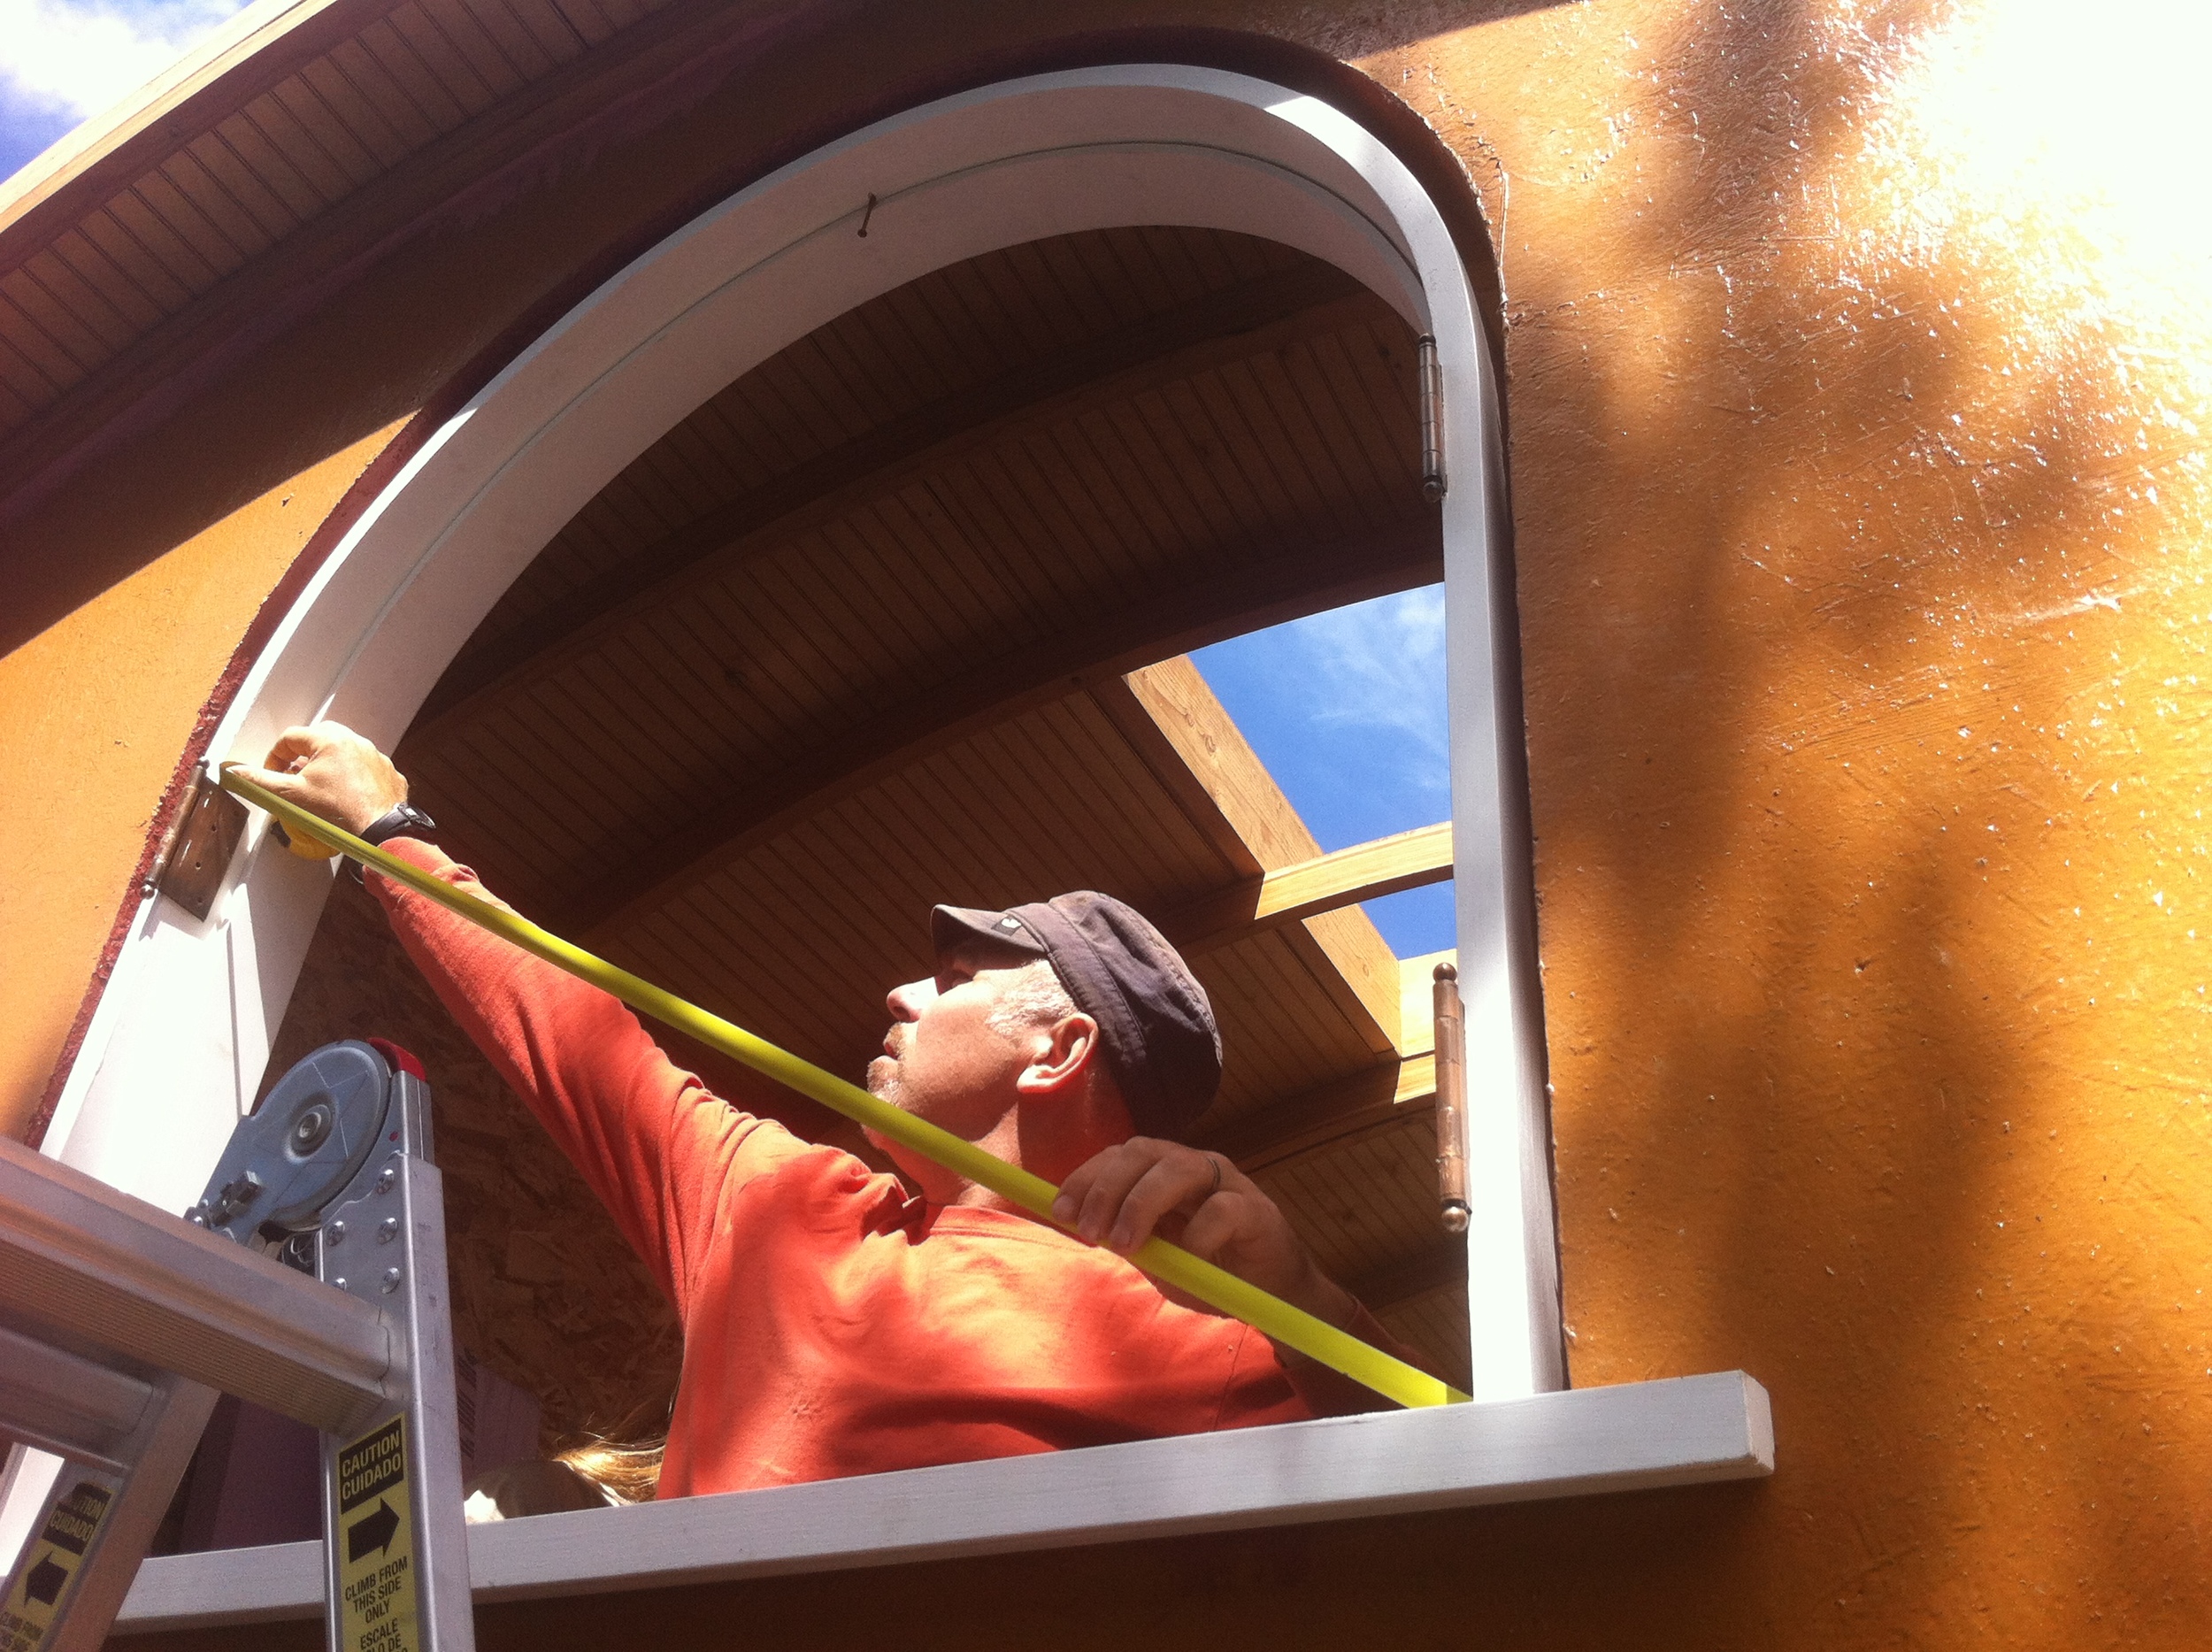
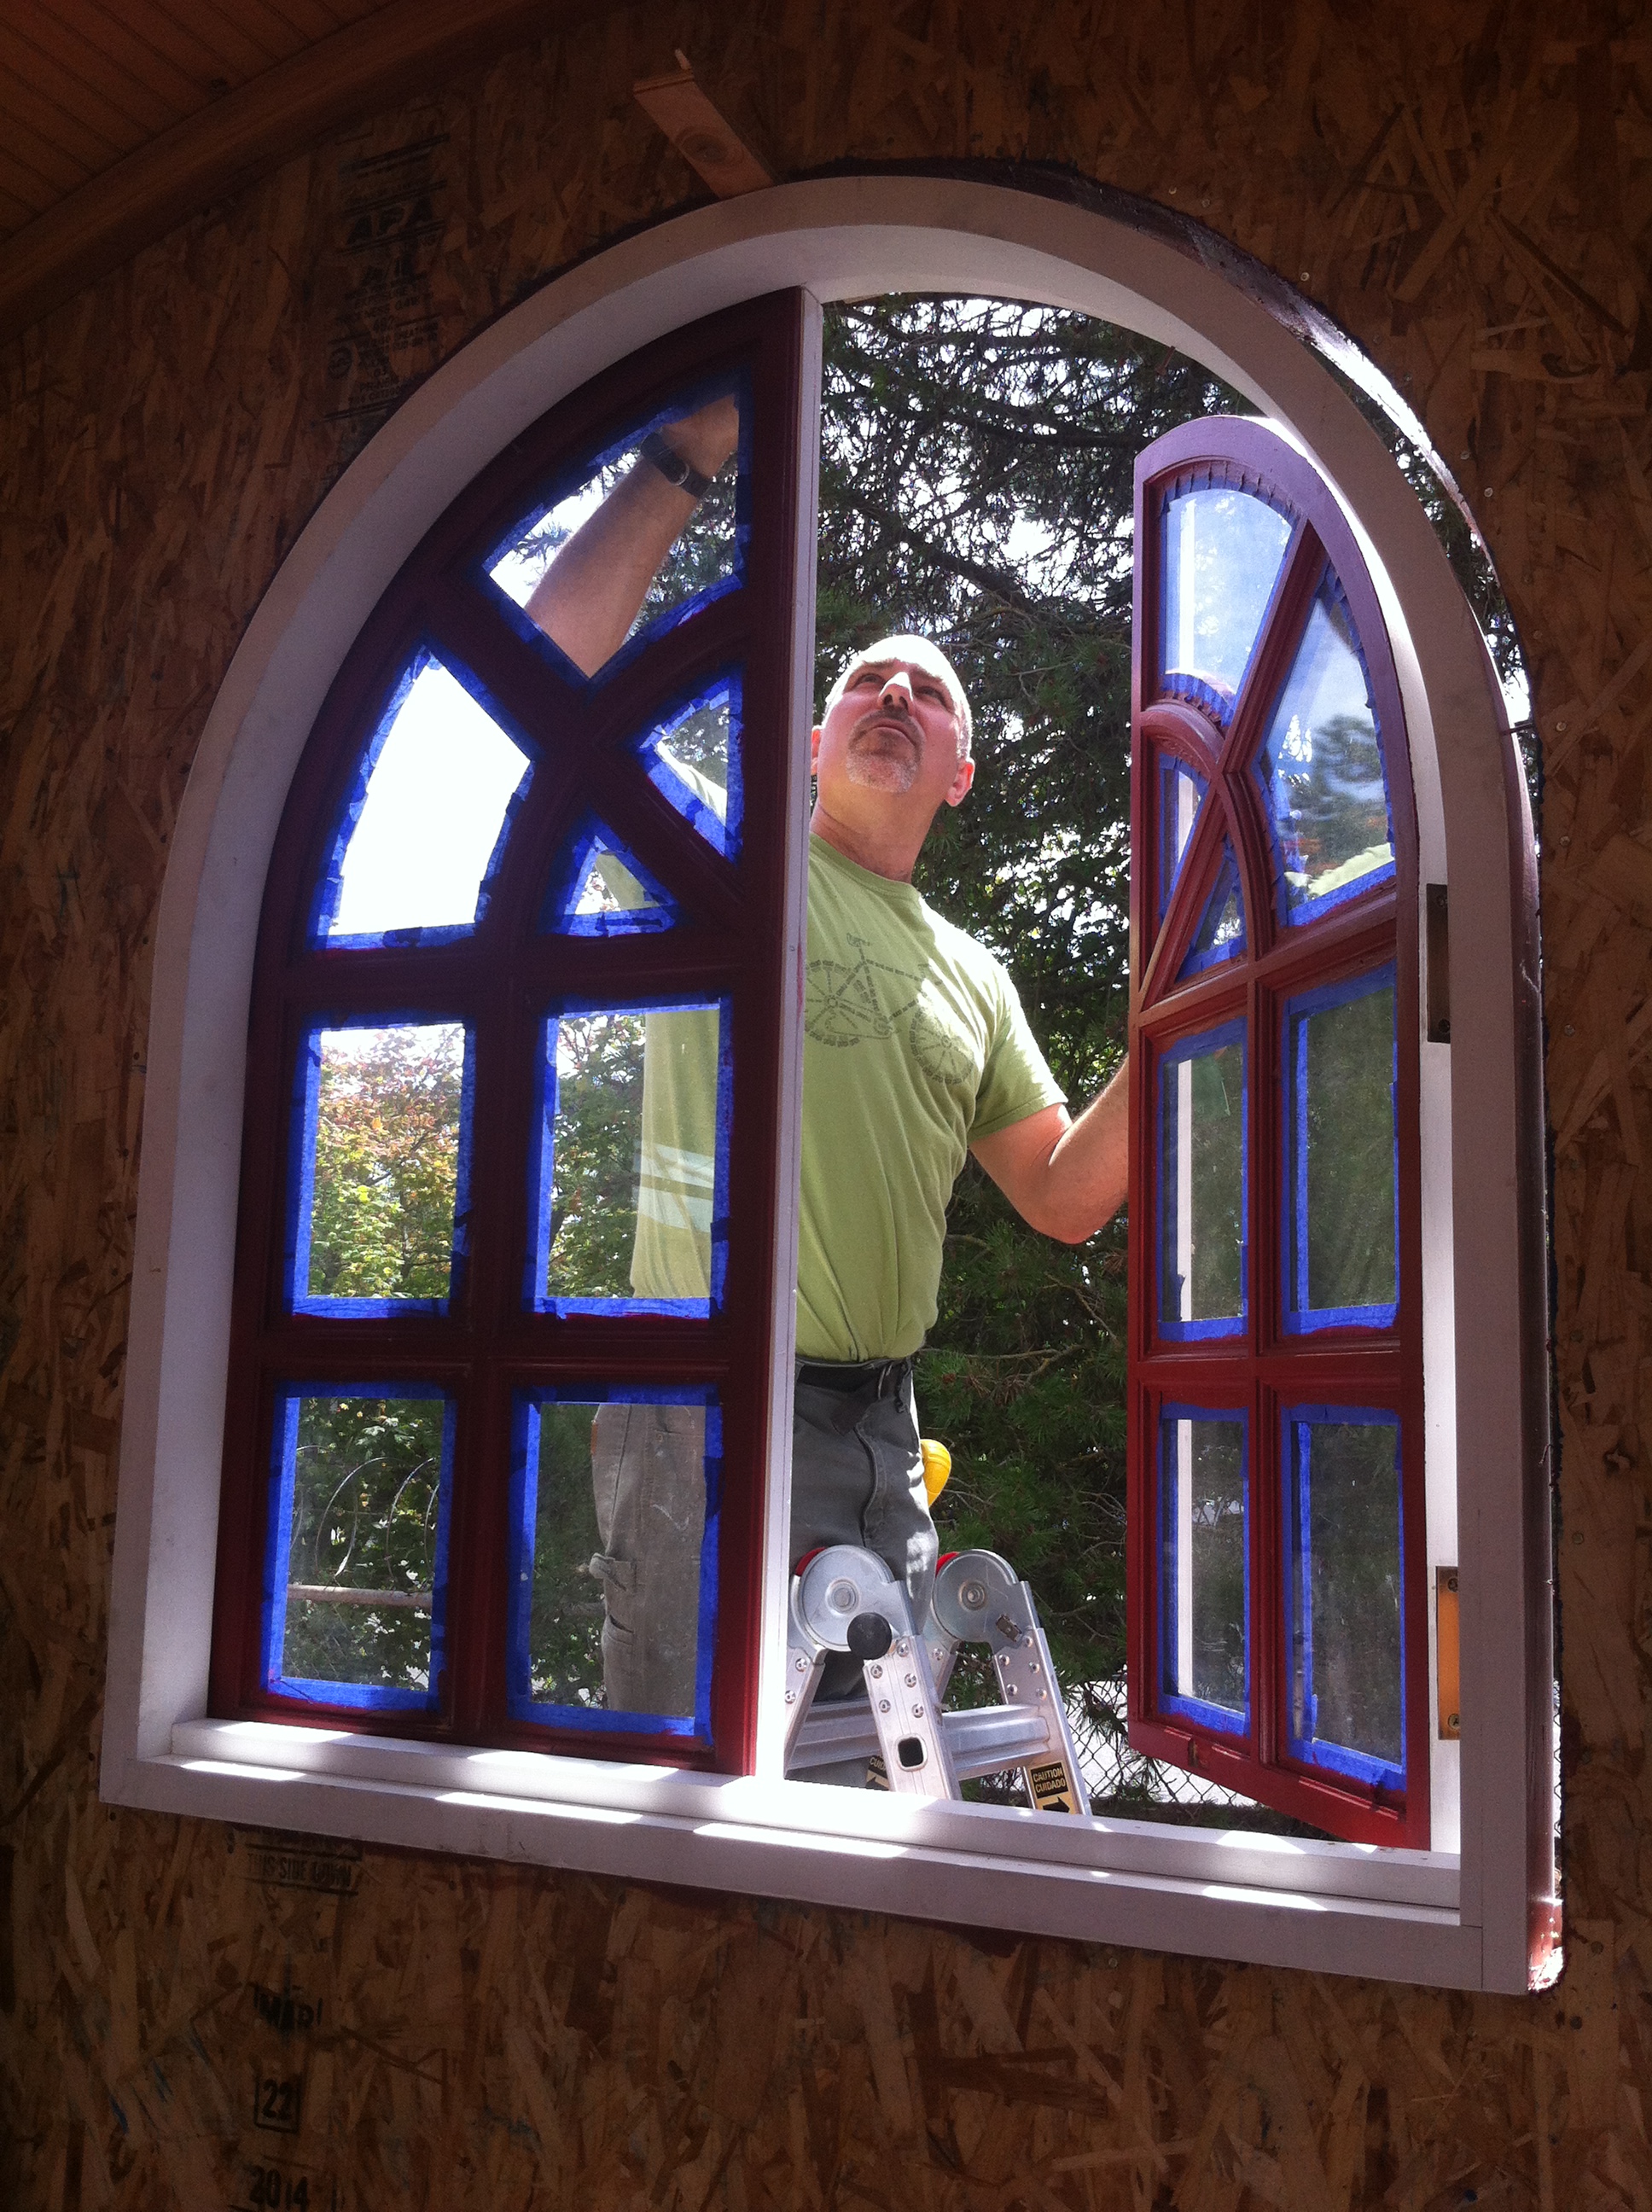
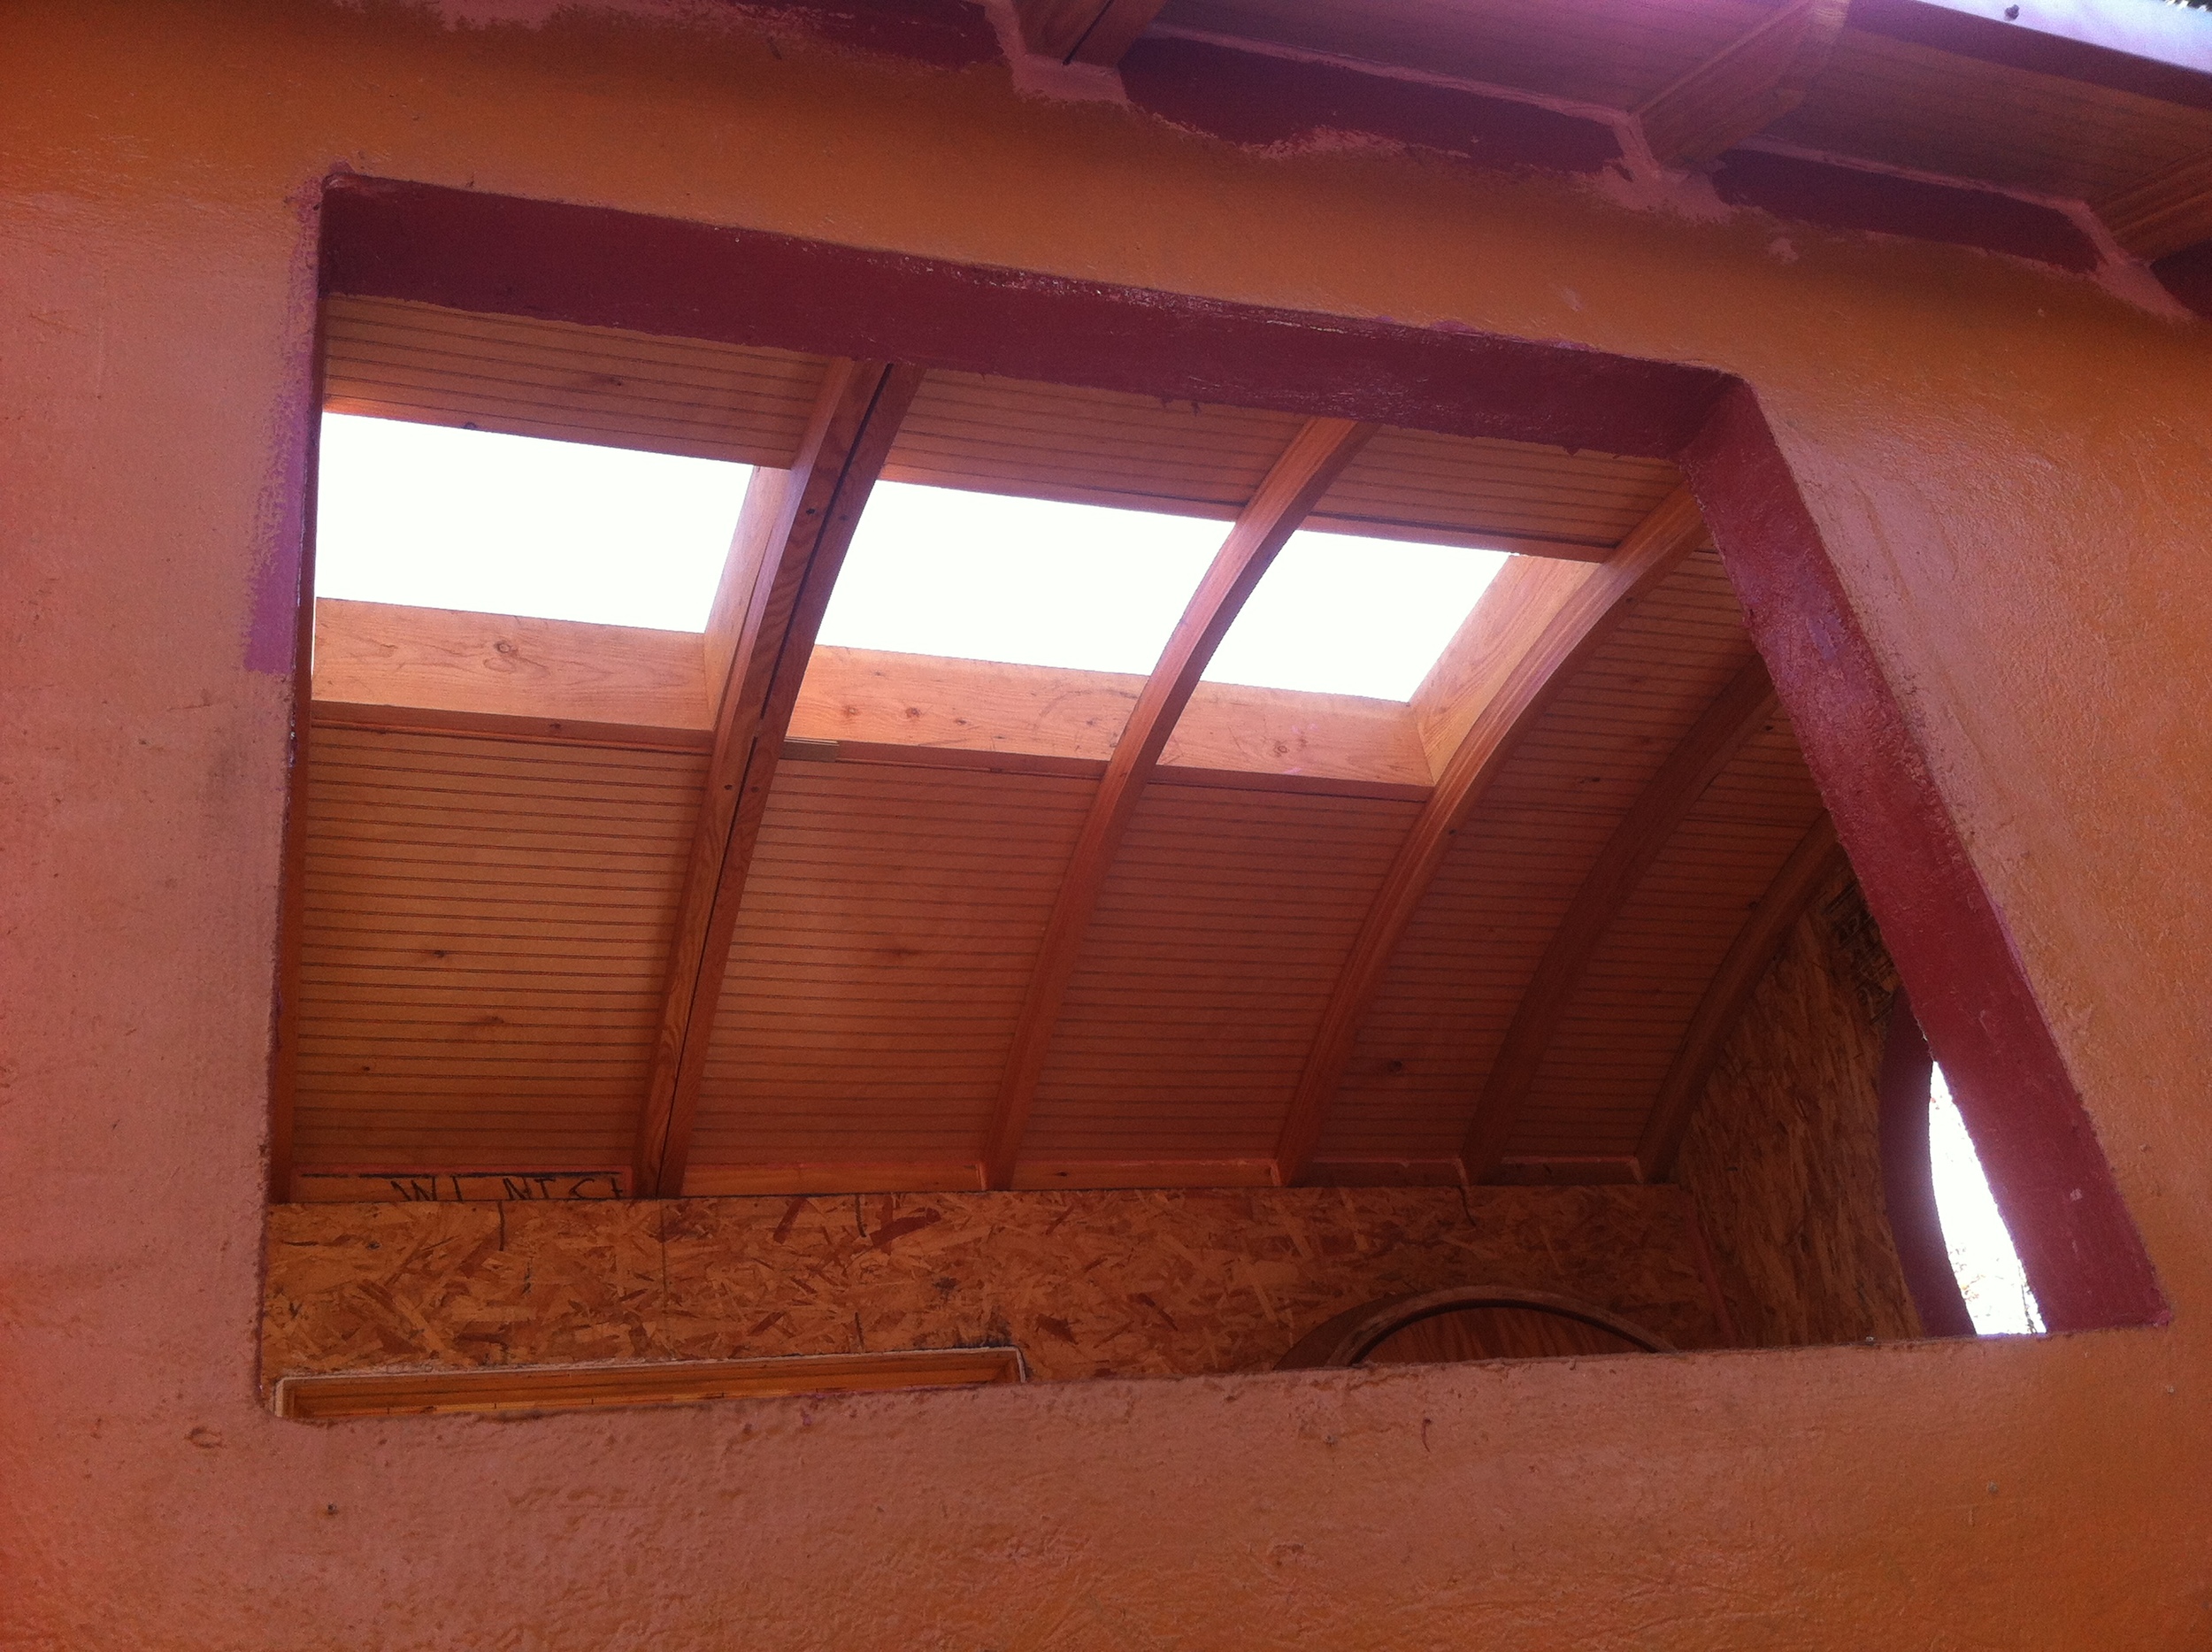
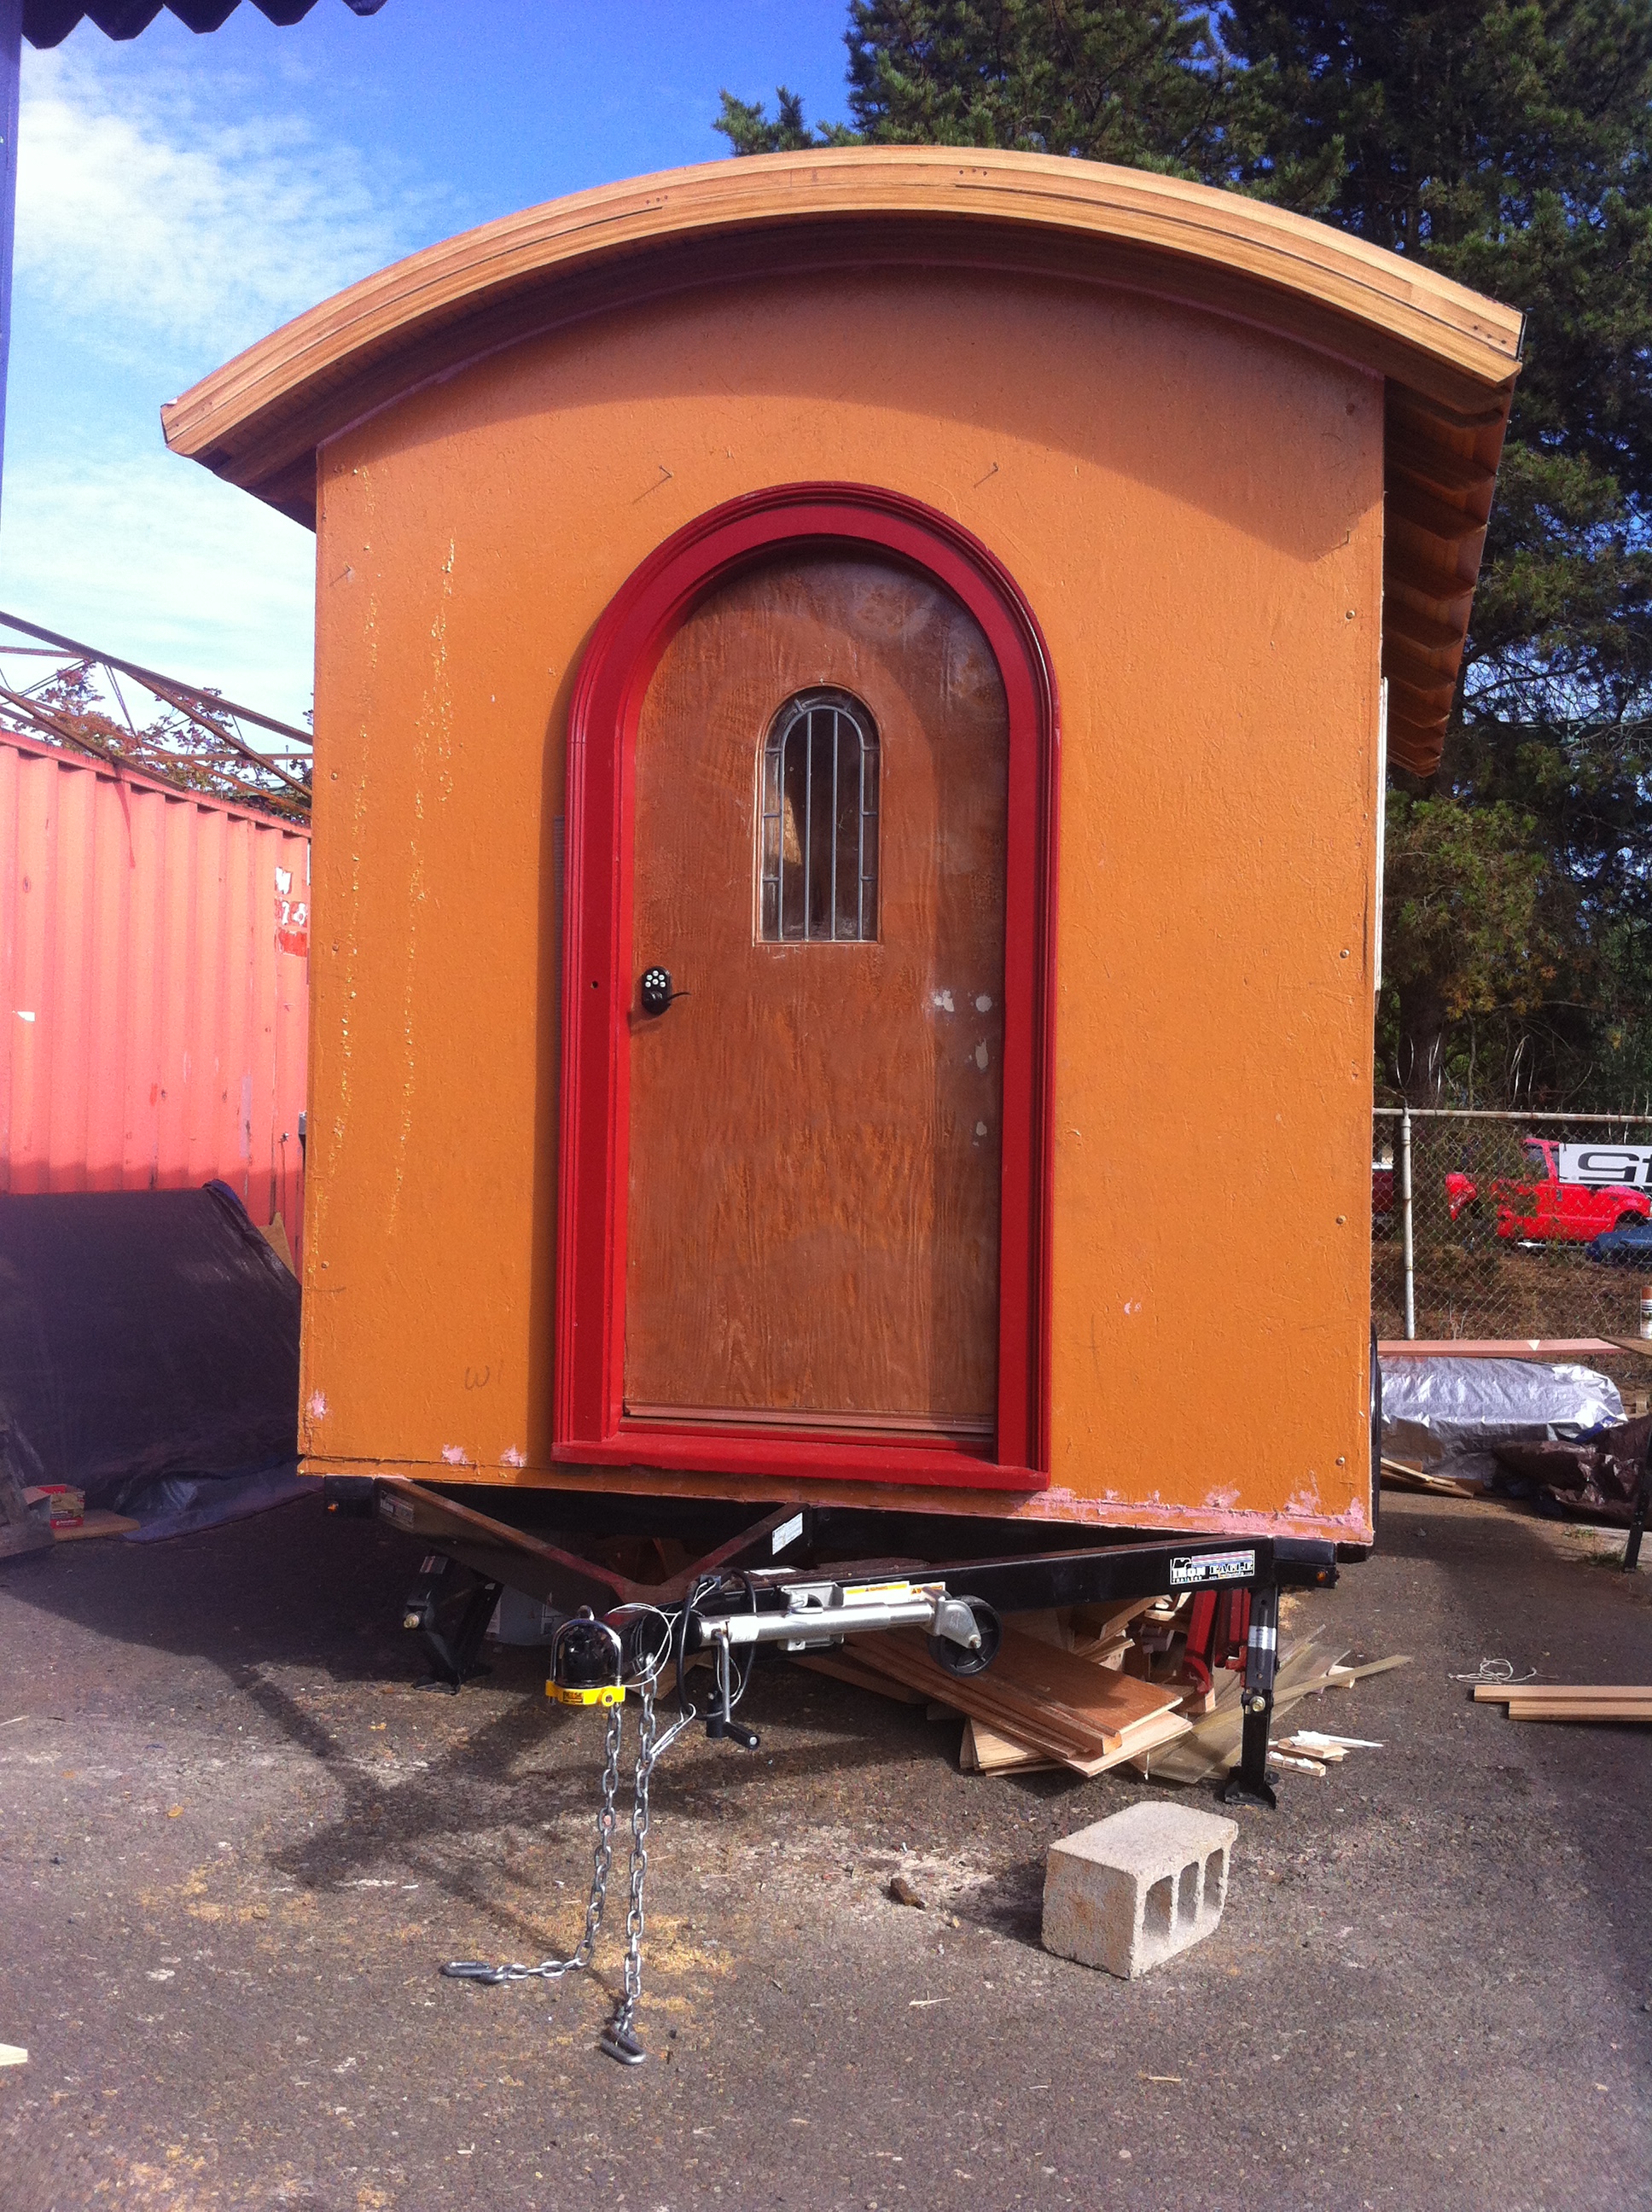
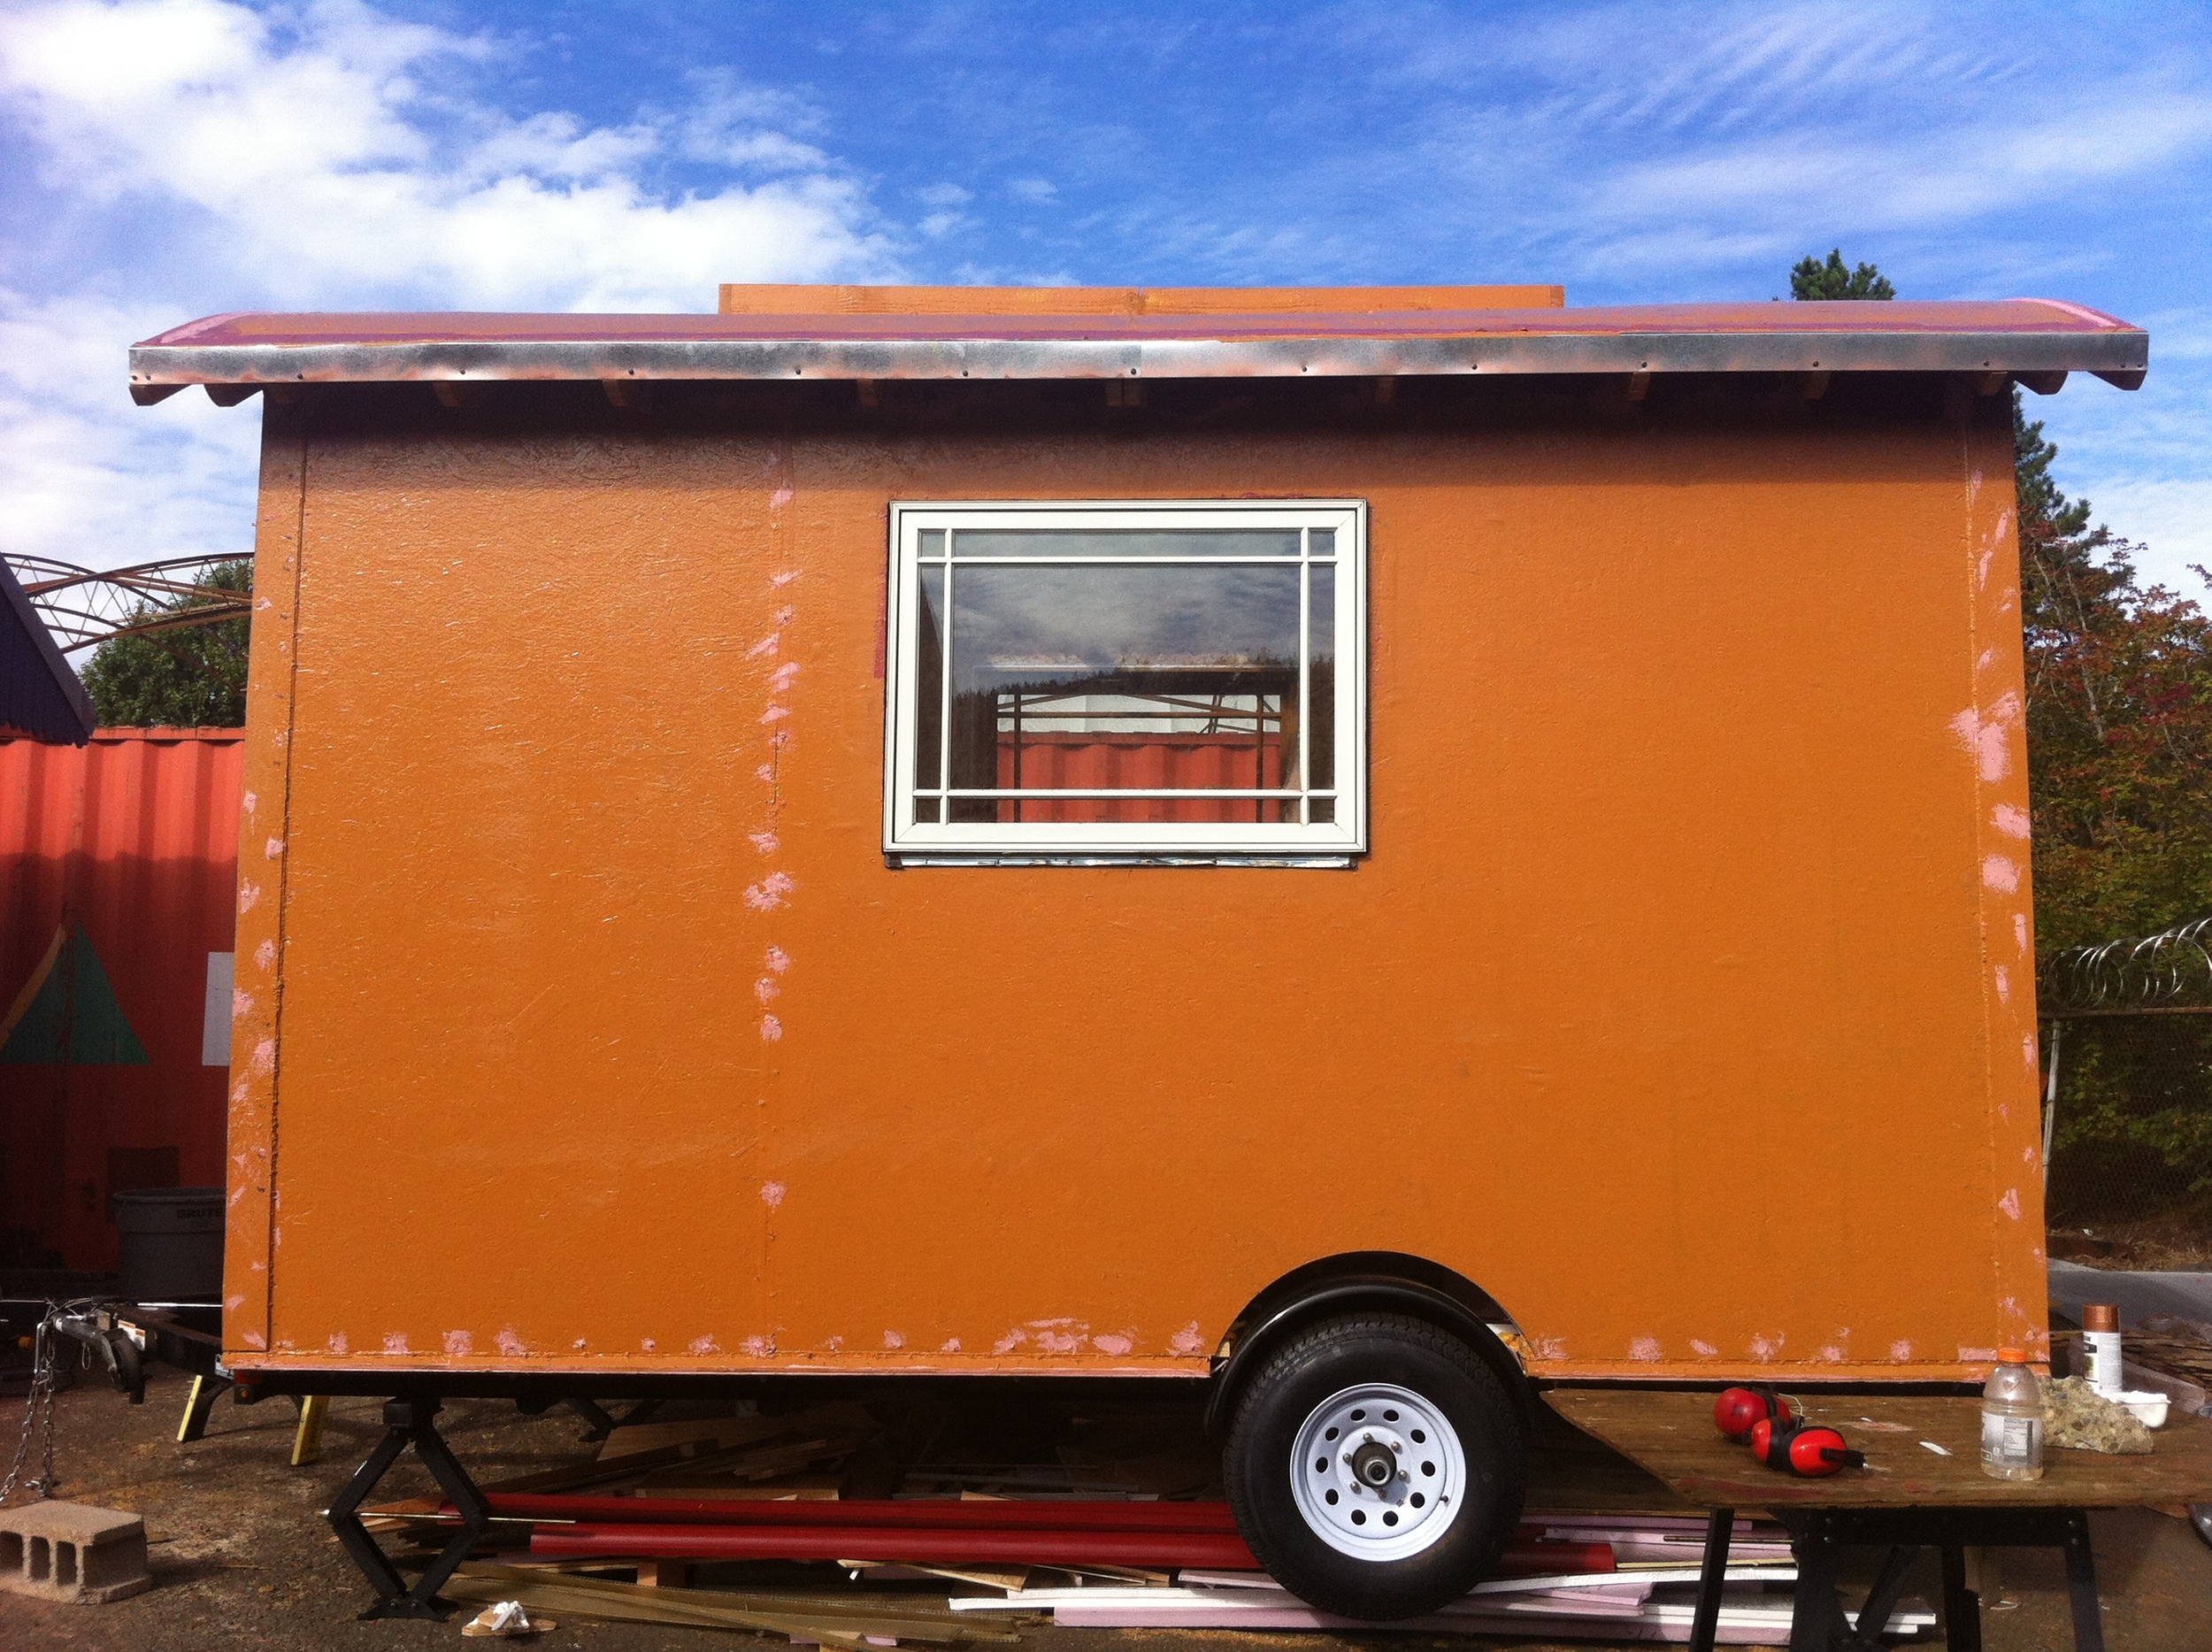
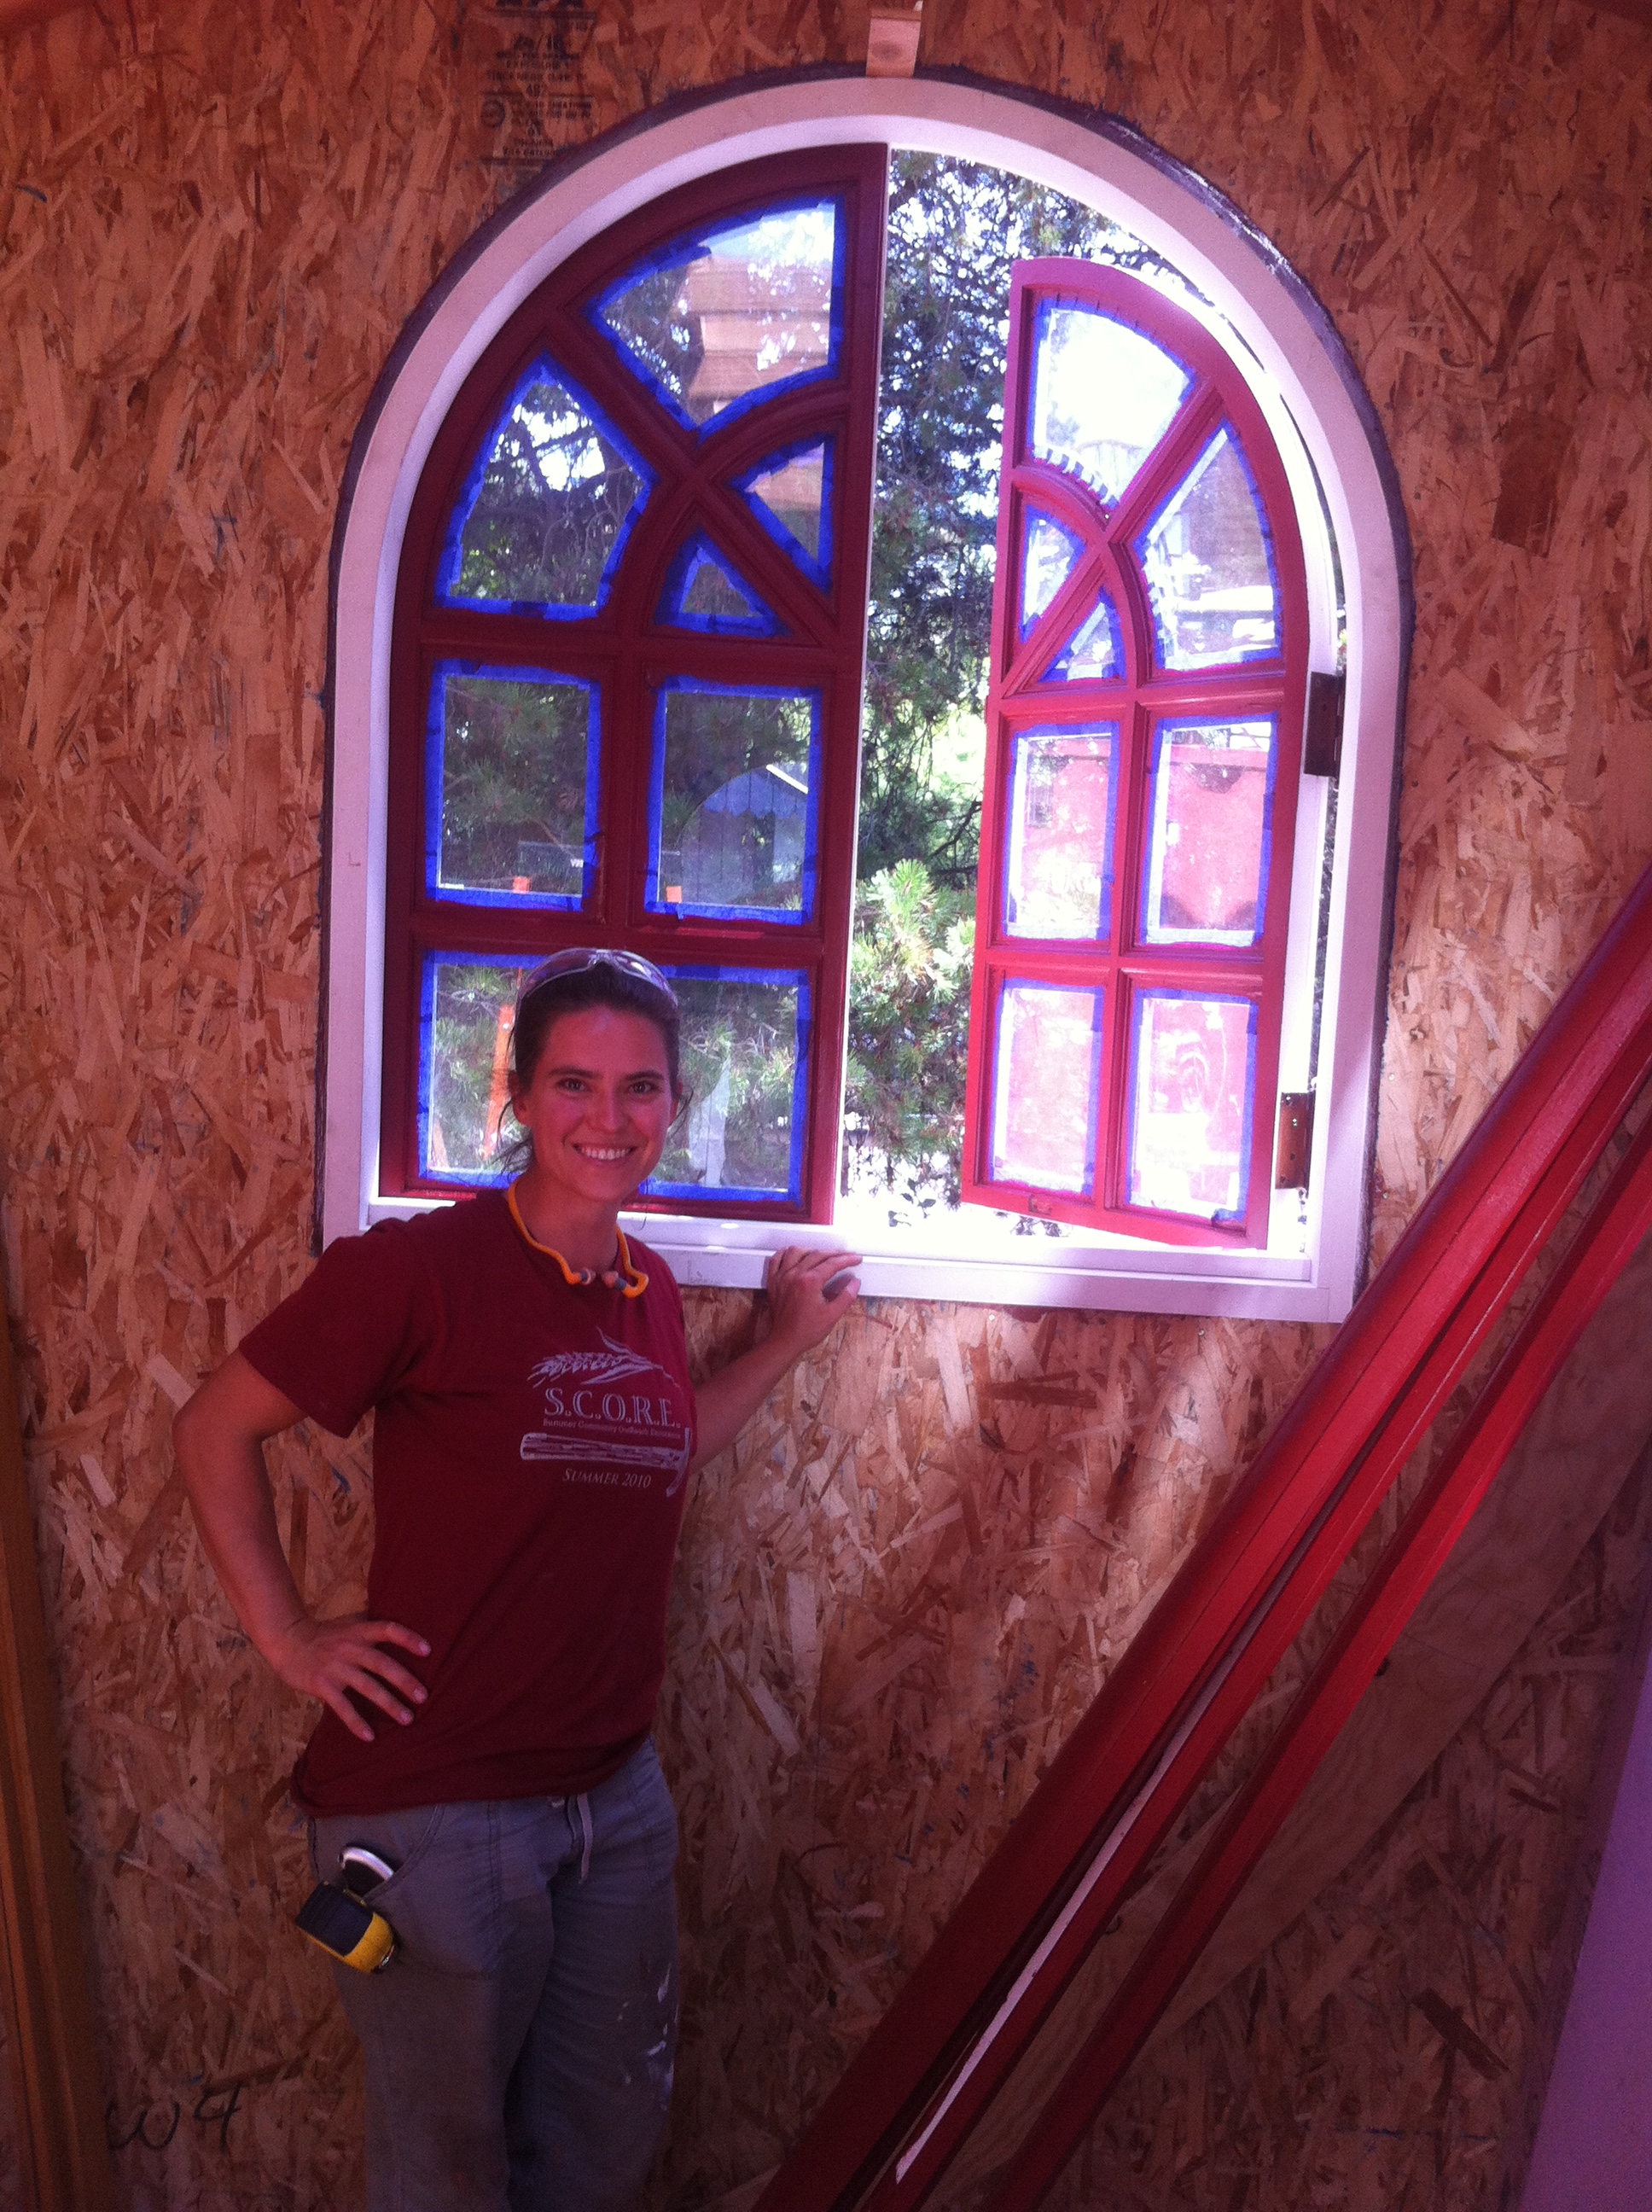
So here’s a little about window shopping. A few years ago I had a bout of Successful Window Shopping when I was helping Jane collect materials for her Tiny Barn. My Tiny House Started with a Window, too. It’s a beautiful arched window I acquired for free from my alma mater, Whitman College when they were replacing windows a few years ago and I decided to build The Lucky Penny around it. My Beautiful Arched Door has a leaded glass window in it and I have a massive skylight running the length of The Lucky Penny, so I knew I’d have lots of light. I was only looking for two more windows and I ended up finding My Kitchen Windows at the ReBuilding Center just before I was going to order custom windows. Several of my design clients have also pieced together their window packages using high-quality salvaged windows, especially if they are fond of a hodge-podge look. So most of my previous window shopping experience for tiny houses – and by this I mean actually acquiring windows rather than browsing the bazillion amazing products that might go into a highly-designed small space – has involved salvage.

On the other hand, over the past couple years I also helped the Marshlains and the Meyerhofers with their window shopping as part of the project management we did leading up to their build blitzes. Both of these couples decided that they didn’t want a hodge-podge look and they didn’t want to spend time scouting for windows at the rebuilding centers. Isha and I are currently in the same situation for the tiny house we’ll be building. We want a cohesive look and there are some particular sizes we’re after to make our design work well, so we’ve decided to go with a collection of new windows.

Once we had determined which window sizes we wanted (big!), what material we wanted (fiberglass!), and how we wanted them to open (every which way!), we turned this into a list of windows (called a "window schedule"). We sent our window schedule to a couple of companies in our area for quotes. We ended up having great conversations with Sue at the NE Portland Home Depot and Todd at Parr Lumber. Sue recommended Milgard windows because they’re locally made, have a lifetime warranty, and have a reputation for good customer service. Todd recommended Marvin because they have a good reputation for quality and the price point is pretty reasonable. Both of these folks have a passion for tiny houses and they were both amazing to work with, so if you're in the market for new windows in the Portland area, give them a ring!

Once we had enough information to compare casements to awnings, we realized that the Marvin quote was about $1300 less than the Milgard quote. However, Marvin isn’t able to do any colors other than white for the interior and neither Isha nor I particularly like white nor felt like doing a bunch of detailed painting. So we took a walk around the block to discuss. Isha and I both agree that if it's something we're going to interact with daily and never planning to replace, we'd better get what we like best. So we decided to go for the Milgard windows even though they were more expensive than we'd originally planned to allocate for windows. As we refine Our Tiny House Budget, we'll need to figure out where to make up for the splurge. We’ll be finalizing our window order this morning. Hooray! It’s another great tangible step towards our tiny house dream.

Next up: Ordering Our Tiny House SIPs Kit!

Tiny House Window Installation

Eric taking diagonals on arched window On Monday we finished Sheathing My Vardo Roof with a great crew of Tiny House Helpers. Yesterday we turned to window installation and I had the two perfect helpers: my build buddy Laura Klement who has installed dozens of windows through her role with Habitat for Humanity and Eric who is a cabinet maker with an eye for detail and great problem-solving skills.

I had picked up the supplies I’d need from Atlas Supply the day before: backer rod, AirDam from Prosoco’s R-Guard System, and a spatula for tooling. Cody Hakala at Atlas is very knowledgeable and familiar with the R-Guard system as well as other liquid-applied air barrier systems.

applying AirDam around window

The next step was removing the shims and inserting backer rod into the space between the window and the frame. We put the join at the top because it’s the weakest point in the system and water will collect at the bottom instead of the top. We used the fat side of a shim to push the backer rod ½” back from the interior wall surface.

Next we applied a continuous bead of AirDam around the window and tooled it to create an hourglass shape. Voila! A window installed.

(By the way, each of the R-Guard products has a distinct viscosity appropriate to it’s intended use. The Fast Flash reminds me of frosting. The AirDam is just like marshmallow cream!)

Laura and Eric installing the arched window jamb

Once we’d done one of My Kitchen Windows the other one went in quickly. Then we turned our attention to My Arched Window. This one took a little more finessing. Luckily, My Arched Window Jamb was built by Dan, a talented finish carpenter. (More about that in a forthcoming blog post!) We started out by inserting the arched jamb in the opening and securing it in place with five screws: one in each of the legs, one at the top, and one on each side where the window starts to curve. Then we hoisted the window sashes into place and screwed them onto their hinges.

Next we fine-tuned the window by tightening and loosening screws just a smidgeon until the window was trued in its jamb. The process reminded me of tuning an instrument and it reminded Laura of truing a bike wheel. Once the window was swinging nicely and the reveals were satisfactory, we installed backer rod around it. The gap was larger here (better too big than too small though!) By now Julie had arrived and Laura switched back to working on her siding. While Eric was installing My Beautiful Arched Door, Julie helped me braid three strands of backer rod together and insert it into the gap. I ran a bead of Air Dam along each edge and let it skin over since this is a larger gap to fill and I decided it would be best to do it in two phases.

my red, white, and blue

I glanced up at the window at one point and realized that I had my own red, white, and blue. My window is painted burgundy but the jamb hasn’t been painted on the interior yet, so it’s still white. And, of course, the painters tape is blue. This little house will give me freedom and independence, so it seemed fitting to celebrate the installation of My Arched Window, since my tiny house started with this window!

Installing the windows is always one of my favorite parts of a build, but getting the windows in was especially exciting for me because the roof had taken so long to get dried in. (See Plan F: Take 2 for more on that!) I hadn’t installed the windows because it was nice to have the openings while working on the roof. So putting the windows in felt like a reward. Besides, they’re just plain beautiful!

After Eric headed out Julie and I helped Laura with her siding for a couple hours and then headed to a great Fourth of July cook out. I couldn’t be happier with my own version of red, white, and blue!

My Kitchen Windows

  matching tiny house windows

My Tiny House Started with a Window and a couple weeks ago I dropped the sashes off at Wooddale Windows so that a frame could be made for them. I knew that Wooddale, who has been making wood windows for the past several decades, was precisely the person I wanted to build the arched frame for the window that started this whole project. I believe it will be the piece de resistance in my wee home and I was pleased that Wooddale was fascinated by my project. I grinned when I read his emails:

"Ya know, we have built many arched windows in the past. There is a lot of labor that goes into building arched top frames and sash. Along with that costs are much higher. We are interested in your project. We have never built windows for a Gypsy Wagon, which will be a nice change... Send a 50% deposit that gets you in and I'll buy lumber and get it in here, when I trip on it a couple of times, it's time to build your windows. Thank you so much, looking to enjoy this job." - Wooddale

arched trim windows

Besides the arched window, my vardo design called for two more windows, one for either side of my galley kitchen. So I had been haunting the ReBuilding Center for the past few months, looking for my kitchen windows.

I knew just what I wanted: They had to be a matching set. They had to be double paned. They had to be wooden, at least on the interior. They had to be about 3 feet tall and between 4 and 6 feet wide. They had to be in good working order. They had to be beautiful. Not that I was picky about it...

my dream tiny house windows with arched trim

Needless to say, I hadn't found them. So I was just about to commission Wooddale to build me the kitchen windows of my dreams. I thought I'd wanted a little curve in the top trim the way old streetcar windows are, but I also wanted some sort of divided lites and when I tried sketching it out I realized it just didn't look right. So I came up with a new design, one that had both the curve and the divided lites. After I sent Wooddale the sketch of what I wanted I started seeing similar windows around town. And every time I did my heart skipped a beat. So I knew they would be gorgeous. And probably worth every penny of the price tag that accompanies meticulous craftsmanship.

exterior of my tiny house kitchen window

But yesterday, just before I was going to send a deposit check for my windows, I decided to make one more trip to the ReBuilding Center to scout for my kitchen windows. And this time, when I walked among the rows of windows on a Tiny House Treasure Hunt, there they were.

My kitchen windows.

Two matching Pella windows. Double paned. Wood interiors. Three feet tall and 4 feet wide. In good working order. And beautiful.

Yes, one of them needed a new crank. Yes, their flanges had been cut off, as they so often are on reclaimed windows. Yes, they needed a good wipe down. Yes, a new coat of sealer probably wouldn't hurt either. But otherwise, they were just right. They were also a fraction of what I would have paid for brand new custom windows.

interior of my tiny house kitchen window

As I admired them I realized that my only hesitation was that if I purchased these windows Wooddale wouldn't be making me the windows of my dreams. I love supporting craftspeople like Wooddale, especially those carrying on traditions like building wood windows the old-fashioned way. So I'm delighted that Wooddale will be building the frame for my arched window. I know he has customers lined up, eager to have him create beautiful windows that match their historic homes. So I certainly know who I'll turn to if I ever decide to have the windows of my dreams built for me.

For now, I'm thrilled that I found my kitchen windows. It means I'm this much closer to being able to order my Structurally Insulated Panels (SIPs)!