Design

Framing Walls & Embracing Design Constraints

Framing Walls & Embracing Design Constraints

Over the past two days of Tiny House Design-Build we've been busy on the build site with safety and tool orientation, insulating the wooden floor box of our trailer, and framing our first wall. In the studio we've explored design considerations ranging from siting, climate, and massing to codes, regulations, and what to look for (and ask for) when ordering a tiny house trailer.

T42 Materials Palette

T42 Materials Palette Exploration 
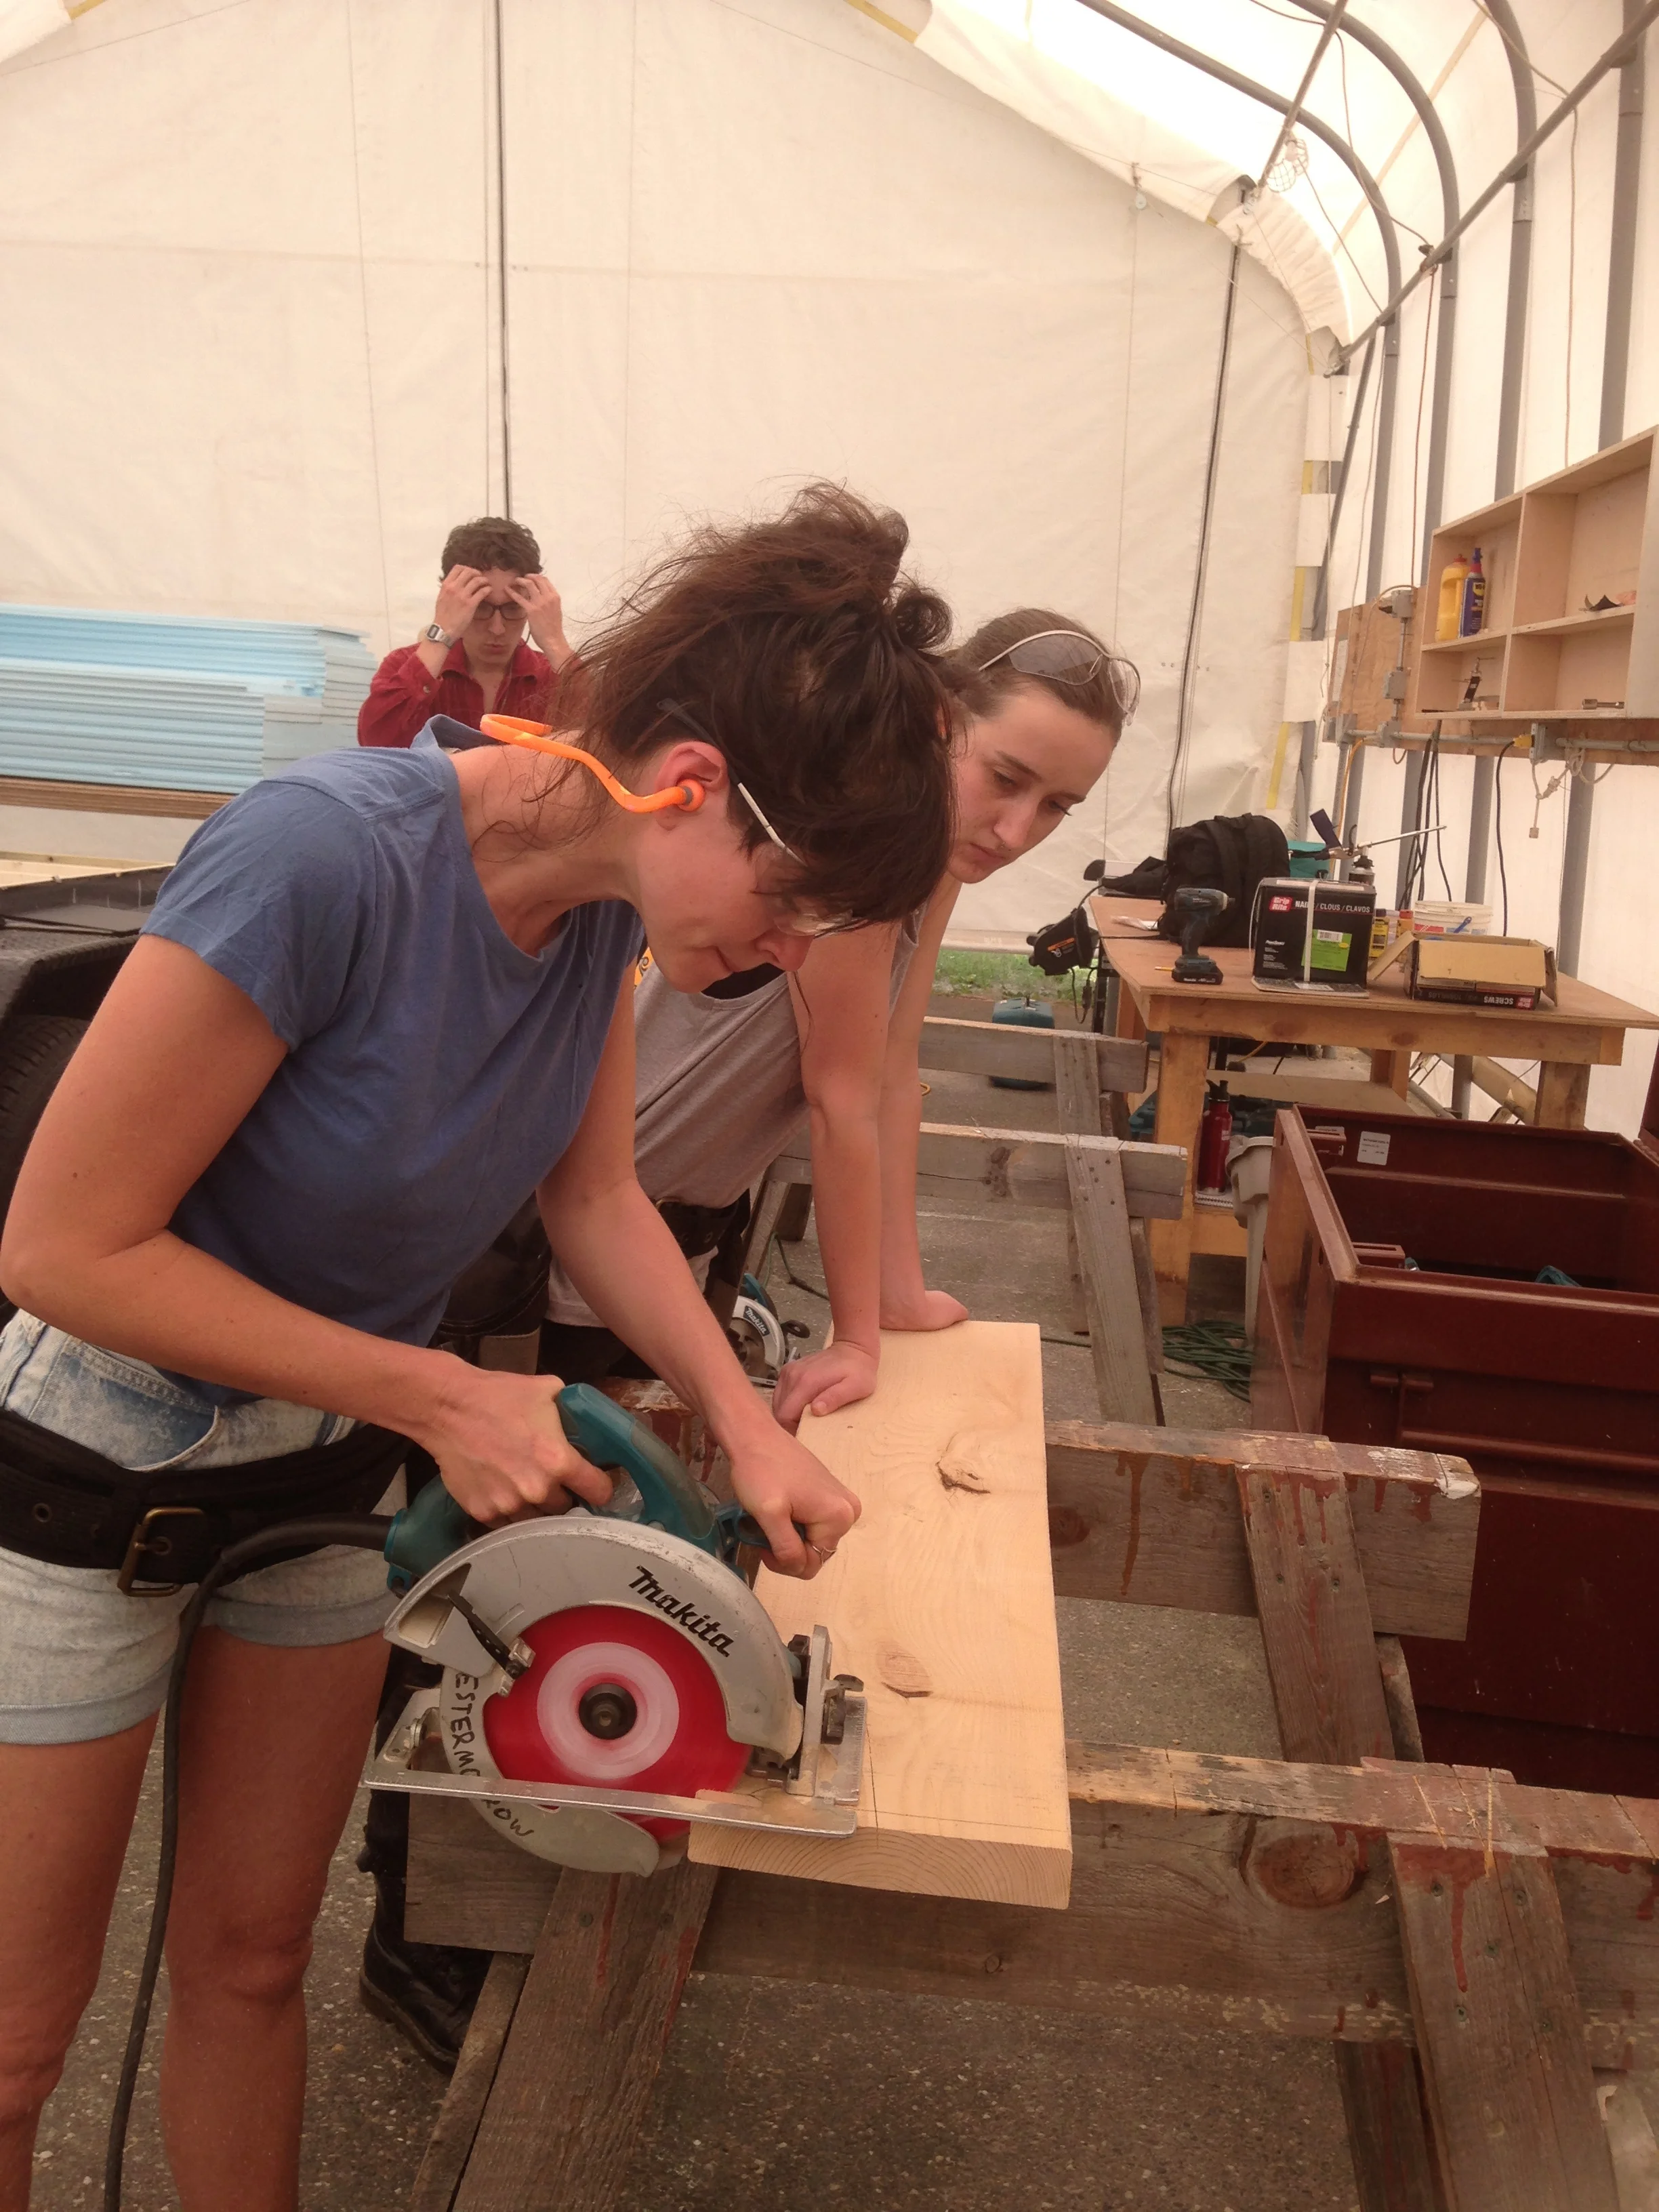
Over the past couple of months Isha and I have slowly developed a materials palette for our tiny house, T42. The past couple days we made great progress when build blitzer Sonja (who is, thankfully, also a sustainable materials geek) joined me to scout for finish materials. We headed out with our trusty color palette mug in hand. Let me explain...

I really enjoyed developing The Lucky Penny's Materials Palette, and Isha likes my little house, too, so he's trusted me to come up with a scheme for the new house. It's been fun finding the intersection of our preferences. I tend to be drawn to jewel tones and I love rich, complex pastels. I'm particularly fond of the purple and green combination. Meanwhile, Isha loves blue - ALL the blue - which I've never been particularly wild about. He's especially fond of cobalt. Luckily, we landed on an awesome scheme when I remembered a set of mugs I had when I lived in Walla Walla. I'd picked them up from Clay in Motion, a family-owned pottery studio in Milton-Freewater, OR and I'd loved them to pieces (literally!) over the years. So the last time Isha and I went to Walla Walla I took him to Clay in Motion and we picked up a set of mugs in their Mossy Creek scheme. It's a lovely minty green base with a vibrant lilac secondary and a cobalt accent. There are also thin ribbons of a lighter blue and a darker green. It ties our favorite colors together beautifully!

Mossy Creek Mugs from Clay in Motion

On Wednesday it was drizzly so Sonja and I hung out at a coffee shop, researching materials and making phone calls regarding sourcing, lead times, and availability. After I'd shown Sonja our SketchUp model and some of the items we're considering, we chose some items to investigate. Sonja found a few great visual examples of the materials scheme we're exploring for the exterior of the house. The cedar siding with cedar window frames against the black of our fiberglass windows should look really sharp with our zincalume roof!

We also explored interior wall coatings and discovered the clay plaster paint I was excited about won't work on our OSB substrate. I'll plan to use that for another house one of these days... Meanwhile, the milk paint Sonja introduced me to is very cool but cost-prohibitive for the amount of wall space we need to cover. So we landed back on Colorhouse Paints, which I used for The Lucky Penny. Colorhouse Paints are eco-friendly, solvent and VOC-free, and the company is local and woman-owned! We narrowed down the colors on Wednesday just looking at the colors online, which prepared us for our scouting trip on Thursday.

On Thursday, Sonja and I spent the entire day on a materials scouting field trip to investigate flooring and countertop options. Our day started at Green Depot where we explored interior primer and paint and honed in on some fabulous Colorhouse hues. (We're inclined towards a pale green for our long walls, a light lilac for our studio, and a silky blue for our bathroom.)

Then Greg walked us through all of these awesome green products:

  • Sealer for our exterior trim: We're leaning towards OSMO One Coat HS because this European formulated product line covers in one application.
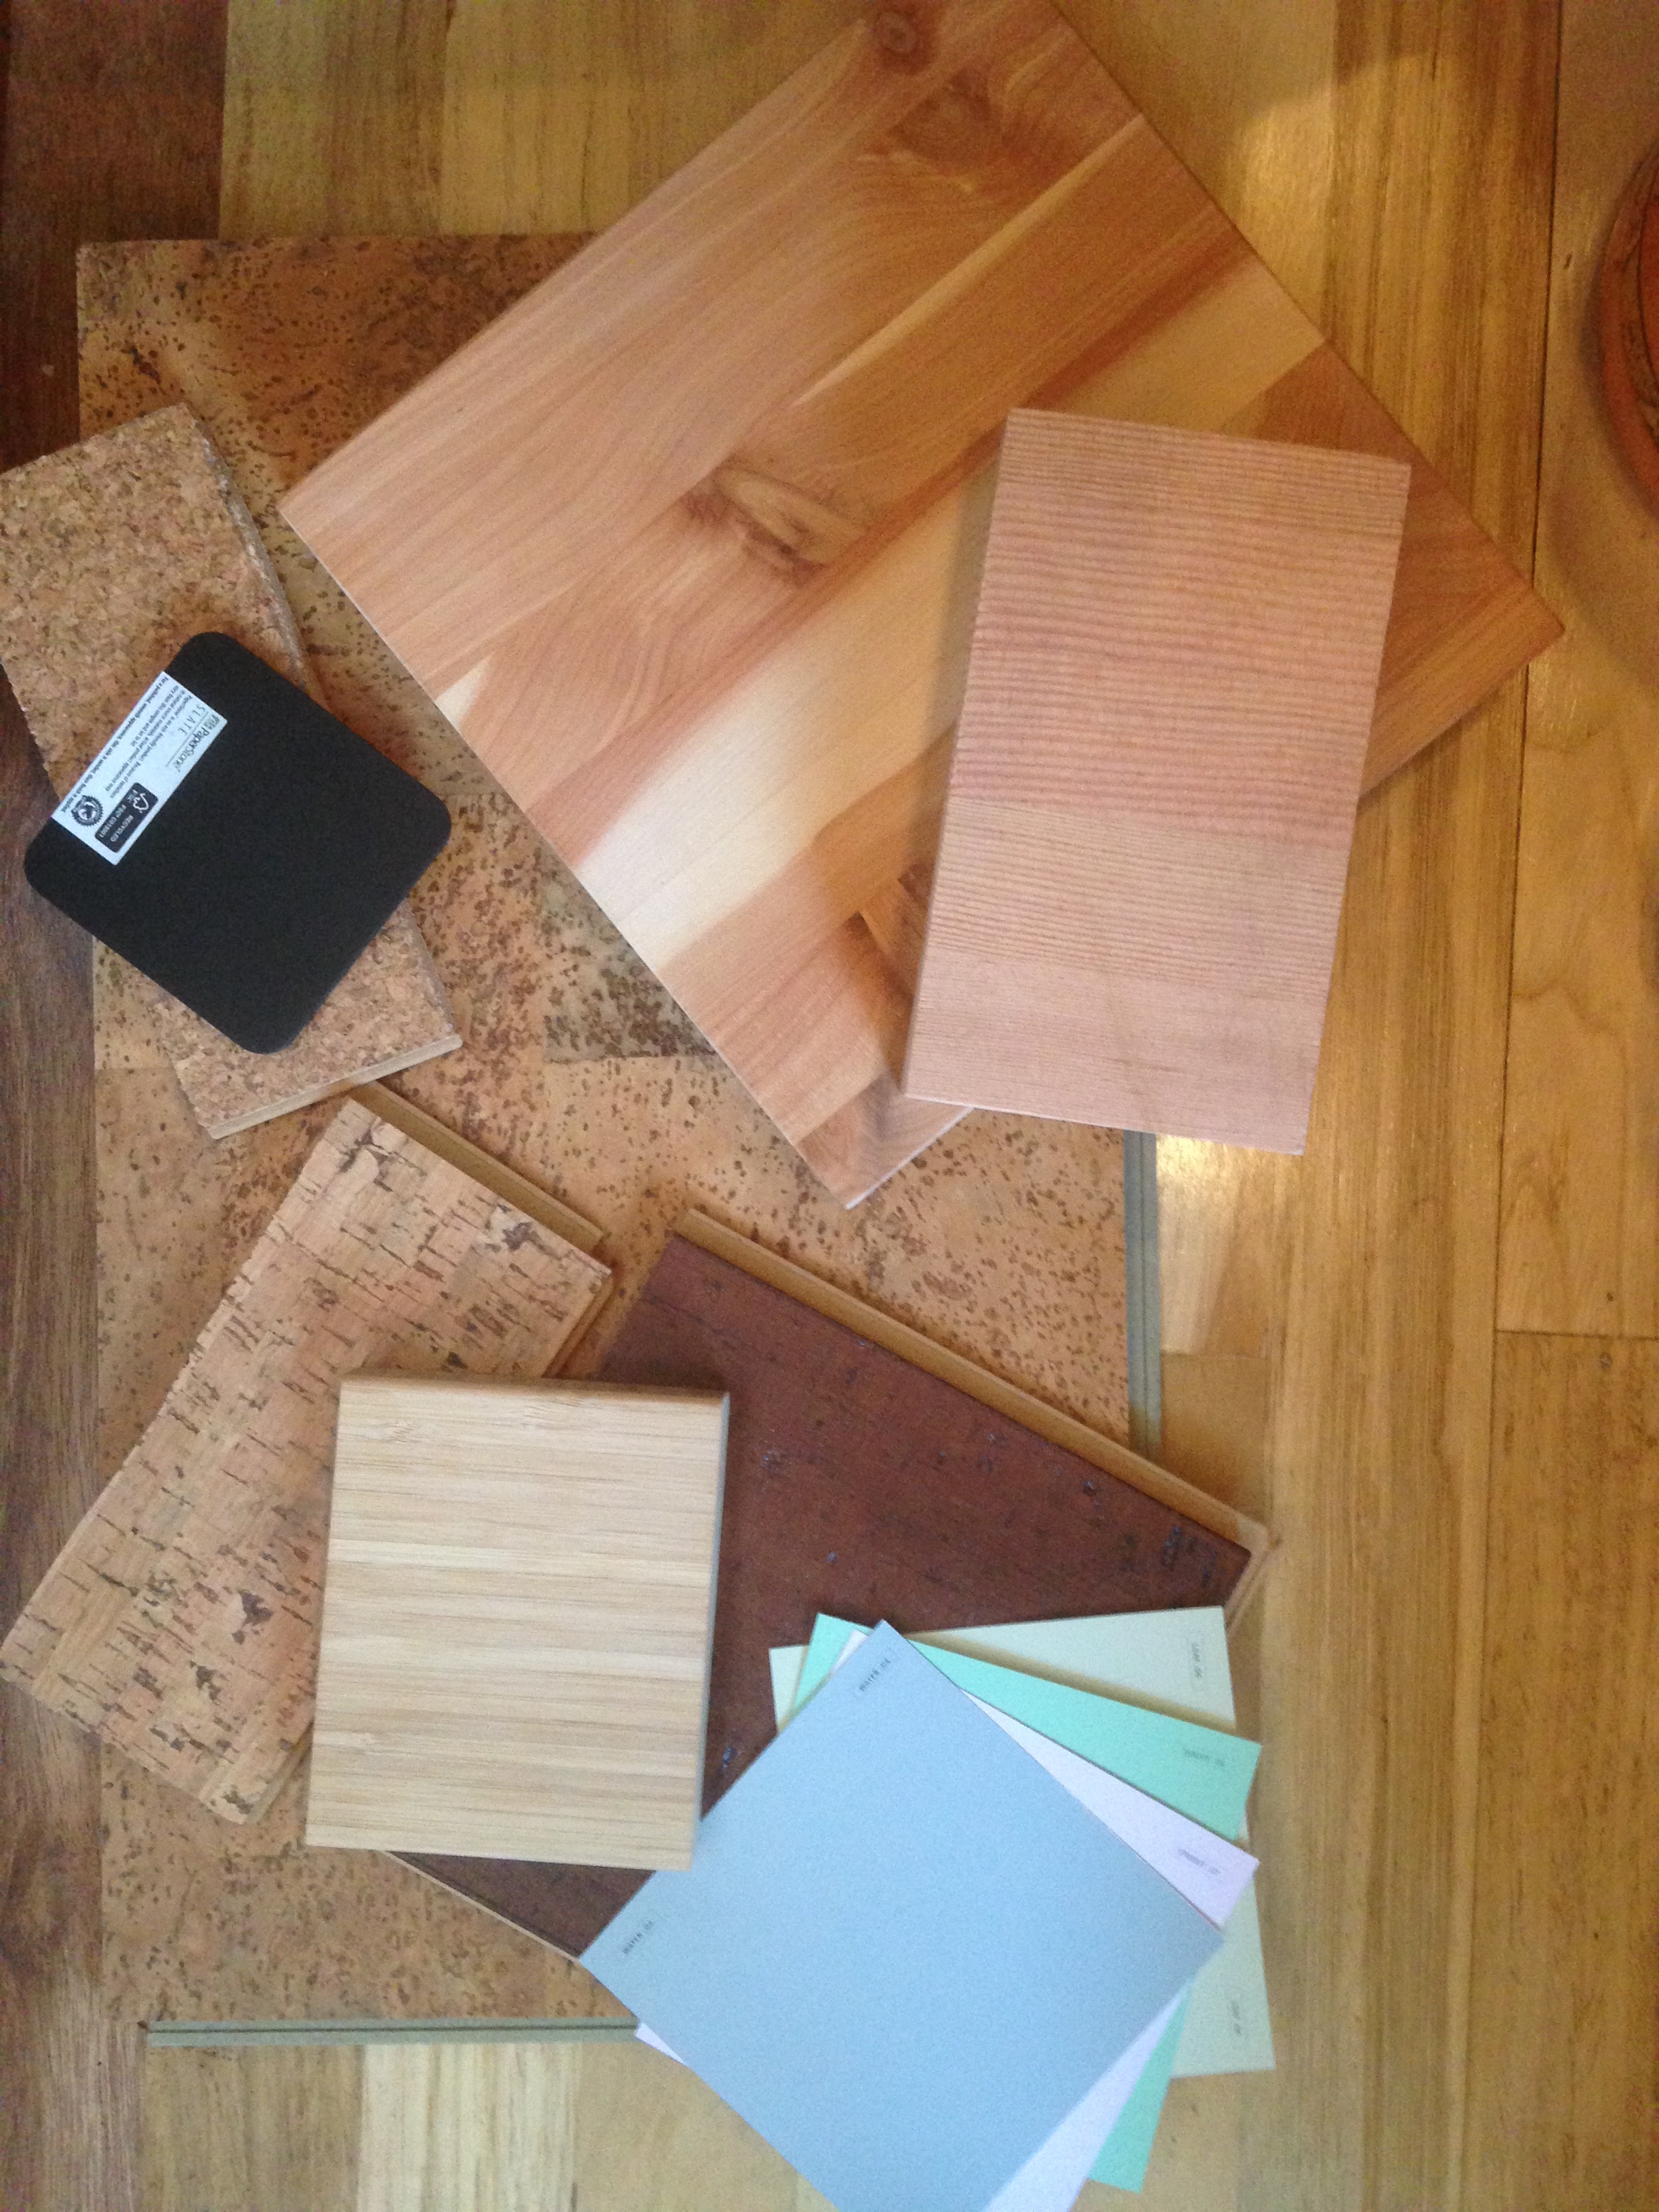
  • Cork, bamboo, and linoleum flooring options: We're considering recycled glass tile for the bathroom and entry because it's easy maintenance, there are lots of cool design opportunities, and it's durable and hard-wearing. We're also excited about cork for the kitchen, living room, and studio because it's lightweight, insulating (yay for warm on the feet!), resilient, cost-effective, and looks super cool!
  • Paperstone and butcherblock countertops: Both exciting options! The "slate" colored paperstone is regionally manufactured and would look really sharp with our black window frames! The butcherblock countertops are locally (and minimally) manufactured by Sustainable Northwest Wood and the juniper and fir are particularly lovely!

Greg sent us home with some samples on loan since I've found it's important to touch these materials and hold them next to each other to really get a sense for how it will come together. And, of course, I wanted Isha to be able to decide which ones he likes best, too!

Next we went to Bamboo Revolution where we talked with Ben whom I worked with on the Breathe Building project. He explained that their densified bamboo probably isn't the best bet for a tiny house floor because it's so heavy. But I fell in love with the idea of using their 3/4" bamboo for our countertops and potentially our desks, too. It's one of our lighter weight options, it comes in a thin enough profile that it will help make the counters more Lina height, and it has a fabulous banding pattern on the exposed edge! At $200 for a 4'x8'x3/4" piece of bamboo plywood, it's also a quarter the price of the Paperstone and a third of the price of the local butcher block countertop! Talk about an easy decision!

The materials we've honed in on for T42 (minus the crimson backdrop which is the Lucky Penny color!)

Our next stop was Rejuvenation where we got inspired by all the beautiful hardware and lighting options. We popped into Sustainable Northwest Wood to get pricing and lead time info from Ryan (whom I also worked with on the Breathe Building project). The wood butcher blocks are not the best option for this tiny house because of the weight, the thickness of the material, and the cost, but ohmygoodness do I ever want to use their juniper and madrone butcher blocks for a kitchen someday! Simply stunning!

Then we were off to EcoFloors where David walked us through cork, linoleum, and HydroCork flooring options as well as an alternative brand for the bamboo countertops. We liked one of the cork flooring options quite a bit and it was less expensive than the other one I'd particularly liked from Green Depot, so we brought home a sample of that, too. We learned that the click Marmoleum products don't work well in a steamy environment like a bathroom, so that helped nudge me further towards using tile for the bathroom and entryway.

Eventually we headed south to Sherwood where we visited with Micah at Lakeside Lumber to learn about exterior trim and siding options. I have a lot of noodling to do on this one since each decision about our siding makes a big difference for the look and feel of the house. We're trying to get a contemporary look at a great price and even I am curious about what we'll decide! Finally we made our way to Building Material Resources where we looked at doors (so many possibilities for our pocket and track doors) and cedar siding (a couple cool options here, too!)

It was fun showing Isha (and Jake and Karin) all of the samples we'd picked up during this epic scouting day and sharing everything we'd learned along the way. Fortunately, Isha likes my favorite, too. It's fun to be honing in on our interior finishes and getting a better sense of the look and feel of T42!

Tiny Remodeling Project

my new comfy chair replaced my mini chest freezer Spring has arrived early this year in the Pacific Northwest and we're already having days that are warm enough that My New & Improved Chiller can't quite hack it! Meanwhile, I'm headed to DC tomorrow to teach a Tiny House 101 Workshop with the Tiny House Collaborative this weekend and then on down to Asheville for the Tiny House Conference. So I figured I'd better get The Lucky Penny ready for my landie Jake who is going to house and cat sit for me while I'm away.

Part of my design for The Lucky Penny was to have room for a My Fridge-Only Mini Fridge and my separate Mini Chest Freezer so that I'd have lots of capacity to prepare food and freeze homemade leftovers. The freezer also doubled as a step up to my lofted Pull-Out Bed. The mini fridge tucks under the counter in the warm months and stores in The Big House basement during the cool months when I need a heater but not refrigeration. (That's when I rely on My New & Improved Chiller.) This set up has worked pretty well for me for the past year.

However, now that I'll be building a new tiny house with my partner (check out A Tiny Announcement from Lina & Isha for more on that!), I'm starting to think ahead to how I can prepare my little house to be a short-term rental. That way other people can enjoy a stay in The Lucky Penny and try on tiny for themselves! I figure people who are staying for a short visit won't get much use out of a chest freezer and they may find it inconvenient to step outside during the cooler months to access things in the chiller. Additionally, the thing my house has missed ever since I jettisoned it in favor of My Fabulous Tansu storage unit, is a comfy sitting spot on the first floor. I haven't minded much because I like perching on my window seat, but when visitors come round (and especially if they're not spry enough to clamber up to my lofted sitting spot), they tend to just stand around.

So this past weekend, along with working on Garden Beds & Graywater, I did a tiny remodeling project to replace My Fridge-Only Mini Fridge with a mini fridge-freezer combo and replace My Mini Chest Freezer with a comfy chair.

Mini Fridge & Freezer

My friend and tiny house dweller Anita of Lilypad Planet passed on the mini fridge with separate freezer she was no longer using. (It turns out those of us who eat whole foods need plenty of storage space for them, so she upgraded to an apartment-sized fridge with freezer.) Unfortunately, since I raised my kitchen floors, the new fridge/freezer combo didn't quite fit inside the space under my counters. So instead of just swapping it out, I had to do some remodeling. I removed the countertop, which also involved removing the sink and faucet. I figured while I was at it I might as well add a ball valve for the shower, too. Then I cut back the 3/4" plywood underneath my wooden counter so that the new fridge with freezer would fit. I double checked all my measurements, got out the circular saw, and went for it. Fortunately, it works splendidly!

Meanwhile, I'd been eating up frozen foods over the past couple weeks so that I could stuff what was left into my now teeny (but actually functional, thank you!) freezer. Tony and Isha helped me move the chest freezer down to The Big House basement where it can be shared by the community. And I replaced it with a comfy chair!

Now that everything has been put back together, I just need to reinstall the trim piece at the front of the countertop, caulk that seam and the sink, and find risers for my chair legs so that it's not such a big hop up to the bed. The cat food cans are just the right height so they were a good improvisation, but I'm sure I can come up with something better!

I sat in my new chair for a bit yesterday while working on our Tiny House Timeline and enjoying the rain and the new perspective. I'm quite pleased with the remodel and I think other folks will enjoy it, too!

Garden Beds & Graywater

Planter-Box-Graywater.jpg

Lucky Penny & Planter It was gorgeous on Saturday and rainy all day Sunday, which worked out perfectly for my weekend projects. On Saturday Karin, Isha, and I picked up a yard of white lightning compost and soil mix from Dean Innovations and a couple big blocks of coconut coir from Portland Nursery to fill up our raised garden beds at Simply Home Community. Karin also snagged a few fragile little pea plants, too, so it was quite an adventure getting all this garden goodness back home in Karin's lil red truck!

Karin and Isha filled up their garden beds with this rich, black soil mix then helped me fill up my two raised garden beds as well as my raised planter. My raised planter is a shipping crate that Isha and I found on the side of the road when we were on a run a few weeks ago.

I had been envisioning a raised bed like this next to The Lucky Penny because it seemed the perfect way to create an elegant solution to address multiple issues (hello, permaculture!)

  • The planter will be pretty with plants growing in it.
  • Tall plants like sunflowers may grow tall enough help to provide a little summertime shade at my kitchen window from the hot western sunsets.
  • The planter helps create a wind-block to prevent chilly air from blowing under my house.
  • It hides the otherwise unsightly storage under my house, and
  • It is now part of my graywater system!

my new graywater dispersal system

On Saturday I connected my kitchen sink and shower drains to ABS pipe that flows towards the raised bed then drilled two holes through the planter and used spare plumbing parts to disperse the water inside the planter. I then lined the planter with cardboard and tested the water flow to make sure it would distribute well. Then we filled the planter up with coconut coir (which is relatively light and friable as well as being good at holding moisture) and the white lighting soil mix.

This spring I'll be planting food and flowers in the planter box. I'd love to do carrots because it's nice and deep, but I understand it's better to not do root veggies in a graywater system. After living in my Home, Sweet Yurt with no running water, I've figured out how to be meticulous about graywater. I learned to wipe out my dishes with an unbleached paper towel and pop that into the compost and THEN wash my dishes with a biodegradable soap. At Simply Home Community our Community Living Agreements provide a very short list of approved biodegradable cleaning products and soaps. (Please note, too, that I DO NOT have any blackwater in my water system!)

Planter Box & Graywater

So I plan to do sunflowers because they are beautiful and get tall enough that I may be able to enjoy them even from inside! I'll also probably do tomatoes here because they send down deep roots and prefer being watered low (they HATE having their leaves wet!) And it seems I'll be doing peas, too. Yesterday when it rained the water dripped right off my metal roof into the planter in a nice little line so that's where I planted the pea seeds I'd been inoculating. I know it's a little late to be starting peas, but I hope that the ability to drink up spring rain gives them a boost! Perhaps they'll be able to climb the sunflowers, too...

I also did a few tiny house remodeling projects involving my kitchen counters and my mini-fridge because everything seemed to be coming together time-wise. You can read more about that in an upcoming post this week. Stay tuned! Until then, enjoy this spring rain!

Window Shopping Again

T42-Front-Elevation.jpg

Our Tiny For Two (T42) will have LOTs of windows for natural light and views! In case you missed A Tiny Announcement from Lina & Isha, The Guy Next Door and I are building ourselves a tiny house, starting this spring. We ordered our brand new PAD Series trailer from Rob at Iron Eagle Trailers a few weeks ago. So the time has come for us to do some window shopping.

Windows and doors can take up to 6 weeks to arrive (especially if any of them are custom). So it's a good idea to get moving on windows long before you're ready to start building. Although the only non-standard components of our glazing package are Our Hobbit-Sized Outswing French Doors and the transom window above them, we needed to have our windows dialed in before we could submit our design to Patrick from Artisan Tiny House, so he can turn it into a SIPs kit. As you might imagine, our timeline nudged us to make our windows the top priority this week since I returned from the Cilantro Poncho Build Blitz in Tucson, AZ.

So here’s a little about window shopping. A few years ago I had a bout of Successful Window Shopping when I was helping Jane collect materials for her Tiny Barn. My Tiny House Started with a Window, too. It’s a beautiful arched window I acquired for free from my alma mater, Whitman College when they were replacing windows a few years ago and I decided to build The Lucky Penny around it. My Beautiful Arched Door has a leaded glass window in it and I have a massive skylight running the length of The Lucky Penny, so I knew I’d have lots of light. I was only looking for two more windows and I ended up finding My Kitchen Windows at the ReBuilding Center just before I was going to order custom windows. Several of my design clients have also pieced together their window packages using high-quality salvaged windows, especially if they are fond of a hodge-podge look. So most of my previous window shopping experience for tiny houses – and by this I mean actually acquiring windows rather than browsing the bazillion amazing products that might go into a highly-designed small space – has involved salvage.

On the other hand, over the past couple years I also helped the Marshlains and the Meyerhofers with their window shopping as part of the project management we did leading up to their build blitzes. Both of these couples decided that they didn’t want a hodge-podge look and they didn’t want to spend time scouting for windows at the rebuilding centers. Isha and I are currently in the same situation for the tiny house we’ll be building. We want a cohesive look and there are some particular sizes we’re after to make our design work well, so we’ve decided to go with a collection of new windows.

Once we had determined which window sizes we wanted (big!), what material we wanted (fiberglass!), and how we wanted them to open (every which way!), we turned this into a list of windows (called a "window schedule"). We sent our window schedule to a couple of companies in our area for quotes. We ended up having great conversations with Sue at the NE Portland Home Depot and Todd at Parr Lumber. Sue recommended Milgard windows because they’re locally made, have a lifetime warranty, and have a reputation for good customer service. Todd recommended Marvin because they have a good reputation for quality and the price point is pretty reasonable. Both of these folks have a passion for tiny houses and they were both amazing to work with, so if you're in the market for new windows in the Portland area, give them a ring!

Once we had enough information to compare casements to awnings, we realized that the Marvin quote was about $1300 less than the Milgard quote. However, Marvin isn’t able to do any colors other than white for the interior and neither Isha nor I particularly like white nor felt like doing a bunch of detailed painting. So we took a walk around the block to discuss. Isha and I both agree that if it's something we're going to interact with daily and never planning to replace, we'd better get what we like best. So we decided to go for the Milgard windows even though they were more expensive than we'd originally planned to allocate for windows. As we refine Our Tiny House Budget, we'll need to figure out where to make up for the splurge. We’ll be finalizing our window order this morning. Hooray! It’s another great tangible step towards our tiny house dream.

Next up: Ordering Our Tiny House SIPs Kit!

A Tiny Announcement from Lina & Isha

Now that the Meyerhofer's Tiny House, Cilantro Poncho, has sprung to life in Tucson, AZ through last week's build blitz, Isha and I have decided it's time to make a tiny announcement of our own.

As many of you know, last summer I fell in love with The Guy Next Door. For the past nine months Isha and I have been living in his and hers tiny houses at Simply Home Community

Now Isha and I are expecting... that our baby will be here with us in about 9 months. And yes, we already know what it's going to be!

We're making a Tiny For Two!

We're affectionately referring to it as T42 or "tea for two" for the time being, though like most expectant parents, we're still considering names.

just consider this photo the ultrasound image for our new tiny house

This is, of course, what sometimes happens after a bad case of Trailer Lust.

Isha and I placed the order a couple weeks ago for our 24' PAD Series Tiny House Trailer from Iron Eagle Trailers in Fairview, OR. (Yes, we even know how big it's going to be when it arrives. In fact, we were specific about that!) Rob built the trailer for my vardo, The Lucky Penny, so we know it's going to be a great foundation for our new little house. The trailer should be ready by the end of March and we'll begin building in April. We're deep in the design phase right now and we're looking forward to revealing the design soon. We've been Window Shopping Again and looking forward to Ordering Our Tiny House SIPs Kit. If you'd like to help out with the build, please get in touch.

Stay tuned for more! We're rather giddy and excited to share our new little house with you!

Tiny House Design Workshop in Asheville, NC (April 4-8, 2016)

Laura-and-Matt-Tiny-House1.jpg

I'm delighted to be speaking again at this year's Tiny House Conference in Asheville, NC about tiny house design considerations and strategies. Laura and Matt Tiny House

I'm also excited to be teaming up with Laura LaVoie of Life in 120 Square Feet and John Labovitz of Polymecca to teach a week-long design intensive in Asheville from April 4-8, immediately following the Tiny House Conference.  If you'd like to join us, please register for the Tiny House Design Workshop in Asheville, NC.

If you're planning to build your tiny house this summer, the week you spend in this design intensive with three instructors who designed and built their own tiny homes will prove invaluable to you. You'll be able to learn great tricks, learn from our mistakes, and save yourself a lot of money, not to mention headache and heartache!

Registration Deadline: Monday, March 21st 

Here's more info: Are you dreaming of a tiny house of your own? Are you trying to figure out the best way to maximize the space? If so, this workshop is for you! In this workshop you will develop a well-considered design for your tiny house in all three dimensions.

John & Polymecca

We'll talk about inspirations and aspirations as we discuss layout, size, and shape. We'll take you on fun tours to see tiny houses in a community and a tiny house builder's facility. We'll dig into design considerations related to windows, doors, kitchens, bathrooms, and built-ins. You'll have plenty of time to ask questions, work on your own design, and get feedback.

Your three instructors - Laura LaVoie of Life in 120 Square Feet, John Labovitz of Polymecca and Lina Menard of Niche Consulting - have all designed and built their own tiny homes. Laura and her partner Matt live in a tiny off-grid ground-bound home in North Carolina, John has parked his tiny house truck in the orchard at his family farm in West Virginia, and Lina lives in her vardo in a tiny house community in Oregon. We are excited to introduce you to tips, tricks, strategies, and information to help you design a fabulous tiny home of your own!

This one-week design intensive will take place in Asheville, NC on April 4-8 immediately following the Tiny House Conference. If you sign up with a buddy, both of you will receive a $50 rebate! If you'd like to join us, please register for the Tiny House Design Workshop in Asheville, NC.

Registration Deadline: Monday, March 21st 


Living on the Green Side

Raffi-Lina-Making-Eyes.png

It was a pleasure to have a chat a couple months ago with Sierra Dickey '15, a fellow graduate of Whitman College who wanted to write a story about me and my little house, The Lucky Penny, for an upcoming edition of the Whitman Magazine. Even more exciting, my old friend Matt Zimmerman Banderas '04 who is a very talented photographer, was assigned the job of coming to my tiny house community, Simply Home Community to take photos for the story. The story, called Living on the Green Side, just went live and I'd love to share it with you. Thank you, Sierra and Matt, for helping me share my story and thank you Whitman for the people and experiences you provided that have helped me live this happy little life!

Read Living on the Green Side by clicking this link!

a story about me and my lil' house in the Whitman Magazine!

Tiny House 101 Workshop in Washington, D.C. in March

Tiny-House-101-DC-Mar-2016.png

Tiny House 101 DC Mar 2016

I'm thrilled to be teaching a Tiny House Workshop (TH 101) in Washington, D.C. this March through the Tiny House Collaborative. This workshop is geared towards the tiny house curious crowd. (We'll be teaching an intermediate tiny house course (TH 201) in Denver, CO following the Tiny House Jamboree in August, so if you're tiny house serious, just hang tight for more info on that!)

If you'd like to join us for TH 101 in D.C. in March, please register today!

Tiny House 101 includes 2 full days of instruction, interactive activities, and networking covering all the tiny house basics. Learn the basics of how to build a tiny house and decide whether tiny house living is for you.  In this workshop by members of the Tiny House Collaborative, you will have the opportunity to learn from experienced tiny house builders, designers and advocates.

Topics include:

  • Intro to tiny houses & the tiny house movement
  • Planning your build – budget, construction, DIY
  • Tiny House Lifestyle
  • Major Decisions
  • Trailer or foundation built
  • Framing & basic building techniques
  • Plumbing, electrical & propane systems
  • Toilet & gray water options – composting and more!
  • Thermal envelope – insulation and ventilation
  • Appliance considerations – recommendations for the best, no-hassle products
  • Zoning issues, regulations – how and where to park or build
  • Interior design for small spaces

Pricing:

  • Standard Price = $399 per person or $700 for two people
  • Early Bird Discount = $349 for Single Person or Two People for $600

If you'd like to join us for TH 101 in D.C. in March, please register today!