air sealing

T42 Rainscreen & Bottom Trim

Our rainscreen system is important in the Pacific Northwest 
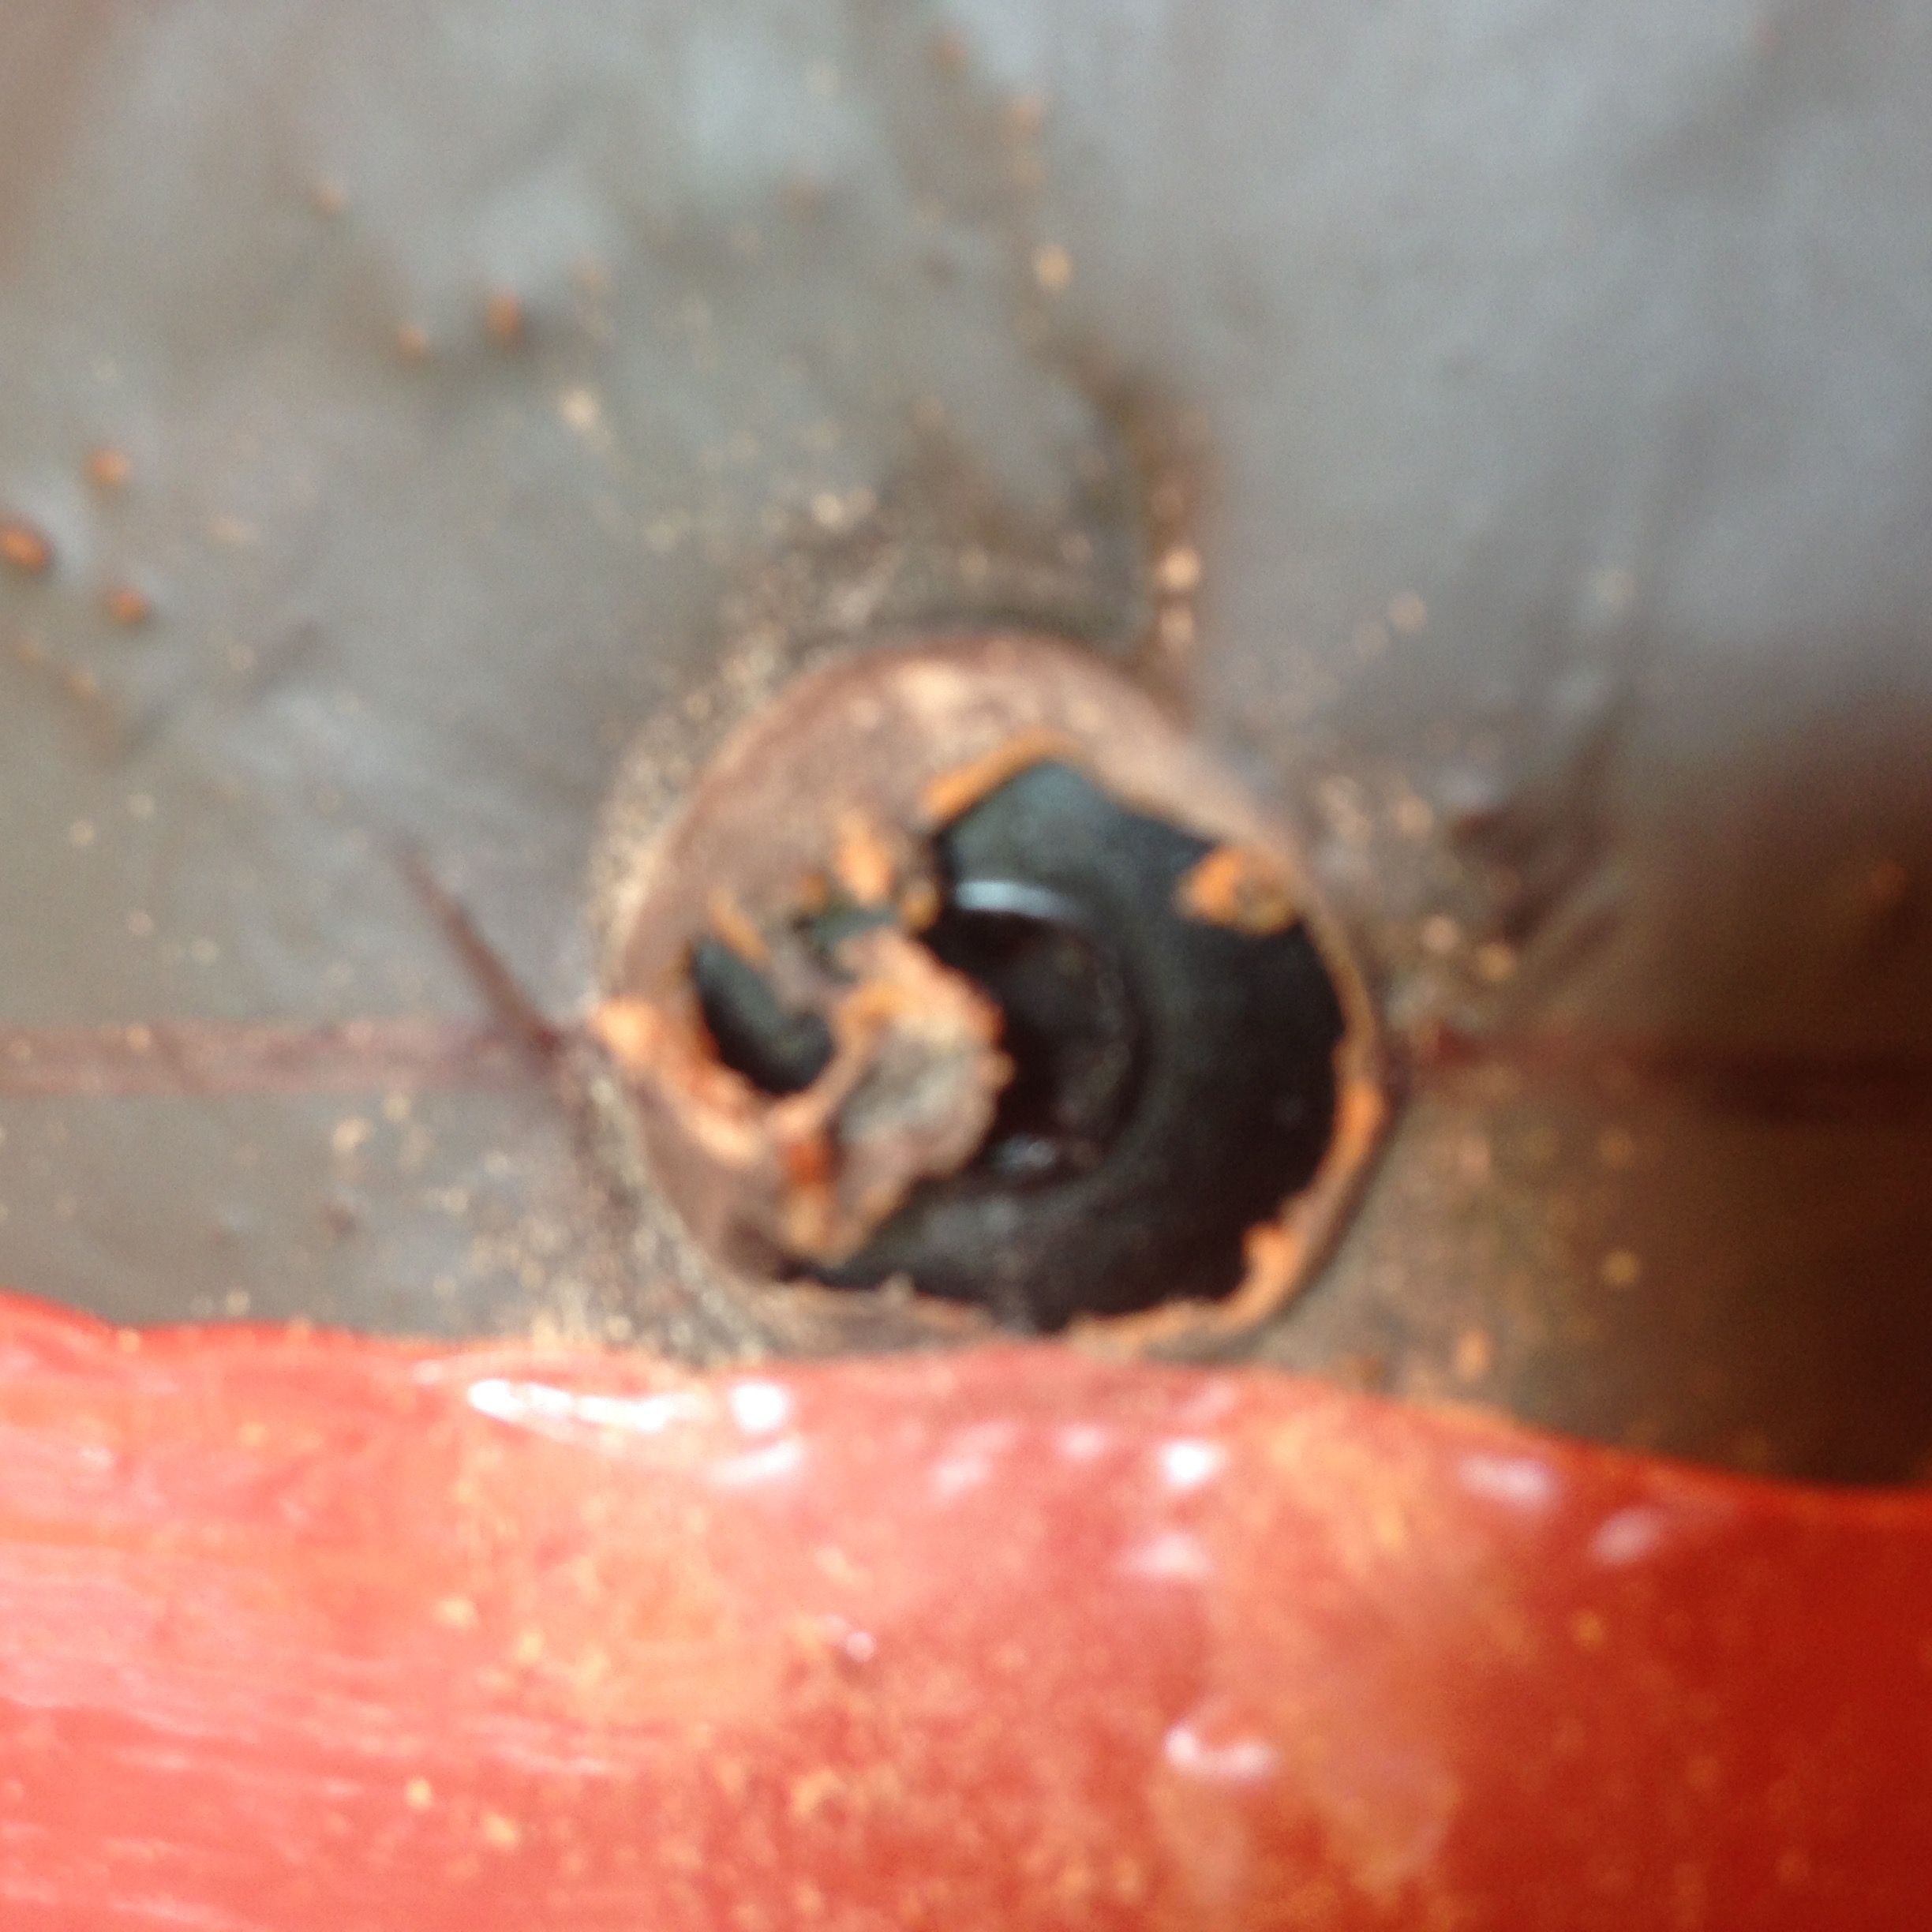
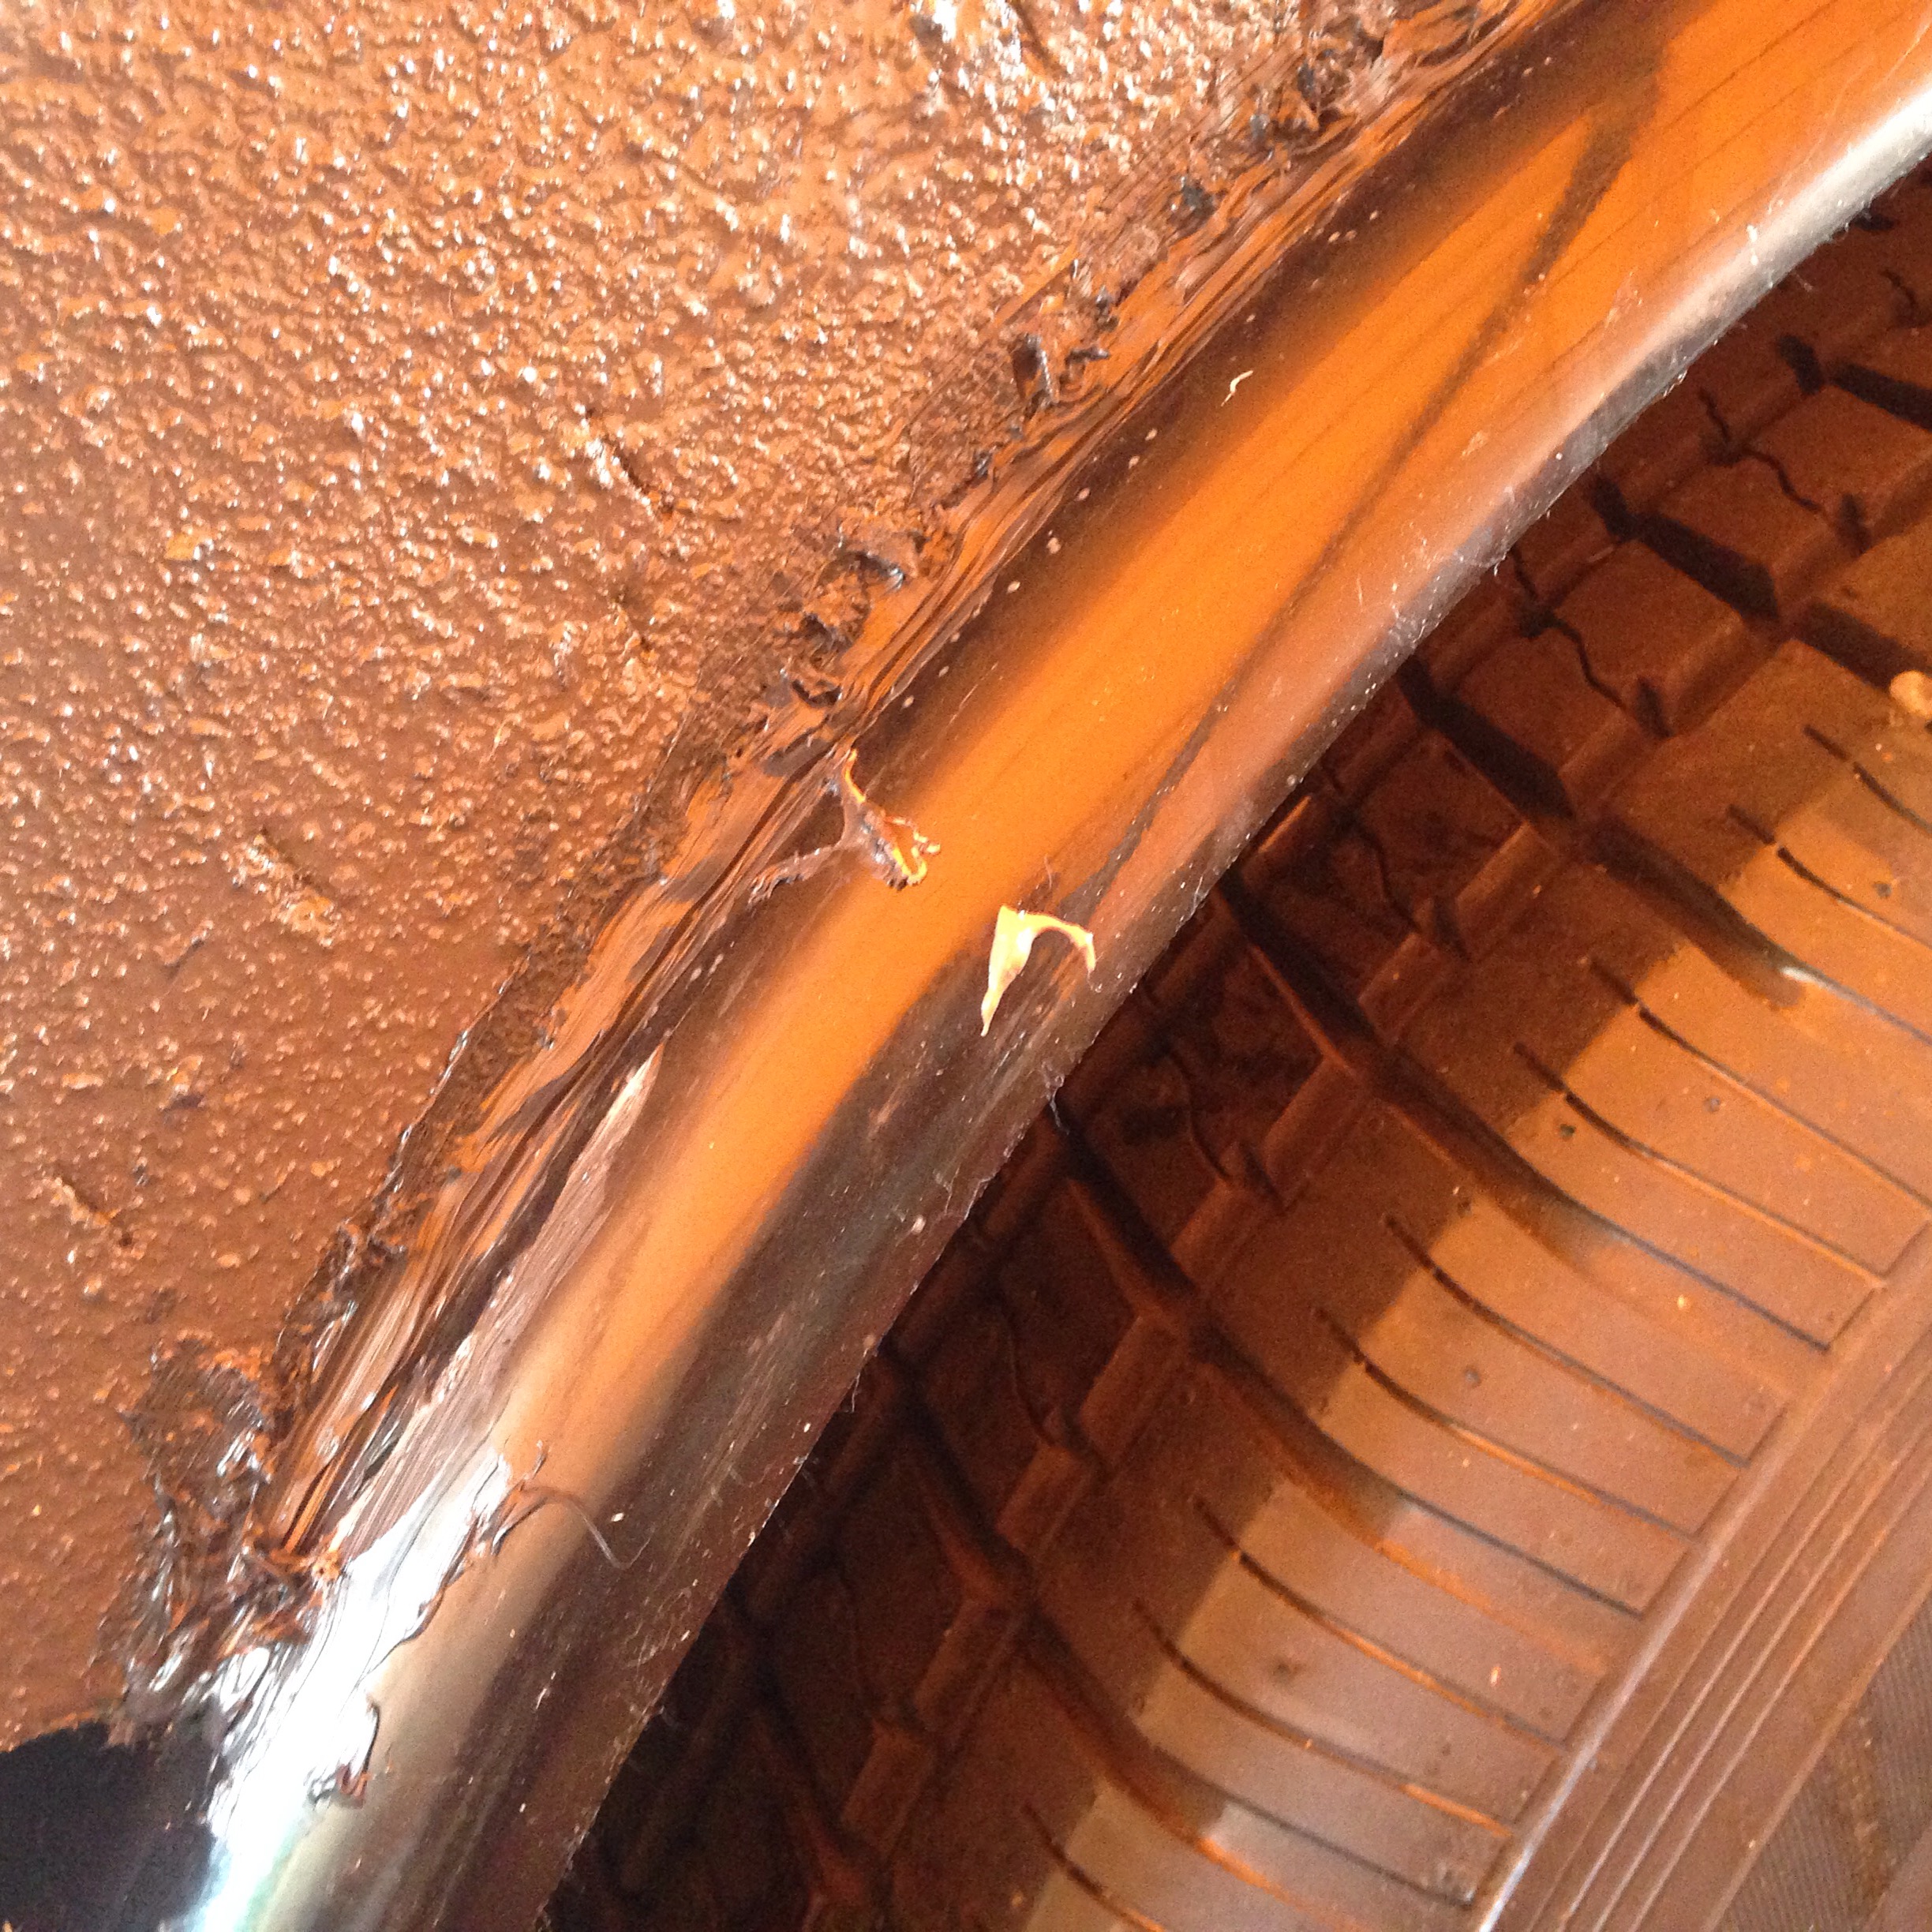
On Wednesday, which was Build Day #14, we continued our exterior work with waterproofing quality control, instilling our rainscreen, and installing the first of our exterior trim. Our day started out with sealing up the space between the SIPs and the fenders with backerrod and a liquid-applied sealant. Air sealing is important for energy-efficiency and moisture management so it's nice to have this little step done. We also installed a few SIPs screws from the exterior through the SIPs and into the ledgers that hold up our storage loft. Now it's secured into the wall SIP from both sides. These were two little steps closer to being dried in. Once the windows and door are in we'll be able to be actually dried in and that's really exciting!

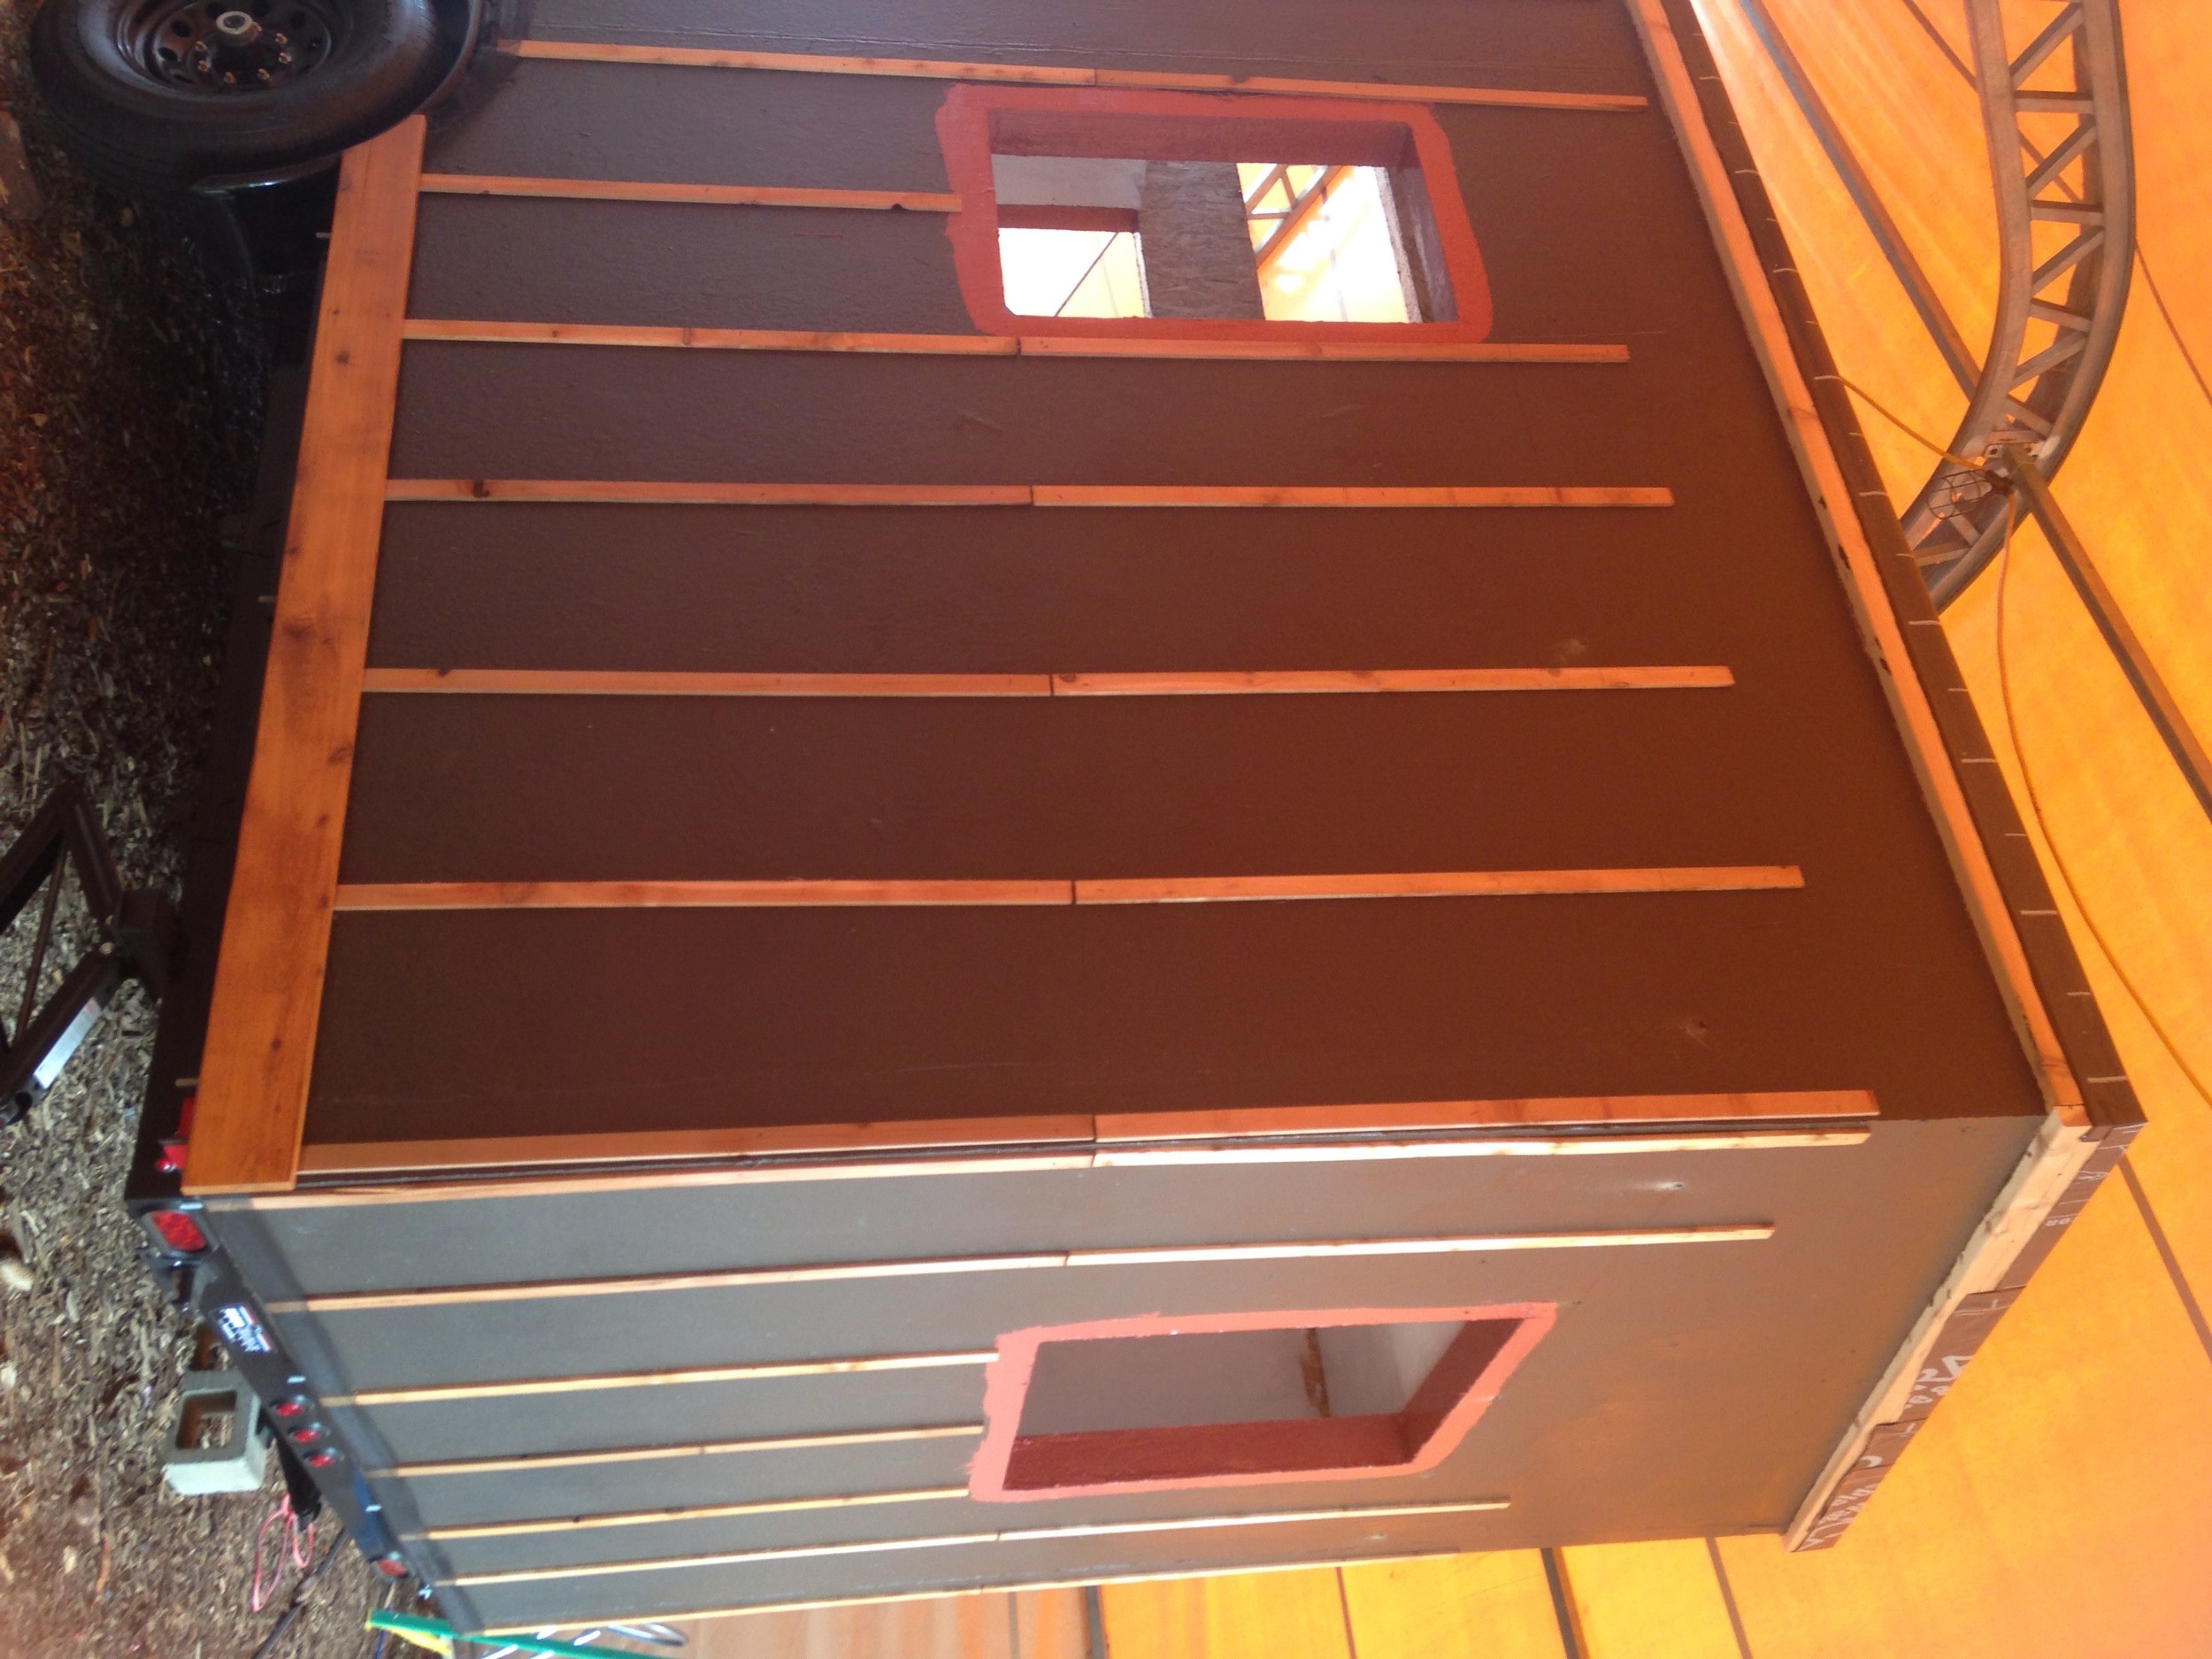
Next we started putting up our rainscreen system. "Rainscreen" is a tricky term because it makes it sounds like you're adding some sort of screen to the house to protect it from rain. The reality is that a rainscreen is almost a lack of things. It's negative space. Basically, a rain screen system - which is designed to protect your house from getting waterlogged and rotting - is a gap created between the exterior siding and the water resistant covering your sheathing. Unfortunately, linguistic matters get a bit more complicated by the fact that there is often bug screen involved in a rainscreen system! I'll try to break it down. Here we go!

Day 14 = Done!

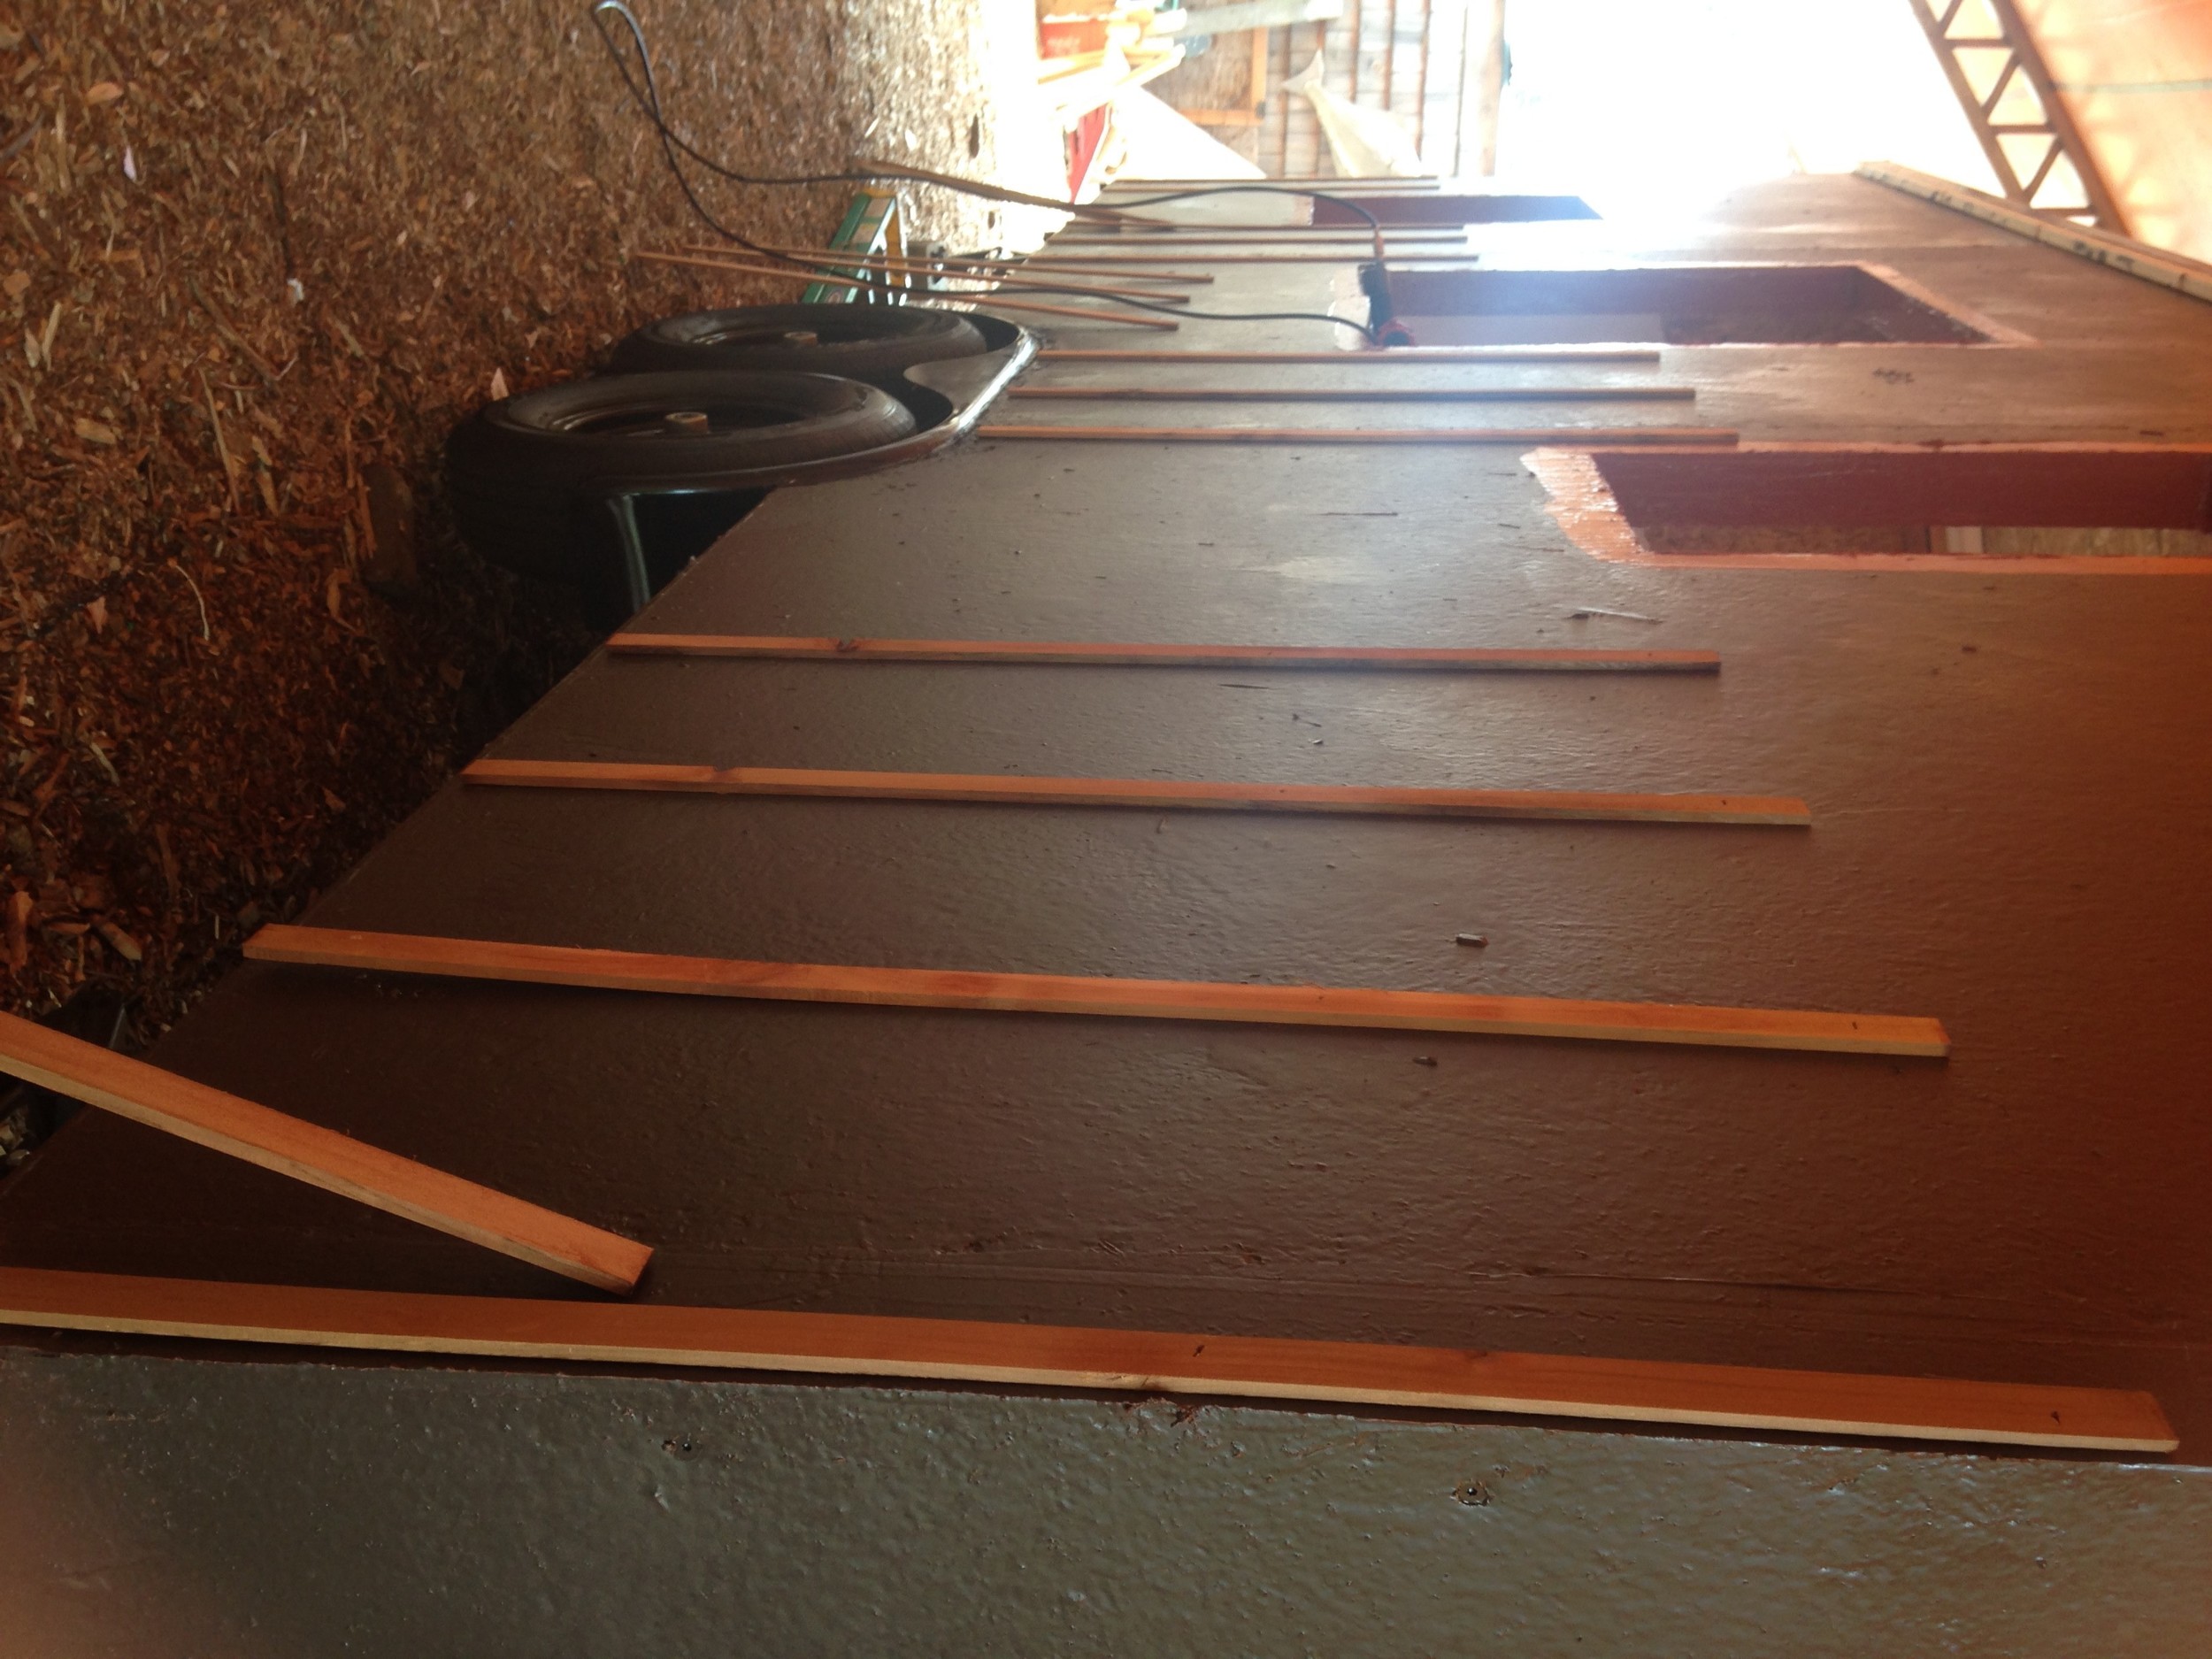
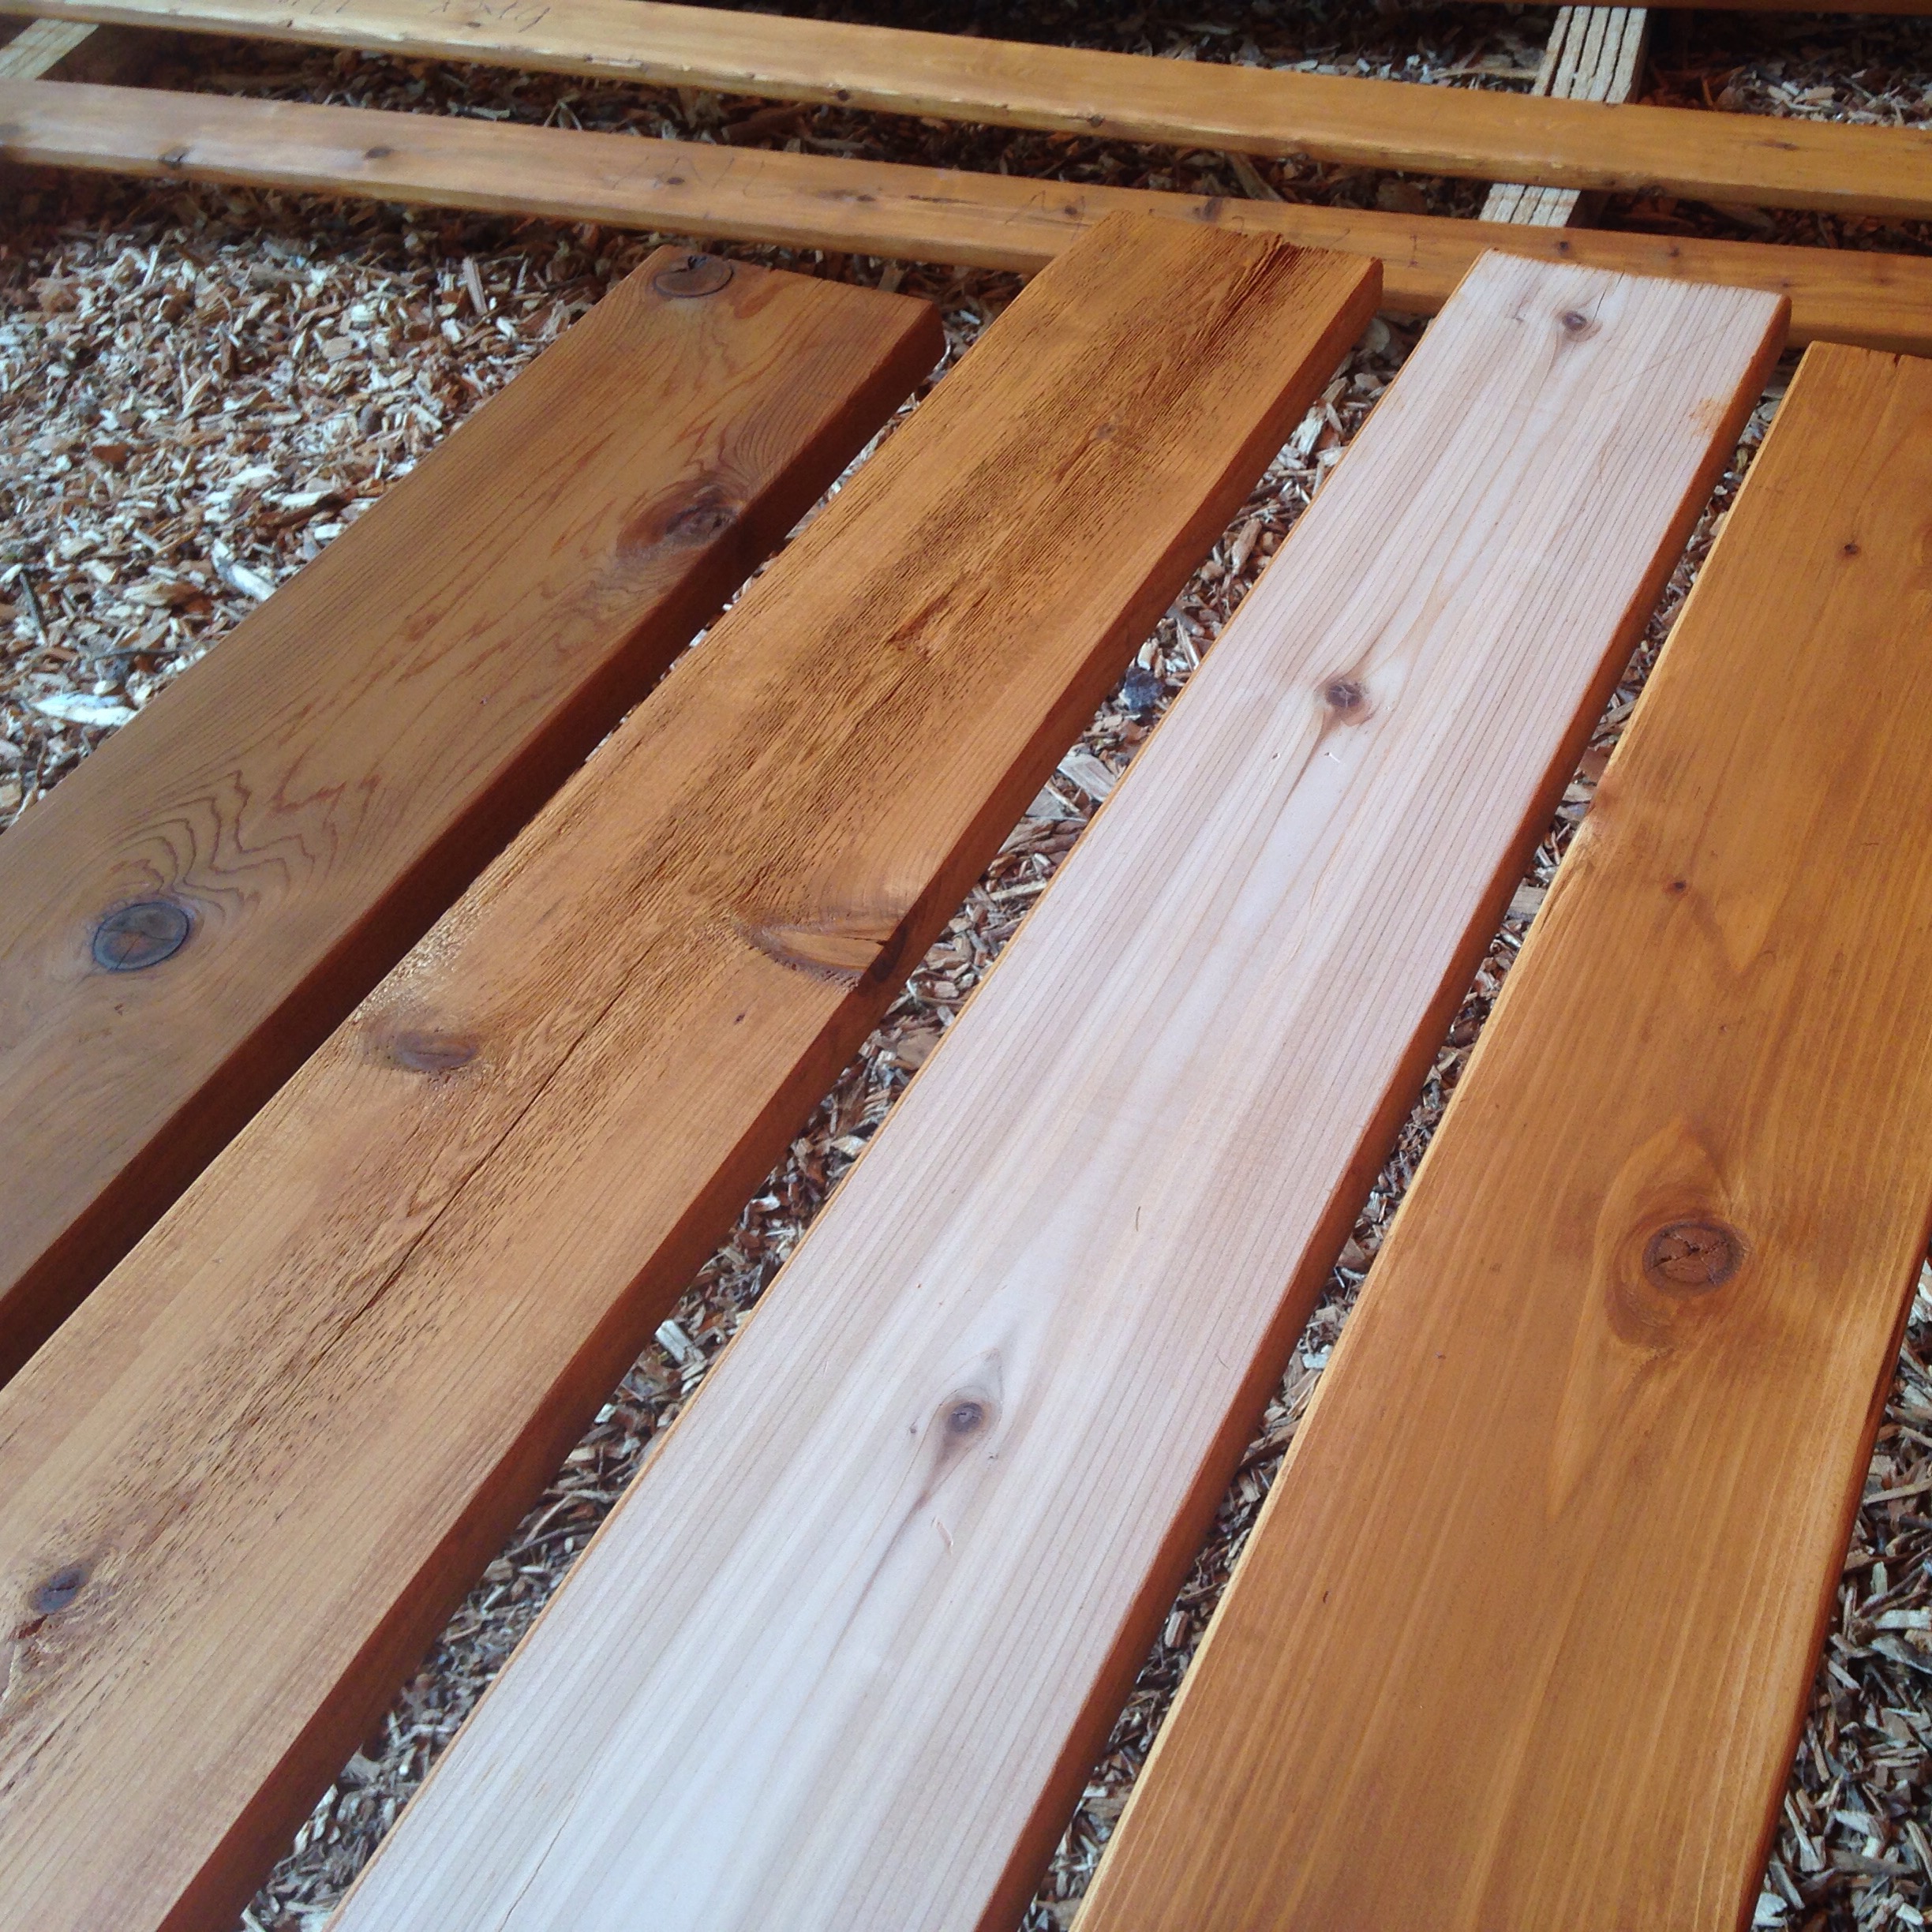
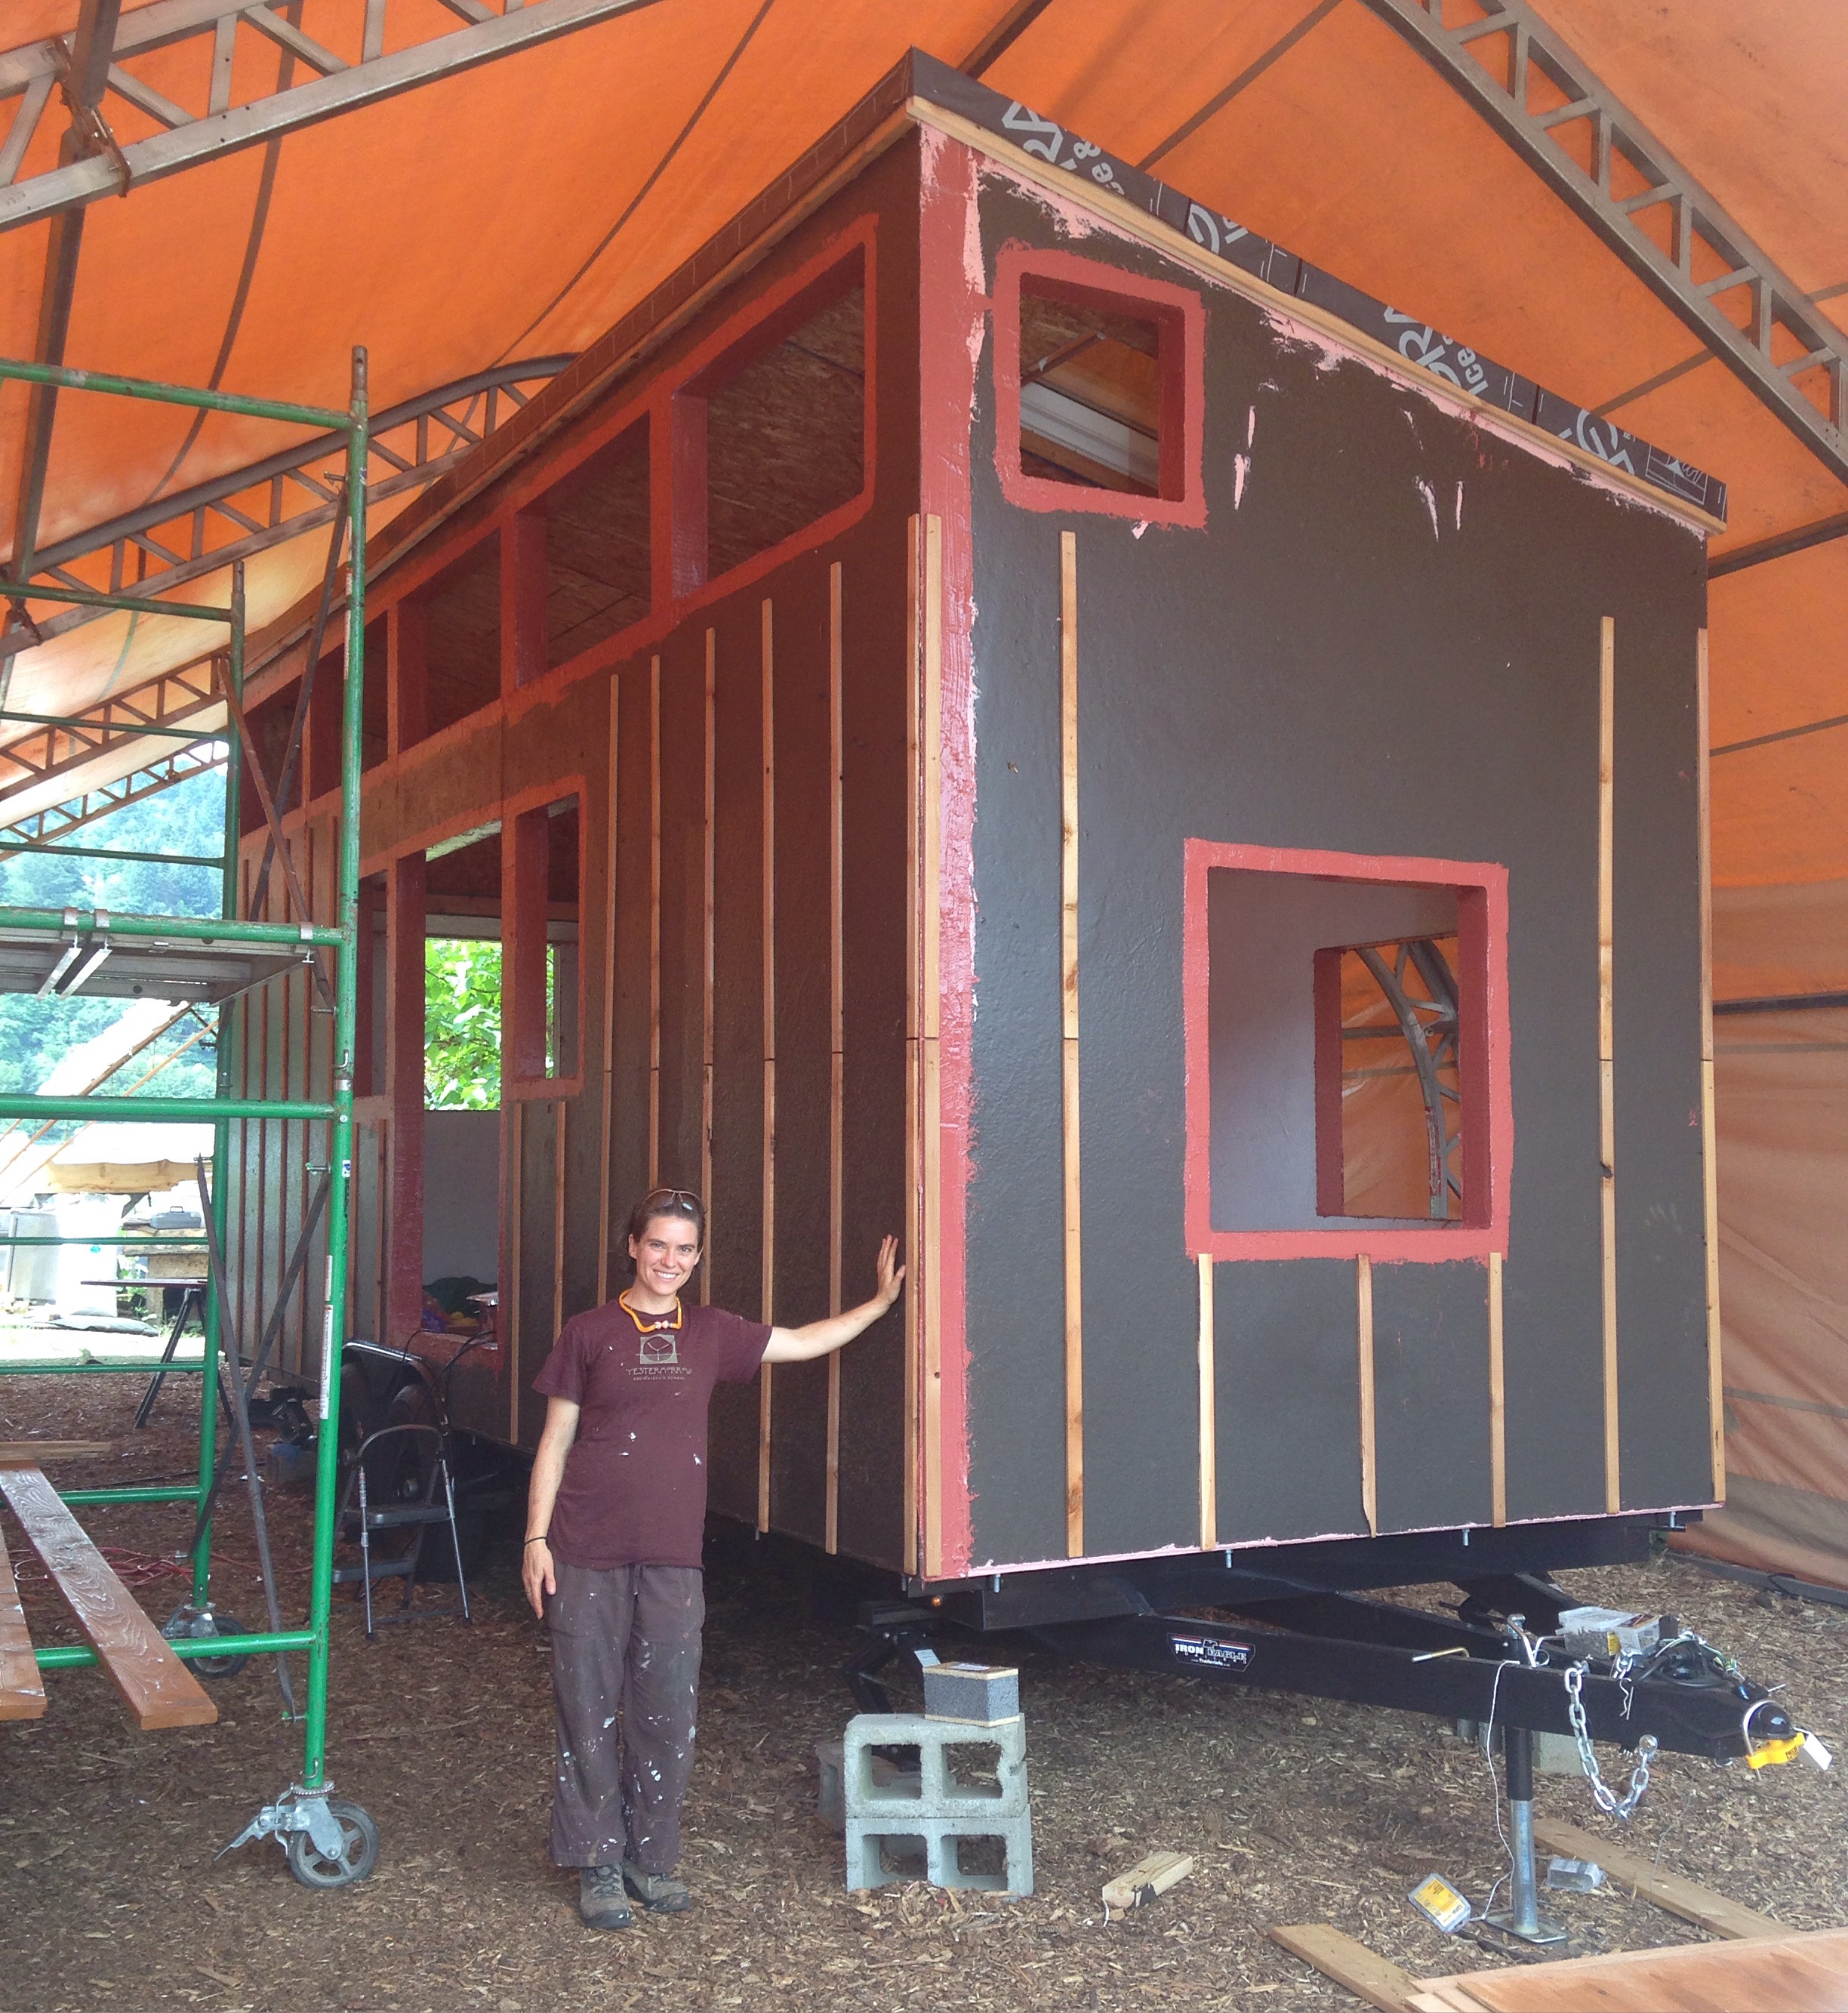
In our case the wall system is structural insulated panels (SIPs) covered in a layer of R-Guard Cat 5, which is a liquid-applied water resistant barrier. We then stapled 3/8" cedar lath over the waterproofing layer, leaving the bottoms loose so we could add bug netting at the bottom. When we're ready to put the siding up we'll attach it to the lath strips and into the sheathing. (Since we're using SIPs we don't have to line up with studs, but if you're doing stick framing you do want to line up with the studs!) Installing the lath gives us a gap between the siding and the water resistant barrier so that any water that might get behind the siding can drain away. This provides a little breathing and airing out space which makes your siding more durable and protects the structure of the house from having waterlogged siding boards sitting right against it.

After the lath was up we picked up some bug netting (the fiberglass kind you'd use to make a screen for a window or screen door) and cut it into long strips. We tucked these under the bottoms of the lath, wrapping up a few inches on both sides, and then stapled the bottoms of the lath into place to hold the netting in place, too. We now have a screen at the bottom of the house behind the bottom trim board so that water can drain out but bugs can't get in!

Once the rainscreen was up we could install our bottom trim boards, so we wrapped up the day by installing our first trim boards. Woohoo! It's starting to come together!

The windows didn't arrive today as anticipated and they're now a couple weeks late. Fingers crossed that they come tomorrow!


Warming Up the Yurt

cozy yurt I spent the weekend Weatherizing the Yurt and the following couple of days it was so warm in here I had to turn the heater down to its halfway point! But this also coincided with unseasonably warm weather. We had temperatures in the 60s in January! So I couldn’t tell if my weatherization had actually helped or if it was so much warmer in the yurt just because it was warmer outside.

Now that it’s gotten colder again I can tell that it’s a bit of both. The temperature outside makes a pretty dramatic impact on the temperature inside because the yurt doesn’t have a lot of insulation. But Weatherizing the Yurt helped a lot, too, because I stopped convective heat losses through air sealing. There aren’t any drafts anymore and that helps enormously!

I’ve also boosted my passive solar gains by putting reflective bubble wrap on the ceiling above the door in spots where the sun, at its obtuse winter angle, strikes the ceiling. Now that heat and light is bounced back into the space. It’s much cozier in here now even though we’re currently experiencing some of the coldest days of the winter. (See my Yurt Panorama for more photos of the yurt!)

Weatherizing the Yurt

Tightening the Tent In November, as the temperatures started dropping, I spent some time Battening Down the Hatches. But during this last cold snap, and especially after I encountered some Moisture Management Problems, I decided it would be worthwhile to take additional steps to weatherize the yurt. The quick fix would be to buy another space heater and plug it in, but I couldn’t bear to waste energy like that.

So Saturday morning I called to Pacific Yurts to discuss weatherization strategies. The fellow I talked to suggested that I make sure the yurt is nice and tight top and bottom to eliminate air infiltration and drafts. He said that it’s a good idea to add foam weather stripping between the fabric cover and the perimeter band, which is something I’d been considering. He also recommended covering the windows up with another piece of reflective insulation. I’d already done that in my Battening Down the Hatches process, so I knew I was on the right track. I asked whether it was important that the insulation be shiny side visible. My understanding was that a reflective surface is only useful if there is an air gap between it and the next surface. But he said it doesn’t really matter, so I decided to switch it back so the white cloth cover is showing. It is prettier this way.

Air infiltration had definitely been my biggest problem. I’d already addressed the obvious air leak by weather stripping the door. However, most of the cold air was entering at the floor all around the perimeter. The perimeter band of plywood was warped in a few places so there were air gaps between the fascia board and the platform. The fabric of the yurt was loose so air was sneaking up through the bulges between the screws. I could feel the cold air rising against the walls and I’d had some Moisture Management Problems. Sometimes, when the wind picked up, the walls of the yurt would flap as a wave of cold air rushed through. Brr!

My tools were at Derin’s since I’d been helping out with Building an UrbaNest, so I rented a Zipcar to fetch my tools and the weatherizing supplies I would need. Unfortunately, once I started removing the screws so I could cinch the yurt cover down tight I realized that the perimeter band was too weathered to hold new screws. The band had done its job well for a dozen years, but it was now done. So Sunday I used Getaround for a trip to the legendary Mr. Plywood. They ripped a sheet of 3/8” plywood down to 6” strips for me. At home I removed the old screws section by section so the yurt lattice wouldn’t pop out and replaced the perimeter band as I went.

I discovered using long screws is really important when working on a curve like this! The 1 ¼” screws were worthless and kept popping out so I finally decided to make a trip to Hankin’s Hardware to pick up some 2” screws which did the trick. (By the way, I love that Hankin’s is a co-op hardware store AND that there were three other bikes in the rack. You know you’re in a cool neighborhood when people ride their bikes to the hardware store!) Once the perimeter band was in place I cinched the fabric tight, sandwhiching two layers of foam between the yurt cover and the new perimeter band. The project took all day, but I’m already pleased by the difference. It was really windy last night and I didn’t feel the drafts.

This morning I plan to add extra screws between each of the existing screws just to make sure there aren’t any gaps. Then I’ll readjust the insulation layers inside the yurt and put all my furniture back in place so I’ll be cozier here for the rest of the winter.

A Plan for a Cozy New Year

Sleepy Head Raffi Last night the wind was whipping around my yurt, the bamboo scraping across the skylight, and I fell asleep trying to figure out a weatherization plan. I’d already done my best to heat myself up by drinking a nice warm cup of tea. I was snuggled under three layers of blankets and wearing a wool hat, an angora sweater, fleece pants, and wool socks. Amazingly, I was tired enough that I managed to drift off even though my mind was running through the possibilities.

My heater is already at full tilt so I don’t have the option of just turning it up. I realize that the cheapest and easiest thing to do would probably be to get another heater and plug it in. My utilities are included with my rent. But I hate the idea of wasting more electricity to heat such a small space. I’m also not sure my electricity supply could handle another heater. I trip the circuit every time I am cooking on my hot plate and try to heat something in the microwave or toaster oven at the same time. If I added another heater I probably wouldn’t have enough electricity for anything other than space heating. I know I’ll need to continue to manage the balance of ventilation and air sealing. I will continue to run my dehumidifier and to crack the vent during the day. But right now it’s so cold I have a hard time convincing myself to crack open the vent. I think if I can get it warmer in here the air will hold more moisture and it won’t be so uncomfortable.

So even though I don’t want to put too much money into weatherizing since this isn’t my place, I’m going to put my building science to work to try to make it a little cozier in here.  Weatherizing the Yurt is my project for this weekend. Wish me luck!

Battening Down the Hatches

As the temperature drops I’ve been slowly cranking my heater up notch by notch. It’s been a wet and chilly week with temperatures in the high 30s to low 50s. Portland has a mild climate and I know it won’t get much colder, but I don’t like that I’m already at the 6th of 10 notches on my Envi Heater. I’d like to wait till winter really hits to have to crank it up again until we hit the coldest days. Weatherizing the yurt is a matter of both saving energy and being more comfortable.

My lessons in building science have taught me that heat transfer happens in 3 ways: conduction, convection, and radiation. In really simple terms, I think of it this way: conductive heat losses occur through the solid, opaque materials of the building’s envelope, radiant heat losses occur through the transparent materials like the oculus and the windows, and convective heat losses occur through the gaps between materials.

I decided to tackle conductive heat losses first. Heat travels from warm to cold so the heat that my Envi Heater produces will transfer through the solid materials that make up the yurt’s envelope: the wooden door, the plywood floor, the vinyl tent. The yurt has virtually no insulation so the conductive heat loss potential is high. It’s a glorified tent and the only insulation is a bubble wrap material that lines the walls, creating lots of little air pockets which slows heat transfer. The floor isn't insulated at all. The bubble wrap that lines the walls provides some insulation as do the rugs on the floor. But it’s not much. There’s really not a practical way to add insulation to the walls because of their curve. It would be possible to insulate the floor and the ceiling, too, but since I don’t own the yurt I don’t have much incentive to invest in comprehensive insulation. Instead I will tackle weatherizing on the other two fronts. This is a very small space, so even if I don’t have much insulation to prevent conductive heat transfer I can still take steps to reduce radiant and convective heat transfer.

Radiant heat loss occurs when something warm gives off heat to something cold. It relies on direct lines of sight. If you can see a cold object you’re giving up heat to it. This often occurs through windows. I’m sure you’ve had the experience of sitting on a stone bench or standing next to a window on a cold day and feeling like the heat is being sucked out of you. It actually is! So closing the drapes at night really can help keep the house warmer. Putting something between you and the stone bench can help your tush not go numb from cold. I had already closed up the yurt’s windows a few weeks ago, thereby reducing my radiant losses. But I could tell that windows were a weak spot in my thermal envelope. There was no insulation here to prevent conductive losses. So I bought a roll of bubble wrap insulation for $20 and cut covers for the two windows to prevent conductive heat transfer through the vinyl window cover and the fabric of the tent flap that covers the windows. Now that the windows are closed, my only natural light comes through the oculus so I’ve been hesitant to create a cover for it. However, I realize that it’s the spot where heat is most likely to radiate to the sky. When it gets really cold, I’ll need to address this and I’ll tackle my remaining radiant heat losses then.

In the meantime, I turned my attention to convective heat losses. This is where air sealing comes in. I’ve noticed that there are spots where I can feel the cold air at the seams. The yurt has seams where the floor meets the walls, where the walls meet the roof, and around the windows and the door. I plan to seal these seams so that warm air has a harder time slipping through the cracks. However, today I tackled the obvious leaks. First, I realized I’d left the oculus open just a crack, so I decided to close it up all the way on these cold days. I can always open it whenever I need to air the yurt out, but keeping it closed on cold days (and especially cold nights) will help keep the yurt warmer. I also put rubber weather stripping around the doorframe so that when the door is closed I can no longer see daylight around the perimeter. I need to be sure to pull the door closed tightly now, but it does seem to be helping.

This evening it’s much warmer in the yurt, so I’ve turned the heater back down to the second notch. I’m not sure if it’s actually warmer outside tonight or if these little weatherization projects are already paying off, but it’s very cozy in here tonight!