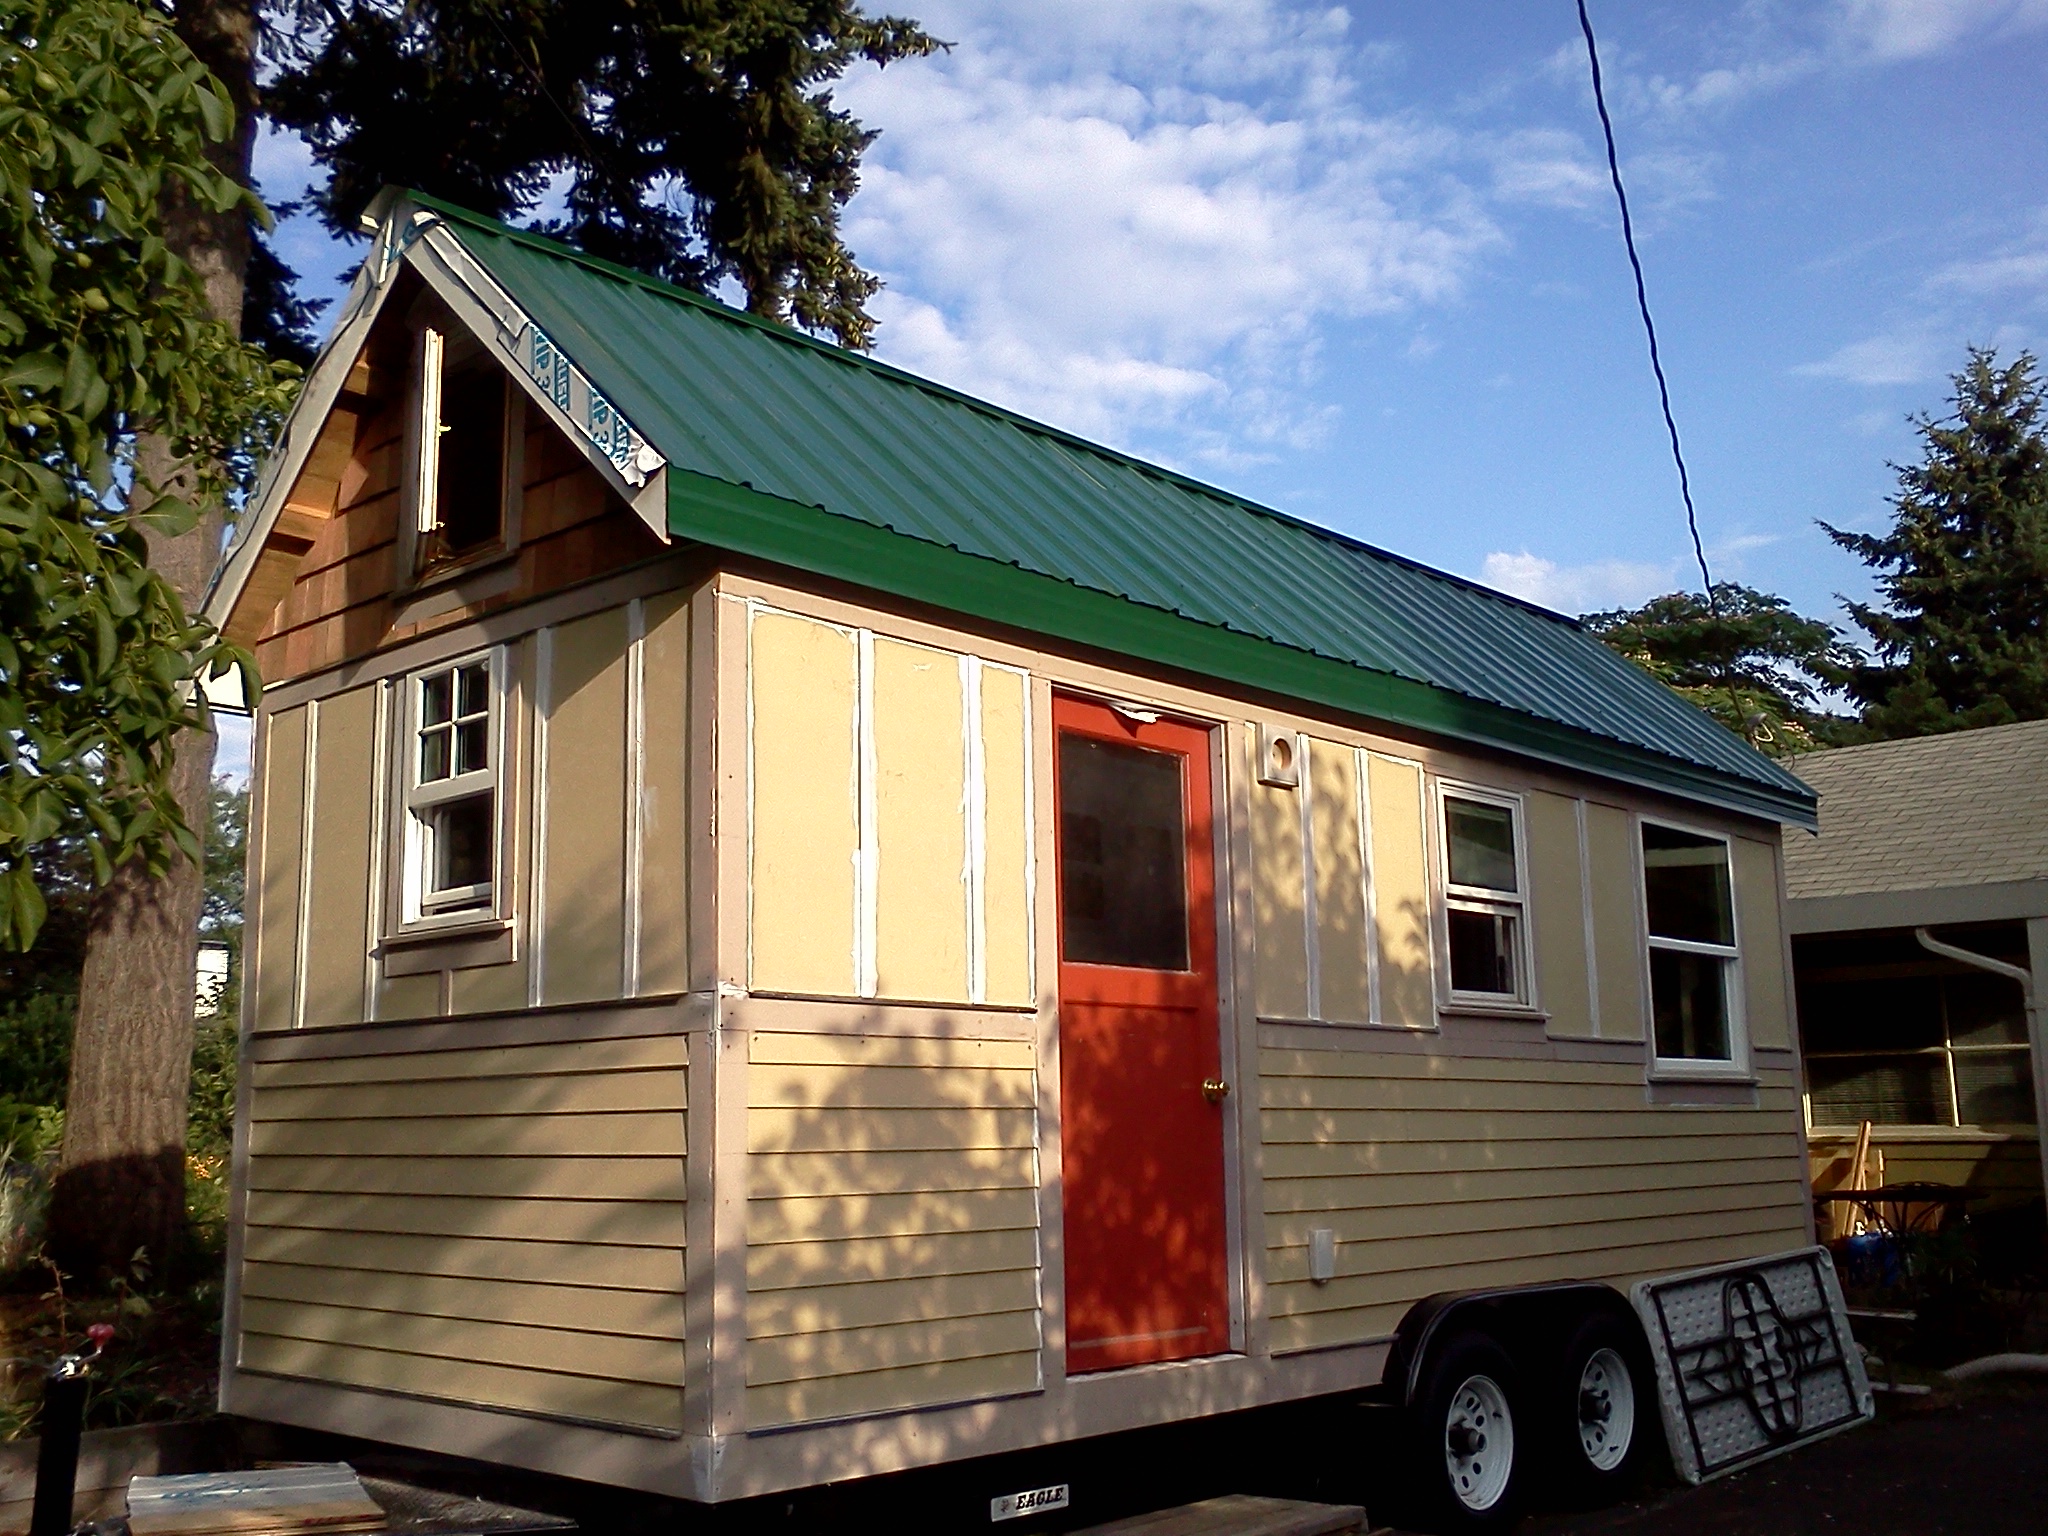
 The tiny house I'm building with Orange Splot, LLC has come along nicely in the past two weeks. Last week (between moving into My Summer Garden Cottage and getting the Tiny House On the Road and back to Olympia) I insulated the ceiling and walls. Manda and I also installed the metal roofing and flashed the gables and the skylight.
I was a little nervous about getting up on the roof at first since I had a pretty epic fall off a ladder when I was 16 (and I have the scars to prove it). But I'm more afraid of falling than I am of heights. Once I was up there I was able to just enjoy the project and the view of the neighborhood. It was also awesome to hear Eli's three-year-old daughter squeal: "Look! Two women on the roof!" I love that this little girl is growing up with role models of women building houses. A few days ago when the office manager Chris pointed to the tiny house and asked Ozora whose house it was, she replied "Lina's House." Aww, shucks! I wish!
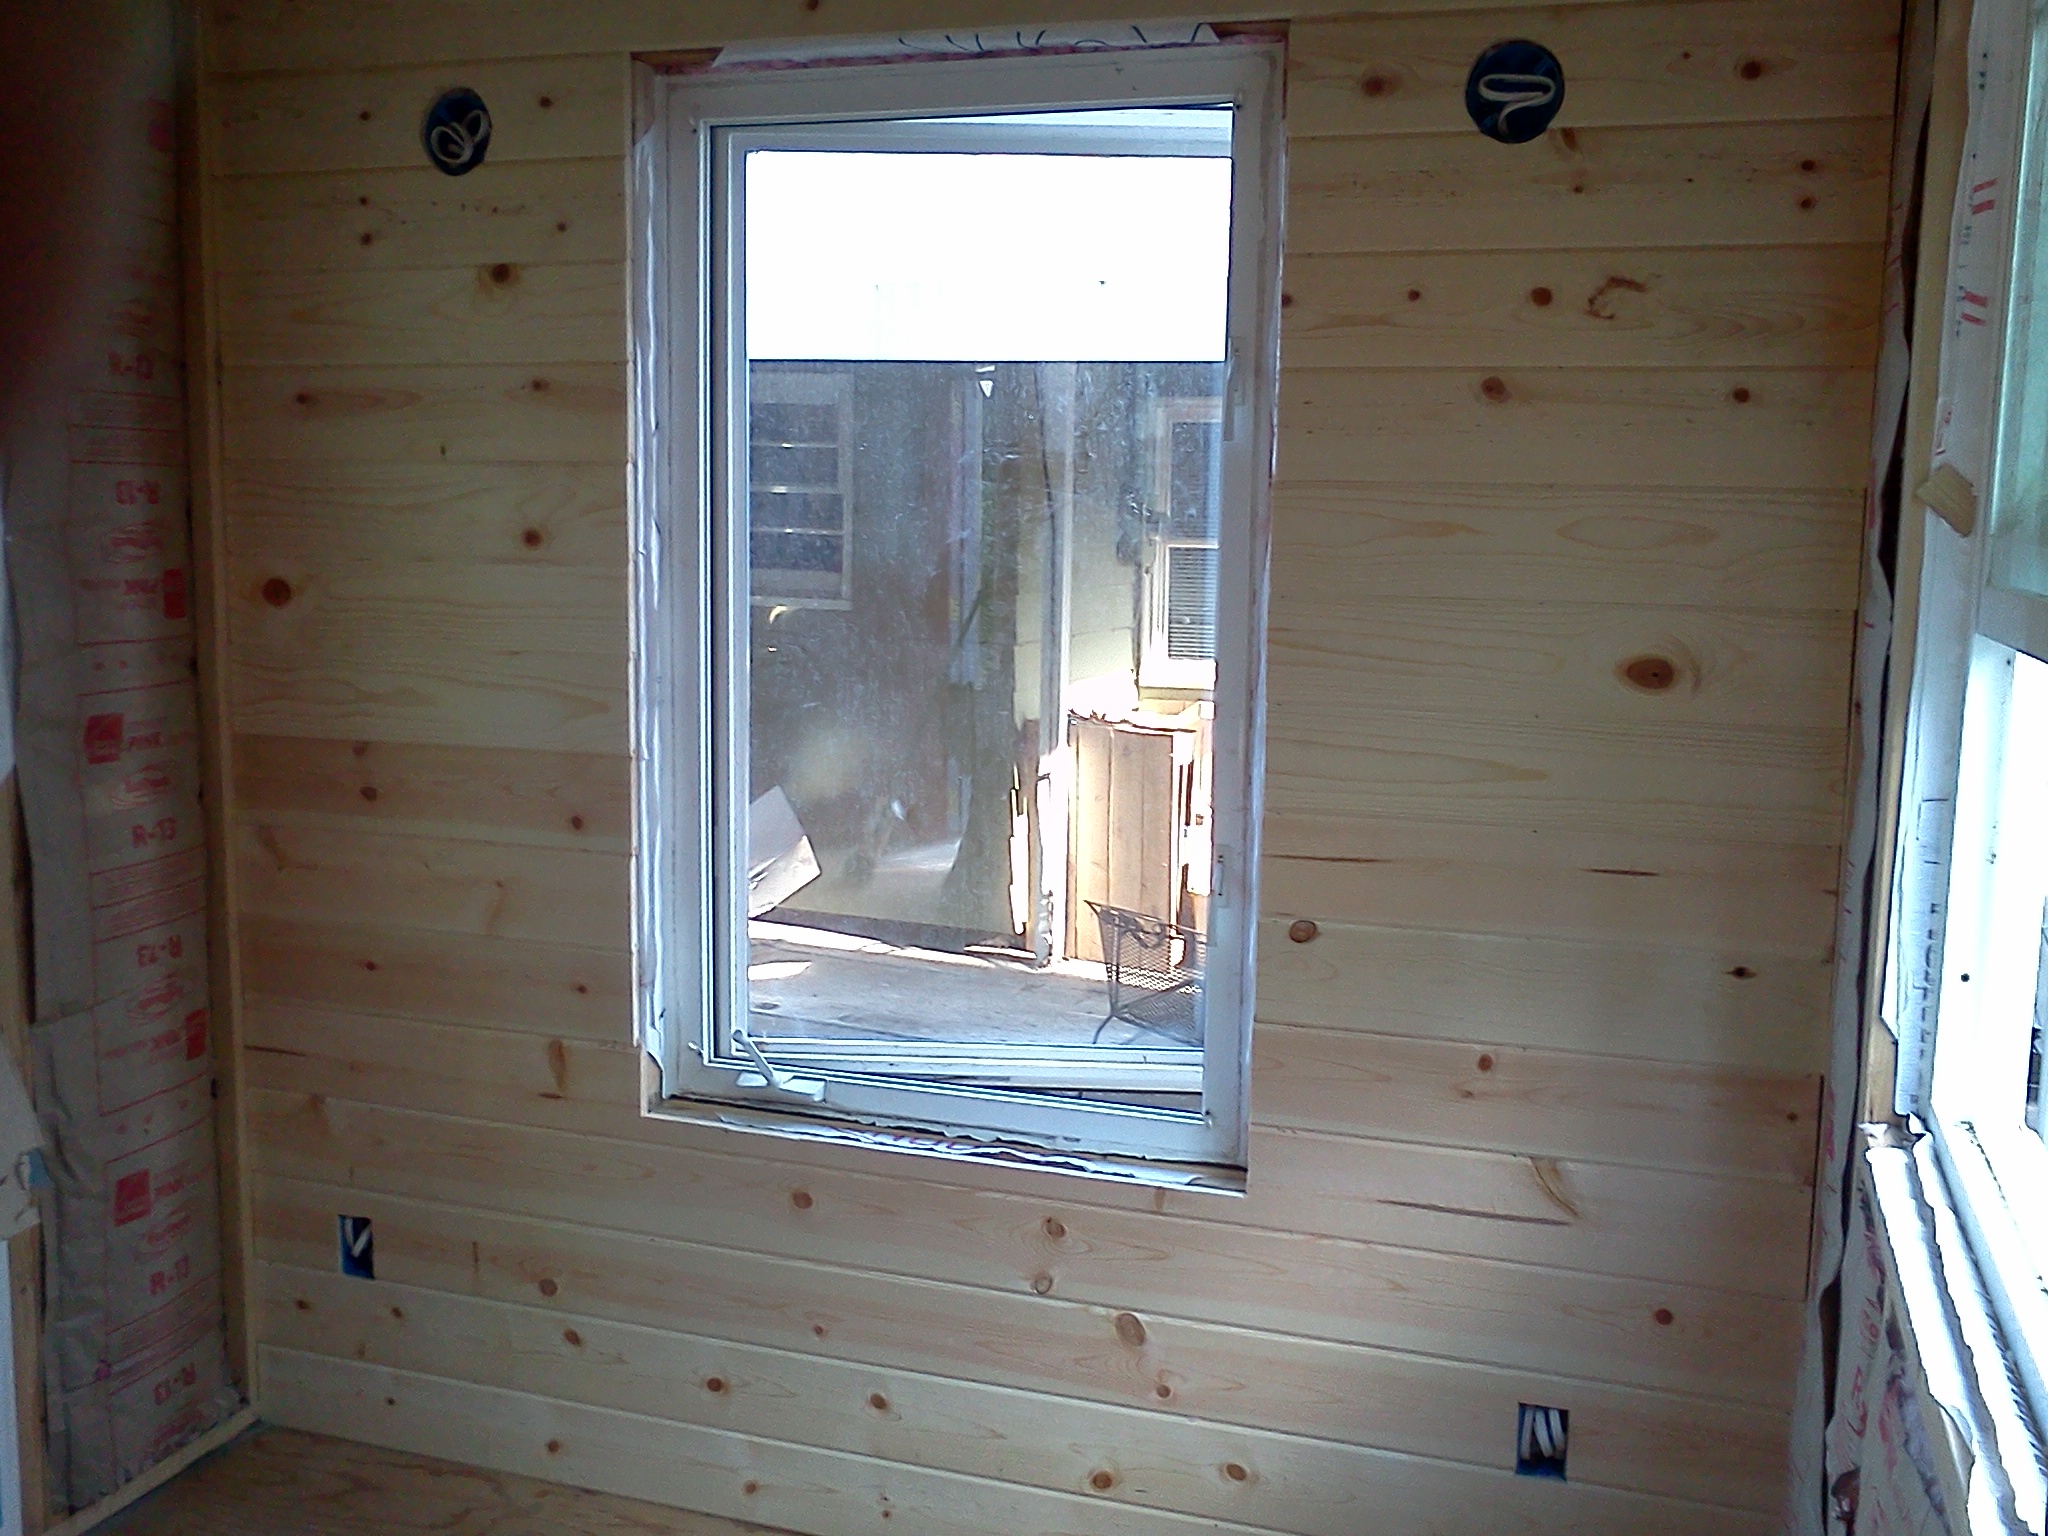
As for the insulation, I know many tiny housers are committed to using natural insulation like sheep's wool or denim batts. I appreciate that because the natural materials are renewable, less toxic, and support green industry. But in this case we're going for high R-value in the ceiling with 3 inches of rigid foam. We're using R-19 fiberglass in the walls because it's quick and inexpensive. The ceiling bays had few complications (just a carbon monoxide/smoke detector and an overhead light to work around) so the rigid insulation was pretty easy to install once I got myself a 3 inch blade. Manda also showed me how to work with gravity instead of against it when using expanding spray foam. We taped the seams where the rigid foam ran along the rafters and then sprayed the foam from above once we cut open the ridge vent. (This was a drastic improvement over my attempt to spray foam from below at the end of the previous day!) Even installing the prickly fiberglass insulation in the walls was pretty painless since I prepped ahead and was totally prepared. I had long sleeves, gloves, safety glasses, and a great face mask. I still plan to use fiberglass insulation as infrequently as possible, but at least I know for next time that a good mask makes all the difference.
This week on Monday I worked through a punch list of little tasks such as insulating the outlet boxes and tidying up our exterior materials. First thing Wednesday morning the plumbers roughed in for the shower and kitchen sink, so once they finished I was able to insulate the kitchen and bathroom. Yesterday I began on the interior finish which is a 5/8" tongue and groove paneling. It's thicker and heavier than I've seen in other tiny houses, but it's really beautiful wood. I think it will be gorgeous once we clear coat it.


